
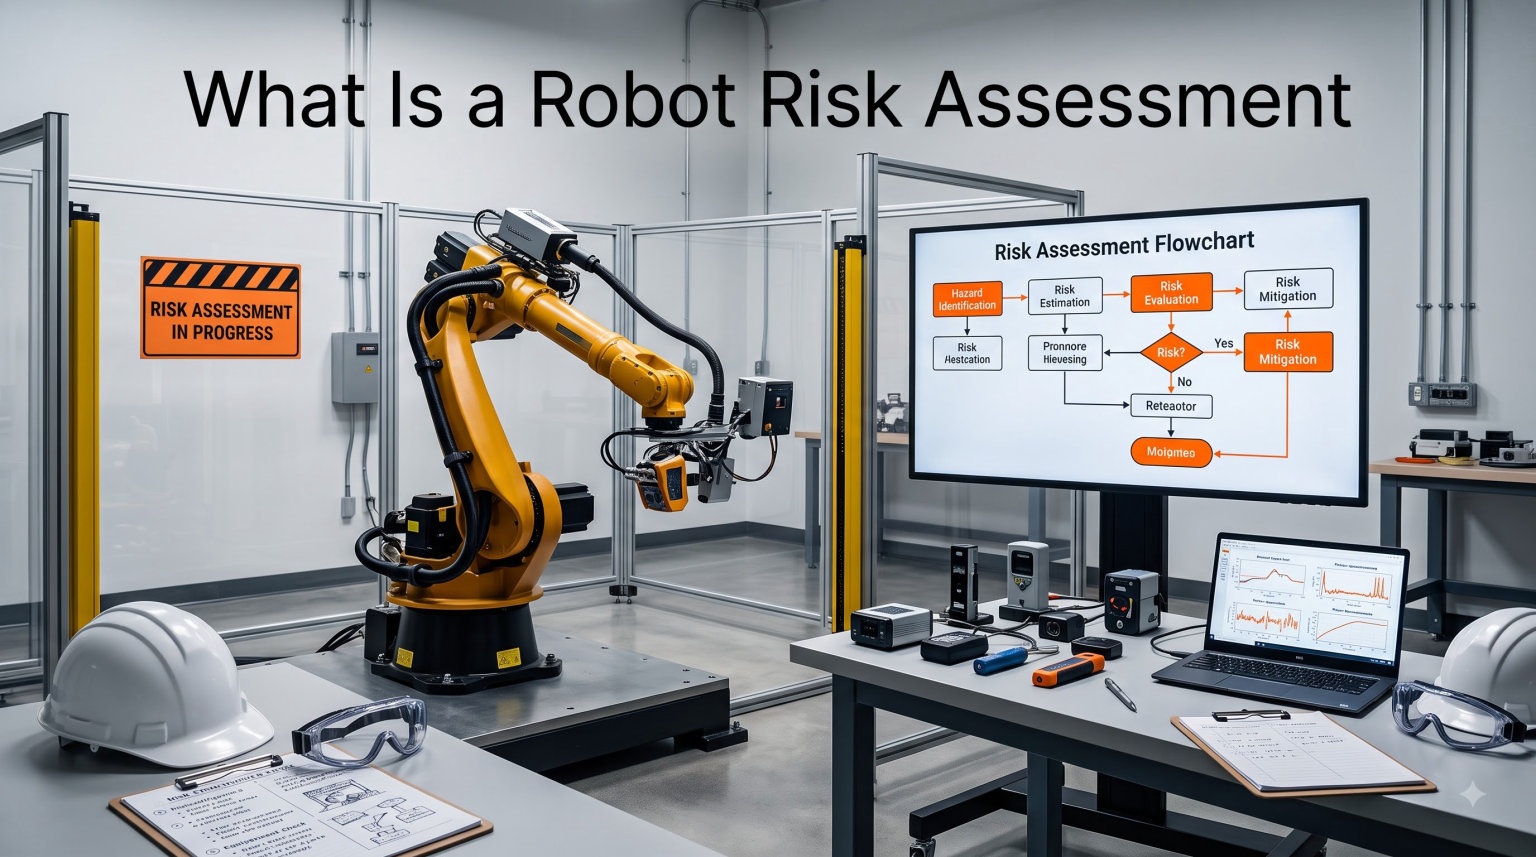
If you operate, integrate, or specify a robotic workcell, a robot risk assessment is the single document that proves your installation is safe to run. I have walked through dozens of these with safety engineers, and the same pattern keeps repeating: facilities that take the assessment seriously avoid near misses, while those that treat it as paperwork learn the hard way.
In this guide I will walk you through what a robot risk assessment is, why it matters, who is legally on the hook for it, the standards that govern it, the exact steps to follow, and the mistakes I have seen teams make over and over. By the end you will have a working mental model of the process and a clear path to a compliant assessment.
Table of Contents
What Is a Robot Risk Assessment
A robot risk assessment is a structured, documented analysis of every hazard a robotic system can introduce into a workplace, paired with an evaluation of the severity and likelihood of each hazard and the protective measures required to bring the risk down to an acceptable level.
The phrase is used slightly differently across standards bodies, but the core idea is consistent. OSHA’s Technical Manual describes the robot risk assessment as a review performed prior to evaluating a robot system. ISO 10218-1 and ISO 10218-2 call it a systematic process that combines hazard identification with risk estimation and risk reduction. Robotics.org puts it simply: a risk assessment is a sequence of logical steps based on the systematic analysis and evaluation of risks.
Three things make a robot risk assessment different from a generic safety review. First, it focuses on a moving, programmable machine whose behavior can change with every line of code. Second, it covers the entire workcell, not just the robot arm, including grippers, conveyors, fixtures, and the space the robot sweeps through. Third, it must be revisited whenever the application, tooling, or environment changes.
Why Robot Risk Assessments Matter for Workplace Safety
Robotic systems can move with high speed, carry heavy payloads, and exert crushing forces. Even a small collaborative robot can pinch a finger or strike a wrist during an unexpected motion. The Robot Industries Association has tracked robot-related injuries for decades, and the four most common categories of robot accidents have not changed much over that time.
Beyond human safety, a thorough robot risk assessment reduces downtime, lowers insurance premiums, and protects a company from the legal exposure that follows an incident. Courts and regulators treat an undocumented or outdated assessment as evidence of negligence. I have reviewed incident reports where the only difference between a near miss and a serious injury was whether the operator had been inside a properly defined restricted space at the time.
There is also a business case. A well-designed assessment often surfaces wasted motion, inefficient layouts, and over-specified safety hardware. The same exercise that protects workers can shave seconds off a cycle time.
Who Is Responsible for the Robot Risk Assessment
Responsibility for a robot risk assessment is shared, and the exact split depends on where the robot is built and where it is installed.
Manufacturer and Integrator Duties
The robot manufacturer performs a design-time risk assessment on the product itself. That assessment covers hazards inherent to the machine, like pinch points at the joints or runaway motion if a brake fails. The manufacturer is expected to ship the robot with the safety-related information needed to integrate it safely, including intended use, foreseeable misuse, residual risks, and any safety functions already built into the controller.
When a system integrator builds a workcell, they take on a second layer of responsibility. They must perform their own risk assessment for the assembled system, including end-of-arm tooling, conveyors, vision systems, and the physical guarding layout.
Employer and Operator Duties
The employer that puts the robot into production is ultimately responsible for the workplace risk assessment. This is the version that must reflect the actual installation, the actual operators, the actual task cycle, and the actual maintenance procedures. A common point of confusion is that the manufacturer’s assessment is not a substitute for the operator’s. The operator’s assessment must be site specific.
Employees have a role too. Workers who interact with the cell are often the first to notice unusual sounds, vibrations, or behaviors, and they should be involved in the assessment and any subsequent reviews.
Regulatory Standards and OSHA Requirements
There is no single global rulebook for robot safety, and the standards you follow depend largely on where your facility is located. Three frameworks dominate the landscape, and most modern facilities have to consider all of them because their supply chains cross borders.
OSHA and the U.S. Regulatory Picture
In the United States, OSHA does not publish a dedicated robot safety standard. Instead, the agency applies the general duty clause, the lockout and tagout standard, and the machine guarding standards in 29 CFR 1910 Subpart O. OSHA’s Technical Manual Section IV Chapter 4 provides detailed guidance on industrial robot system evaluation, including the requirement to obtain and review the robot system risk assessment before evaluation.
For practical compliance, most U.S. employers reference ANSI/RIA R15.06, the American national standard for industrial robot system safety. The current version, R15.06-2012, is harmonized with ISO 10218 and is the document OSHA inspectors typically expect to see referenced in your assessment.
ISO 10218 and the Global Baseline
ISO 10218 is published in two parts. Part 1 covers robot manufacturers and the requirements for the robot itself, while Part 2 covers the integration and installation of robot systems. ISO/TS 15066 is a technical specification that adds detailed guidance for collaborative robot applications, including biomechanical limits for quasi-static and transient contact events.
For a quick orientation, you may also want to read our guide to how a robot chassis works and our payload capacity explainer, both of which inform hazard identification.
European Machinery Regulation
In the European Union, the Machinery Regulation (formerly the Machinery Directive) requires a CE marking process that includes a risk assessment documented in the technical file. The harmonized standard for industrial robots is EN ISO 10218, and for collaborative applications, EN ISO/TS 15066.
Key Components of a Robot Risk Assessment
Every credible robot risk assessment, whether it follows ISO 12100, ANSI/RIA R15.06, or your company’s internal template, contains the same five elements. If any one of them is missing, the assessment is not defensible.
- Machine description and intended use. What the robot is, what it does, who operates it, what the work envelope looks like, and what is in and around the workcell.
- Hazard identification. A complete list of mechanical, electrical, thermal, ergonomic, and environmental hazards, including hazards introduced by the tooling and by interaction with upstream or downstream equipment.
- Risk estimation. For each hazard, a calculation of severity, probability of occurrence, and frequency or duration of exposure, often combined into a risk score.
- Risk evaluation and decision. A judgment about whether the estimated risk is acceptable. If it is not, the assessment prescribes additional protective measures.
- Documentation, validation, and review schedule. A written record of the assessment, evidence that protective measures are effective, and a plan for periodic re-evaluation.
This five-part structure lines up with the PAA question about what a risk assessment should include, and it is the structure most auditors expect to see in your technical file.
The Robot Risk Assessment Process Step by Step
The exact wording changes from standard to standard, but the workflow is broadly the same. I have grouped it into seven steps, and you should expect each one to feed the next.
Step 1: Define the System and Its Limits
Start with a clear description of the robot, the end-effector, the workcell layout, the cycle, the operators, the maintenance tasks, and the operating environment. Set physical limits, software limits, and energy-isolation points. Identify any reasonably foreseeable misuse.
Step 2: Identify Hazards
Walk the cell. List every hazard you can find, including ones that come from the upstream conveyor, the downstream tester, the floor, the lighting, and the noise. A useful prompt is to ask what could hurt someone, how it could hurt them, and what event would have to happen for it to occur.
Step 3: Estimate the Risk for Each Hazard
For every hazard, rate the severity of possible harm, the probability that the harm occurs, and the frequency or duration of exposure. The classic formula is:
Risk = Severity x Probability x Exposure
Severity is rated on a scale that typically runs from minor injury (1) to death or permanent disability (4 or 5, depending on the scale). Probability runs from very low to very high. Exposure captures how often the operator is in the hazardous zone. A 3-axis rating gives you a single risk score you can plot on a risk matrix.
Step 4: Evaluate Whether the Risk Is Acceptable
Plot each risk score on a risk matrix. Anything above the acceptable threshold must be reduced. Standards like ISO 12100 follow a three-step reduction hierarchy: design out the hazard, add safeguarding, and finally, provide information, training, and PPE.
Step 5: Apply Protective Measures
Common protective measures include physical guards, light curtains, area scanners, safety-rated stop circuits, presence-sensing devices, interlocks, and speed-and-separation monitoring for collaborative applications. For a sense of how a robot’s mechanical design shapes these measures, our planetary gearbox explainer and backlash guide are useful background reading.
Step 6: Validate That the Measures Work
Validation means proving that the safeguard performs as intended. A safety-rated stop circuit must actually bring the robot to a category 1 or category 2 stop within the time the risk assessment assumes. A light curtain must be mounted at the distance that the robot’s stopping time demands. Calculations, tests, and signed-off commissioning records all belong here.
Step 7: Document and Schedule the Next Review
The assessment is not done until it is signed, dated, stored where the team can find it, and scheduled for re-review. A good rule of thumb is to revisit the assessment annually, after any modification, and after any incident or near miss.
Common Hazards in Robotic Systems
Decades of incident data point to four main types of robot accidents. They show up in nearly every industrial robot risk assessment, and they are a useful checklist when you walk your own cell.
- Impact and crushing injuries. Caused by the robot arm, a moving fixture, or a transfer mechanism striking a person inside the work envelope. This is by far the most common category and the reason restricted-space rules are strict.
- Trapping and entanglement. Fingers, hair, clothing, or jewelry caught in joints, gears, or tooling. Hazards like backlash in robot gearing can amplify trapping risk if it leads to unexpected motion.
- Electrical and thermal hazards. Contact with energized circuits during maintenance, or burns from hot end-effectors, weld torches, or heated platens.
- Process-specific hazards. Welding arc flash, chemical exposure, sharp burrs on machined parts, ejected workpieces, and unexpected release of stored energy.
For each hazard, your assessment needs to capture where on the cell it lives, who is exposed, and how often.
Industrial Robot vs Collaborative Robot Risk Assessment
Collaborative robots, or cobots, are designed to share a workspace with humans, and their risk assessment looks different from a traditional industrial robot assessment. Most industrial robots are treated as hazardous by default and are isolated behind guarding and interlocks. Cobots rely on power and force limiting, speed and separation monitoring, hand guiding, or a combination of these to keep contact events below the biomechanical limits in ISO/TS 15066.
What this means in practice is that a cobot risk assessment spends more time on contact-event analysis and less time on perimeter guarding. You measure the quasi-static and transient contact pressures, compare them against the limits in ISO/TS 15066, and adjust the robot’s speed, payload, and joint stiffness to stay inside those limits. Risk numbers in a cobot assessment are also revisited more often, because the application tends to change more frequently than a fenced industrial cell.
If you run a fleet of mobile robots instead of fixed arms, our warehouse robot fleet safety webinar is a useful companion piece.
Tools, Templates, and Documentation
You can build a robot risk assessment in a spreadsheet, but most safety engineers today use a structured tool that enforces the methodology and produces audit-ready output.
- Commercial tools. Pilz’s PAScal, SICK’s Flexi Soft Designer, and TUV SUD’s SAFExpert are widely cited examples. They walk through ISO 12100 and generate reports that satisfy most auditors.
- Free and vendor templates. Robotiq publishes a free risk assessment template and a short e-book that is a popular starting point. Universal Robots Academy includes a free risk assessment module in its online training.
- Spreadsheet and checklist methods. Adequate for very small cells, but harder to defend in a serious incident review because the methodology is harder to demonstrate.
Whichever tool you use, the assessment must be stored alongside the cell’s commissioning records, kept under change control, and made available to anyone who operates, maintains, or audits the cell.
Common Mistakes to Avoid
I see the same handful of mistakes on most failed assessments. Avoiding them is often the difference between a defensible robot risk assessment and a costly rewrite.
- Copy-pasting the manufacturer’s assessment. The manufacturer’s assessment covers the robot, not your cell. Treat it as one input, not the finished product.
- Forgetting maintenance and set-up tasks. Most serious injuries happen during set-up, changeover, or maintenance, not during normal operation. Your assessment must cover all tasks, not just the production cycle.
- Skipping the re-review. An assessment is a living document. New tooling, a new operator, or a new shift pattern is a reason to re-run the analysis.
- Underestimating stopping time. Stopping distance grows with robot speed and payload. If you assume a stop that is faster than reality, your safety distance is wrong.
- Treating cobots as inherently safe. A cobot without a proper power and force limiting assessment can still cause serious injury. Collaborative does not mean risk-free.
Frequently Asked Questions
What are the 5 things a risk assessment should include?
A robot risk assessment should include a machine description and intended use, a list of identified hazards, a risk estimate for each hazard, an evaluation of whether the risk is acceptable, and documentation plus a plan for periodic re-review.
Are there any OSHA guidelines for robotic safety?
OSHA does not have a dedicated robot standard, but its general duty clause, lockout and tagout rules, and machine guarding standards in 29 CFR 1910 Subpart O all apply. OSHA’s Technical Manual Section IV Chapter 4 also requires that the robot system risk assessment be obtained and reviewed before any robot system evaluation.
What are some examples of automated risk assessment tools?
Examples of automated risk assessment tools include Pilz PAScal, SICK Flexi Soft Designer, and TUV SUD SAFExpert on the commercial side, plus free templates and training from vendors such as Robotiq and Universal Robots Academy.
What are the four main types of robot accidents?
The four main types of robot accidents are impact and crushing injuries, trapping and entanglement in moving parts, electrical and thermal hazards, and process-specific hazards such as arc flash, chemical exposure, or ejected workpieces.
Final Thoughts on Robot Risk Assessment
A robot risk assessment is the foundation of any safe robotic installation. It is the document that ties together hazard identification, risk evaluation, protective measures, validation, and ongoing review, and it is what regulators, auditors, and courts look at first when something goes wrong.
My recommendation is to start with the structure I have outlined here, build the assessment as a living document under change control, and revisit it every time the cell changes. If you are starting from scratch, Robotiq’s free template and Universal Robots Academy’s risk assessment module are good first steps. If you are scaling a fleet, the warehouse robot safety webinar linked above is a useful next read.