
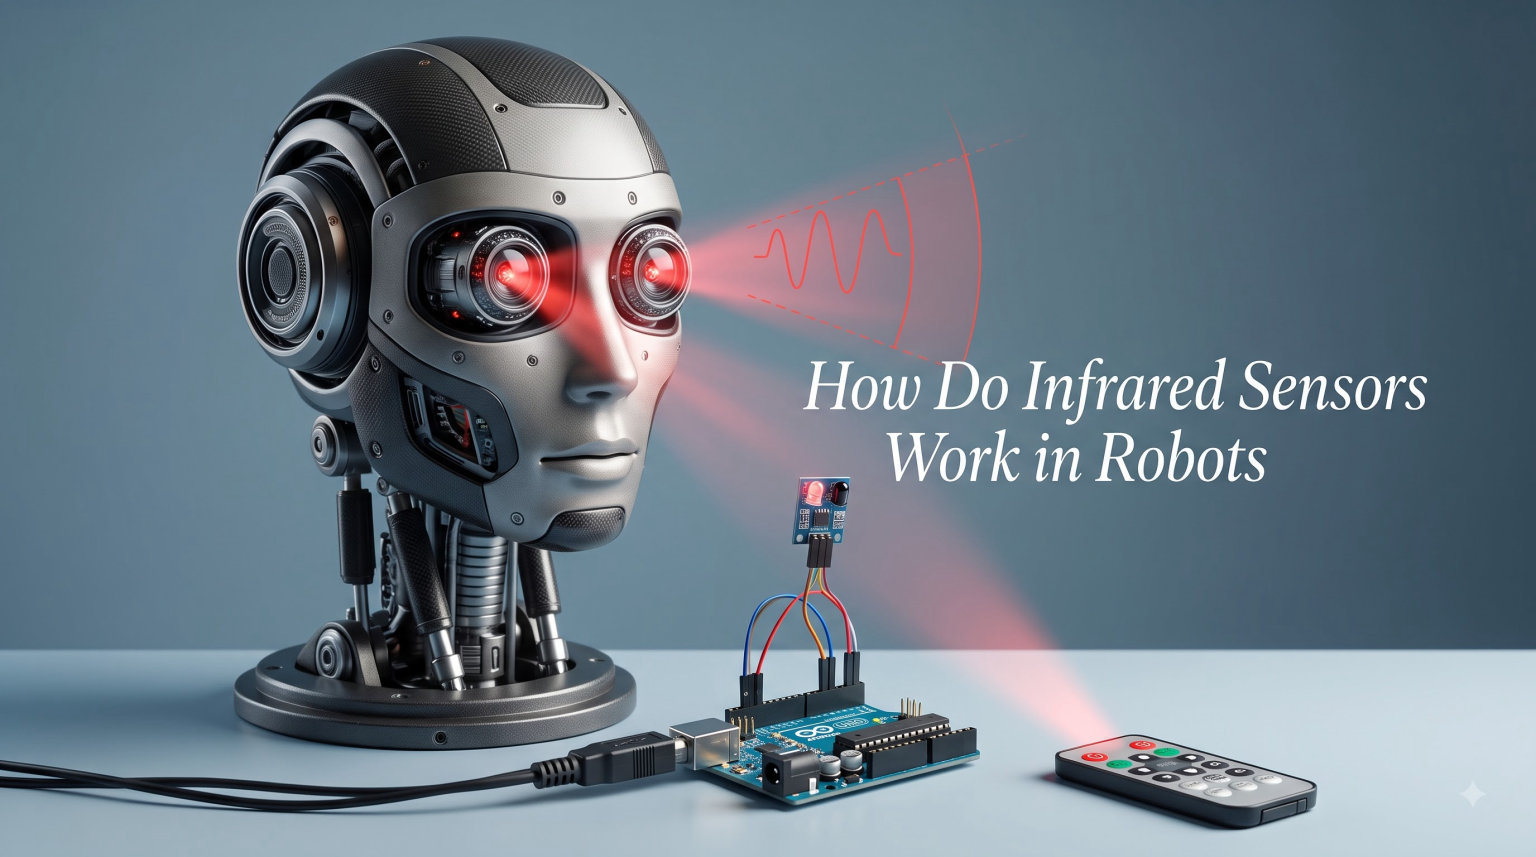
Infrared (IR) sensors are the workhorses behind robot obstacle detection, line following, and distance measurement. In our robotics builds, they have been the cheapest, fastest way to give a machine a sense of touch at a distance, which is exactly why the question how do infrared sensors work in robots comes up so often in classrooms, hobby workshops, and engineering forums.
They work by emitting infrared light from an LED, then measuring how much of that light bounces back to a phototransistor. The intensity of the reflected light tells the robot whether something is near, how far it is, or even what color it is. In this guide, our team breaks down the physics, the three main sensor types, the components inside a typical module, and how to wire one to an Arduino or Raspberry Pi.
Table of Contents
What Is an Infrared Sensor in Robotics
An infrared sensor is an electronic device that detects infrared radiation emitted or reflected by objects, then converts that information into an electrical signal a robot can read. Most IR sensors used in robotics are proximity sensors — they answer the simple question: is something close to me, and how close?
Infrared radiation sits just beyond visible red light on the electromagnetic spectrum, with wavelengths between roughly 700 nanometers and 1 millimeter. Because human eyes cannot see it, IR is perfect for robotics: the robot can shine an invisible beam, sense the reflection, and react without any visible clutter on the chassis.
In practical robotics, IR sensors serve three core jobs:
- Detecting obstacles so a mobile robot can stop or turn
- Following a line painted on the floor for warehouse and competition robots
- Measuring short-range distance for mapping, edge detection, and docking
They are popular because they are inexpensive, respond in microseconds, draw very little current, and slot directly into any microcontroller. The trade-off is shorter range and more sensitivity to ambient light than ultrasonic or LIDAR alternatives.
How Do Infrared Sensors Work in Robots: The Working Principle
The core working principle of an IR sensor in a robot is straightforward: emit infrared light, watch for the echo, and measure it. Here is the step-by-step flow our team uses when teaching this to first-year engineering students.
Step 1: The IR LED Emits Light
An infrared Light Emitting Diode (IR LED) inside the sensor module produces a beam of infrared light, typically at 850 nm or 940 nm wavelength. The LED is driven by a transistor so the microcontroller can pulse it on and off thousands of times per second.
Step 2: Light Hits an Object and Reflects
When the beam strikes a surface — a wall, a chair leg, a tabletop edge — part of the infrared light scatters back toward the sensor. Light-colored and matte surfaces reflect more IR than dark or shiny ones, which is why black tape on a white floor is the classic trick for line-following robots.
Step 3: The Phototransistor or Photodiode Detects the Returned Light
A phototransistor (or photodiode) sitting next to the IR LED absorbs the reflected photons. Each photon frees an electron in the semiconductor, producing a tiny current. The closer and more reflective the object, the stronger that current.
Step 4: The Signal Is Conditioned
A comparator circuit inside the module converts the small analog current into a clean digital HIGH or LOW signal. Most cheap IR modules (the FC-51, for example) output a digital LOW when an object is detected and HIGH otherwise.
Step 5: The Microcontroller Reads the Result
The robot’s Arduino, Raspberry Pi, or STM32 reads the digital pin. It then decides whether to stop, turn, follow, or count a tick of distance. In analog-output IR sensors, the same signal goes through an analog-to-digital converter (ADC) so the controller can read a numeric value instead of just a threshold.
The Three Main Types of IR Sensors Used in Robots
There are three main types of infrared sensors found in modern robots, and each answers a different sensing question. Picking the right one is the difference between a robot that works and one that constantly misfires.
1. Active Infrared Proximity Sensors
Active IR sensors have both an emitter and a detector in the same package. The robot sends out the IR beam and measures the reflection. These are the most common modules on hobby robots and are what most people mean when they ask how IR sensors work in robots. Range is typically 2 cm to 30 cm.
2. Passive Infrared (PIR) Sensors
Passive IR sensors do not emit anything — they only detect infrared radiation naturally given off by warm objects, like a human body. In robotics, PIR sensors are used to detect people or animals entering a room, or as part of a security robot. They cannot measure distance, only motion and presence.
3. Thermal and IR Array Sensors (FLIR-style)
Thermal imaging sensors, such as the FLIR Lepton or the AMG8833 grid-EYE, build a small heat map of their field of view. Advanced robots use them to detect humans behind obstacles, find heat leaks in industrial inspections, or assist with low-light navigation. They are far more expensive than proximity sensors but offer rich spatial data.
For most line-following, obstacle-avoiding, and edge-detecting robots you will build at home or in a class, the active IR proximity sensor is the type you want.
Key Components Inside an IR Sensor Module
When you crack open a typical IR module like the FC-51 or the Sharp GP2Y0A21, you will find a small but clever set of parts. Knowing what each one does makes troubleshooting far easier.
- IR LED (emitter): produces the outgoing infrared beam, usually 850 nm or 940 nm
- Phototransistor (receiver): detects the reflected IR light and converts photons into current
- Lens: focuses the emitted and received light into tight beams to boost range
- Comparator chip (LM393): turns the analog phototransistor signal into a clean digital output
- Potentiometer: a small adjustable resistor that sets the detection threshold — turn it to change sensitivity
- Status LED: lights up when an object is detected, so you can test the module without a microcontroller
The analog version of these modules adds a raw voltage output, which is fed into the microcontroller’s ADC pin. Most modern robot controllers include 6 to 12 ADC channels, and you can learn exactly how those work in our analog-to-digital converter guide.
Applications of Infrared Sensors in Robotics
Once you understand how they work, the real question becomes: where do you actually mount them? In our team’s builds, IR sensors have shown up in almost every subsystem of a mobile robot. Here are the most common applications, with the sensor mounting details that make each one work.
Obstacle Avoidance
This is the headline use case. A typical differential-drive robot has three or four IR modules around its body — front, left-front, right-front, and sometimes rear. When any sensor reports an object within range, the controller stops or pivots away. For more on how those sensors are physically placed, see our guide to robot chassis and sensor mounting.
Line Following
Two downward-facing IR sensors under the robot look at the floor. A white surface reflects almost all the IR back, giving a high reading; a black line absorbs the light, giving a low reading. The robot then steers left or right to keep the line between the two sensors. This is the foundation of most student robotics competitions.
Edge Detection
Point an IR sensor at the floor near the front edge of a desktop robot. When the floor disappears (table edge), the reflection drops sharply and the robot stops. This is how robot vacuum cleaners protect themselves from falling down stairs.
Distance Measurement and Docking
Sharp’s GP2Y0A21 and similar time-of-flight-style IR rangers output an analog voltage proportional to distance from 10 cm to 80 cm. Robots use them to dock with charging stations, slow down when approaching a wall, or follow another robot at a constant gap.
Object Sorting and Color Sensing
Because different colors reflect IR differently, a calibrated IR sensor can sort objects by lightness. Combine IR with a color sensor and a robot arm, and you have a small parts-sorting cell.
Swarm and Inter-Robot Communication
Researchers use modulated IR signals — the same idea as a TV remote — for short-range robot-to-robot communication. Each robot broadcasts its team ID or position to nearby robots, allowing simple swarm coordination without radios.
How to Connect an IR Sensor to an Arduino or Raspberry Pi
The good news: a $1 IR module and a $25 Arduino are enough to get a working robot sense in under an hour. Here is the wiring our team uses for the FC-51 IR obstacle sensor.
Wiring to an Arduino Uno
- VCC on the module to 5V on the Arduino
- GND on the module to GND on the Arduino
- OUT on the module to digital pin 2 (or any digital input)
Then drop in this minimal sketch:
int irPin = 2;
int ledPin = 13;
void setup() {
  pinMode(irPin, INPUT);
  pinMode(ledPin, OUTPUT);
  Serial.begin(9600);
}
void loop() {
  int value = digitalRead(irPin);
  if (value == LOW) {
    digitalWrite(ledPin, HIGH);
    Serial.println("Object detected");
  } else {
    digitalWrite(ledPin, LOW);
  }
  delay(100);
}
Open the Serial Monitor and wave your hand in front of the sensor — you should see “Object detected” print when your palm is within about 10 cm.
Wiring to a Raspberry Pi
The Raspberry Pi GPIO is 3.3 V only, so always use a 3.3 V IR module or a voltage divider on the output line. Connect VCC to Pin 1 (3.3 V), GND to Pin 6, and OUT to GPIO 17 (Pin 11). Then read the pin in Python with GPIO.input(17) inside a try/except loop.
Tips From Our Build Bench
- Twist the potentiometer slowly until the status LED toggles at your desired range
- Add a 100 ms software debounce in code to avoid false triggers from fluorescent lights
- Cover the sensor with black heat-shrink tubing to narrow the beam and cut side reflections
IR Sensor vs Ultrasonic vs LIDAR: Choosing the Right Sensor
No single sensor type wins everything. Here is how IR stacks up against the two most common alternatives in hobby and research robotics.
IR vs Ultrasonic (HC-SR04)
Ultrasonic sensors use sound waves above human hearing. They work better over longer distances (2 cm to 400 cm) and are unaffected by color, but they struggle with soft, angled, or absorptive surfaces like fabric. IR sensors are faster, smaller, and cheaper, but have a shorter, narrower beam.
IR vs LIDAR
LIDAR uses pulsed laser light to build a 2D or 3D map with millimeter precision over tens of meters. It is the gold standard for autonomous vehicles, but a basic 360-degree LIDAR costs 50 to 200 times more than an IR module. For indoor mobile robots, a few well-placed IR sensors plus a low-cost 1D LIDAR is the sweet spot for cost and performance.
Rule of Thumb
Use IR for short-range obstacle detection and line following under 30 cm. Use ultrasonic for medium-range distance and soft-surface detection. Reach for LIDAR when you need a real map of the environment.
Troubleshooting Common IR Sensor Problems in Robots
Even with the right wiring, IR sensors can act up. These are the four issues we hit most often in the workshop, and the quick fixes that solve them.
1. The Sensor Always Reads “Object Detected”
This usually means the potentiometer is cranked too high. Turn it counter-clockwise slowly until the status LED goes off, then a small extra turn. Also check for bright sunlight or halogen lamps hitting the phototransistor directly.
2. The Sensor Never Detects Anything
Confirm the IR LED is actually firing by looking at it through a smartphone camera (the camera can see near-IR, your eyes cannot). If the LED looks dim or dead, replace the module — IR LEDs burn out after thousands of hours.
3. Range Is Way Shorter Than the Datasheet Says
Most cheap IR modules are rated for 30 cm in lab conditions. In real rooms, expect 10 cm to 20 cm. Black, shiny, or angled objects cut range dramatically. Switch to a Sharp GP2Y0A21 for reliable 80 cm analog ranging.
4. Spurious Triggers From Other Robots
If you have multiple robots in the same room, they can trigger each other’s IR sensors. Modulate your IR LED at a unique frequency (say, 38 kHz on, 40 kHz on a different robot) and add a matching bandpass filter on the receiver to ignore stray beams.
Frequently Asked Questions
How do infrared sensors work?
Infrared sensors work by emitting infrared light from an LED and then measuring how much of that light is reflected back to a phototransistor or photodiode. The intensity of the reflected light tells the robot how close an object is, or whether an object is present at all.
How far can an IR sensor detect?
A typical low-cost active IR proximity sensor detects objects from about 2 cm to 30 cm. Higher-end analog IR rangers like the Sharp GP2Y0A21 reach 80 cm, and modulated 38 kHz receivers can pick up signals at 1 m or more in line-of-sight conditions.
How are sensors used in robotics?
Sensors in robotics are used to perceive the environment, including detecting obstacles, measuring distance, following lines, recognizing objects, and tracking motion. Infrared sensors specifically handle short-range proximity, line following, and edge detection, often working alongside ultrasonic, LIDAR, and cameras for full situational awareness.
What are the three main types of infrared sensors?
The three main types of infrared sensors used in robotics are active infrared proximity sensors, which emit and detect reflected IR; passive infrared (PIR) sensors, which only detect heat from living beings and warm objects; and thermal or IR array sensors, which create a heat map of their field of view for advanced imaging applications.
Final Thoughts on IR Sensors in Robotic Systems
Infrared sensors are not the fanciest tool in a robot builder’s kit, but they are the first line of perception on most successful mobile robots. They are cheap, fast, and forgiving enough for beginners, yet precise enough for serious research platforms. Understanding how do infrared sensors work in robots — from the LED emission to the phototransistor return to the microcontroller decision — gives you a foundation you can apply to any sensing challenge, from a $20 line-follower to a $20,000 autonomous platform.
Start with one FC-51 module, an Arduino, and the wiring above. Once you can read an obstacle reliably, add a second sensor, then a third, and watch your robot start to behave like it can actually see.