
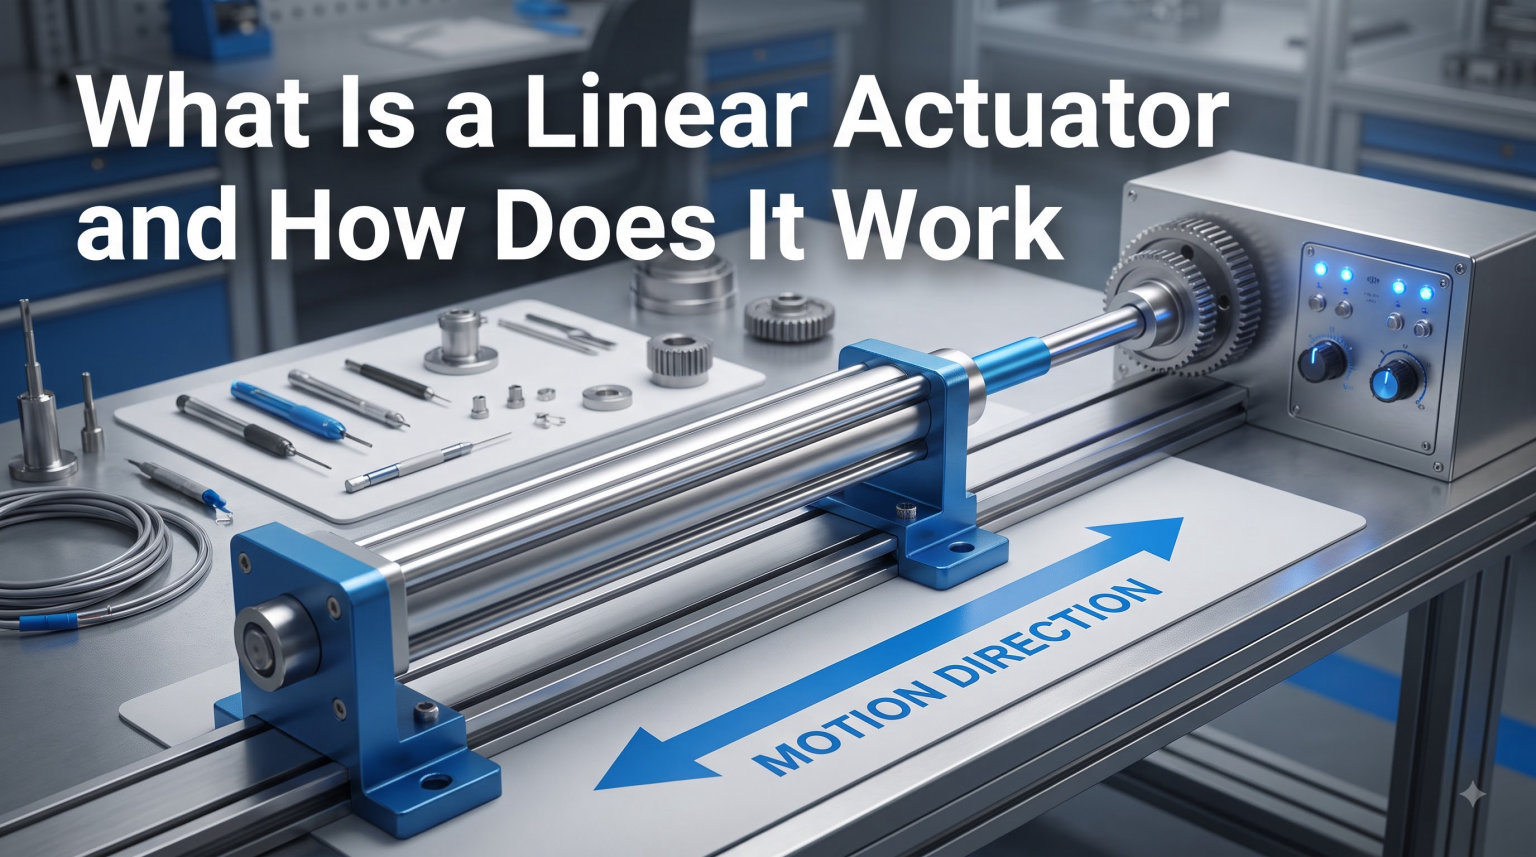
A linear actuator is a mechanical device that converts rotational motion from a motor into straight-line push or pull movement. In simple terms, it spins something inside so that something else on the outside moves in a straight line, and that one trick is the reason factories, robot arms, hospital beds, and even DIY camera sliders all work.
I have been around actuators long enough to know that the topic confuses people at first because every vendor page seems to use a different word for the same thing. By the end of this guide, you will understand exactly what a linear actuator does, how the internal mechanism creates motion, the main types you will run into, and how to pick the right one for your project. We will also cover the questions that come up most often in robotics forums and from first-time buyers.
Table of Contents
What Is a Linear Actuator?
A linear actuator is any device that produces motion along a straight line, as opposed to the circular motion of a standard electric motor. Most actuators used in robotics and automation are electromechanical, meaning an electric motor drives a screw or gear system that pushes a rod in and out.
Why the Name “Linear” Matters
Regular electric motors spin in a circle. That is great for fans and wheels, but useless when you need to lift a hatch, open a valve, or push a robot arm forward. A linear actuator is the bridge between a spinning motor and a job that requires straight-line force. Instead of telling the motor to spin, you are telling the machine to move 4 inches forward at 10 mm per second with 200 newtons of force.
The output of a linear actuator is measured in three numbers: how far it travels (stroke), how fast it travels (speed), and how hard it can push (force). Everything you buy, every spec sheet, and every application boils down to those three values.
Linear Actuators in Plain English
Think of a car jack. You turn a handle, a screw spins, and the saddle rises straight up. A linear actuator is the powered, automated version of that same idea, often running on 12V or 24V DC, controlled with a switch, a relay, or an Arduino. If you can describe your project as “I need something to push or pull a thing in a straight line”, you are describing a job for a linear actuator.
How Does a Linear Actuator Work?
An electric linear actuator works by spinning a motor that turns a lead screw, which moves a nut attached to the output rod. The rotation of the screw is converted into the linear motion of the rod, and limit switches at each end stop the motor when full extension or retraction is reached.
The Motor-to-Motion Conversion Process
The full sequence takes about one second in a real unit, but it is worth breaking down step by step:
- The DC or stepper motor receives power and begins rotating.
- The motor’s high-speed, low-torque rotation goes through a gearbox that reduces speed and multiplies torque.
- The gearbox output drives a lead screw or ball screw.
- A nut threaded onto the screw is prevented from spinning, so it slides along the screw’s length as the screw rotates.
- The nut is mechanically connected to the output rod, which extends or retracts from the actuator housing.
- Internal limit switches cut power when the rod reaches the end of its travel.
The result is a controlled, repeatable push or pull of a load, with positioning accuracy that depends on the screw pitch and motor type. A stepper-driven ball screw actuator can hit sub-millimeter precision; a simple DC motor with a lead screw is more like plus or minus a millimeter.
Key Components Inside an Electric Actuator
Five parts do the heavy lifting in nearly every electric linear actuator you will open up:
- DC motor or stepper motor: The energy source. Brushed DC motors dominate the low-cost hobbyist market. Stepper and brushless DC motors show up in precision applications.
- Gearbox: Most commonly a planetary or spur gear reduction. This is what lets a tiny motor output hundreds of pounds of force.
- Lead screw or ball screw: The mechanism that converts rotation to linear motion. Lead screws use sliding friction (cheaper, slower wear). Ball screws use recirculating ball bearings (faster, more efficient, longer life).
- Stroke rod and housing: The outer tube and the sliding rod you actually attach things to.
- Limit switches: Mechanical or electronic switches that stop the motor at full extension and full retraction. Without them the motor would burn itself out trying to push past the end.
Main Types of Linear Actuators Explained
There are four broad families of linear actuators, each suited to different jobs. Electric units are by far the most common, but hydraulic and pneumatic designs are still dominant in heavy industry.
Electric Linear Actuators
Electric linear actuators are the workhorses of the hobbyist and light-industrial world. They run on 12V or 24V DC, are easy to control with a relay or microcontroller, and require almost no maintenance. The 12V versions sold for TV lifts, hidden compartments, and robotics projects typically produce 150 to 2,000 newtons of force with strokes from 50 mm up to 600 mm. Our team has used dozens of these in motion-simulator builds, and the install is usually two mounting brackets and four wires.
Hydraulic Linear Actuators
Hydraulic linear actuators (often called hydraulic cylinders) use an incompressible fluid to move a piston inside a sealed tube. Because liquids can be pressurized to enormous levels, hydraulic systems deliver the highest force densities of any actuator type. You will find them on construction equipment, car jacks, and CNC press brakes. The tradeoffs are a separate pump, hoses, valves, and the risk of leaks.
Pneumatic Linear Actuators
Pneumatic linear actuators run on compressed air. They are fast, clean, and simple, which is why they dominate food and packaging lines. The downside is that air is compressible, so precise positioning is harder. Most pneumatic cylinders are binary: fully extended or fully retracted, controlled by a solenoid valve.
Mechanical and Piezoelectric Actuators
Mechanical actuators include lead screws, rack-and-pinion systems, and cam drives that you turn by hand or with a separate motor. Piezoelectric actuators are at the opposite extreme. They use crystals that change shape when voltage is applied, producing nanometer-scale motion for microscope stages, hard-drive heads, and optical equipment. Neither shows up in a hobbyist workshop very often, but both are real linear actuator categories worth knowing.
Linear Actuator Comparison: Electric vs Hydraulic vs Pneumatic
The three main types stack up very differently depending on what you need. Here is the comparison that most vendor pages skip but every project decision depends on.
How the Three Types Stack Up
Electric actuators offer the best precision and cleanest installation, but they lose on raw force and absolute speed. Hydraulic actuators are unbeatable for heavy lifting but require pumps, reservoirs, and leak management. Pneumatic actuators split the difference: fast, clean, and affordable, but not great for precise positioning. Choose electric when you need control, hydraulic when you need force, and pneumatic when you need clean, fast, repetitive motion.
Key Specifications: Force, Speed, and Stroke
Every linear actuator spec sheet is built from the same three numbers. Understanding how they trade against each other is the difference between a project that works and one that stalls on day one.
Force (Load Capacity)
Force is measured in newtons (N) or pounds-force (lbf). A typical 12V hobbyist actuator is rated somewhere between 150 N (about 34 lbf) and 2,000 N (about 450 lbf). Industrial electric units can hit 10,000 N or more. The trick: published force ratings are usually at maximum load and minimum speed. The faster the actuator moves, the less force it can deliver.
Speed
Speed is given in millimeters per second or inches per second. A 100 mm/s actuator covers 4 inches in one second. Speeds range from under 5 mm/s for high-force industrial units up to 500 mm/s or more for low-load pneumatic cylinders. Two of the same actuator model with different gear ratios will give you a “fast” version and a “strong” version.
Stroke Length
Stroke is the maximum distance the rod can travel. 50 mm, 100 mm, 200 mm, and 300 mm are the most common sizes. Custom strokes are available but cost more. Always spec a stroke longer than you think you need, because you cannot extend an actuator past its rated stroke without modifying the housing.
Duty Cycle
Duty cycle is the percentage of time the actuator can run without overheating. A 20% duty cycle means 2 minutes on, 8 minutes off. Cheap hobbyist actuators often run at 10 to 20% duty cycle. Industrial units can run at 50 to 100%. If your application involves constant back-and-forth motion, duty cycle matters more than raw force.
Common Applications and Real-World Examples
Linear actuators show up in more places than most people realize. Walking through a few concrete examples makes the spec list easier to remember.
Industrial Automation and Manufacturing
Assembly lines use linear actuators to push parts into position, clamp workpieces, and actuate valves. CNC machines use ball screw actuators on every axis to position the cutting tool with micrometer accuracy. Packaging lines run pneumatic cylinders to push finished products into boxes at 200 cycles per minute.
Robotics and Motion Simulation
Robot arms frequently use linear actuators as joint drives instead of rotary servos when the design calls for prismatic (sliding) joints. Motion simulators use three or six heavy-duty electric actuators to tilt a cockpit in sync with a racing game, which is honestly the most fun use case I have personally wired up.
Home Automation and DIY Projects
Hidden TV lifts, pop-up bar tops, and automated chicken coop doors all run on 12V linear actuators. The maker community has built RV murphy beds, automated standing desks, and camera sliders with off-the-shelf actuators and an Arduino. These projects usually pair a 100 to 300 mm stroke with 200 to 500 N of force.
Medical, Automotive, and Agricultural Uses
Hospital beds use four quiet actuators to adjust head, foot, and height. Car hoods and tailgates increasingly use electric actuators instead of struts. Tractors, combines, and seeders rely on hydraulic cylinders for steering, raising implements, and controlling attachments.
How to Choose the Right Linear Actuator
Choosing an actuator comes down to four numbers in this order: force, stroke, speed, and voltage. Get those right and the rest is brackets and connectors.
Step 1: Calculate Your Force Requirement
Estimate the load, then add a 25 to 50% safety margin. If you are lifting a 20 kg hatch, the force needed at a 90-degree angle is roughly 200 N, so spec at least 250 N. Side loads and off-center mounting multiply the effective force dramatically, so favor the higher end of the safety range if your geometry is not perfect.
Step 2: Determine Stroke Length
Measure the full travel path with a ruler, then add 10 to 20 mm of clearance at each end. Buying a slightly longer stroke than you need is much cheaper than buying a custom-length actuator later.
Step 3: Pick the Right Speed
Faster actuators are louder, lower in force, and more expensive. A camera slider needs maybe 30 mm/s. An industrial valve needs 200 mm/s. Match the speed to the application, and remember that published speed is the no-load number; loaded speed will be 20 to 40% slower.
Step 4: Match Voltage and Control
Most hobbyist actuators run on 12V DC. Industrial models use 24V, 48V, or even AC mains. Make sure your power supply can deliver the current the actuator draws under load, and decide whether you need simple on/off control, position feedback, or a fully programmable stepper-driven unit.
Frequently Asked Questions
What are the disadvantages of linear actuators?
Linear actuators are usually larger, heavier, and more expensive than a rotary motor with a separate mechanism for the same job. Electric actuators can be slow under heavy load, hydraulic systems risk fluid leaks, and pneumatic systems need a compressor. Most consumer-grade units also have a limited duty cycle and lower efficiency than direct-drive systems.
Can you give me an example of a linear actuator?
A hospital bed is a great everyday example. Four small electric actuators adjust the head, foot, and height of the bed at the push of a button. Other common examples include the 12V actuator that lifts a pop-up TV cabinet, the hydraulic cylinder on a tractor loader, and the pneumatic cylinder that pushes bottles into a packaging line.
How much does a linear actuator cost?
A basic 12V hobbyist linear actuator with 100 mm of stroke and 150 to 500 N of force typically costs between twenty and eighty US dollars. Industrial electric units with feedback and higher force ratings run from one hundred to several hundred dollars. Hydraulic and pneumatic cylinders vary widely based on bore size, pressure rating, and mounting hardware.
What is the lifespan of a linear actuator?
A quality electric linear actuator is usually rated for 50,000 to 100,000 full cycles under rated load, which works out to years of normal use. Ball screw designs last longer than lead screw designs because of lower friction. Duty cycle, load, environment (dust, moisture, temperature), and maintenance all affect real-world lifespan significantly.
Conclusion
A linear actuator is simply a powered way to produce straight-line motion, and the concept is one of the most useful tools in robotics, automation, and DIY projects. Once you understand the three core specs (force, speed, and stroke) and the tradeoffs between electric, hydraulic, and pneumatic designs, picking the right linear actuator for any job becomes a quick calculation instead of a guess.
Start by writing down the force and stroke you need, add a safety margin, and choose the actuator type that matches your power and control setup. Whether you are building a 6-DOF motion simulator, a hidden TV lift, or a hospital bed, the same decision framework applies. If you want to go deeper, the robotics communities on Reddit and the FRC forums are full of people sharing real builds with the exact actuators they used, and that is often the fastest way to confirm a part number before you order.