
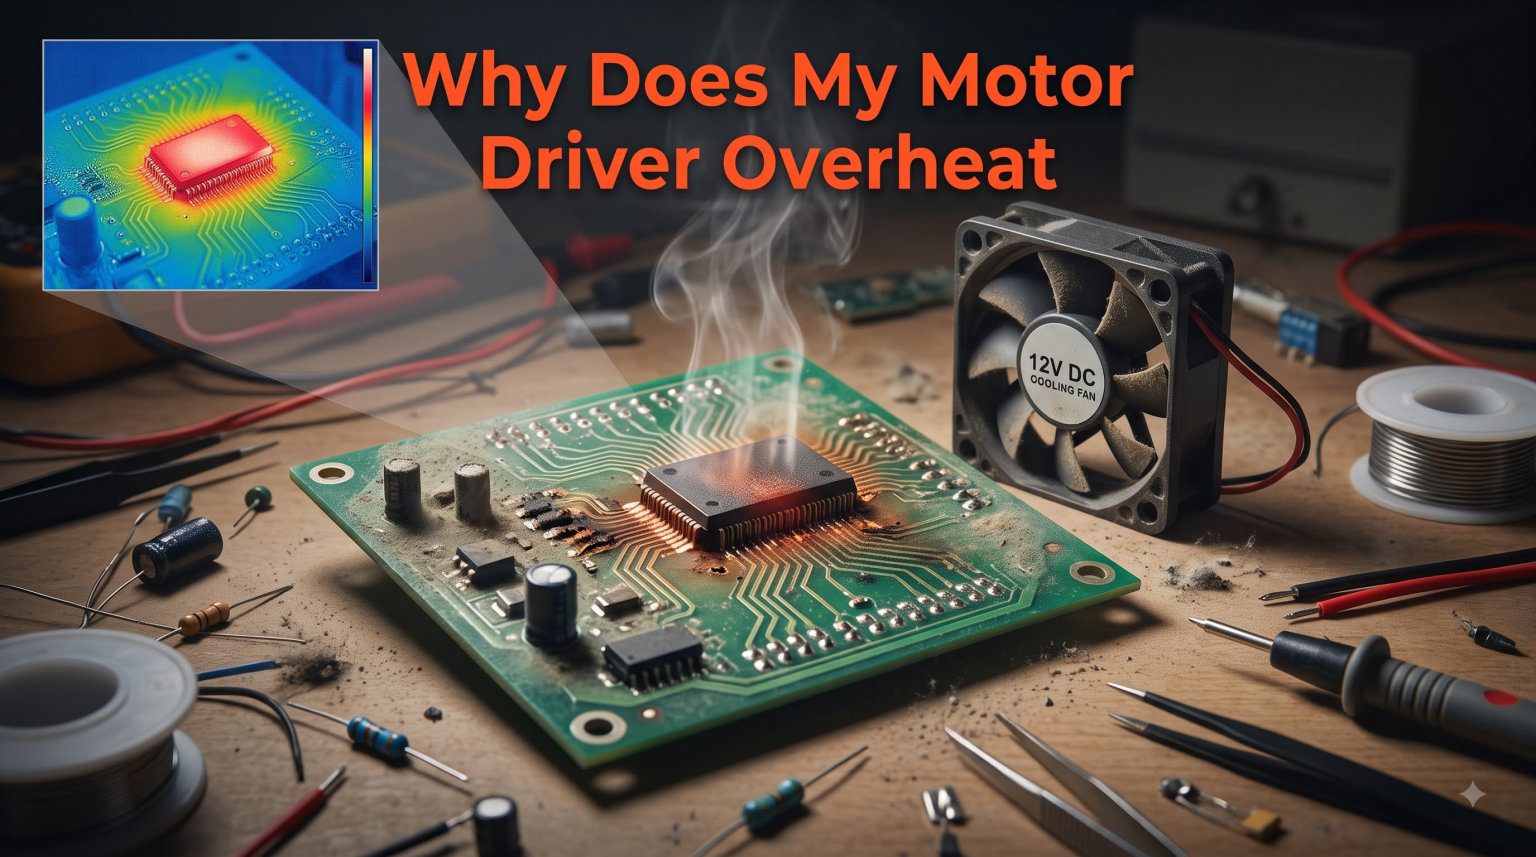
Motor driver overheating happens when the driver IC generates more heat than it can shed. The most common causes are current exceeding the driver’s rating, supply voltage that is too high for the load, poor ventilation, incorrect PWM settings, or simply using the wrong driver for your motor. I have burned through enough L298N modules and A4988 stepper drivers to know that most overheating problems trace back to a handful of fixable mistakes.
In this guide, I will break down exactly why your motor driver gets hot, what temperatures are safe versus dangerous, and how to fix the problem step by step. Whether you are running an Arduino robot, a 3D printer, or a CNC machine, the physics behind motor driver overheating is the same. By the end, you will know how to diagnose, fix, and prevent this issue for good.
Table of Contents
Why Does My Motor Driver Overheat: The Physics of Heat Generation
Your motor driver overheats because every time it switches current to the motor, some electrical energy converts to heat. This is not a defect. It is a fundamental property of how drivers work. The question is whether that heat stays within safe limits or builds up until something fails.
Two types of power loss create the heat inside your driver IC. Understanding both helps you pinpoint the real problem.
Conduction Losses (I Squared R)
Conduction losses are the biggest heat source in most motor drivers. Every transistor inside the IC has some internal resistance. When current flows through that resistance, it generates heat according to the formula P = I squared times R. This means doubling the current quadruples the heat.
The specific resistance value depends on the driver technology. MOSFET-based drivers like the TB6612FNG and DRV8825 use a parameter called R_DS(on), which is the resistance between drain and source when the transistor is on. Modern MOSFET drivers have R_DS(on) values in the tens of milliohms. That low resistance means they stay relatively cool.
The older L298N uses bipolar junction transistors instead of MOSFETs. Bipolar transistors have a fixed voltage drop called V_CE(sat), typically 1.4 to 1.8 volts per transistor at full load. Since the L298N uses two transistors in an H-bridge for each motor, you can lose 3 to 4 volts across the driver itself. Multiply that voltage drop by your motor current and you get the wasted power in watts. A 2-amp motor on an L298N can waste 6 to 8 watts as pure heat. That is why the L298N gets notoriously hot even at modest currents.
Switching Losses
Switching losses happen during the brief moments when transistors turn on and off. Each transition has a small window where both voltage and current are present simultaneously. The faster your PWM frequency, the more switching events occur per second, and the more heat builds up.
At typical hobbyist PWM frequencies of 20 to 25 kHz, switching losses are moderate. Push the frequency higher than necessary and you add heat without gaining anything useful. Most motor drivers are designed for the 20 to 30 kHz range, which keeps switching losses manageable while staying above the audible range.
Junction Temperature: The Number That Matters
The temperature inside the silicon chip is called the junction temperature. Every driver IC has a maximum rated junction temperature, usually 150 degrees Celsius. The path from the silicon to the outside world has thermal resistance, measured in degrees per watt. Without a heatsink, a driver in a small package might have 40 to 60 degrees per watt of thermal resistance. That means dissipating just 2 watts can raise the junction temperature by 80 to 120 degrees above ambient.
This is why a heatsink matters so much. It reduces thermal resistance, letting the same amount of heat escape with a smaller temperature rise. Add active cooling like a small fan and you drop the resistance even further.
Warning Signs Your Motor Driver Is Overheating
Motor drivers do not fail silently. They give you several warnings before thermal shutdown kicks in. I have learned to watch for these signs after wrecking a few boards myself.
Here is what to look for:
Too hot to touch: If you cannot hold your finger on the IC for more than two seconds, the case is above 60 degrees Celsius and the junction is likely above 100 degrees.
Thermal shutdown: The motor stops or stutters intermittently, then works again after cooling. Most modern drivers shut down at 150 to 165 degrees to protect themselves.
Missed steps on stepper motors: Overheating causes the driver to lose torque, leading to skipped steps and ruined 3D prints or CNC cuts.
High-pitched whining or squealing: This often means the current limiting is set too high, causing the driver to work harder than it should.
Burning smell or discoloration: If you smell burning plastic or see brown marks on the PCB, the driver is already damaged. Shut everything down immediately.
Motor running fine on USB but overheating on barrel jack power: This happens because USB provides 5V with limited current, while the barrel jack delivers the full supply voltage. The higher voltage across the L298N transistors means more power dissipated as heat.
One important distinction: some warmth is normal. Stepper motor drivers are designed to run warm during operation. The concern is when the temperature keeps climbing or reaches the shutdown threshold. Knowing the difference between normal warmth and dangerous heat is key.
7 Root Causes of Motor Driver Overheating
After years of building robots and answering questions on forums, I see the same root causes repeat themselves. Let me walk through each one with specific numbers so you can diagnose your situation.
Cause 1: Motor Current Exceeds the Driver Rating
This is the number one cause of motor driver overheating. Every driver has a maximum continuous current rating. The L298N is rated for 2 amps per channel. The A4988 handles about 1 amp without a heatsink and 2 amps with one. The DRV8825 manages 1.5 amps without cooling and 2.2 amps with a heatsink. The TB6612FNG is rated for 1.2 amps continuous and 3.2 amps peak.
If your motor draws more current than the driver can handle, the excess energy turns into heat. A NEMA 17 stepper motor rated at 1.5 amps per phase will push an A4988 without a heatsink to its limit. Add a second motor or run at higher speeds and the driver cooks itself.
The fix is simple: check your motor’s rated current against your driver’s maximum, and add a safety margin of at least 25 percent.
Cause 2: Stall Current Spikes
Stall current is the current a motor draws when the shaft cannot rotate. This happens at startup, when the motor is mechanically blocked, or under sudden heavy loads. Stall current is typically 5 to 10 times the rated running current.
A DC motor rated at 0.5 amps running might pull 3 to 5 amps at stall. If your driver is rated for 1 amp, that stall spike dumps enormous heat into the IC for the brief moment it lasts. Repeated stalls, like a robot wheel hitting a wall, will overheat the driver quickly.
I have seen this destroy L293D motor shields in seconds when a robot got stuck against an obstacle. The stall current exceeded the 600 milliamp rating and the IC went into thermal shutdown or failed outright.
Cause 3: Supply Voltage Too High
Higher supply voltage means more power dissipated in the driver. This is especially true for the L298N because of its bipolar transistor voltage drop. With a 12V supply and a motor that only needs 6V, the L298N drops the excess 6V across its internal transistors. At 1 amp of current, that is 6 watts of wasted heat per channel.
For MOSFET-based drivers like the A4988 and DRV8825 used with stepper motors, higher supply voltage actually helps in some ways because it allows faster current buildup in the coils. But there is a limit. The DRV8825 has a maximum supply voltage of 45V, while the A4988 tops out at 35V. Exceeding these ratings causes overheating and eventual failure.
Match your supply voltage to your motor’s rated voltage. For DC motors, keep the supply voltage close to the motor’s rated voltage. For steppers, follow the driver datasheet recommendations.
Cause 4: Poor Ventilation and No Heatsink
Heat needs somewhere to go. A bare driver IC on a breadboard with no airflow has poor thermal dissipation. The heat builds up in the silicon until the junction temperature hits the shutdown threshold.
I tested this directly with an A4988 driving a NEMA 17 stepper at 1 amp. Without a heatsink, the driver reached thermal shutdown in about 90 seconds. With a small stick-on aluminum heatsink and a 40mm fan, the same setup ran continuously for hours without issue.
Enclosed project boxes are especially problematic. Without ventilation holes or active cooling, trapped air insulates the driver and temperatures climb steadily.
Cause 5: PWM Frequency Set Too High
PWM frequency affects switching losses. Running your driver at 32 kHz when 20 kHz would work fine adds unnecessary switching events and heat. Some Arduino motor control libraries default to high PWM frequencies without warning you about the thermal cost.
The L298N is particularly sensitive here because its older bipolar transistors are slow to switch. At high PWM frequencies, the transistors spend more time in the linear region where they dissipate maximum heat. Keep the L298N at 20 to 25 kHz or lower for best results.
Cause 6: Wrong Driver for the Motor Type
Using a brushed DC motor driver for a stepper or vice versa causes problems. The L298N can technically drive a stepper motor, but it is not designed for it. Stepper drivers like the A4988 and DRV8825 use current chopping, which regulates current far more efficiently than the L298N’s simple on-off control.
I regularly see people try to drive NEMA 17 steppers with L298N modules because they are cheap and widely available. The L298N works but wastes enormous power as heat. A dedicated stepper driver runs cooler and delivers better performance.
For brushed DC motors, the TB6612FNG is a far better choice than the L298N. It uses MOSFET outputs with much lower R_DS(on), meaning less heat for the same current.
Cause 7: Incorrect Wiring and Grounding
Bad wiring causes overheating in subtle ways. Loose connections add resistance, which generates heat at the connection point. Shared ground paths with high current can cause voltage drops that confuse the driver’s logic, leading to incorrect switching and extra heat.
One common mistake is running motor current through thin jumper wires. A 26 AWG jumper wire has enough resistance to drop voltage and add heat at high currents. Use thicker wires for motor power and ground paths.
Another issue I see frequently: powering the motor and the logic from the same supply without proper decoupling capacitors. Motor noise feeds back into the driver logic, causing erratic switching that wastes power as heat.
How to Fix Motor Driver Overheating
Now that you know the causes, here are the fixes. I will walk through each solution with specific steps you can follow today.
Fix 1: Reduce Motor Current with Vref Adjustment
If you are using a stepper driver like the A4988 or DRV8825, you can limit the motor current using the Vref potentiometer on the board. This is the single most effective fix for stepper driver overheating.
Here is how to calculate the correct Vref value:
For the A4988, the formula is: Vref = Imax times 8 times Rsense. Most A4988 boards use a sense resistor (Rsense) of 0.1 ohms. So Vref = Imax times 0.8. If your stepper motor is rated for 1 amp per phase, set Vref to 0.8 volts. Measure this with a multimeter between the potentiometer wiper and ground while the driver is powered but not stepping.
For the DRV8825, the formula is: Vref = Imax divided by 2. For a 1.5 amp motor, set Vref to 0.75 volts. The DRV8825 uses a different current sensing circuit than the A4988, so the math is simpler.
A practical tip: set the current to 70 to 80 percent of the motor’s rated current. This gives you a safety margin and significantly reduces heat. Most stepper motors produce plenty of torque at reduced current for typical applications.
Fix 2: Add a Heatsink and Active Cooling
A heatsink is mandatory for any driver running above 60 percent of its rated current. Small adhesive heatsinks cost almost nothing and dramatically reduce junction temperature. I always keep a pack of 10mm by 10mm aluminum heatsinks in my parts bin.
For maximum cooling, add thermal paste between the heatsink and the IC. A thin layer is all you need. Too much paste actually insulates rather than conducts. Some people prefer thermal adhesive pads, which are easier to apply but slightly less effective than paste.
Add a small 40mm fan blowing across the driver board for even better cooling. In my testing, a heatsink plus fan reduced A4988 temperature by 40 percent compared to a bare chip. For enclosed projects, cut ventilation slots in the case and position the fan to push air across the drivers.
Fix 3: Match Supply Voltage to Your Motor
For brushed DC motors, use a supply voltage close to the motor’s rated voltage. If your motor is rated for 6V, do not run it from a 12V supply through an L298N. The excess voltage becomes heat in the driver.
For stepper motors, the supply voltage can be higher than the motor’s rated voltage because the current chopping circuit regulates current independently. A 3V rated stepper can run from a 12V or 24V supply through an A4988 or DRV8825. Just stay within the driver’s maximum voltage rating.
If you must use a high supply voltage with a brushed DC motor, consider using PWM speed control to effectively reduce the average voltage the motor sees. This helps, but the L298N will still waste power due to its transistor voltage drop.
Fix 4: Set the Right PWM Frequency
Keep your PWM frequency in the sweet spot for your driver. For the L298N, use 20 kHz or lower. Higher frequencies increase switching losses without improving motor performance. For MOSFET-based drivers like the TB6612FNG, frequencies up to 30 kHz are fine.
In Arduino code, you can change the PWM frequency by modifying timer prescalers. The default Arduino PWM frequency is about 490 Hz or 980 Hz depending on the pin, which is actually fine for many DC motor applications. Only increase it if you hear audible motor whine at the default frequency.
Fix 5: Upgrade to a More Efficient Driver IC
Sometimes the best fix is replacing the driver entirely. The L298N is a 30-year-old design with terrible efficiency. Modern alternatives deliver the same or better performance with a fraction of the heat.
Here is how common drivers compare for thermal performance:
L298N: Bipolar transistors, 1.4V+ voltage drop per transistor, 2A per channel. Very hot at rated current. Cheap but inefficient.
L293D: Similar bipolar design, 600mA per channel. Overheats easily with larger motors. Suitable only for small hobby motors.
TB6612FNG: MOSFET outputs, low voltage drop, 1.2A continuous per channel. Runs much cooler than L298N at equivalent current. My go-to for brushed DC motors.
A4988: Stepper driver with current chopping, 1A without heatsink, 2A with heatsink. Needs Vref adjustment for best thermal performance.
DRV8825: Stepper driver, 1.5A without heatsink, 2.2A with heatsink. Higher current capability than A4988 but needs careful Vref tuning.
TMC2209: Modern silent stepper driver with extremely low R_DS(on). Runs cool and quiet. Worth the extra cost for 3D printers and CNC machines.
If you are still using an L298N for a project that runs for more than a few minutes, switching to a TB6612FNG will solve most overheating problems instantly. The efficiency difference is that large.
Temperature Guide: When Is Hot Too Hot?
One of the most common questions I get is whether a warm driver is normal. Here is a practical guide to temperature ranges and what they mean.
Warm (35 to 50 Degrees Celsius)
This is completely normal. The driver is working within its design parameters. You can comfortably hold your finger on the IC indefinitely. No action needed.
Hot (50 to 70 Degrees Celsius)
You can touch the IC but need to pull away after a few seconds. This is acceptable for short-duration operation but suggests you are approaching the driver’s thermal limits. Consider adding a heatsink as a precaution. Most stepper drivers in 3D printers operate in this range during long prints.
Very Hot (70 to 90 Degrees Celsius)
You cannot touch the IC for more than a second. This is a warning zone. The junction temperature is likely above 110 degrees. You need a heatsink and possibly active cooling. If temperatures stay in this range, reduce the current or upgrade the driver.
Dangerous (90 Degrees Celsius and Above)
At this point, the junction temperature is approaching or exceeding 130 degrees. Thermal shutdown is imminent at 150 degrees. Permanent damage is possible. Shut down the circuit and fix the root cause before continuing.
To measure temperature accurately, use an infrared thermometer aimed at the IC package. For more precision, a thermocouple taped to the chip with a small piece of Kapton tape gives reliable readings. Avoid relying on touch alone, as individual pain tolerance varies.
How to Prevent Motor Driver Overheating
Prevention is always easier than troubleshooting. Here is a checklist I follow for every new motor project:
Check the motor’s rated current and stall current before selecting a driver.
Choose a driver rated for at least 1.5 times the motor’s running current.
Set the Vref on stepper drivers to 70 to 80 percent of rated motor current.
Attach a heatsink to any driver running above 60 percent of its rated current.
Add a small fan for enclosed projects or long-duration operation.
Match supply voltage to the motor’s rated voltage for brushed DC motors.
Keep PWM frequency at 20 to 25 kHz for efficient switching.
Use thick wires for motor power connections to minimize voltage drop.
Add decoupling capacitors near the driver’s power input to reduce noise.
Provide ventilation in project enclosures to allow heat to escape.
Following these steps from the start saves you from fried drivers and wasted time. I learned most of these the hard way, and now every motor project I build starts with this checklist.
FAQs
How to fix motor overheat?
To fix motor driver overheating, first reduce the motor current using the Vref potentiometer on stepper drivers. Second, attach a heatsink to the driver IC. Third, match your supply voltage to the motor’s rating. Fourth, provide adequate ventilation or add a fan. If the driver still overheats, upgrade to a more efficient MOSFET-based driver like the TB6612FNG or TMC2209.
Is it normal for a motor driver to get hot?
Yes, it is normal for motor drivers to feel warm during operation. Temperatures between 35 and 50 degrees Celsius are typical and safe. However, if the driver becomes too hot to touch, enters thermal shutdown, or emits a burning smell, that indicates a problem that needs immediate attention. Stepper drivers in 3D printers commonly run at 50 to 60 degrees during long prints.
How to tell if a stepper driver is bad?
Signs of a failed stepper driver include the motor not moving at all, vibrating in place without rotating, moving in only one direction, or making loud clicking sounds. A completely dead driver may show no LED activity. You can test a driver by swapping it with a known working one on the same axis. If the problem follows the driver, it needs replacement. Overheating damage often causes intermittent failures before total failure.
How to prevent a motor from overheating?
Prevent motor and driver overheating by choosing a driver rated for at least 1.5 times the motor’s running current, setting Vref to 70 to 80 percent of rated current on stepper drivers, adding a heatsink and fan, matching supply voltage to motor rating, and providing ventilation in enclosures. Avoid mechanical stalls that cause current spikes, and use current limiting features built into modern driver ICs.
Why does my L298N overheat even at low current?
The L298N overheats easily because it uses bipolar transistors with a fixed voltage drop of about 1.4 volts per transistor. Even at low motor current, the voltage drop wastes significant power as heat. At 1 amp, that is roughly 2.8 watts per channel wasted. The L298N also has no built-in current limiting, so any current spike goes straight to the transistors. Upgrading to a MOSFET-based driver like the TB6612FNG eliminates this problem.
Conclusion
Motor driver overheating is one of the most common problems in electronics projects, but it is also one of the most fixable. The root cause almost always comes down to too much current, too much voltage, not enough cooling, or using a driver that was never designed for your motor.
Start by checking your motor’s rated current against your driver’s limits. Set the Vref correctly on stepper drivers, add a heatsink, match your supply voltage, and provide good airflow. These five steps solve the vast majority of overheating issues I encounter.
If you are still running an L298N for anything more than a quick prototype, upgrading to a modern MOSFET-based driver will transform your project. The TB6612FNG for DC motors and TMC2209 for steppers run cooler, quieter, and more efficiently than any bipolar driver from the 1990s. Why does my motor driver overheat? Because the physics demands it. But now you know exactly how to keep that heat under control.