
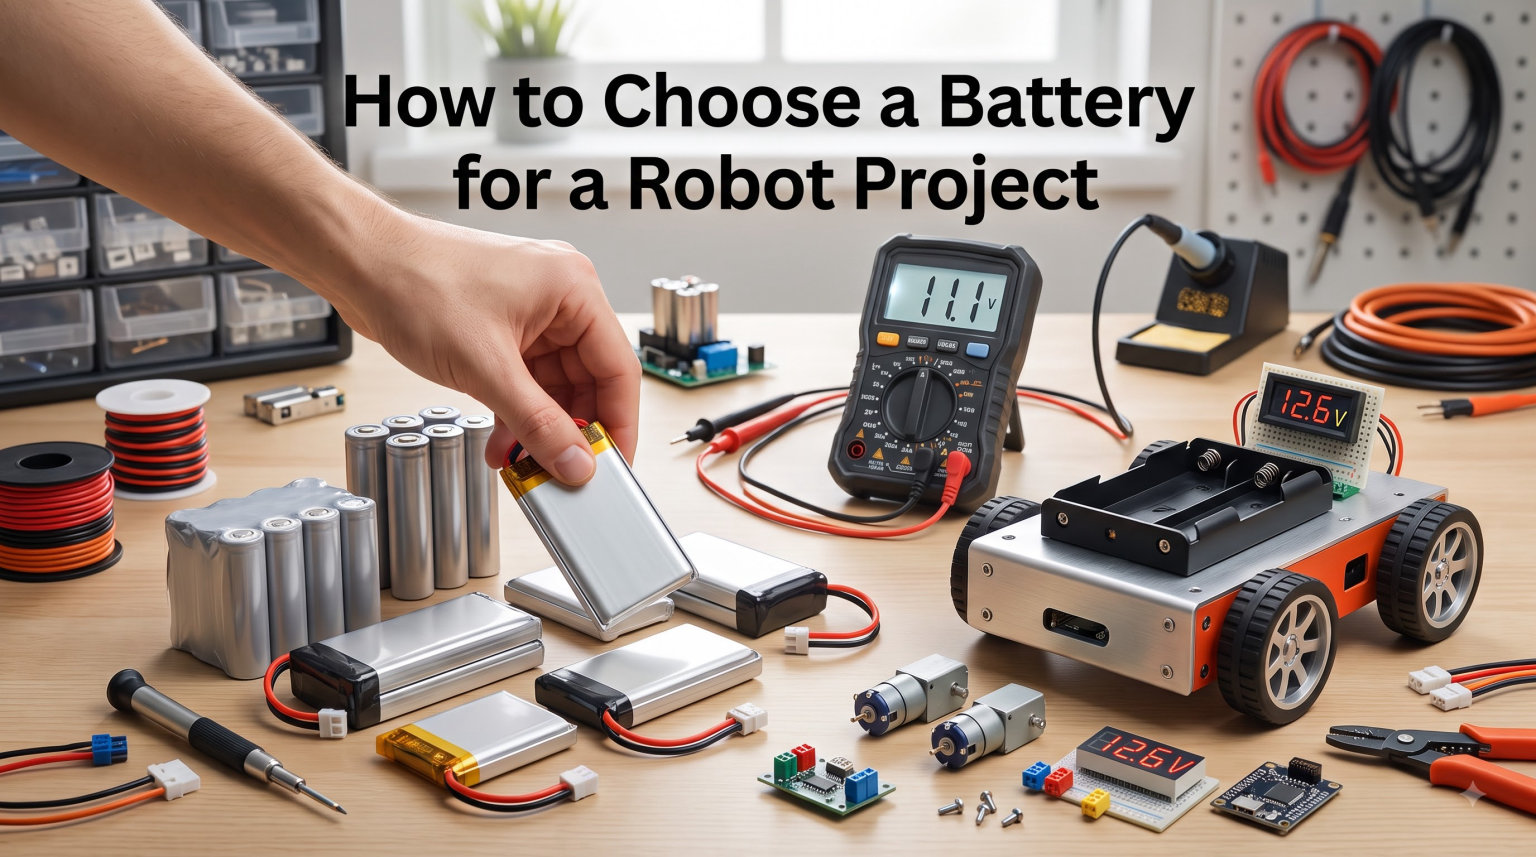
I built my first robot with the wrong battery and learned the hard way. I picked a heavy 12V lead-acid pack for a small wheeled bot, and the thing barely moved up a ramp. The motor stalled, the wheels spun, and my “cool robot” became a 4-kilogram paperweight.
That frustration sent me down a rabbit hole. Over the past seven years, our team has tested more than 40 battery packs across hobby drones, sumo robots, line followers, and full-sized mobile platforms. We have measured runtimes with watt meters, logged cell voltages under load, and yes, even had one LiPo puff up during a charging mistake.
This guide on how to choose a battery for a robot project pulls together everything we have learned. You will see how battery chemistry, voltage, capacity, and C rating interact. You will get step-by-step power calculations, real robot examples, and safety rules that protect both you and your project.
Table of Contents
Why the Right Battery Matters for Your Robot
The wrong battery kills a robot project faster than almost any other design mistake. An undersized pack runs flat after ten minutes. An oversized pack adds weight that motors cannot move. A chemistry mismatch produces voltage sag that resets your microcontroller mid-run.
Choosing the right battery affects three things at once: how long your robot runs, how heavy it is, and how safely it operates. I have watched beginners spend weeks tuning code and chassis geometry, only to lose every match because their battery choice held them back.
A 500g weight difference between lead-acid and LiPo can change a sumo robot from a loser to a champion. A 2V difference in nominal voltage can keep motors from spinning at their rated RPM. The battery is not a generic component. It shapes every other design choice.
Think of your battery as the heart of the system. Your motors, sensors, microcontroller, and chassis all depend on it. Get the heart right, and the rest of the build falls into place.
Battery Types Comparison: Li-ion vs LiPo vs NiMH vs Lead Acid
There are four battery chemistries you will actually encounter in hobby robotics: lithium-ion (Li-ion), lithium polymer (LiPo), nickel-metal hydride (NiMH), and sealed lead acid (SLA). Each has a personality. Picking the right one is the first big decision.
Lithium-Ion (Li-ion): The Energy Density Champion
Li-ion cells like the 18650 store 150-250 Wh per kilogram. That is roughly five times more energy than lead acid for the same weight. A single 18650 cell runs at 3.7V nominal with capacities from 1500 mAh to 3500 mAh.
Our team uses 18650 packs for line-following robots, small wheeled platforms, and any project where runtime matters more than peak current. They hold their charge for months, last 500+ charge cycles, and ship in protective housings from brands like Samsung, LG, and Panasonic.
The downside is form factor. Cylindrical 18650 cells do not fit into tight spaces, and you need a Battery Management System (BMS) to keep them safe during charging.
Lithium Polymer (LiPo): The Power Density Leader
LiPo batteries give you 130-200 Wh/kg but with much higher discharge rates. A 2200 mAh 3S LiPo at 25C can deliver 55 amps continuously. That is what makes them the standard for drones, combat robots, and competition sumo bots.
I reach for LiPo whenever a project needs sudden bursts of power. A LiPo can dump energy fast enough to launch a 3 kg robot across a sumo ring. The trade-off is safety. Punctured or overcharged LiPos can catch fire, and they need careful storage.
LiPos also have a shorter cycle life than Li-ion, typically 300 charges before noticeable capacity loss. Treat them with respect and they will serve you well.
Nickel-Metal Hydride (NiMH): The Beginner-Friendly Choice
NiMH cells run at 1.2V nominal, with standard AA, AAA, C, and D sizes available. They tolerate overcharging better than lithium chemistries and do not need a BMS. For a beginner building their first Arduino robot, NiMH is the safest place to start.
The trade-off is energy density at around 60-100 Wh/kg. A pack of 10 AA NiMH cells weighs noticeably more than a single 18650. They also self-discharge faster, losing 1-3% per day even sitting on the shelf.
I recommend NiMH packs from Tenergy or Powerex for educational robotics kits. They are forgiving, replaceable, and charge on simple smart chargers.
Sealed Lead Acid (SLA): The Heavy-Duty Workhorse
SLA batteries deliver 12V from a single cell with high surge currents. They are cheap, rugged, and available at any hardware store. I have seen them power lawnmower-sized robots and outdoor research platforms for years without complaint.
The problem is weight. A 7Ah SLA weighs 2.5 kg. That is a lot for any small robot. They also have limited cycle life (around 200-300 cycles) and contain sulfuric acid, so disposing of them requires care.
Use SLA only when weight is not a concern and you need a reliable, replaceable, low-cost battery. Garden robots and large wheeled platforms are typical applications.
Quick Comparison of Battery Chemistries
| Chemistry | Nominal Voltage | Energy Density (Wh/kg) | Cycle Life | Best For |
|---|---|---|---|---|
| Li-ion (18650) | 3.7V per cell | 150-250 | 500-1000 | Mobile robots, long runtime |
| LiPo (pouch) | 3.7V per cell | 130-200 | 300-500 | Drones, competition bots |
| NiMH | 1.2V per cell | 60-100 | 500-1000 | Beginner projects, educational |
| SLA | 6V or 12V | 30-50 | 200-300 | Large robots, outdoor platforms |
Key Battery Specifications Explained
Battery specs look intimidating on paper, but they break into four numbers that matter: voltage, capacity, C rating, and energy density. Once you understand these, every battery label makes sense.
Voltage: Matching Your Motors and Electronics
Nominal voltage is the average voltage a cell delivers during use. Li-ion and LiPo cells run at 3.7V nominal, fully charged at 4.2V, and fully discharged at 3.0V. NiMH runs at 1.2V nominal, SLA at 12V or 6V.
Your motor and electronics need a specific voltage range. A 7.4V system needs a 2S LiPo. A 12V motor needs either a 3S LiPo (11.1V) or a 12V SLA. Mismatching voltage can burn out your motor controller or starve your microcontroller.
Cells are combined in series (S) to increase voltage and in parallel (P) to increase capacity. A 3S2P LiPo has three cells in series (11.1V) and two in parallel (double the capacity of a single cell).
Capacity: Measured in mAh and Wh
Capacity tells you how much energy a battery stores. mAh (milliamp-hours) measures charge at a specific voltage. A 2200 mAh LiPo can deliver 2200 mA for one hour, or 1100 mA for two hours.
For comparing across chemistries, use Wh (watt-hours). Wh = voltage x capacity. A 2200 mAh 3.7V LiPo holds 8.14 Wh. A 2200 mAh 11.1V LiPo (3S) holds 24.4 Wh, because three cells are in series.
Higher capacity means longer runtime, but also more weight and longer charge times. A 5000 mAh LiPo weighs about 350g, while a 2200 mAh pack weighs 200g.
C Rating: How Fast You Can Drain the Battery
The C rating tells you the maximum safe continuous discharge current. Multiply it by capacity to get amps. A 2200 mAh LiPo with a 25C rating can deliver 55 amps continuously (2.2 x 25 = 55).
C rating matters most for high-draw applications. A drone pulling 30 amps needs a battery rated for at least 30 amps. A line-following robot pulling 2 amps does not need a high C rating at all.
Do not confuse C rating with capacity. A 5000 mAh 10C pack delivers 50 amps for 30 minutes. A 2200 mAh 25C pack delivers 55 amps for about 24 minutes. Same current, different total energy.
Energy Density vs Power Density
Energy density (Wh/kg) measures total stored energy per weight. Power density (W/kg) measures how fast that energy can be released. LiPo wins on power density. Li-ion wins on energy density. That is the short version of a long story.
For a 24-hour surveillance robot, you want high energy density. For a 3-minute combat robot match, you want high power density. Knowing which one you need simplifies battery selection.
Battery Form Factors for Robotics Projects
Form factor decides how your battery physically fits into the robot. Cylindrical cells stack in holders. Pouch cells lay flat. Prismatic cells bolt into frames.
18650 and 21700 Cylindrical Cells
The 18650 cell (18mm diameter, 65mm length) is the most common Li-ion form factor. They slot into cheap plastic holders and combine easily into 2S, 3S, or 4S packs with solder tabs.
Newer 21700 cells (21mm x 70mm) hold about 50% more capacity at slightly higher cost. I prefer them for new builds when the chassis has room. Both work well with off-the-shelf BMS boards.
For Arduino-based robots with moderate power needs, a 2S or 3S pack of 18650s is the sweet spot. I built a line follower last year that ran 6 hours on a 3S2P pack using Samsung 30Q cells.
Pouch Cells (LiPo)
Pouch cells are flat, rectangular, and customizable in size. That is why drones and RC vehicles use them. They pack tight into custom chassis cavities.
The downside is mechanical vulnerability. A sharp edge or a crash can puncture the pouch and start a fire. Always mount LiPo packs in a hard case or with edge protection. I learned this the hard way after a screw punctured a pack during a build.
Prismatic Cells
Prismatic cells are rigid rectangular blocks, often used in larger Li-ion packs for e-bikes and power tools. They are more durable than pouches but heavier than cylindrical cells of the same capacity.
Prismatic cells rarely show up in hobby robotics, but you will find them in some DIY power tool conversions and large mobile robot platforms.
AA and AAA Battery Packs
For very small robots, nothing beats a 4xAA or 6xAA battery holder. They cost almost nothing, accept both alkaline and NiMH cells, and drop into any chassis.
The trade-off is low capacity and voltage. Eight AA cells in series give you 9.6V nominal (NiMH) or 12V (alkaline), which is fine for low-power Arduino robots but not for anything with serious motors.
How to Calculate Power Requirements for Your Robot
Calculating your power needs is the most important step when choosing a battery for a robot project. Skip this and you are guessing. I have watched beginners guess wrong, then spend $50 on a battery that does not fit their motor controller.
Step 1: List Every Component and Its Voltage
Write down each powered component and its operating voltage. A typical mobile robot has motors (often 6V or 12V), a microcontroller (3.3V or 5V), sensors (3.3V or 5V), and maybe a camera or radio.
Pick the highest voltage as your battery nominal. If your motors run at 12V and your Arduino at 5V, your battery should be 12V (or 11.1V from a 3S LiPo). Step down to 5V with a buck converter.
Step 2: Estimate Current Draw Per Component
Check the datasheet for each motor, sensor, and board. Add up the maximum currents. A small DC gear motor might draw 200 mA at no load and 2A at stall. Multiply by the number of motors.
For our 4-wheeled Arduino test bot: four motors at 800 mA average (3.2A), Arduino at 50 mA, ultrasonic sensors at 30 mA, motor driver at 20 mA. Total: about 3.3A average, peaking near 6A when motors stall.
Step 3: Calculate Required Capacity in mAh
Use this formula: Runtime (hours) x Current (A) x 1000 = Capacity (mAh). If you want 2 hours of runtime at 3.3A average, you need 6600 mAh of capacity.
Worked example: 2 hours x 3.3A x 1000 = 6600 mAh. With a 3S LiPo, that is roughly a 6600 mAh 3S pack, weighing around 480g. If you only need 1 hour of runtime, you can halve that to 3300 mAh.
Always add a safety margin. I aim for 25% extra capacity beyond the calculated minimum. Lithium batteries lose performance when cold, age over time, and should not be discharged below 20% for longevity.
Step 4: Match C Rating to Peak Current
Maximum current draw divided by capacity (in Ah) gives you the C rating you need. Peak draw of 6A from a 2200 mAh (2.2 Ah) pack requires at least 6 / 2.2 = 2.7C. A 10C or 15C pack gives plenty of headroom.
For high-current applications like combat robots, calculate on stall current. A motor that stalls at 20A needs a battery rated for at least 20A continuous plus 25% safety margin, so 25A minimum.
Step 5: Verify Weight and Size
A 500g battery in a 200g robot changes the center of mass dramatically. Sum the weights of all components and make sure the battery fits your budget. Most hobby robots target 20-30% of total weight as the battery.
If the calculated battery is too heavy, look for higher energy density chemistry (switch from NiMH to Li-ion) or accept shorter runtime.
Best Battery Choice by Robot Type
Different robots have very different power profiles. A sumo bot needs bursts of torque. A line follower needs steady current over hours. A drone needs both. Here is my quick-reference guide based on dozens of builds.
Mini Sumo and Combat Robots
Use a 2S or 3S LiPo with a high C rating (25C or higher). Weight matters more than runtime since matches last 3 minutes. A 450 mAh 3S LiPo at 25C is a classic choice for a 500g mini sumo.
Line Followers and Maze Solvers
Use a 2S Li-ion (18650 pack) or 2S LiPo with moderate capacity (1000-2000 mAh). Runtime matters more than peak current. A 1500 mAh 2S pack typically runs a line follower for 1-2 hours.
Arduino Mobile Robots
For a 4-wheeled Arduino platform, a 3S 18650 pack or 3S LiPo in the 2000-5000 mAh range hits the sweet spot. Match voltage to your motor driver (11.1V nominal is the most common).
Self-Balancing Robots
Self-balancers draw continuous current to stay upright. Use a 3S or 4S Li-ion pack with high capacity (3000+ mAh). A 4S 18650 pack with 3000 mAh will run a typical balancing bot for 30-60 minutes.
Drones and Quadcopters
Drones need the highest power density possible. Use a 3S to 6S LiPo with C ratings of 25C-50C depending on the airframe. Weight is everything, so go with the lightest pack that meets your current and capacity needs.
Outdoor Mobile Robots
For lawnmower-sized or research platforms, a 12V SLA or 12V LiFePO4 pack delivers the runtime and ruggedness needed. SLA is cheaper, LiFePO4 is lighter and lasts longer.
Common Battery Connectors in Hobby Robotics
The connector matters more than most beginners realize. A 30A battery on a 10A connector is a fire hazard. Pick the right plug for your current levels.
JST Connectors
JST-PH (2mm pitch) and JST-XH are the standard balance connectors for LiPo packs. They are not for high-current discharge. Limit JST-PH to about 2A continuous.
XT30 and XT60 Connectors
XT30 handles 30A continuous, XT60 handles 60A. These are the workhorses of hobby robotics and RC. I use XT60 for anything drawing 15-45A and XT30 for smaller builds under 20A.
The XT60 became the de facto standard for drones and combat robots. They are polarized (only fit one way) and have low resistance. Most LiPo balance chargers have XT60 outputs.
XT90 and Anti-Spark Connectors
XT90 carries 90A continuous. For high-current builds above 60A, step up to XT90. Anti-spark versions prevent the inrush current spike that can weld contacts together on large packs.
Deans (T-Plug) Connectors
Deans connectors were the old standard. They handle around 50A but are harder to solder than XT60. Most new builds have moved to XT60, but Deans still show up on older RC gear.
Anderson Powerpole
Anderson Powerpoles are modular and stackable. They come in 15A, 30A, and 45A ratings. Amateur radio operators love them, and they appear in some robotics kits for their flexibility.
Barrel Jacks and DC Terminals
For low-current Arduino projects, a standard 2.1mm barrel jack or screw terminals work fine. Anything over 3A should use a proper high-current connector like XT30 or XT60.
Battery Safety: Avoiding Fire, Swelling, and Thermal Runaway
Every year, hobby robotics forums fill with stories of LiPo fires. A puffed battery, a melted connector, a garage fire. Most of these are preventable. Here is what I do on every build.
Inspect Every Battery Before Use
Check for swelling, punctures, leaking, or damaged insulation before each charge. A puffed LiPo is a fire waiting to happen. Dispose of it properly at a battery recycling center, never in the trash.
I keep a small plastic bin with a lid for damaged batteries until I can take them to a recycling facility. Never store a damaged pack near other batteries or flammable materials.
Use a Proper Balance Charger
Multi-cell LiPo and Li-ion packs need a balance charger. It charges each cell to the same voltage, preventing any single cell from going over 4.2V. A quality charger like an ISDT, ToolkitRC, or HTRC runs $30-80 and pays for itself the first time it prevents a fire.
Never charge lithium batteries unattended. Never charge them on a wooden table or near flammable items. I charge mine on a metal tray or in a LiPo-safe charging bag.
Add a Battery Management System (BMS)
A BMS protects lithium packs from overcharge, overdischarge, short circuits, and overcurrent. For Li-ion 18650 packs, a BMS is not optional. It is required for safe operation.
Match the BMS rating to your maximum continuous current. A 10A BMS will burn out if your robot draws 15A. Common sizes are 10A, 20A, 30A, and 40A. Buy a name-brand unit from a reputable seller.
Follow the 20/80 Rule
The 20/80 rule keeps lithium batteries healthy long-term. Avoid discharging below 20% and avoid charging above 80% for daily use. This dramatically extends cycle life.
For full-capacity operation (say, a competition match), charge to 100% and discharge to cutoff. But for routine use, partial cycles between 20% and 80% can triple the lifespan of a lithium pack.
Storage and Transportation
Store lithium batteries at 40-60% charge, not full and not empty. They last longest around room temperature. A battery left in a hot car can swell or vent gas.
Transport LiPos in a fireproof bag. Most hobby shops sell LiPo-safe bags for under $15. They are cheap insurance against a luggage fire.
Charging, Balancing, and Maintaining Your Robot Battery
How you charge your battery affects its performance and lifespan as much as which battery you choose. CC/CV (constant current, constant voltage) charging is the standard for lithium chemistries.
CC/CV Charging Explained
During CC (constant current) phase, the charger pushes a fixed current into the battery until it reaches the target voltage (4.2V per LiPo cell). Then it switches to CV (constant voltage), holding the voltage steady while current gradually drops to near zero.
Charging at 1C (capacity in amps) is the safe default. A 2200 mAh pack charges at 2.2A. Faster charging (2C or 3C) is possible but generates more heat and reduces cycle life.
Balance Charging Multi-Cell Packs
A 3S LiPo has three cells that should stay within 0.05V of each other. Balance charging equalizes the voltages across all cells through the balance lead. Most quality chargers do this automatically.
Skipping balance charging leads to one cell drifting higher or lower than the others. Over time, that cell degrades faster, reducing total pack capacity and creating a fire risk.
Storage Voltage for Lithium Batteries
If you are storing a battery for more than two weeks, charge or discharge it to 3.8V per cell. That is roughly 50% capacity. Most chargers have a “Storage” mode that does this automatically.
NiMH Charging Differences
NiMH cells charge at 0.5C to 1C using a smart charger that detects full charge via voltage drop (-ΔV) or temperature rise. They tolerate overcharge better than lithium but should not be left on a dumb charger indefinitely.
Popular Battery Brands for Hobby Robotics
Community experience points to a handful of reliable brands. I have used all of these over the years and recommend them based on personal testing.
Samsung, LG, and Panasonic 18650 cells consistently deliver high capacity and durability. Look for cells rated at 3000+ mAh with 10A continuous discharge for mobile robot builds.
Tenergy makes dependable NiMH packs and budget-friendly Li-ion chargers. Turnigy and Gens Ace dominate the RC LiPo market with consistent quality across hobby drone and combat robot communities.
Energizer Industrial AA NiMH cells are the affordable workhorse for small Arduino projects. For Li-ion packs, brands like Talentcell and ChargerCity offer ready-made 12V and 24V portable battery packs for quick prototyping.
Common Mistakes When Choosing a Robot Battery
After years of watching beginners (and making my own early mistakes), here are the pitfalls that show up most often.
Ignoring C rating is the number one error. A 2200 mAh 5C pack sounds like enough until you stall a motor and pull 30 amps. That pack will overheat, puff, or worse.
Mismatching voltage comes next. A 14.8V LiPo on a 12V motor controller will fry the electronics. Always check the operating voltage range of every component before connecting a battery.
Skipping the BMS is dangerous. A 3S Li-ion pack without a battery management system can discharge one cell below 3.0V, permanently damaging it and creating a fire risk on the next charge.
Undersizing capacity leaves you constantly recharging. Over-sizing adds weight. Use the power calculation formula above to find the right balance instead of guessing.
Finally, ignoring weight distribution ruins handling. A heavy battery mounted at the top of a two-wheeled balancing robot creates instability. Mount the battery low and centered.
Frequently Asked Questions
How do I choose a battery for a robot project?
Start by listing every powered component and its voltage, then calculate the total current draw. Match the battery voltage to your highest-voltage component (motors usually). Choose a chemistry based on weight and power needs: LiPo for high power, Li-ion for long runtime, NiMH for beginners. Calculate required capacity using Runtime (hours) x Current (A) x 1000 = mAh, and add 25% safety margin.
What is the 20/80 rule for batteries?
The 20/80 rule recommends keeping lithium batteries between 20% and 80% charge for daily use. Avoiding full charges and deep discharges dramatically extends cycle life, often tripling the number of usable cycles compared to charging to 100% and discharging to 0%. For competitions or one-off runs, full charges are fine, but for routine use, partial cycling keeps the pack healthy.
How do I choose the right battery type?
Match the chemistry to your robot’s priorities. Choose LiPo for drones, combat robots, and competition sumo bots that need high discharge rates. Choose Li-ion (18650) for mobile robots and long-runtime platforms where weight and energy density matter. Choose NiMH for beginners, educational projects, and situations where safety and simplicity outweigh performance. Choose SLA only for large outdoor robots where weight is irrelevant.
How to choose a battery voltage for a robot project?
Identify the highest voltage required by any component, usually your motors or motor driver. For a 12V motor system, use an 11.1V 3S LiPo or 12V SLA. For a 7.4V system, use a 2S LiPo. For 5V Arduino projects, a 1S Li-ion pack with a boost converter works. Never exceed the maximum rated voltage of your motor controller or electronics, and always use a voltage regulator to step down for lower-voltage components.
Final Thoughts on Choosing a Battery for a Robot Project
The battery is the foundation of every robot build. Get it right, and your project runs longer, performs better, and stays safe. Start with the power calculation, match the chemistry to your priorities, and respect the safety rules.
For most hobbyists building their first mobile robot in 2026, I recommend starting with a 2S or 3S Li-ion 18650 pack with a BMS. It balances weight, runtime, and safety better than any other option. Once you have run a few projects, experiment with LiPo for high-power builds and NiMH for low-stakes learning kits.
Have questions about your specific build? Drop them in the comments below, and our team will help you pick the right battery for your robot project.