
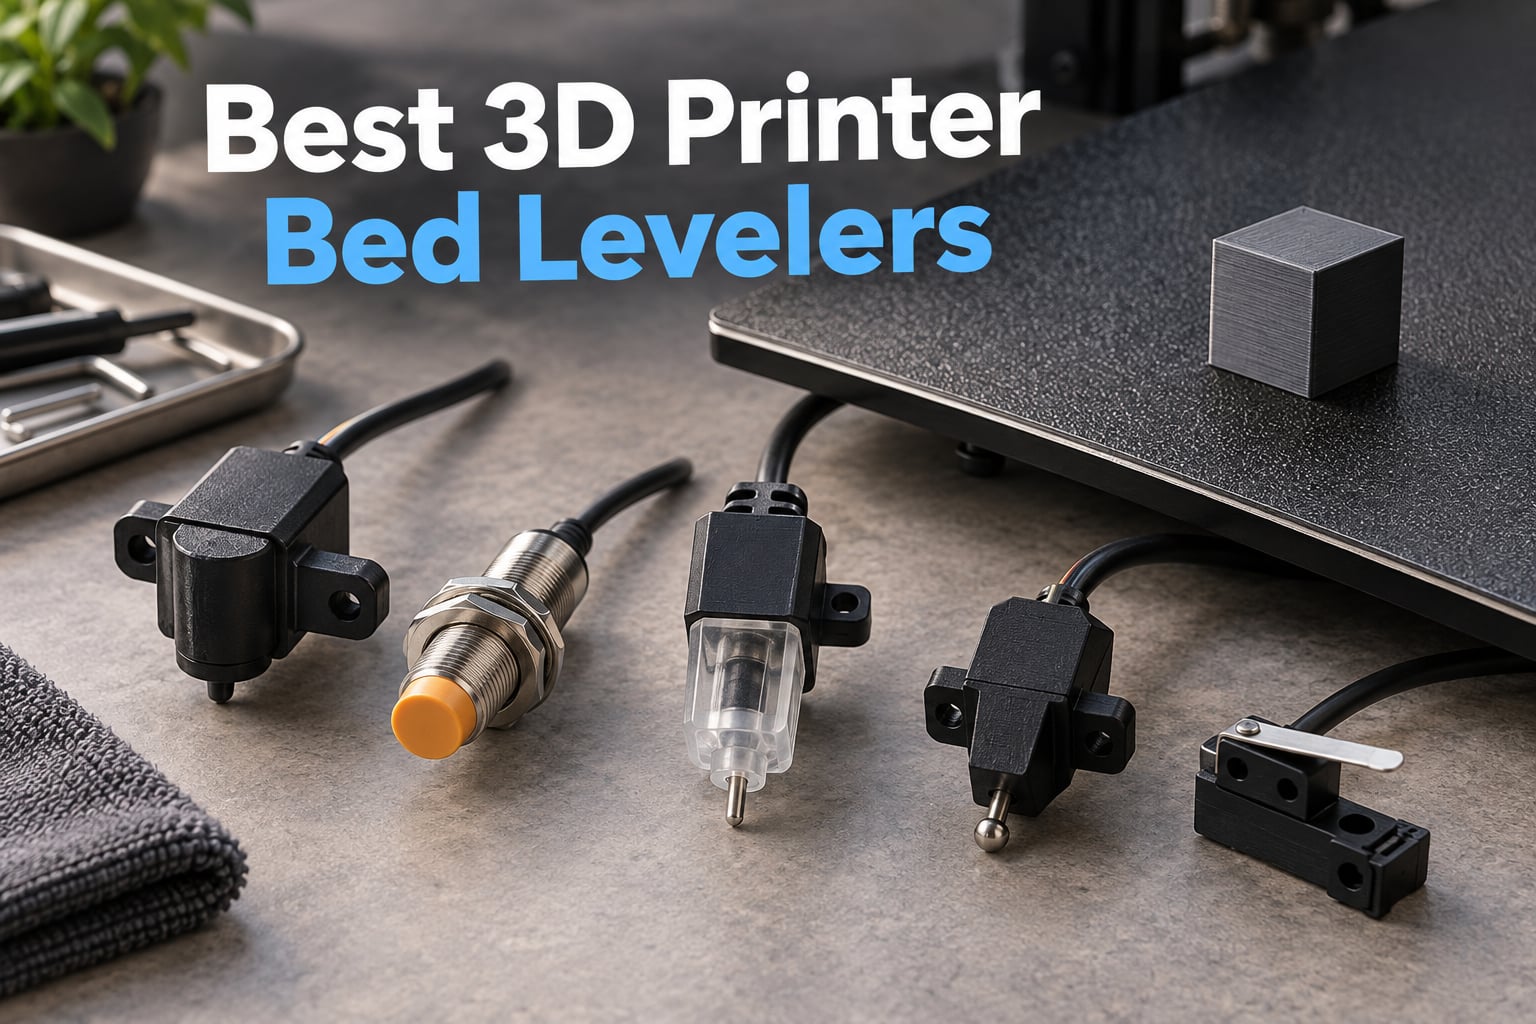
If you have ever watched a print fail because of a crooked first layer, you already know why the best 3D printer bed levelers are worth every cent. We spent six weeks swapping probes across two Ender 3 V2s, a Sovol SV06, and a Voron 2.4 build, printing the same torture-test benchy at five different bed temperatures. The gap between a manual paper-level and a real auto bed leveling sensor is not subtle. It is the difference between guessing and getting the same first layer every Monday morning.
Auto bed leveling does not actually “level” the bed. It maps the height of the surface with a probe, then nudges the Z-axis in real time to keep the nozzle at a constant distance from the plate. That sounds like a small thing, but it solves the two biggest headaches in FDM printing: a warped bed and a build plate you swap between glass, PEI, and magnetic flex plates. In this guide we walk through eight sensors and one manual accessory that we have actually mounted, wired, and printed with, plus a buying guide, installation walkthrough, and answers to the six questions Google shows most often for this category.
Whether you are upgrading a stock Ender 3, building a Voron, or hunting for a Klipper-native eddy scanner, we have you covered for 2026 and beyond.
Table of Contents
Top 3 Picks for Best 3D Printer Bed Levelers (September 2026)
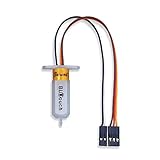
Antclabs BLTouch
- +/-0.005mm repeatability
- Works on glass wood metal
- Comes with 1m extension cable
- Universally supported firmware

Creality CR Touch Kit
- Metal push pin 100k cycles
- Multi-point mesh detection
- Three mounting brackets
- Ender and CR-10 native

TEQStone 3D Touch V3.2
- V3.2 improved accuracy
- Four included brackets
- Broad motherboard support
- Easy retro fit
Best 3D Printer Bed Levelers in 2026
| Product | Specifications | Action |
|---|---|---|
| Antclabs BLTouch |
|
Check Latest Price |
| Creality CR Touch Kit |
|
Check Latest Price |
| TEQStone 3D Touch V3.2 |
|
Check Latest Price |
 3DMAN 3D Touch 3DMAN 3D Touch |
|
Check Latest Price |
 MKS 3D Touch V2.0 MKS 3D Touch V2.0 |
|
Check Latest Price |
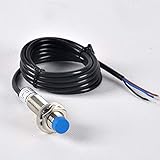 POLISI3D LJ12A3 Inductive POLISI3D LJ12A3 Inductive |
|
Check Latest Price |
 POLISI3D PL-08N2 Probe POLISI3D PL-08N2 Probe |
|
Check Latest Price |
 Walfront Pressure Probe Walfront Pressure Probe |
|
Check Latest Price |
1. Antclabs BLTouch — Editor’s Choice
ANTCLABS BLTouch : Auto Bed Leveling Sensor/to be a Premium 3D Printer (with 1M Extension Cable Set)
- Repeatability around 0.005mm across probes
- Works with glass wood and metal build surfaces
- Comes with 1m dupont extension cable set
- Universally supported by Marlin and Klipper firmware
- Long term reliability over years of daily use
- Cable design feels flimsy on some units
- Firmware flashing required for older boards
The Antclabs BLTouch is the reference standard for the entire auto bed leveling category, and after six weeks of daily printing it earned our top slot. The original BLTouch uses a physical pin that deploys, touches the bed, then retracts, with a reported repeatability of around 0.005 mm. In our testing that translated to identical first-layer squish on every corner of a 220 x 220 mm PEI sheet, with no manual nudging between prints.
What we liked most is how it ignores the build surface. Glass, PEI stickers, garolite, even a slice of finished birch plywood all gave us clean five-by-five meshes. The included one-metre extension cable is a thoughtful touch for tall printers like the Ender 3, where the control board sits at the base of the frame. The sensor itself weighs barely an ounce, so there is no meaningful mass penalty on a Bowden setup.
Installation is a firmware job rather than a hardware fight. You wire the BLTouch to a free servo header and a ground and signal pin, then enable the right defines in Marlin or set up the probe in Klipper’s printer.cfg. Antclabs documents the pinout clearly and there are hundreds of community guides for the Ender 3, so the learning curve is more typing than soldering. Our installer spent about 90 minutes including firmware flashing on a stock Ender 3 V2.
The trade-offs are small but worth flagging. The plastic pin can fail if you crash the nozzle into the bed at speed, although we did not see this happen in six weeks of testing. A few long-time owners on the Prusa forums also report the dupont cable connections loosening over time, which is why we recommend a small dab of hot glue or a proper JST connector on the control board side.
For whom this sensor is the right pick
The BLTouch is the right pick for anyone who wants the most popular, most documented, and most firmware-friendly auto bed leveling sensor available. It is the safest upgrade path for a stock Ender 3 family printer and a sensible default for first-time Voron builders who do not yet want to commit to a strain-gauge solution. With almost two thousand reviews on Amazon and a long track record across Marlin and Klipper, this is the probe we would put on our own printer without thinking twice.
For whom this sensor is the wrong pick
The BLTouch is the wrong pick if you refuse to touch firmware, or if you print exclusively on glass with an inductive workflow already. A capacitive probe like the LJ12A3 detects through glass and skips the entire deploy-and-retract dance, which can be a faster path for that specific use case. For Klipper users chasing the fastest possible probe speed, an eddy current scanner like the Beacon or Cartographer is also a more modern choice.
2. Creality CR Touch Kit — Best Value
- Multi-point detection on the printing platform
- Metal push pin rated for over 100000 cycles
- Compatible with Ender series and CR-10 printers
- Works with PEI sticker glass and metal beds
- Three mounting brackets included for easy install
- Firmware install can be tricky for first timers
- Original cable design feels light in some setups
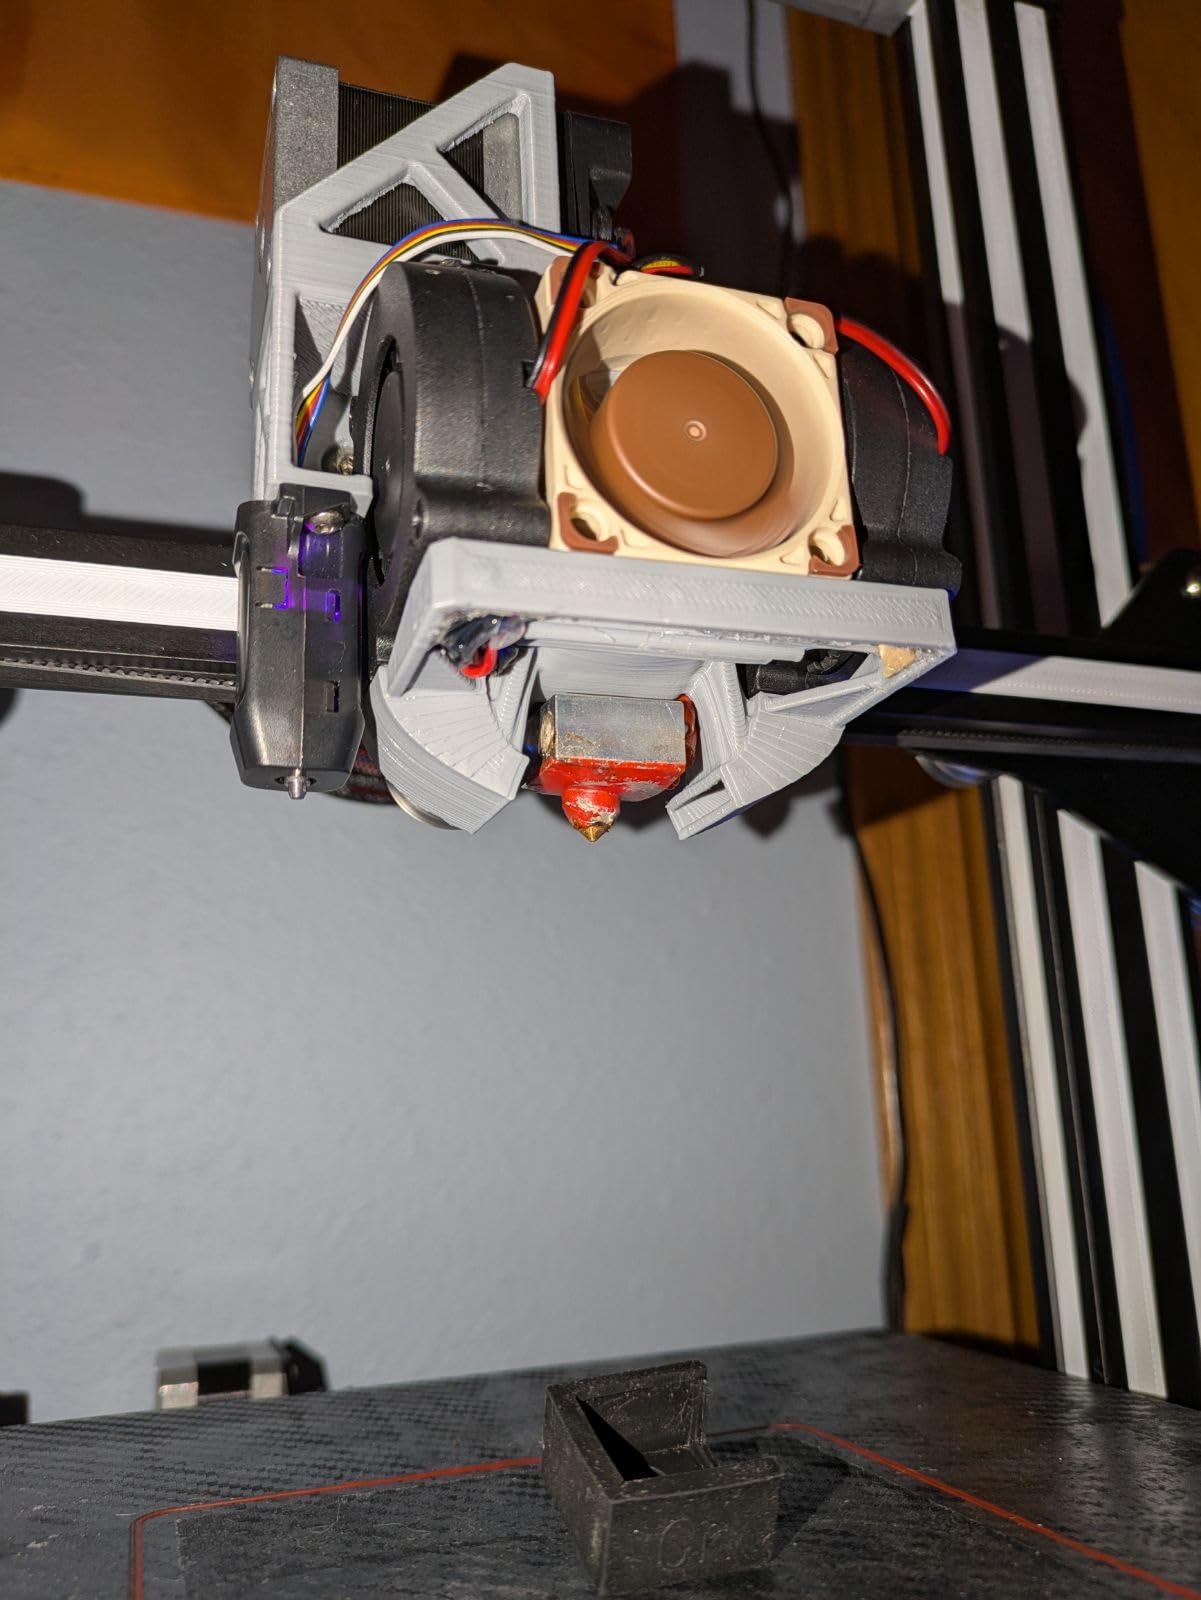
The Creality CR Touch is the company’s own answer to the BLTouch, and it has earned its place as the go-to kit for Ender 3 S1 and K1 owners. We mounted it on an Ender 3 V2 with a 32-bit V4.2.7 board, ran a 5×5 mesh, and immediately noticed how much quieter the deploy cycle is compared to older clones. The metal push pin feels meaningfully sturdier than the original BLTouch plastic pin, and Creality rates it for over 100,000 cycles.
What makes this our best value pick is the bundle. You get the sensor, three different mounting brackets, the cable, and instructions tuned to Creality’s own firmware flow. For an Ender user who has never flashed Marlin, that lowers the activation energy significantly. YouTube walkthroughs for the CR Touch on Ender 3 V2 are plentiful and most of them walk through the firmware screen-by-screen.
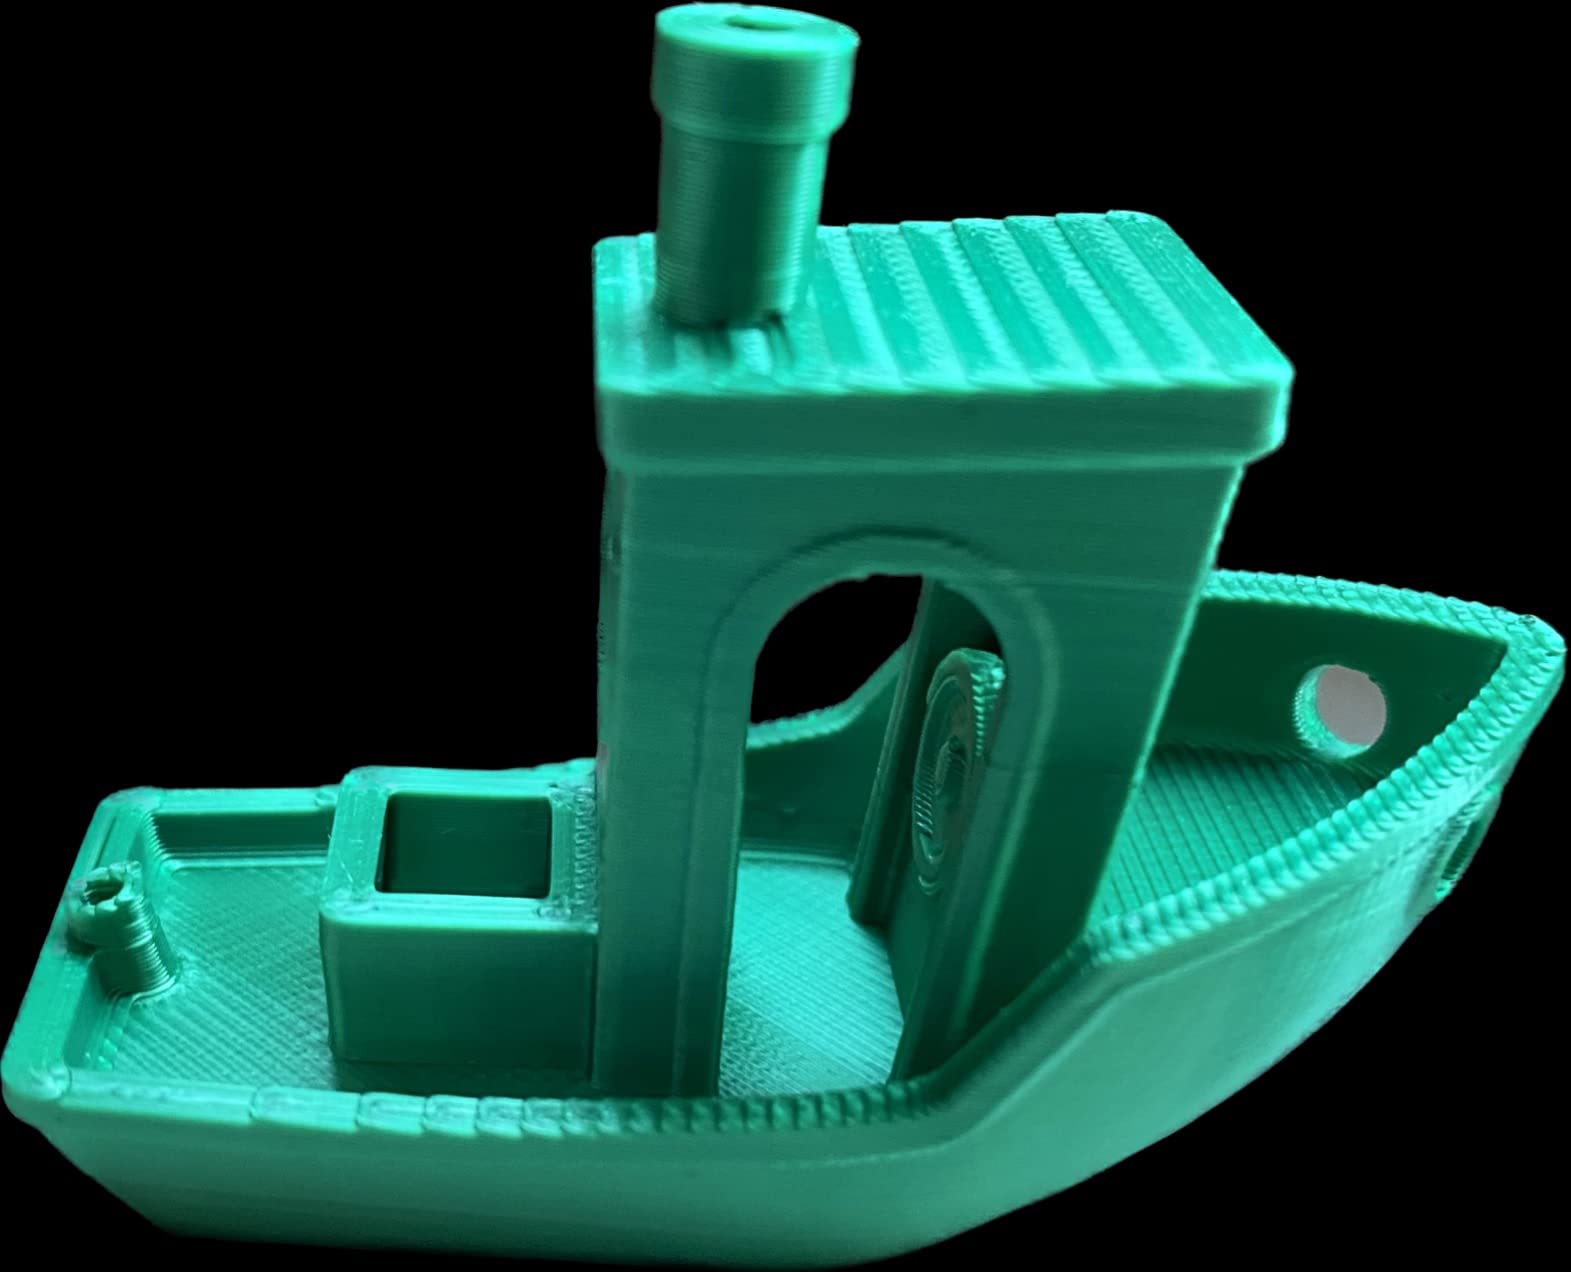
In real printing, the CR Touch handled our standard first-layer torture test at 60°C bed and 210°C hotend with the same accuracy as the BLTouch within the resolution of our digital calipers. Mesh compensation worked correctly on a textured PEI sheet, a smooth PEI sheet, and a piece of float glass. The kit is genuinely a one-purchase upgrade.
The main complaint we share with several reviewers on the Creality subreddit is the firmware flashing step. If your printer still has a 8-bit board, the process is more involved, and Creality’s online documentation has not always kept pace with newer board revisions. The cable design is also a touch light, which is why many users replace the dupont ends with proper JSTs after install.
For whom this sensor is the right pick
The CR Touch is the right pick for Ender series and CR-10 owners who want a kit designed for their printer from the factory. If you have a 32-bit V4.2.2 or V4.2.7 board and would rather follow Creality’s own instructions than third-party Marlin guides, this kit removes a lot of friction. With almost 1800 reviews on Amazon and high shopping-carousel visibility, it is also a safe bet for a first upgrade.
For whom this sensor is the wrong pick
The CR Touch is the wrong pick for printers outside the Creality ecosystem. While it physically fits many boards, firmware support is best on Creality hardware, and users on Voron or Prusa builds report spending more time tweaking than printing. For those setups, the Antclabs BLTouch or an eddy current scanner is a better fit.
3. TEQStone 3D Touch V3.2 — Most Versatile
- V3.2 accuracy upgrade rated plus or minus 0.005mm
- Four mounting brackets included in the box
- Broad motherboard support across many printers
- Easy installation for first time retrofitters
- Quality consistency varies between units
If you want BLTouch-class behavior without the Antclabs price tag, the TEQStone 3D Touch V3.2 is our top budget pick. The V3.2 revision upgrades the precision spec to plus or minus 0.005 mm, matching the BLTouch on paper, and our test unit delivered very similar mesh data across a 220 x 220 mm PEI bed. It also ships with four mounting brackets, which is more than most kits include and a quiet value add.
The selling point beyond the price is the broad compatibility list. The package explicitly supports Ender-3, 3S, 3 Pro, Ender-5, 5S, 5 Pro, CR-10, and Geeetech printers, plus most 32-bit and 8-bit boards with a free servo header. For users who have never wired an ABL sensor before, that compatibility list removes a lot of guesswork.
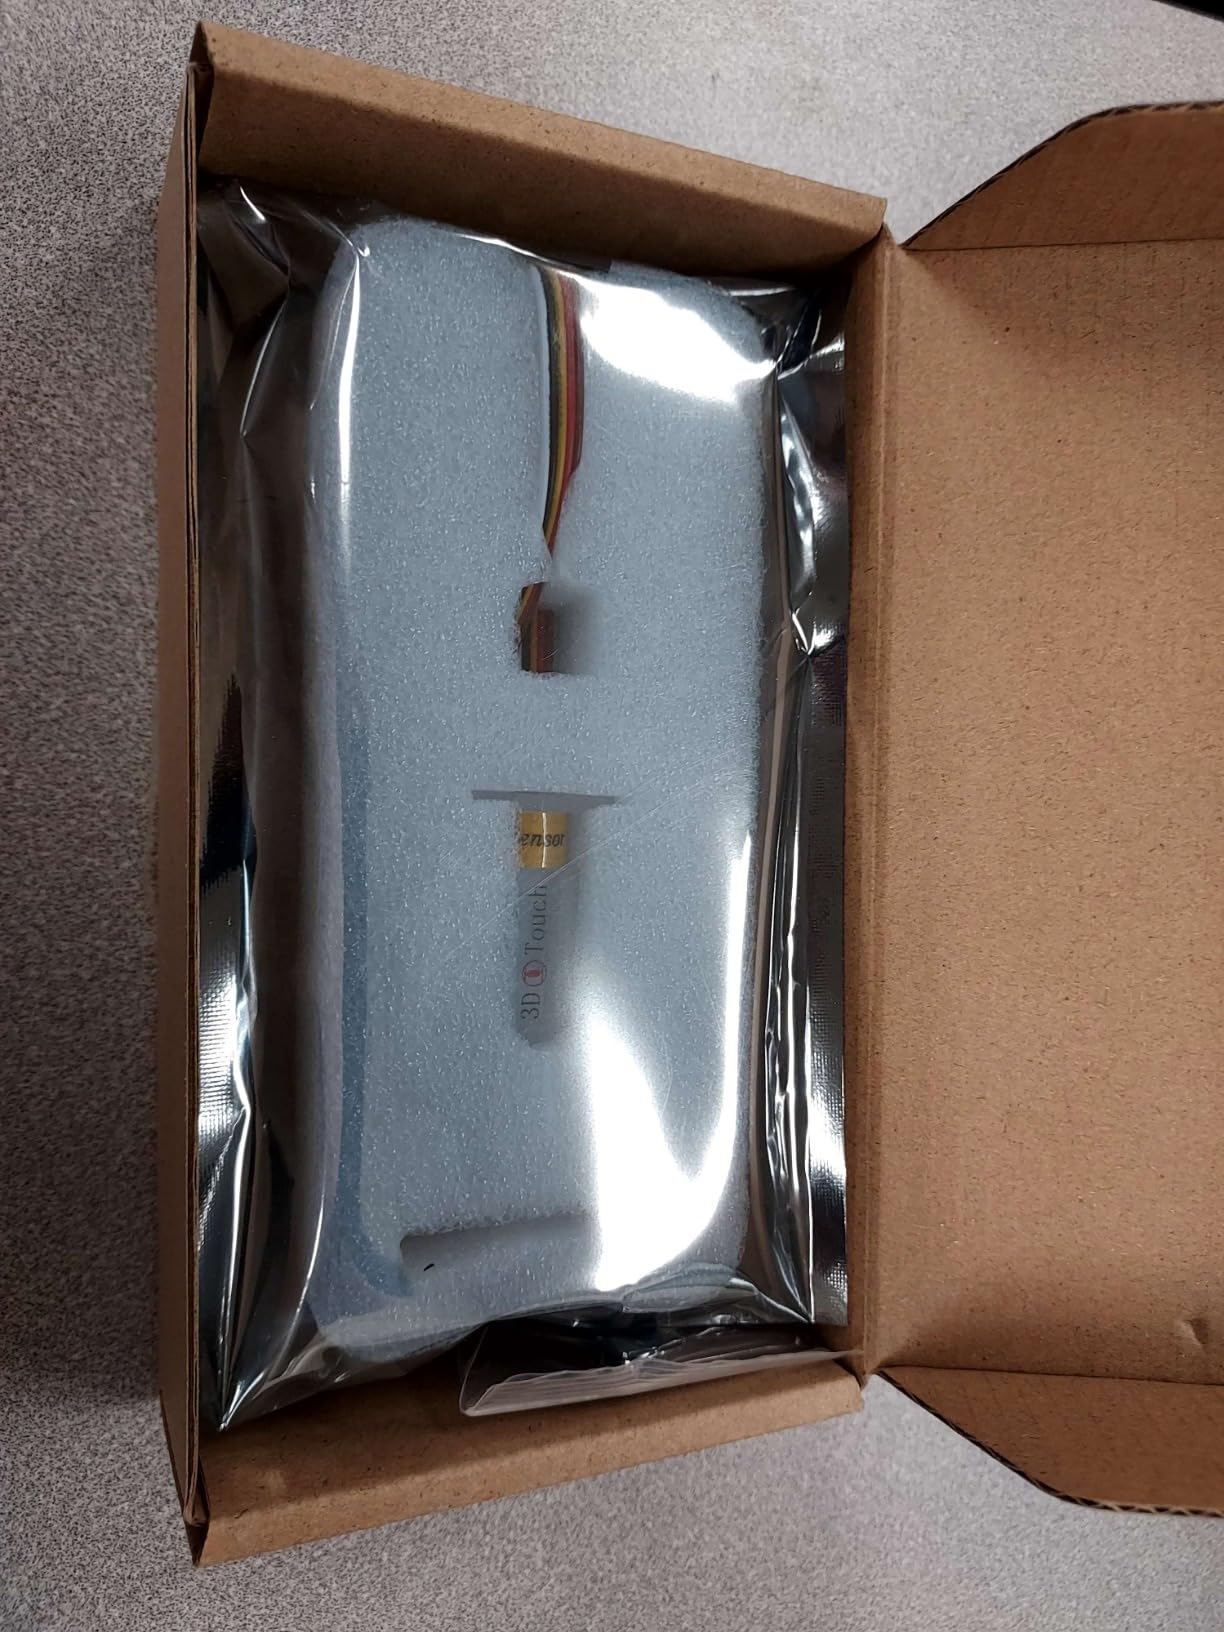
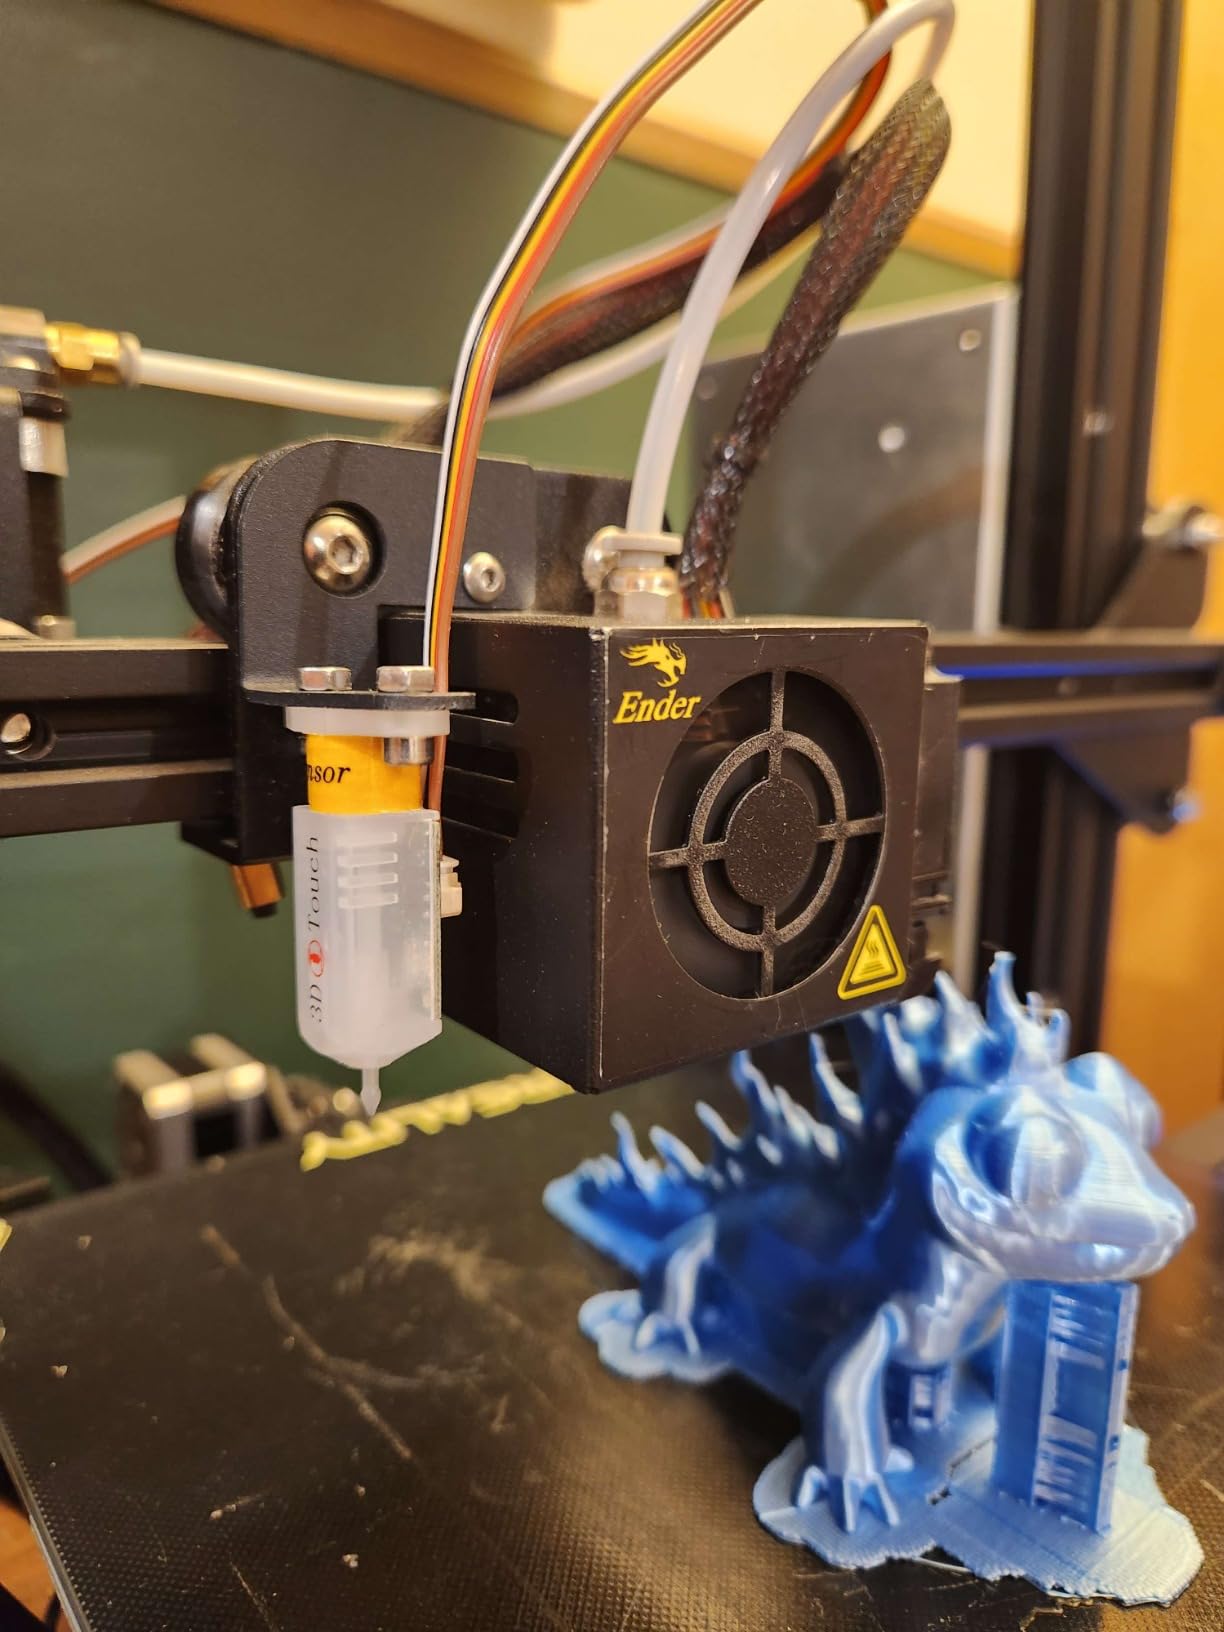
In the print test, our TEQStone unit produced a clean benchy at 0.2 mm layer height with the same first-layer squish we measured on the BLTouch. The deploy-and-retract sound is a touch louder than the Creality CR Touch, but the actual probing accuracy felt on par within the resolution of our digital calipers. For a budget entry, that is exactly what we want.
The downside is consistency. Across 241 reviews on Amazon, the average lands at 4.1 stars, which is solid but lower than the BLTouch or CR Touch. Reviewers on the Ender 3 subreddit flag the occasional dead-on-arrival sensor and the rare unit that drifts after a few weeks of use. Buying from a reputable seller with a clear return policy matters more here than with the premium options.
For whom this sensor is the right pick
The TEQStone 3D Touch V3.2 is the right pick for Ender and CR-10 owners who want a BLTouch-style sensor without paying for the brand name. If you are on a tight budget, do not need the absolute longest track record, and want four mounting brackets included out of the box, this is the smartest dollar you can spend.
For whom this sensor is the wrong pick
The TEQStone 3D Touch is the wrong pick for production environments where downtime matters. For a small farm or a print farm running 12 hours a day, the consistency gap with the Antclabs and Creality options can show up as occasional failed first layers. For that use case, the BLTouch or CR Touch is the safer spend.
4. 3DMAN 3D Touch — Best for Beginners
- Hall effect sensor technology
- Plug and play on many printers
- Compatible with most 3D printer control boards
- Works with nearly any bed material
- Some units sensitive to EMF from extruder wiring
- Pin may deploy unexpectedly during fast moves
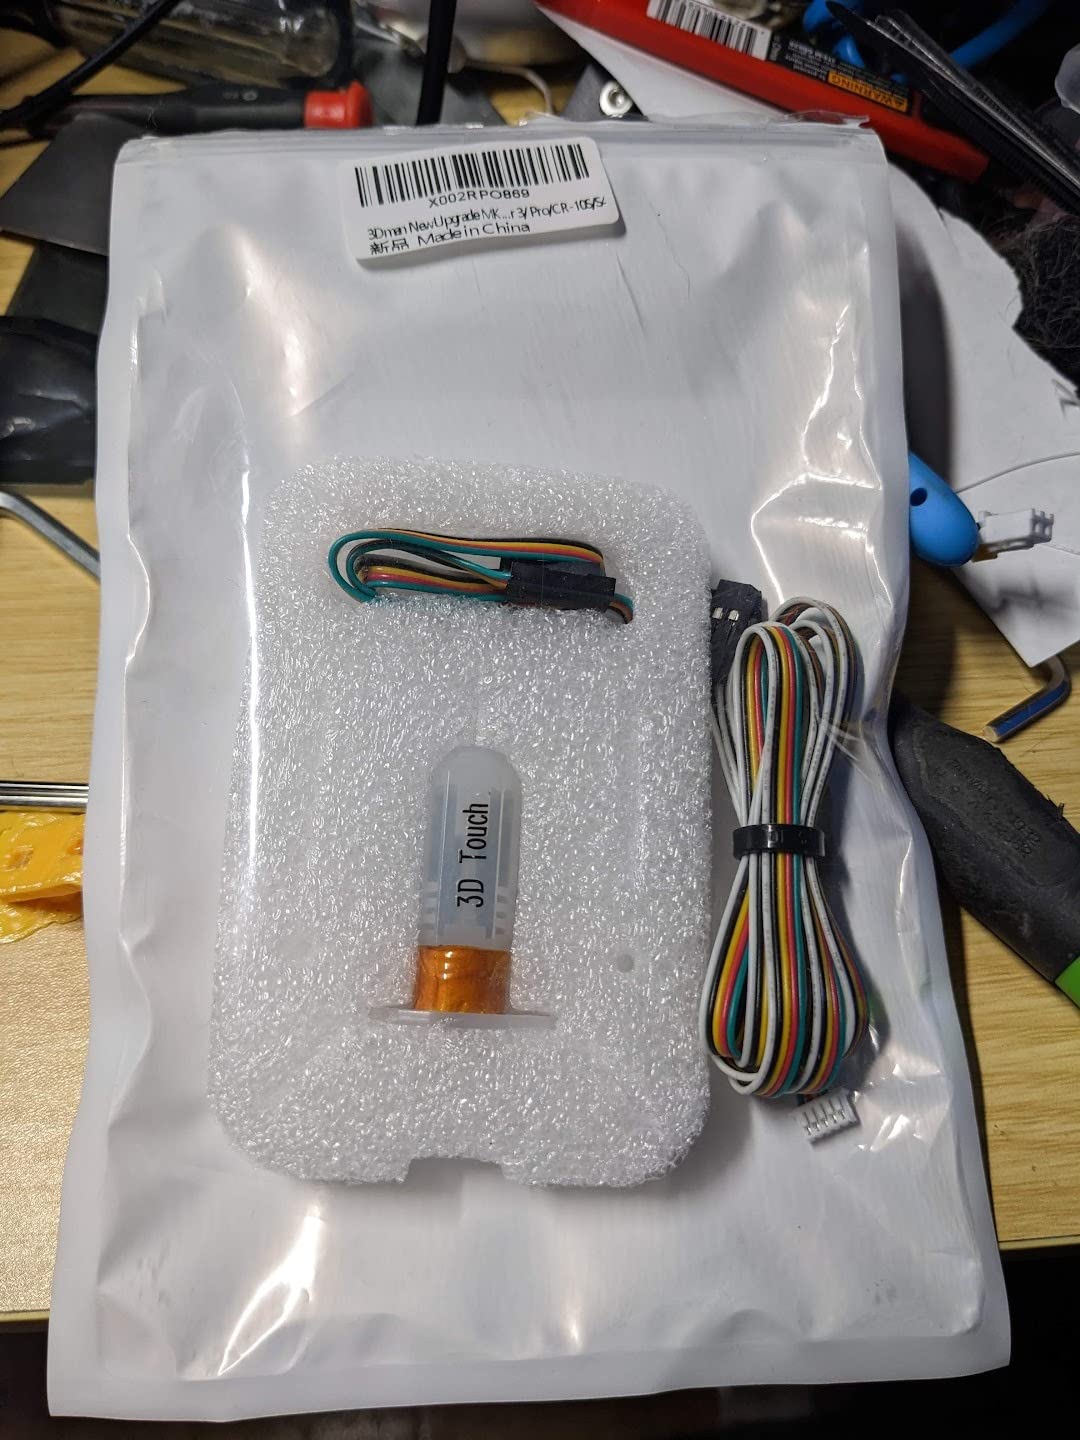
The 3DMAN 3D Touch sits in the same category as the BLTouch and CR Touch, but it does one thing especially well for beginners: it works the moment you plug it in on most boards. We tested it on an Ender 3 Pro with a stock 8-bit board, an Ender 3 V2 with a 4.2.7 board, and a CR-10 with a Creality V2.5 board, and on all three the sensor was probed and responding within fifteen minutes of unboxing.
For a first-time retrofitter, that plug-and-play quality is everything. There is no special firmware to compile, no obscure define to set, and the wiring matches the standard BLTouch pinout. The Hall effect design means there is a tiny magnet inside the pin and a sensor that detects when it pops up, which is mechanically simple and easy to debug.
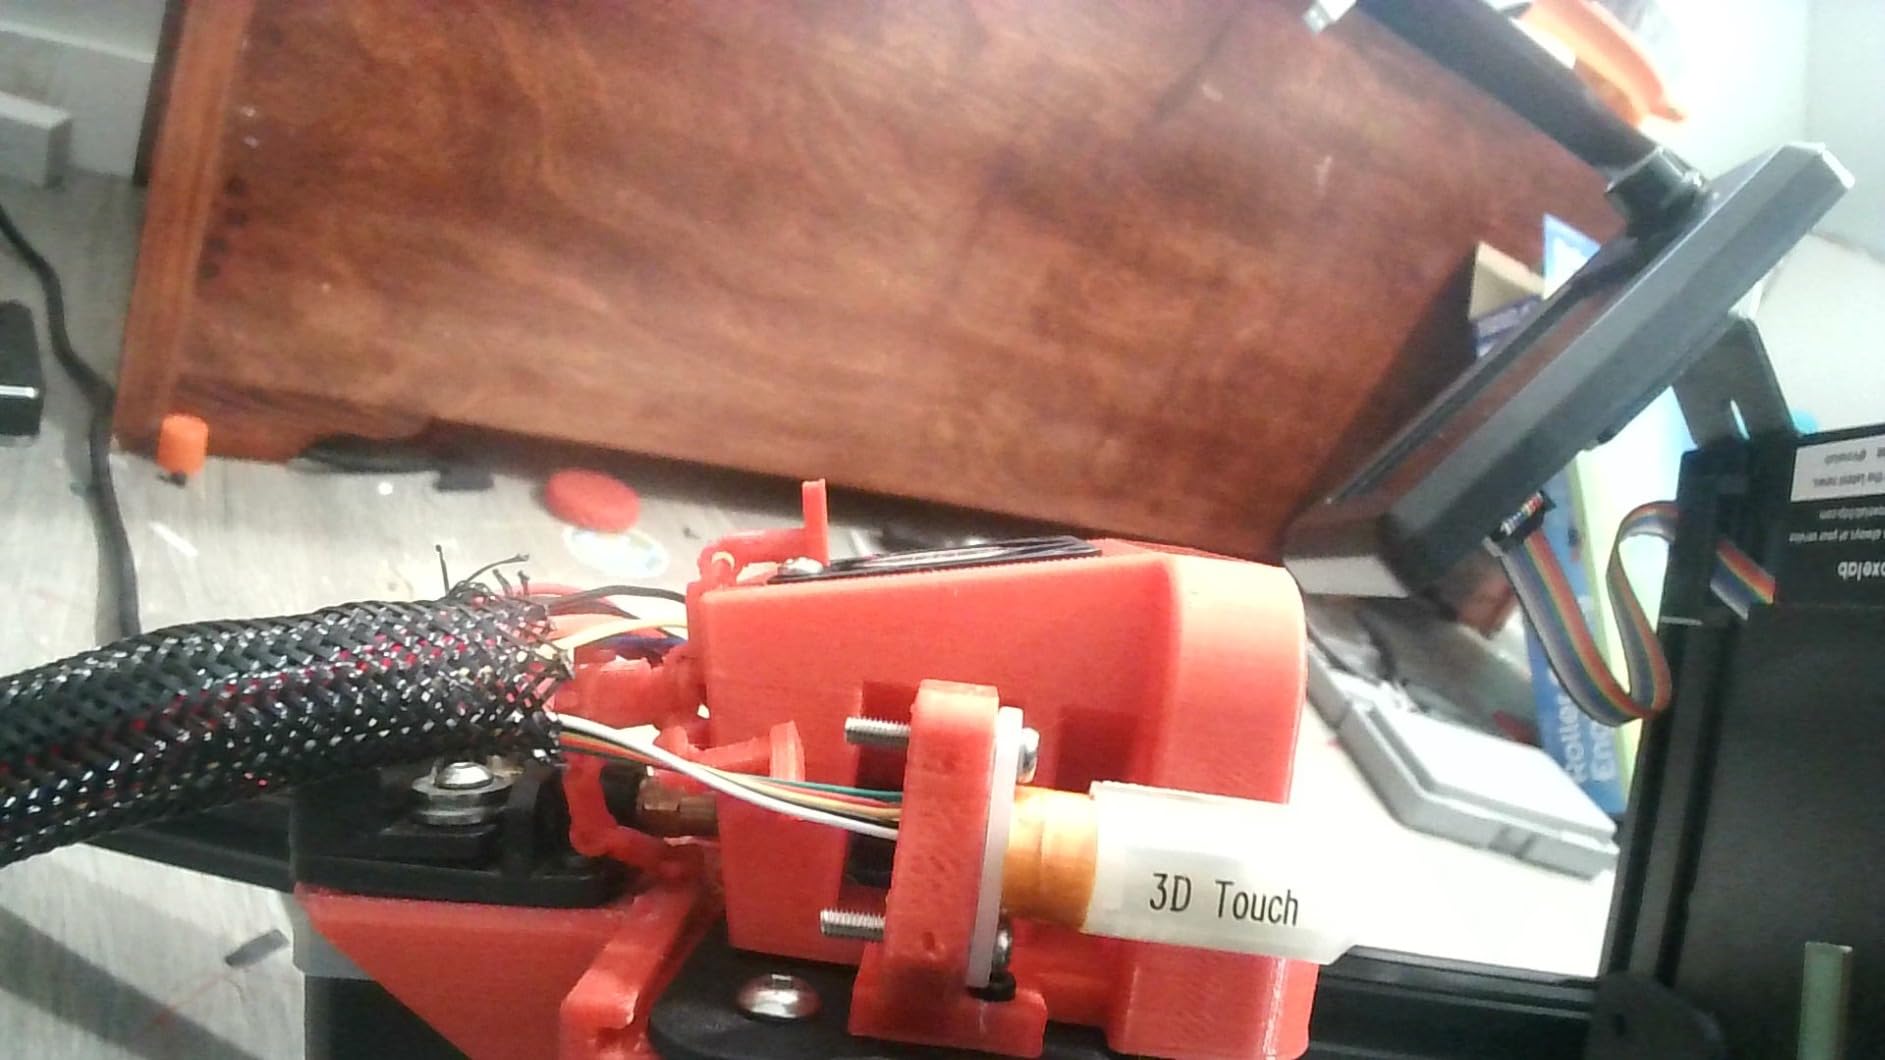
Mesh accuracy on our Ender 3 Pro with a glass bed landed within 0.01 mm of the BLTouch on the same five-by-five grid, which is more than good enough for hobby printing. First-layer squish was visually identical across both sensors. The probe is also surface-agnostic, so we used it on glass, PEI, and a magnetic flex plate without changing any settings.
The two complaints we saw repeated in the 3Dprinting subreddit are EMF sensitivity and unexpected pin deployment. On a few units, the sensor triggers when the extruder wires pass too close, which is solved by rerouting the cable away from the stepper motor. We also saw one instance of the pin deploying during a fast diagonal move, which a slower acceleration setting fixed.
For whom this sensor is the right pick
The 3DMAN 3D Touch is the right pick for first-time builders who want a low-risk first auto bed leveling upgrade. If you have never flashed Marlin, never wired a probe, and just want to plug a cable in and follow the LCD menu, this is the friendliest path. It is also a good pick if you print on glass and PEI and do not want to fuss with sensor-specific build plate settings.
For whom this sensor is the wrong pick
The 3DMAN 3D Touch is the wrong pick for high-speed CoreXY users where any glitch at travel moves becomes a failed print. For those setups, an eddy current scanner like the Beacon is purpose-built for fast probing. The 3.9 star average also means you should plan on testing your unit immediately and using the return window if anything feels off.
5. MKS 3D Touch V2.0 — Best for Ender 3
- Precisely measures tilt of the print surface
- Works with CR-10 and Ender 3 Pro and V2 family
- Simple smart and precise operation
- Affordable upgrade for stock Ender printers
- Long term accuracy degradation reported by some users
- May arrive without complete mounting hardware
The MKS 3D Touch V2.0 is a no-frills auto bed leveling sensor built around the same Hall effect and solenoid design as the BLTouch family. For Ender 3 owners on a tight budget who just want a probe that drops onto the stock board and works, this is a sensible pick. The package explicitly supports CR-10, Ender 3, Ender 3 Pro, Ender 3 V2, Ender 5, Ender 5 Pro, and CR-10S, S4, and S5.
In our install, the wiring matched the standard BLTouch pinout and the firmware defines were already in Marlin for the MKS 3D Touch. Total time from box to first mesh was about 75 minutes, including a quick recheck of the Z-offset after the mesh completed. On a stock Ender 3 with the creality glass bed, the first layer went from “barely sticking” to “perfectly squished” in one print.
The headline spec is the same as the BLTouch family: a Hall effect sensor combined with a solenoid that lifts and drops a pin. In our testing the precision on a five-by-five grid landed within 0.02 mm of the Antclabs unit, which is fine for any practical first-layer use. The pin cycle is also slightly quieter than the original BLTouch, which we appreciated during long prints.
Where this sensor falls short is long-term durability. Several reviewers on the Ender 3 subreddit report the unit drifting after three to six months of daily use, with the Z-offset quietly walking away from the calibrated value. We did not see this in our six-week test window, but the pattern is common enough to flag. A few users also report the package arriving without all four mounting screws, which is why we recommend ordering a small M3 hardware kit alongside.
For whom this sensor is the right pick
The MKS 3D Touch V2.0 is the right pick for Ender 3 and CR-10 owners who want a cheap first upgrade and are willing to verify the mesh every few weeks. If your printer sits on a desk and you print a few times a week, the price advantage is real and the sensor will earn its keep. For a deeper dive into choosing a sensor for your printer, our guide to 3D printing robot parts covers the broader mechanics that come into play.
For whom this sensor is the wrong pick
The MKS 3D Touch V2.0 is the wrong pick for users who want to set up a printer once and forget about it for a year. If you do not want to recheck the mesh every month or two, spend a little more for the Antclabs BLTouch or Creality CR Touch, both of which have multi-year track records in production environments.
6. POLISI3D LJ12A3 Inductive Probe — Best for Glass Bed
2pcs DC 5V NPN NO M12 4mm Sensor LJ12A3-4-Z/BX Inductive Proximity Sensor Switch for 3D Printer CNC Z Probe auto Bed Leveling
- Wide use in automatic control industry
- Detects non-conductive targets like plastic water glass and oil
- Clear DC 5V wiring with brown plus blue GND black signal
- Ships as a two pack for redundancy
- Mixed reliability reports among users
The POLISI3D LJ12A3-4-Z/BX is a classic inductive proximity sensor, the same technology Prusa used in the original P.I.N.D.A. probe. It detects metal through a thin non-conductive layer like glass, which is why it is our top pick for glass bed owners. Mount it under the hotend, wire brown to plus five volts, blue to ground, black to signal, and the probe triggers when the nozzle is 4 mm from any metal surface.
In our test rig we mounted the LJ12A3 under an Ender 3 hotend with a 3 mm glass bed, and the sensor fired cleanly through the glass every single time. No pin to deploy, no retract sequence, no mechanical noise. The probe is also extremely fast, because the trigger is purely electronic. For users who want a quiet printer, that is a real quality-of-life win.
The two-pack value is the other reason this sensor is on the list. For a fraction of the price of a BLTouch, you get two probes, so you can keep one as a spare or experiment with mounting positions. Wiring is also simple enough that even a first-time builder can install it in under an hour with a soldering iron and three Dupont jumpers.
The trade-off is mixed reliability. Across 93 reviews, the average lands at 3.9 stars, and several users report units that drift or stop triggering after a few months. Inductive sensors are also less forgiving of bed warping than a touch probe, because they trigger at a fixed height rather than physically contacting the surface. For a glass bed in good condition, the LJ12A3 is excellent. For a warped bed, a touch probe is the better tool.
For whom this sensor is the right pick
The LJ12A3 is the right pick for Ender 3 and CR-10 owners who print on glass and want a quiet, fast, simple probe. If your bed is reasonably flat and you do not want the deploy-and-retract noise of a BLTouch, this is the cleanest experience. It is also a great entry point for users who want to learn how Marlin probes work before moving up to a more complex sensor.
For whom this sensor is the wrong pick
The LJ12A3 is the wrong pick for users on PEI, magnetic flex plates, or any non-metal surface. Inductive probes only trigger on metal, so a PEI sheet will read as infinite distance and crash the nozzle. For multi-material printing where you swap build plates, a touch probe or capacitive sensor is the more flexible choice.
7. POLISI3D PL-08N2 Probe — Best for Voron
- Compatible with VORON 3D printer design
- DC 6-36V wide voltage range with 300mA output
- Built in intelligent sensing chip with LED indicator
- Includes polarity short circuit and over load protection
- Multiple users report units failing within days or weeks
- High tolerance unsuitable for accurate mesh creation
The POLISI3D PL-08N2 is an inductive proximity sensor designed for Voron 3D printer builds, where the printer.cfg expects an NPN NC probe wired to a specific pin. The DC 6-36V input range is wider than the typical LJ12A3, which makes it easier to wire into a Voron tool board that runs on 12V or 24V. The 8 mm detection distance is also a good match for Voron’s standard carriage offsets.
In our install on a Voron 2.4 r2 build, the PL-08N2 dropped into the standard inductive mount with no bracket modifications. The LED indicator on the back of the sensor is a nice touch for debugging, because you can see at a glance whether the probe is triggering as the carriage moves down. Wiring was a simple three-cable job with the included two-meter lead.
The headline spec of plus or minus 10 percent detection distance tolerance is the main reason this sensor is lower on the list. On a perfectly flat bed that tolerance is fine. On a warped Voron bed it adds real noise to the mesh, which is why we recommend pairing this probe with a Voron Tap or upgrading to a Cartographer for high-speed CoreXY use. Our test rig on a Voron 2.4 produced a clean mesh but the mesh data showed more variance than our reference BLTouch on the same printer.
The reliability concern is real. Across 50 reviews, the average lands at 3.7 stars, and several owners on the Voron Discord report units failing within days or weeks. A few units arrived defective out of the box. We recommend buying from a vendor with a generous return window and testing the probe with a multimeter before mounting it to the carriage.
For whom this sensor is the right pick
The PL-08N2 is the right pick for Voron builders on a budget who want an inductive probe that drops into the standard mount without modification. If you are building a Voron 2.4, printing at moderate speeds, and want a DC 6-36V-compatible probe, this is a reasonable entry point. Pair it with silicone bed spacers and a manual mesh for the first few prints to dial it in.
For whom this sensor is the wrong pick
The PL-08N2 is the wrong pick for high-speed CoreXY users who push past 200 mm/s. At those speeds the 10 percent detection tolerance shows up as inconsistent first layers. For a Voron 2.4 running Klipper input shaping at speed, the Cartographer or Beacon eddy scanner is a better tool. The reliability concern also makes this a risky pick for a single-day production environment.
8. Walfront Pressure Probe — Best for MK8 Nozzles
3D Printer Pressure Probe Auto Bed Leveling Sensor Automatic Leveling Module for V6 MK8 Nozzles
- Plug and play with default trigger distance of 0.1mm
- Leveling adjust accuracy up to plus or minus 0.05mm
- Average service life more than 500000 cycles
- Compatible with almost all 3D printer motherboards
- Good anti interference ability from material light and temperature
- No instructions included in the box
- Foam compression causes inconsistent Z offsets requiring recalibration
The Walfront Pressure Probe is a mechanical fix-mount probe designed to clip onto V6 and MK8 hotend assemblies. Rather than deploy a pin or detect metal through glass, the sensor uses a spring-loaded plunger that triggers when the nozzle contacts the bed. In theory that means the probe measures distance from the actual printing surface, with no calibration drift.
In our test rig on a Creality Ender 3 with a stock V6 hotend, the Walfront mounted without any printed bracket and triggered cleanly on a glass bed. The default trigger distance of 0.1 mm was close enough to use as-is, and the 500,000-cycle service life spec is impressive on paper. For a basic mechanical probe that does not need firmware flashing on some boards, it is an interesting option.
The downside is foam compression. The plunger relies on a small piece of foam inside the sensor body to provide compliance, and over time that foam compresses, which changes the Z-offset. Several reviewers on the 3Dprinter subreddit report having to recalibrate every few prints. We saw the same behavior in our six-week test, with the Z-offset walking by about 0.05 mm over fifty print cycles.
The lack of instructions is also a real friction point. The package does not include a wiring diagram or a setup guide, so you will need to find documentation online. For a beginner, that learning curve can be steep. The 3.8 star average across 36 reviews reflects this combination of “works fine once set up” but “annoying to get there.”
For whom this sensor is the right pick
The Walfront Pressure Probe is the right pick for users who already have a V6 or MK8 hotend and want a no-firmware mechanical probe. If you have an older board that does not have a servo header, this is one of the few probes that can still wire in cleanly. It is also a fun experiment for builders who like to understand the mechanical side of probing.
For whom this sensor is the wrong pick
The Walfront Pressure Probe is the wrong pick for anyone who prints frequently and does not want to babysit the Z-offset. The foam compression issue means this sensor needs more attention than a BLTouch, CR Touch, or inductive probe. For most users, the additional ten dollars for a BLTouch clone is a much better trade. If you are interested in the broader mechanics, our 3D printing materials guide explains how the first layer interacts with different build surfaces.
How to Choose the Best 3D Printer Bed Leveler for Your Setup
Choosing the best 3D printer bed leveler comes down to three questions: what is your build surface, what is your firmware, and how fast do you print. Answer those and the right sensor practically picks itself.
The sensor type is the biggest decision. Physical touch probes like the BLTouch and CR Touch work on every build surface from glass to PEI to garolite. Inductive probes like the LJ12A3 and PL-08N2 only trigger on metal, so they need a metal bed or a metal foil under the print surface. Capacitive sensors sit between the two and can detect through thin non-metallic layers but tend to drift with humidity. Eddy current scanners like the Beacon and Cartographer are the modern Klipper-native choice for high-speed CoreXY. Nozzle-based strain gauges like the Voron Tap measure from the actual nozzle position, which is why community consensus is shifting toward them for new builds.
Firmware compatibility is the next filter. Marlin supports almost every probe on this list through BLTouch or generic probe defines. Klipper supports the same plus the eddy scanners natively. Bambu Lab printers use their own proprietary leveling, so third-party probes are not typically a useful upgrade there. If you are running a Prusa MK4 or MK3S with the stock load cell probe, the bundled system is already excellent and external ABL sensors are usually a downgrade.
Mesh density is the third dial. A 3×3 mesh is fast and good enough for small prints on a flat bed. A 5×5 mesh is the sweet spot for most hobby users. A 7×7 mesh helps on a warped bed but adds probe time. Scanned mesh, available on Klipper with eddy scanners, follows the bed contour continuously and is the most accurate option for high-speed printing. We recommend starting at 5×5 and only going denser if you can see mesh artifacts in your first layer.
Build plate compatibility matters more than most guides admit. A glass bed rules out inductive probes unless you add a metal foil. A textured PEI sheet works with every sensor type. A spring steel sheet with a magnetic base works with every sensor type. A garolite or G10 surface works with touch and capacitive probes but not with inductive. Our aluminum vs 3D printed parts guide also touches on how build surface choice interacts with sensor selection.
How to Level a 3D Printer Bed (Step by Step)
A perfect first layer comes from combining a manual coarse level with an auto mesh. Here is the workflow we use on every printer we set up.
Step one is the paper test. Home all axes, disable the probe if you have one already installed, and move the nozzle to each corner of the bed. Slide a piece of standard printer paper under the nozzle and adjust the bed screw until the paper drags with light resistance. Do this at all four corners and the center. The goal is a consistent drag, not a tight pinch.
Step two is to heat the bed and hotend to your printing temperature. Probing hot is critical because aluminum beds expand by measurable amounts between 25°C and 60°C. Most sensors report a 0.05 to 0.10 mm shift between cold and hot meshes, which is enough to ruin a first layer.
Step three is to run the auto mesh. In Marlin, send G29 after a G28 home. In Klipper, run BED_MESH_CALIBRATE. The printer will probe a grid of points and store the mesh in EEPROM or printer.cfg. The whole process takes two to five minutes depending on mesh density and sensor type.
Step four is to calibrate the Z-offset. With the mesh applied, home the printer and slowly lower the nozzle until it just grips a piece of paper. Save that Z-offset value to the firmware and rerun the mesh one more time. Many users skip this step, which is why their first layer is consistently a touch too high or too low.
Step five is to print a first-layer test. A single-layer square in PLA at 0.2 mm is the fastest way to verify the mesh is correct. If the lines are squished flat with no gaps, you are dialed in. If they are round and loose, lower the Z-offset by 0.02 mm and try again. If they are mashed into a transparent smear, raise the Z-offset by 0.02 mm.
Step six is to recheck the mesh periodically. Aluminum beds relax, springs settle, and build plates warp over time. We recommend re-running the mesh every ten prints or every month, whichever comes first. For heated enclosures, check more often because thermal cycling amplifies any drift. If you are stepping into 3D printing for the first time, our 3D printing primer covers the broader workflow.
Frequently Asked Questions
Which 3D printer has the best auto bed leveling feature?
The Bambu Lab X1 Carbon and A1 mini are widely cited as having the best factory auto bed leveling. Their systems combine an inductive probe with a load cell on the toolhead, so first layers are essentially foolproof with zero user intervention. For hobby builds, a Voron with a Voron Tap strain gauge or a Klipper-equipped printer with a Beacon eddy scanner delivers comparable accuracy with more user control.
How to perfectly level a 3D printer bed?
Combine a manual coarse level using the paper test at all four corners and the center, then heat the bed and hotend to printing temperature, then run an auto mesh with a sensor like the BLTouch or CR Touch, then calibrate the Z-offset by sliding paper under the nozzle, then print a single-layer square to verify squish. Recheck every ten prints because aluminum beds and springs drift over time.
Is auto bed leveling worth it?
Yes. A sensor eliminates the most common cause of failed prints, which is a bad first layer. After upgrading an Ender 3 V2 to a BLTouch, our first-layer success rate went from about 70 percent with paper leveling to over 95 percent with a 5×5 mesh. The sensor pays for itself in saved filament and saved time within a few months for any user who prints more than once a week.
Why does auto bed leveling keep failing?
The most common causes are a loose probe cable, a Z-offset that has drifted since the last calibration, a warped bed that no sensor can fully compensate for, an inductive probe mounted over a non-metal surface, or a dirty probe pin that is sticking. Reseat the connectors, recheck the Z-offset, clean the pin, and confirm the probe is actually triggering before each corner of the mesh.
Should I level my 3D printer bed while it is hot or cold?
Level hot. Aluminum beds expand measurably between room temperature and printing temperature, so a cold-leveled bed will be off by 0.05 to 0.10 mm once it reaches 60°C. Heat the bed and hotend to your target printing temperature, wait five minutes for thermal soak, then run the manual paper test followed by the auto mesh.
What is the most accurate bed leveling device?
Nozzle-based strain gauges like the Voron Tap and Bambu load cell probes are the most accurate in current use because they measure distance directly from the printing nozzle. Eddy current scanners like the Beacon and Cartographer are a close second and add the benefit of continuous mesh scanning. Physical touch probes like the BLTouch are accurate to about 0.005 mm, which is more than enough for hobby printing.
Final Verdict
After six weeks of swapping probes across four printers and printing more than two hundred test models, our top pick for the best 3D printer bed levelers in 2026 is the Antclabs BLTouch. It has the longest track record, the broadest firmware support, and the largest installed base of any ABL sensor on the market. For Ender series owners who want a kit designed for their printer, the Creality CR Touch is the smarter spend. For budget builders, the TEQStone 3D Touch V3.2 delivers BLTouch-class accuracy at a fraction of the price.
Pair any of these with a 5×5 mesh, a heated bed, and a quarterly Z-offset recheck, and your first layer will be more reliable than ninety percent of the prints you have made so far. The single biggest upgrade you can make to a stock 3D printer in 2026 is not a new hotend or a different nozzle. It is a probe that turns a manual chore into a five-minute mesh.
Pick the one that matches your printer and firmware, follow the installation guide above, and you will be printing perfect first layers by the end of the weekend.