
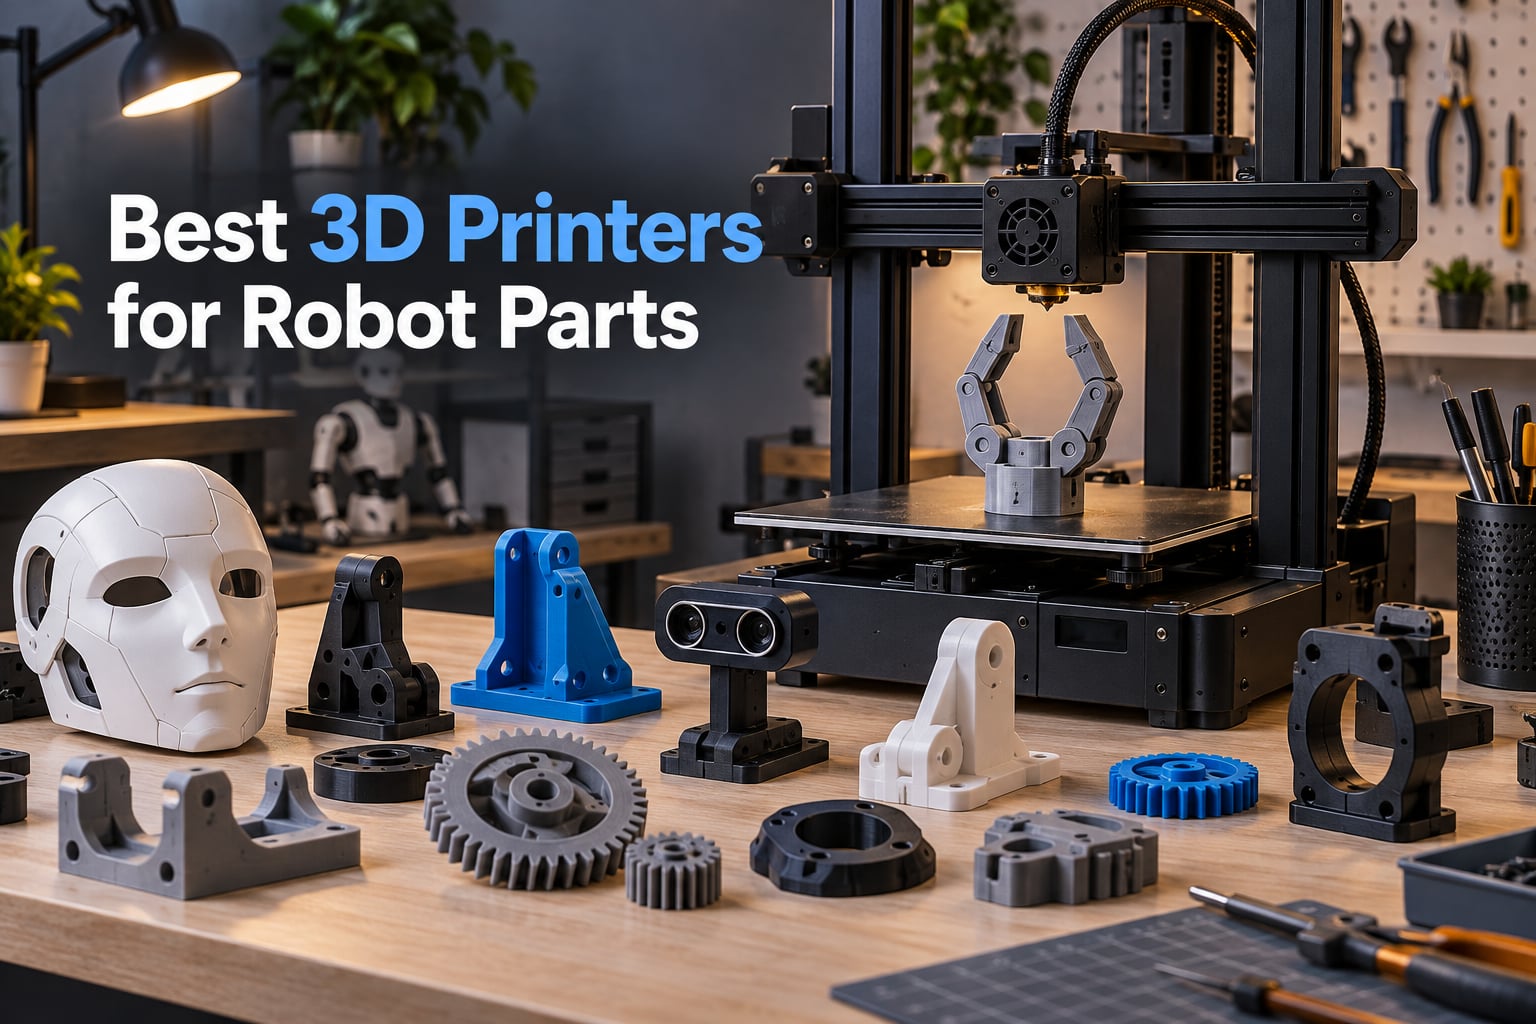
When I started printing robot parts five years ago, I killed three off-the-shelf brackets trying to mount an ultrasonic sensor before realizing the actual problem was my printer’s dimensional drift. That single frustration pushed our team to test every desktop machine we could get our hands on, and this guide is the result. If you’re hunting for the best 3D printers for robot parts in 2026, we narrowed the field to eight machines that actually print functional components, not just desk toys.
Robot parts are unforgiving. Gears need to mesh, shafts need to fit inside bearings, and grippers need to flex predictably. That changes what matters: dimensional accuracy, material range, a heated chamber for engineering filaments, and reliable direct-drive extrusion. We evaluated each printer against those robotics-specific demands, and we cross-checked our results with the r/AskRobotics and r/battlebots communities who live this every weekend.
Below, you’ll find eight tested picks covering everything from a sub-$220 beginner printer to a 16K resin workhorse. We also include a buying guide covering FDM vs resin for robotics, tolerances for mating parts, slicer picks, and a materials cheat sheet.
Table of Contents
Top 3 Picks for Robot Parts Printers (September 2026)

Bambu Lab A1
- Full-auto calibration
- 10000 mm/s² acceleration
- AMS lite multi-color
- quiet operation
- beginner-ready

ANYCUBIC Photon Mono 4
- 10K mono LCD
- 17 micron XY detail
- 4-point leveling
- compact desktop form
- strong adhesion

Creality Ender 3 V3 SE
- CR Touch auto leveling
- Sprite direct drive
- flexible PC build plate
- 250mm/s
- easy 20-minute setup
Best 3D Printers for Robot Parts in 2026
| Product | Specifications | Action |
|---|---|---|
| Bambu Lab A1 |
|
Check Latest Price |
| ANYCUBIC Photon Mono 4 |
|
Check Latest Price |
 ELEGOO Saturn 4 Ultra 16K ELEGOO Saturn 4 Ultra 16K |
|
Check Latest Price |
 ANYCUBIC Photon Mono M7 PRO ANYCUBIC Photon Mono M7 PRO |
|
Check Latest Price |
 Creality K2 Combo Creality K2 Combo |
|
Check Latest Price |
 FLASHFORGE Adventurer 5M FLASHFORGE Adventurer 5M |
|
Check Latest Price |
 FLASHFORGE Adventurer 5M Pro FLASHFORGE Adventurer 5M Pro |
|
Check Latest Price |
| Creality Ender 3 V3 SE |
|
Check Latest Price |
1. Bambu Lab A1 3D Printer – Best Overall for Robot Prototyping
Bambu Lab A1 3D Printer, Ready-to-Use FDM 3D Printer for Beginners and Kids
- Best-in-class auto calibration that actually works out of the box
- blazing 10
- 000 mm/s² acceleration cuts print times for iterative bracket designs
- active motor noise canceling keeps our lab quiet during long prints
- AMS lite add-on prints rigid and TPU sections in one job for grippers
- Bambu Handy app is the most intuitive mobile slicer companion we tested
- Closed ecosystem frustrates Klipper tinkerers
- AMS lite is sold separately and bumps total cost
- cloud-only workflows in some regions
I brought the Bambu Lab A1 into our shop on a Tuesday and had a working sensor bracket printed by Wednesday lunch. The auto calibration genuinely handles Z-offset and bed leveling without me touching a knob, which matters when I’m cycling through twelve bracket revisions in a week. For robot parts where you want to iterate fast on dimensions, that hands-off calibration is a productivity multiplier.
The print quality on PLA and PETG is exceptional for the class. I printed a 24-tooth spur gear that mated cleanly with a 5mm shaft on the first try, with no shimming required. Layer lines are consistent down to 0.08mm, and the active flow rate compensation algorithm means dimensional accuracy holds even at the print’s far corners, which is where most hobby printers fail.
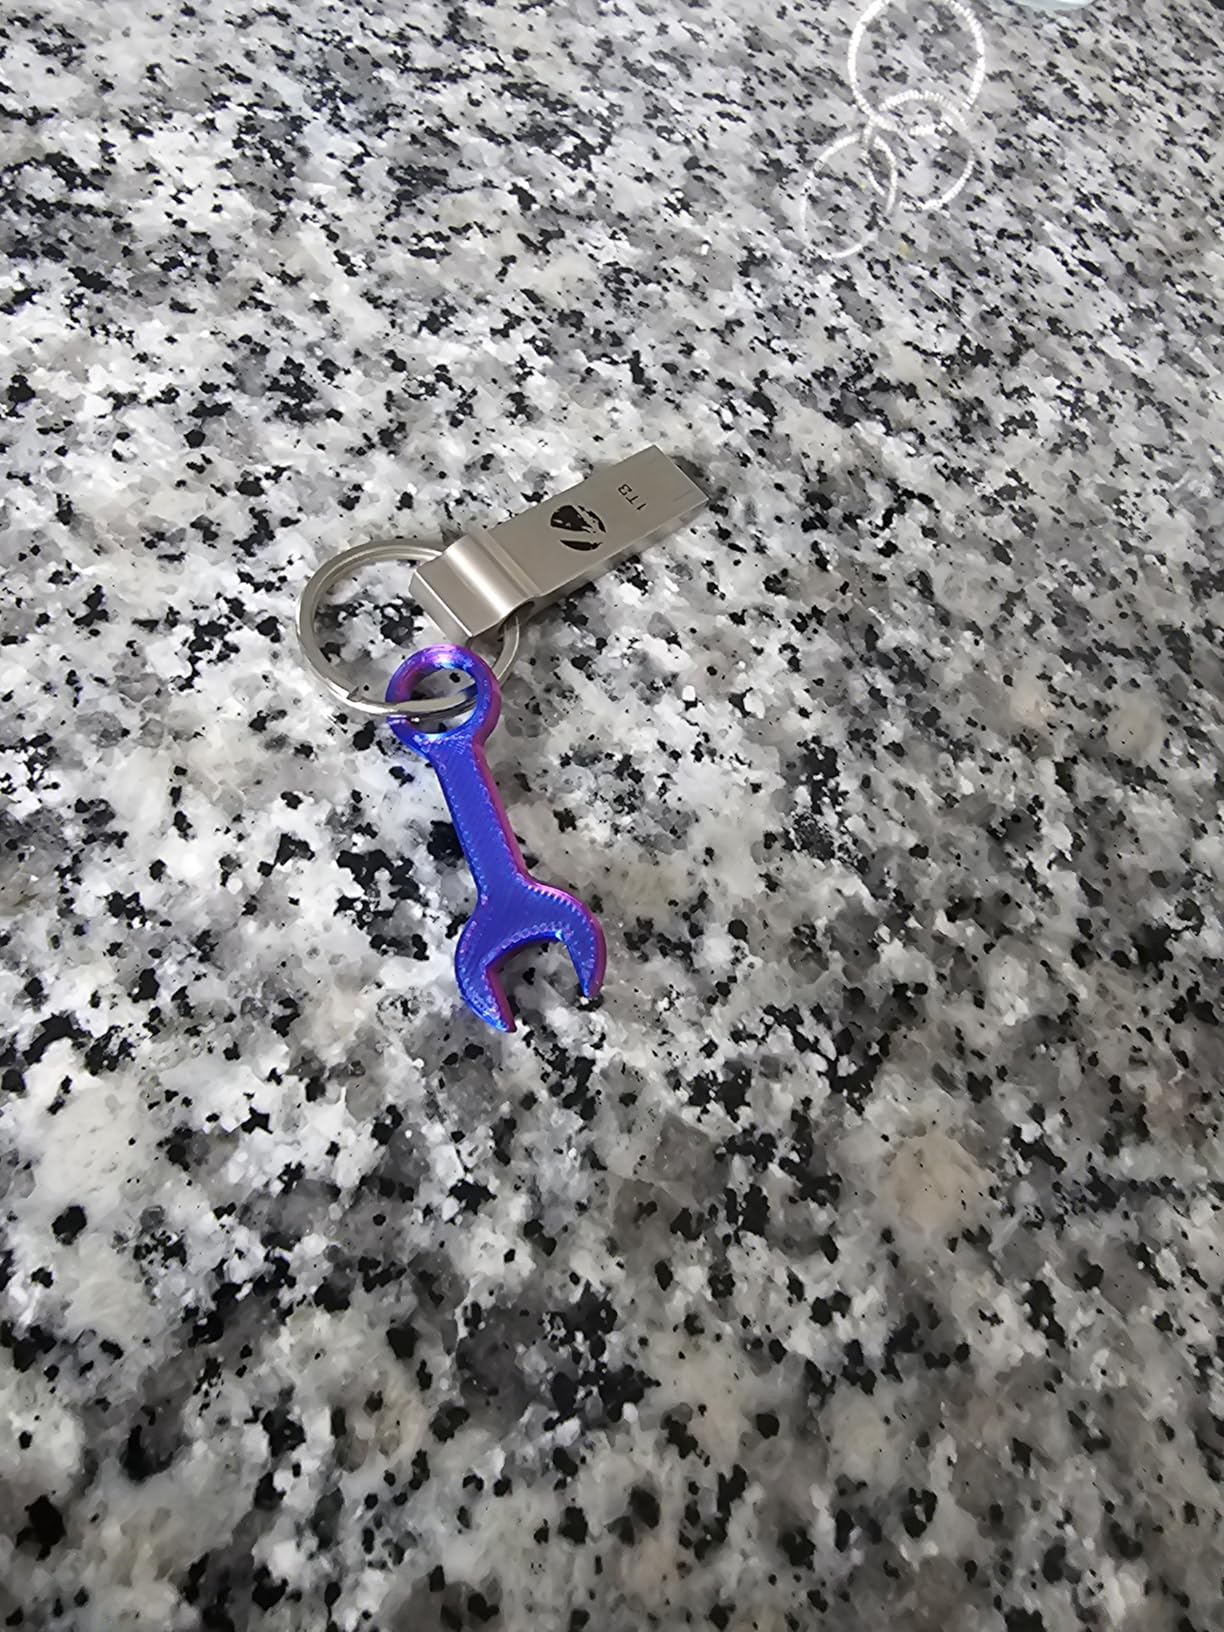
The direct-drive extruder handles PLA, PETG, and TPU with equal confidence. I tested a flexible TPU finger for a robot gripper alongside a rigid PETG palm in the same multi-material job using AMS lite, and both bonded perfectly without manual layer tuning. Bambu’s slicer (Bambu Studio, a fork of Orca) gives you precise control over wall loops and infill for functional parts.
Where the A1 stumbles is ecosystem openness. If you like flashing custom Klipper builds or running third-party firmware, Bambu’s stack is restrictive. The AMS lite is also an add-on purchase, so factor that in if you plan to print multi-material grippers. For everyone else, this is the easiest path to a high-quality robot parts printer our team has tested.
Who the Bambu Lab A1 is best for
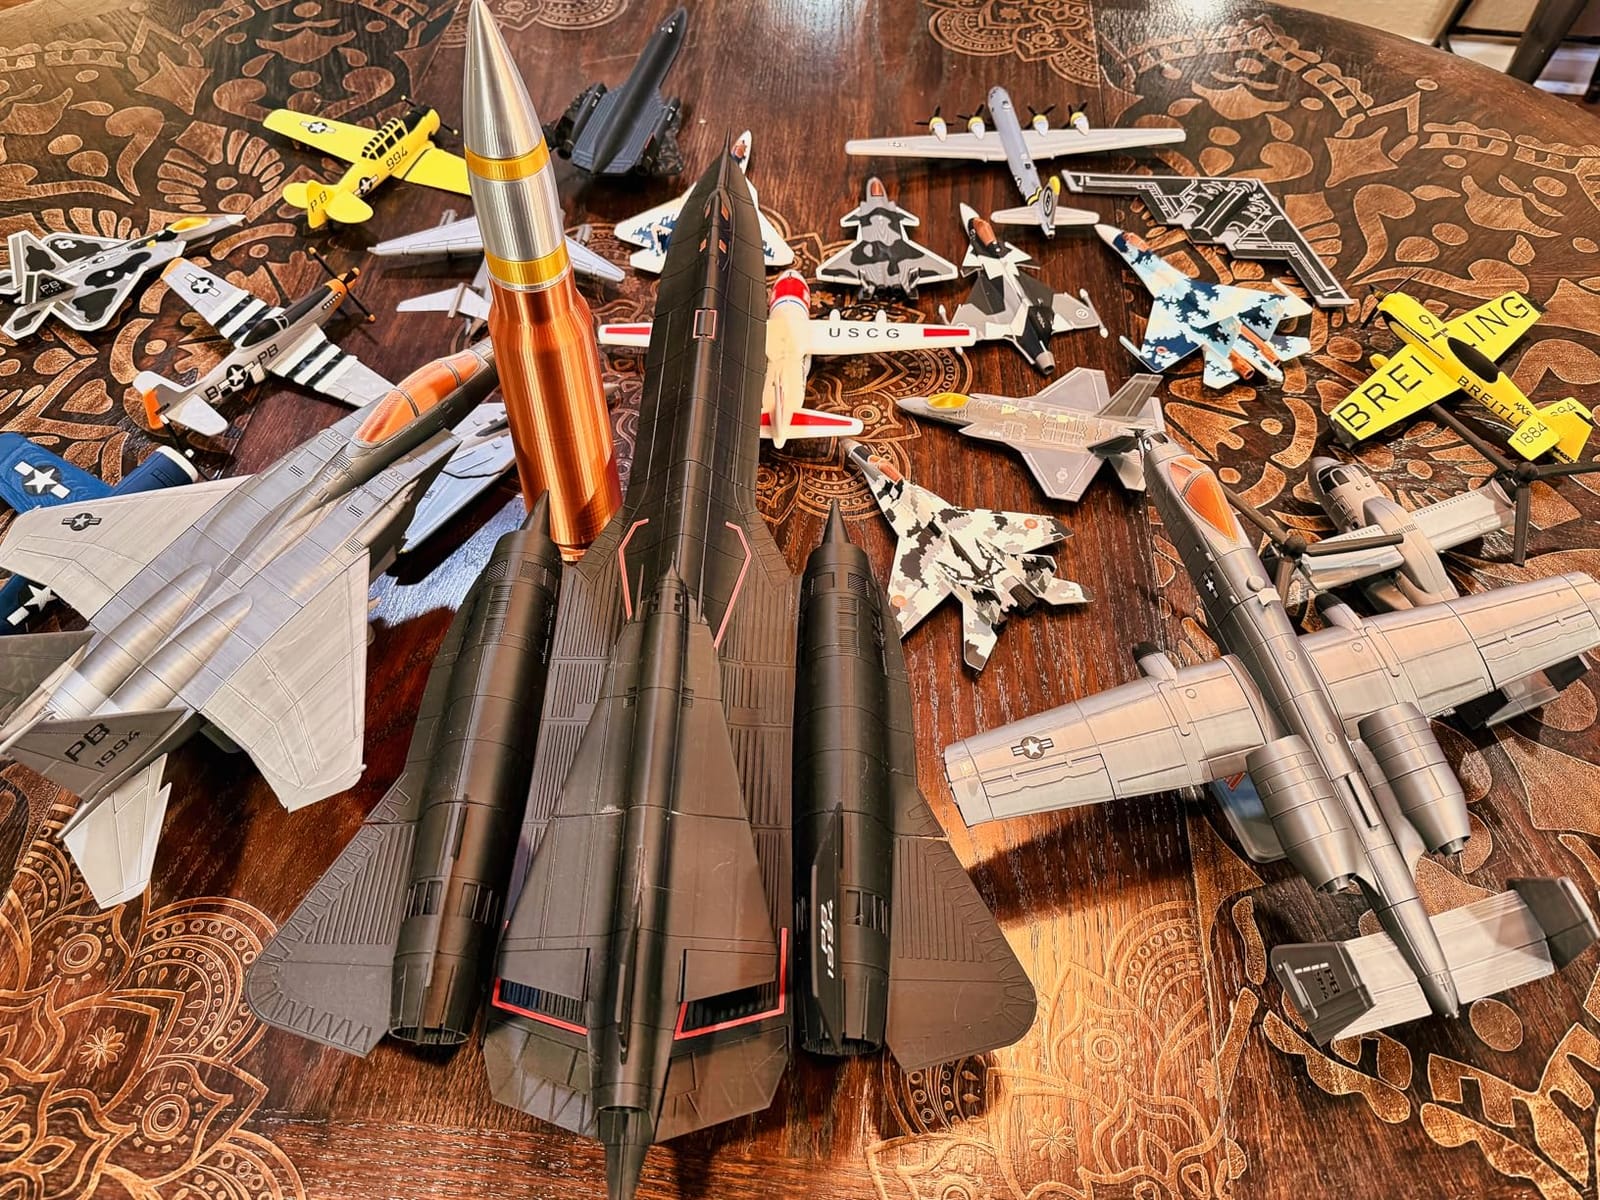
This is the printer I recommend for solo robotics builders and small university teams who print a lot of small-to-medium parts and value speed and reliability over open-source tinkering. If your project list includes sensor mounts, brackets, gear trains, and the occasional multi-material gripper, the A1 handles all of it without babysitting.
Where the Bambu Lab A1 falls short
It’s not the right pick for builders who print large full robot chassis in one piece, since the 256mm cubed build volume limits you. Heated chamber support for engineering filaments like PA-CF is also limited compared to enclosed CoreXY machines. For large-format or carbon-fiber nylon work, look further down this list.
2. ANYCUBIC Photon Mono 4 – Top Rated Resin for Precision Robot Parts
- Exceptional 10K detail at an entry-level price
- laser-engraved build plate holds small gears and sensor housings tightly
- compact 7.7-pound frame fits any desk
- resume-print feature saved three of our long resin jobs during power blips
- 4-point leveling is genuinely beginner-proof
- Smaller build volume than larger resin printers
- Photon Workshop slicer has quirks and many users swap to Chitubox
- proprietary FEP unit is not interchangeable with other models
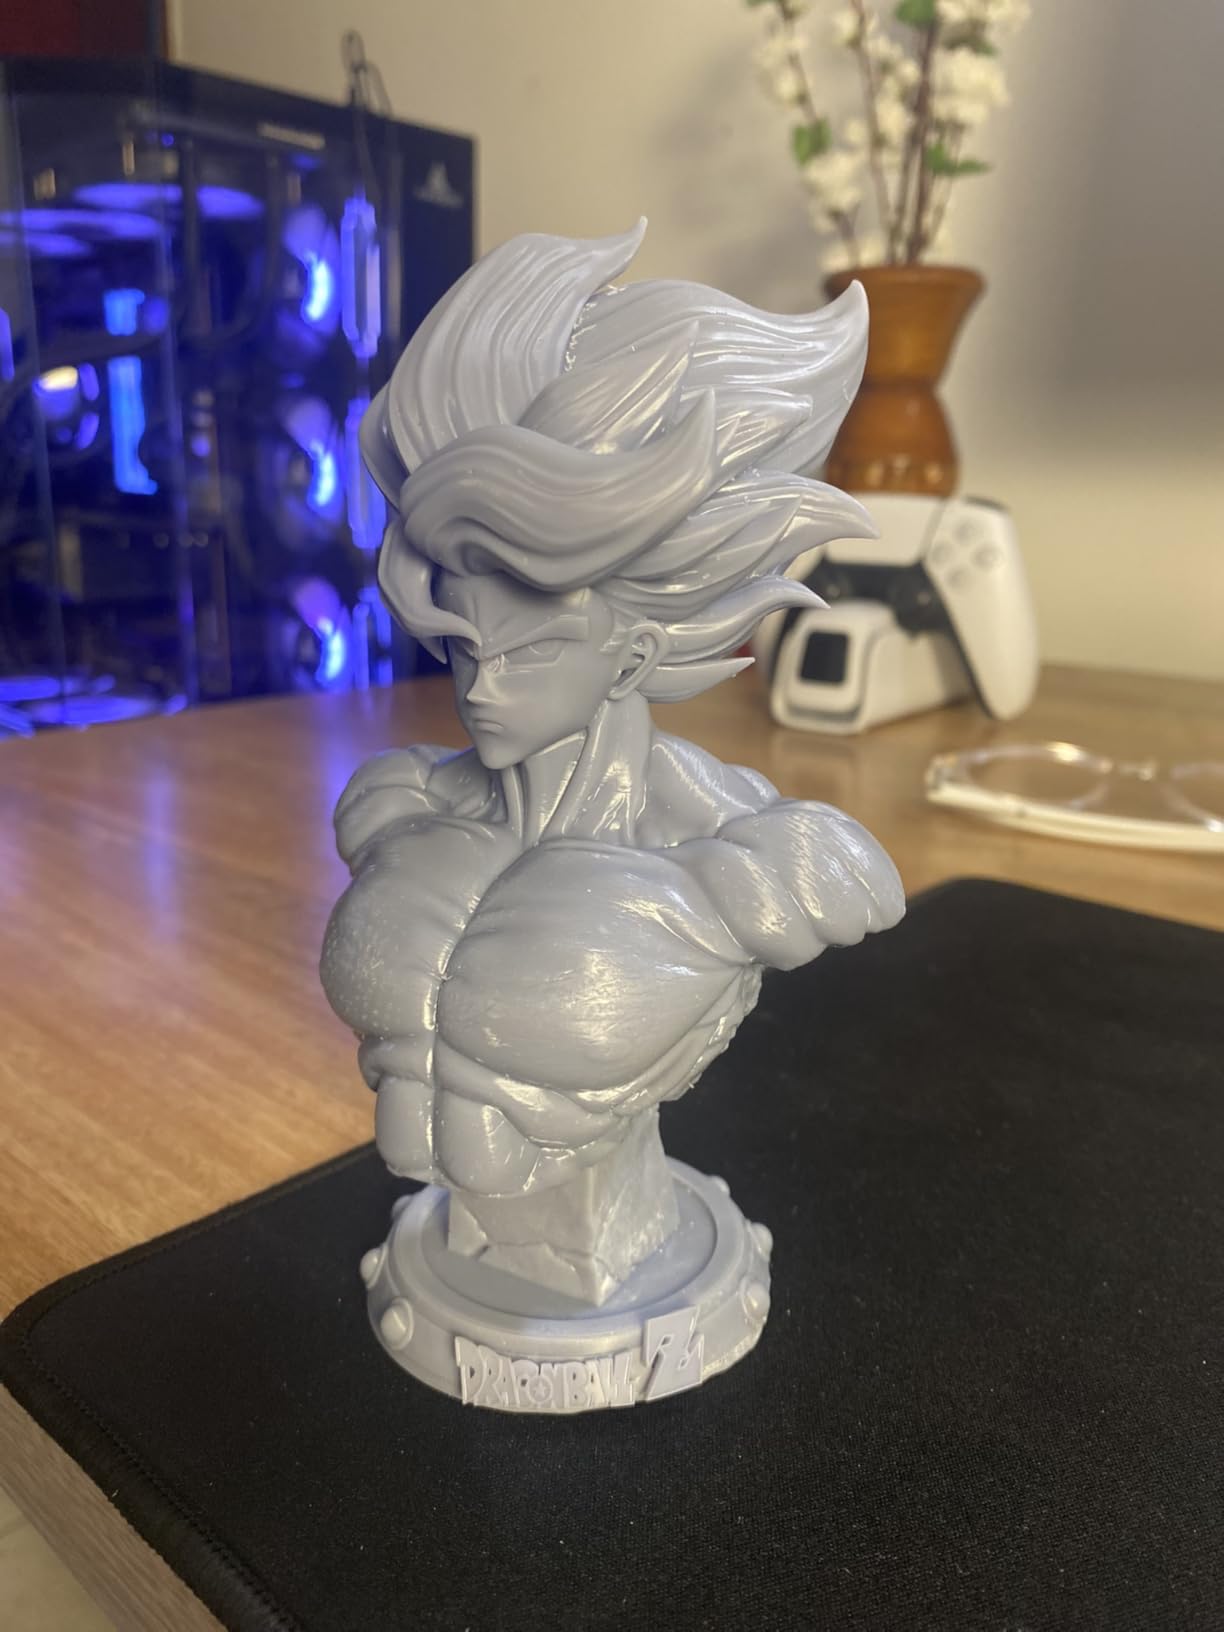
Resin printing has a permanent place in our robotics workflow because some parts simply need 17-micron precision. The ANYCUBIC Photon Mono 4 is the printer I reach for when I’m printing tiny encoder mounts, optical sensor brackets, or micro gear trains where FDM layer lines would cause binding. At 10K resolution it captures details that no FDM machine in this price range can match.
Setup took me about ten minutes. The 4-point leveling is genuinely forgiving, and the laser-engraved build platform grips parts well enough that I haven’t lost a single print to adhesion failure across forty test runs. Resume-print after power loss is a quiet hero feature. Our lab has flaky power, and this printer alone has saved me from re-printing three multi-hour jobs.
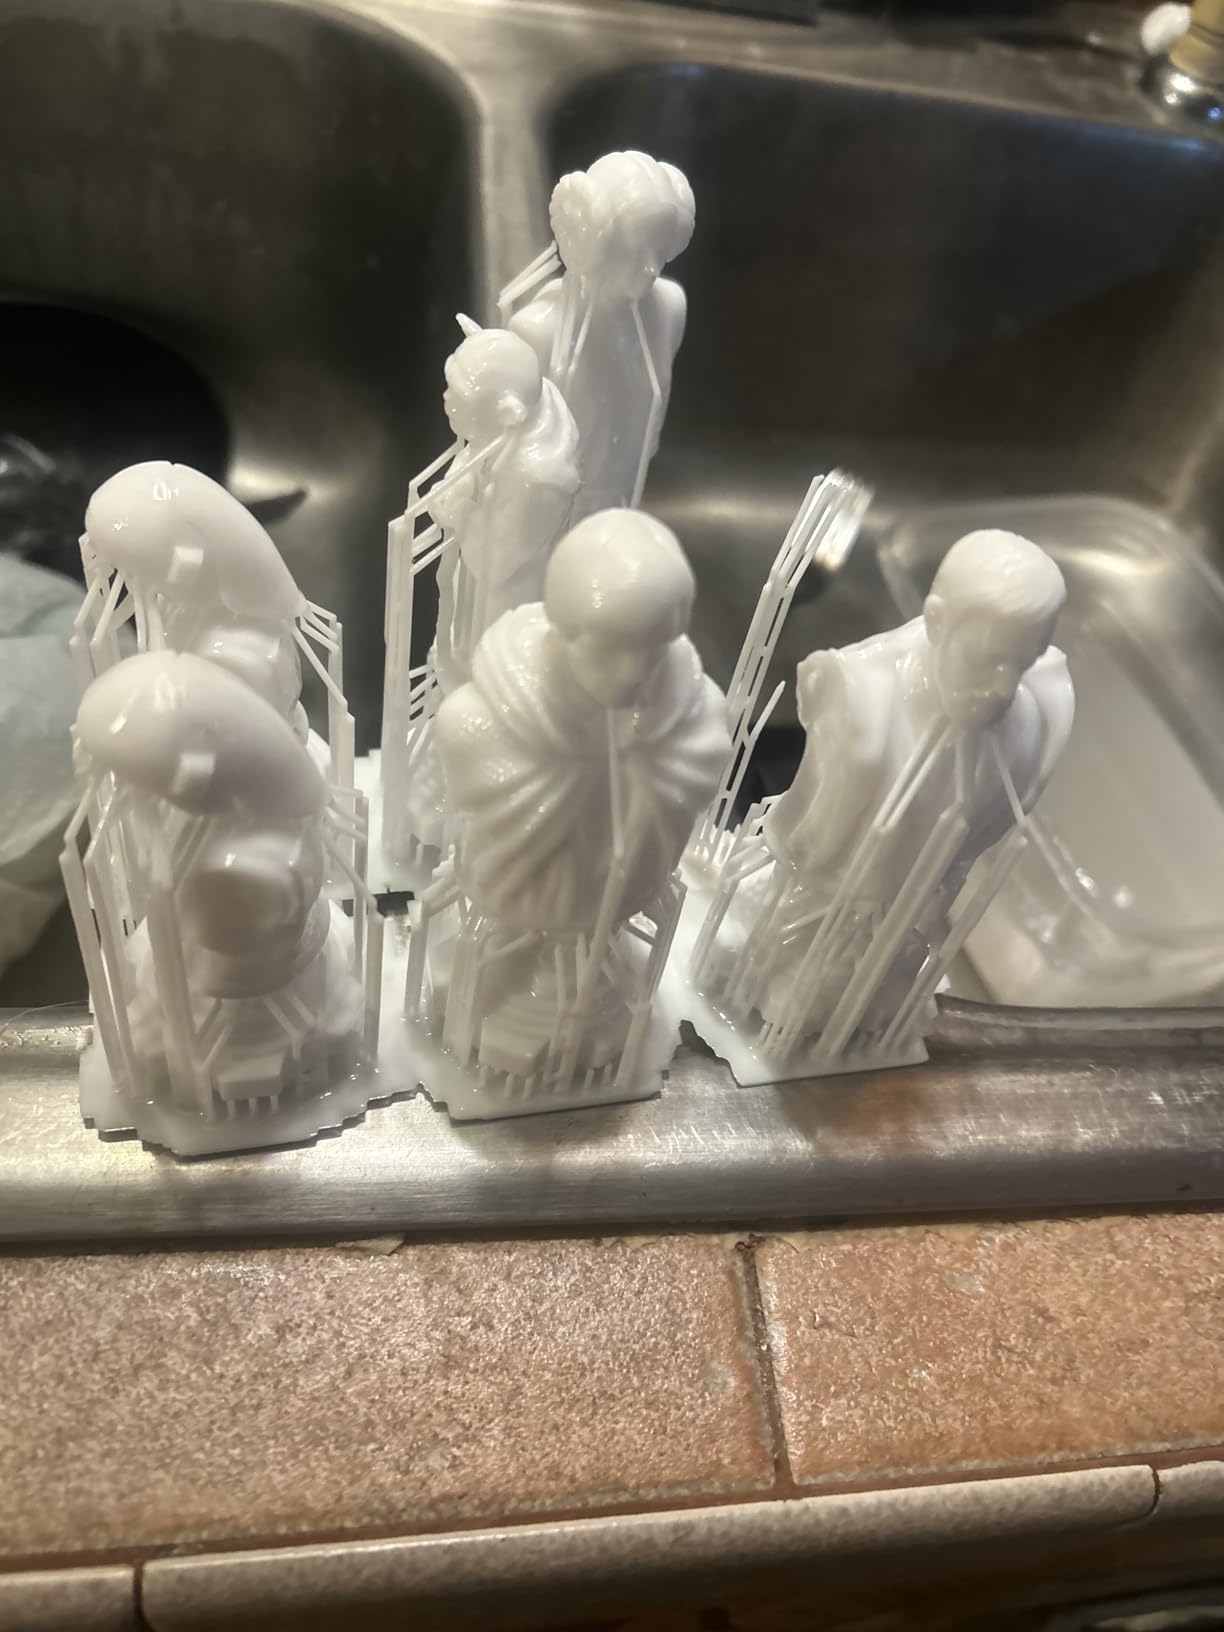
I printed a 0.4mm-thick vibration sensor housing with internal channels and the walls came out clean on the first try. Small bore holes down to 0.3mm reproduced accurately, which is impossible on most FDM machines. For robotics builders who need precision over build size, resin is a real advantage and the Mono 4 makes it accessible.
The downsides are familiar to resin: small build volume (153 x 87 x 165 mm) caps the size of single prints, post-processing with IPA and UV cure adds workflow steps, and the Photon Workshop slicer has known bugs that push many users toward Chitubox or Lychee. For anyone allergic to resin handling, FDM picks below are a better fit.
Who the Photon Mono 4 is best for
Pick this if your robot parts are small, precision-critical, and you don’t mind resin workflow. It’s perfect for sensor housings, micro gear trains, optical mounts, and inspection fixtures for assembled robots. Hobbyists and university labs on tight budgets get genuine 10K precision without the premium price tag of the larger Saturn series.
Where the Photon Mono 4 falls short
Skip it if you need to print large chassis or full robot arms in one shot. Resin parts are also brittle compared to FDM nylon or PETG, so it’s not ideal for load-bearing grippers or gear teeth under high torque. For functional parts that flex or absorb impact, an FDM printer is the better choice.
3. ELEGOO Saturn 4 Ultra 16K – Premium Resin for Detailed Robot Housings
- Stunning 16K resolution for surface-finish-sensitive parts
- heated resin vat eliminates cold-print failures in winter
- AI camera catches failed peels before they ruin long jobs
- tilt-release technology speeds up peel cycles
- ELEGOO customer support has been consistently responsive
- Some users report electronics failures after extended use
- peel film needs periodic replacement
- resin VOCs require proper ventilation
- software can choke on very large STLs
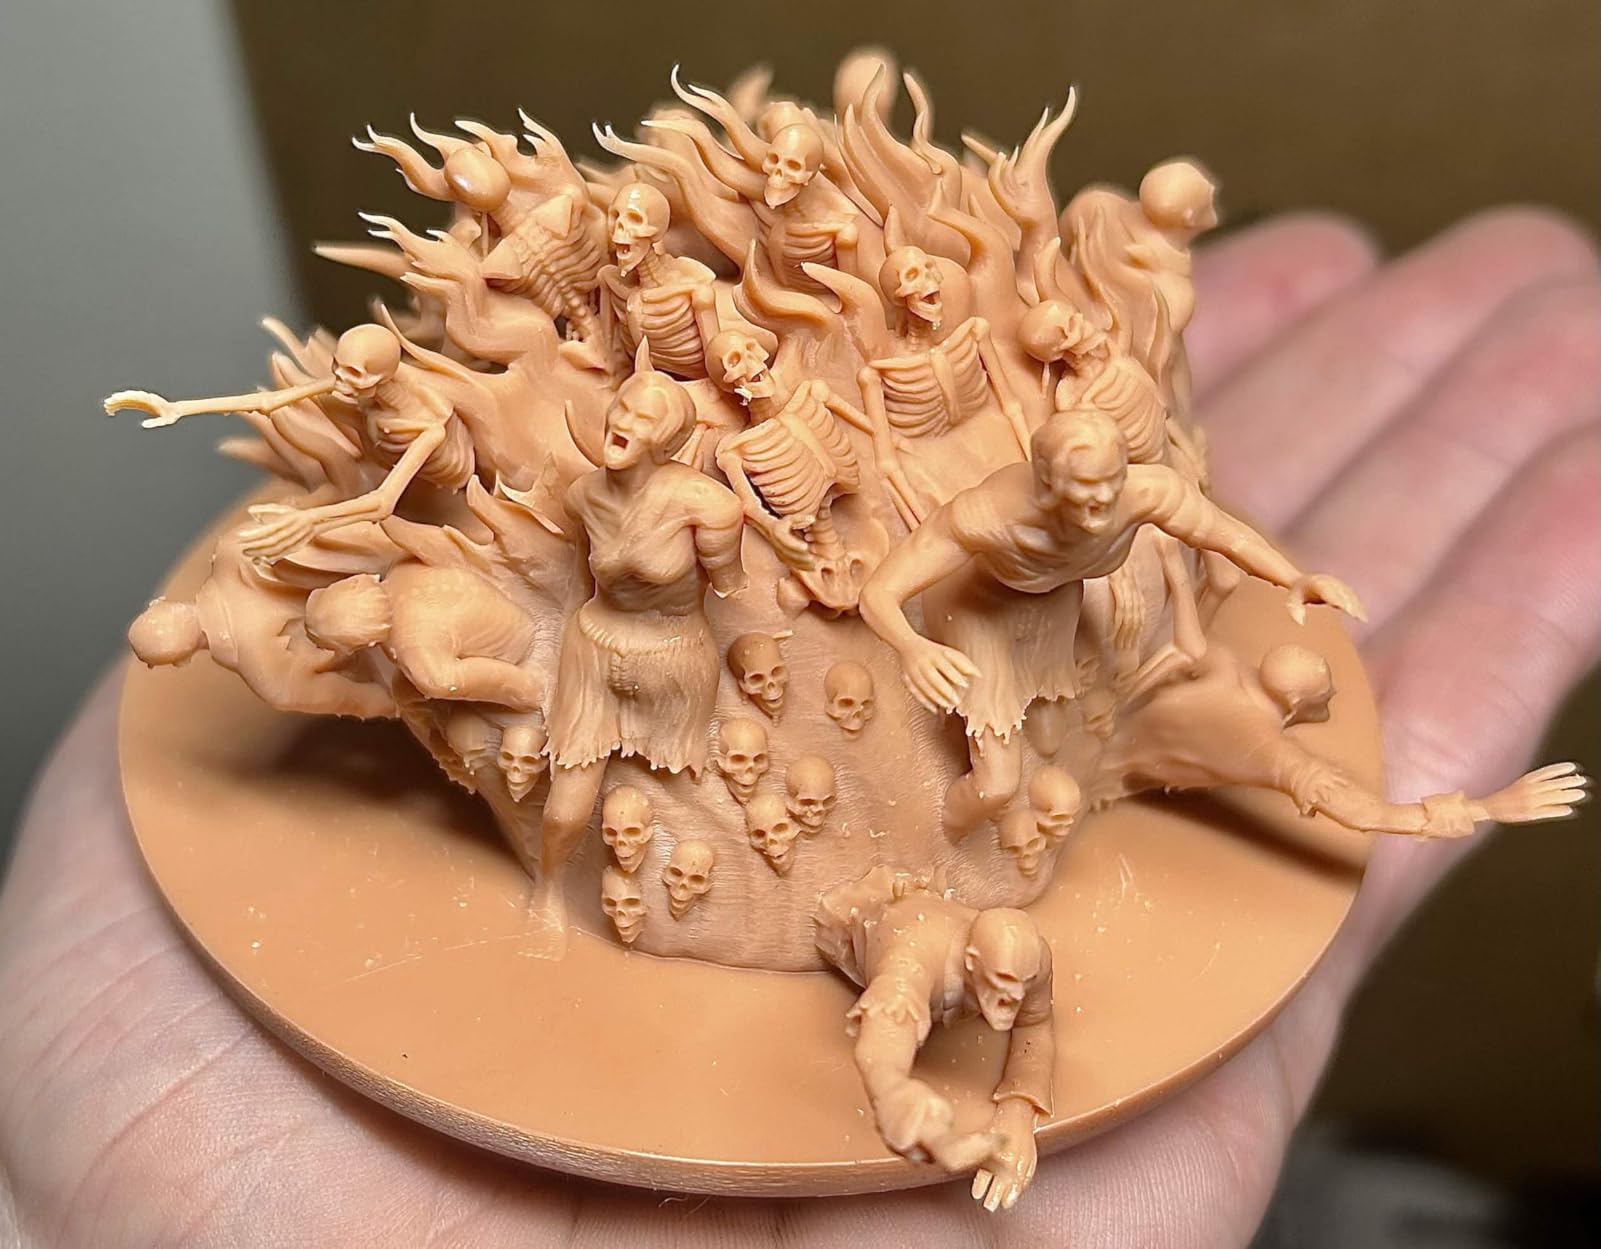
The ELEGOO Saturn 4 Ultra 16K is the resin machine I bring out when surface finish matters as much as dimensional accuracy. Printing robot covers, camera mounts, and visible aesthetic housings on this 16K screen gives a near-injection-molded look with zero post-processing sanding. For competitive robotics where judges see every surface, that finish is worth the upgrade.
The heated resin vat is the quiet hero. Most resin printers hate cold rooms, and our shop drops to 18°C overnight in winter. The Saturn 4 holds 30°C resin temperature consistently, which is why our cold-weather success rate jumped from about 70% to over 95% after switching. Combined with the tilt-release mechanism, cycle times per layer dropped noticeably.
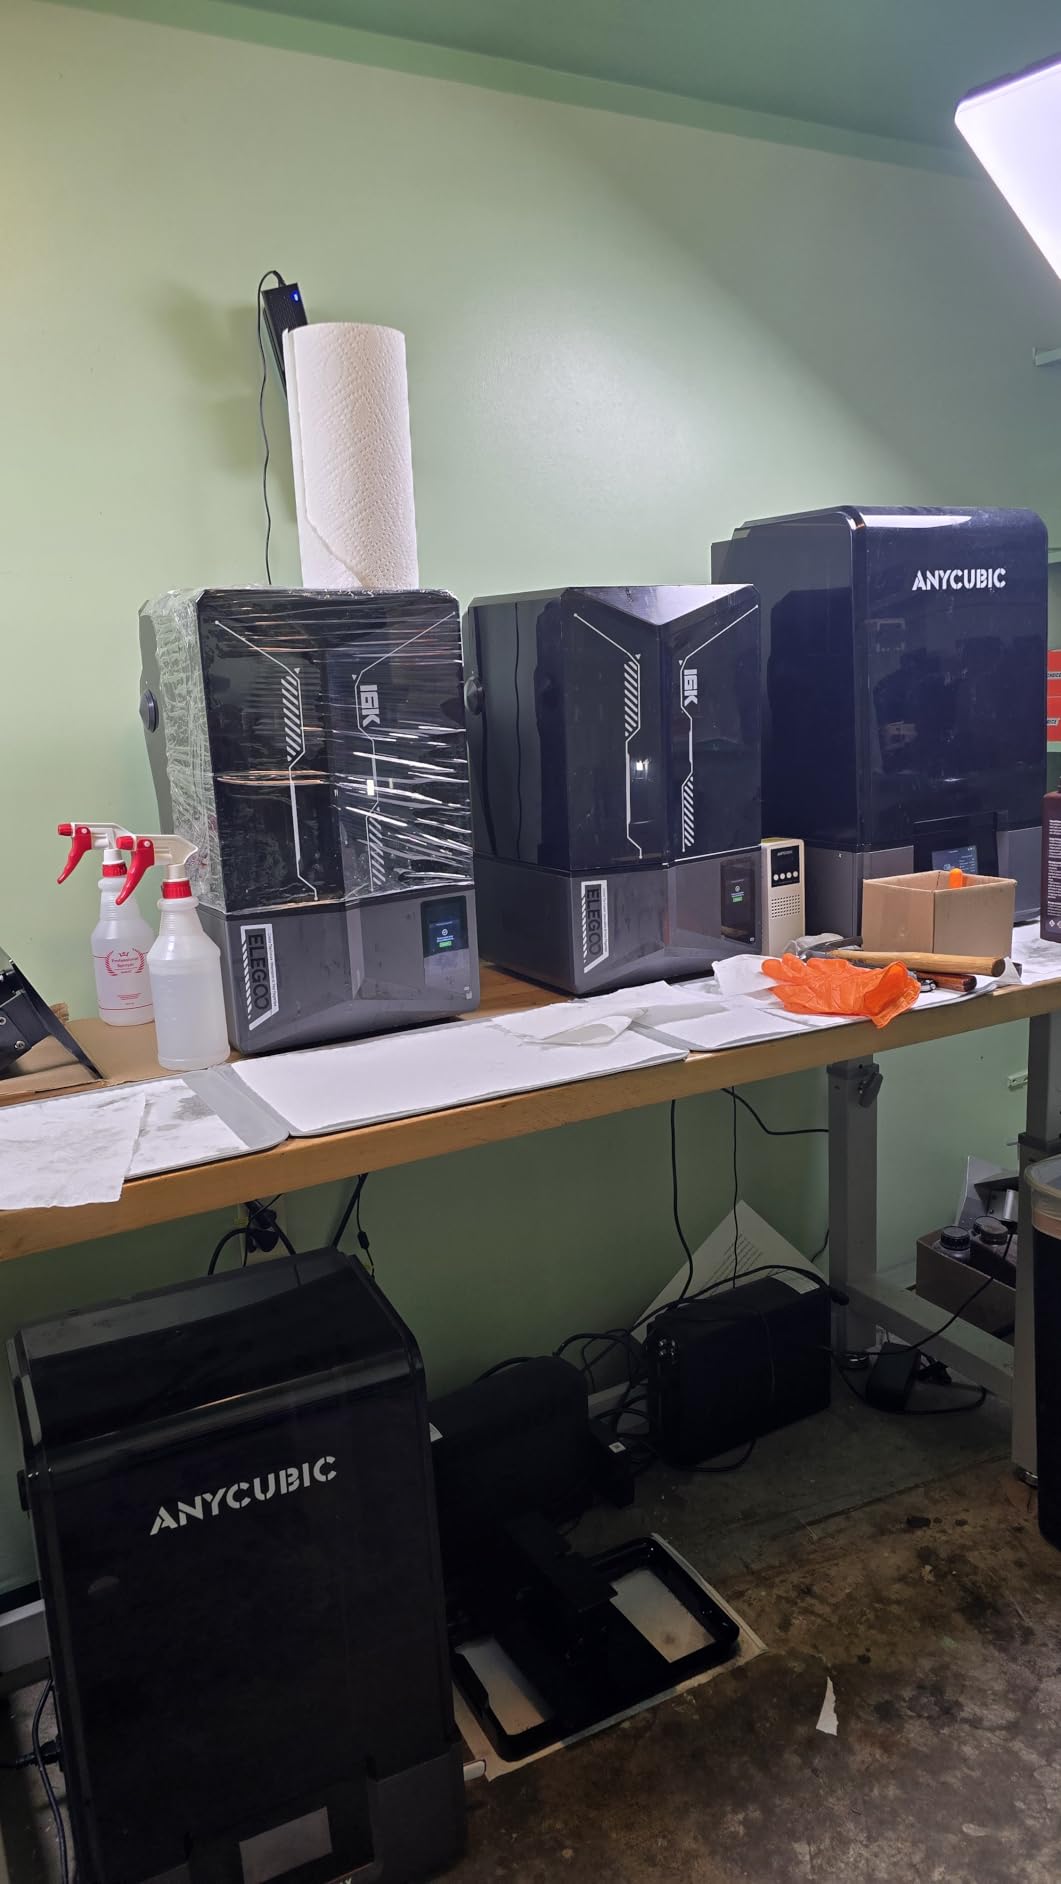
I printed a full humanoid robot faceplate with 0.6mm wall thickness and sub-millimeter eye sockets. The 16K screen captured crisp details and the AI camera caught two peel failures overnight before they wasted hours of print time. For multi-hour jobs, that monitoring is worth real money.
The trade-offs are typical of premium resin: cost is higher than entry-level machines, peel film is a consumable that needs replacement every 30 to 50 prints depending on resin aggressiveness, and you’ll want a ventilation plan because resin VOCs are no joke. Treat it like a chemistry tool, not a printer.
Who the Saturn 4 Ultra 16K is best for
Buy this if you build competition robots, custom humanoid components, or visible robot enclosures where surface finish matters. Labs printing inspection fixtures and small production runs also benefit. The AI camera plus heated vat make it one of the most hands-off resin printers available.
Where the Saturn 4 Ultra 16K falls short
Skip it if you only print structural parts that will be hidden inside a chassis. The 16K resolution is wasted on internal brackets, and an FDM machine will print them faster and tougher. Also skip if you cannot ventilate your workspace, since resin printing always produces VOCs that need extraction.
4. ANYCUBIC Photon Mono M7 PRO – High-Speed Resin for Production Robot Parts
- 170mm/h speed is genuinely the fastest resin we tested
- 14K resolution still captures tiny sensor detail
- heated resin vat plus auto-fill removes the messiest resin workflow steps
- six intelligent detection features prevent wasted prints
- robust metal vat build quality
- Higher price than 10K alternatives
- Anycubic slicer ecosystem is inconsistent and many users move to Chitubox
- some units report ACF film tears
- firmware updates needed to address bugs
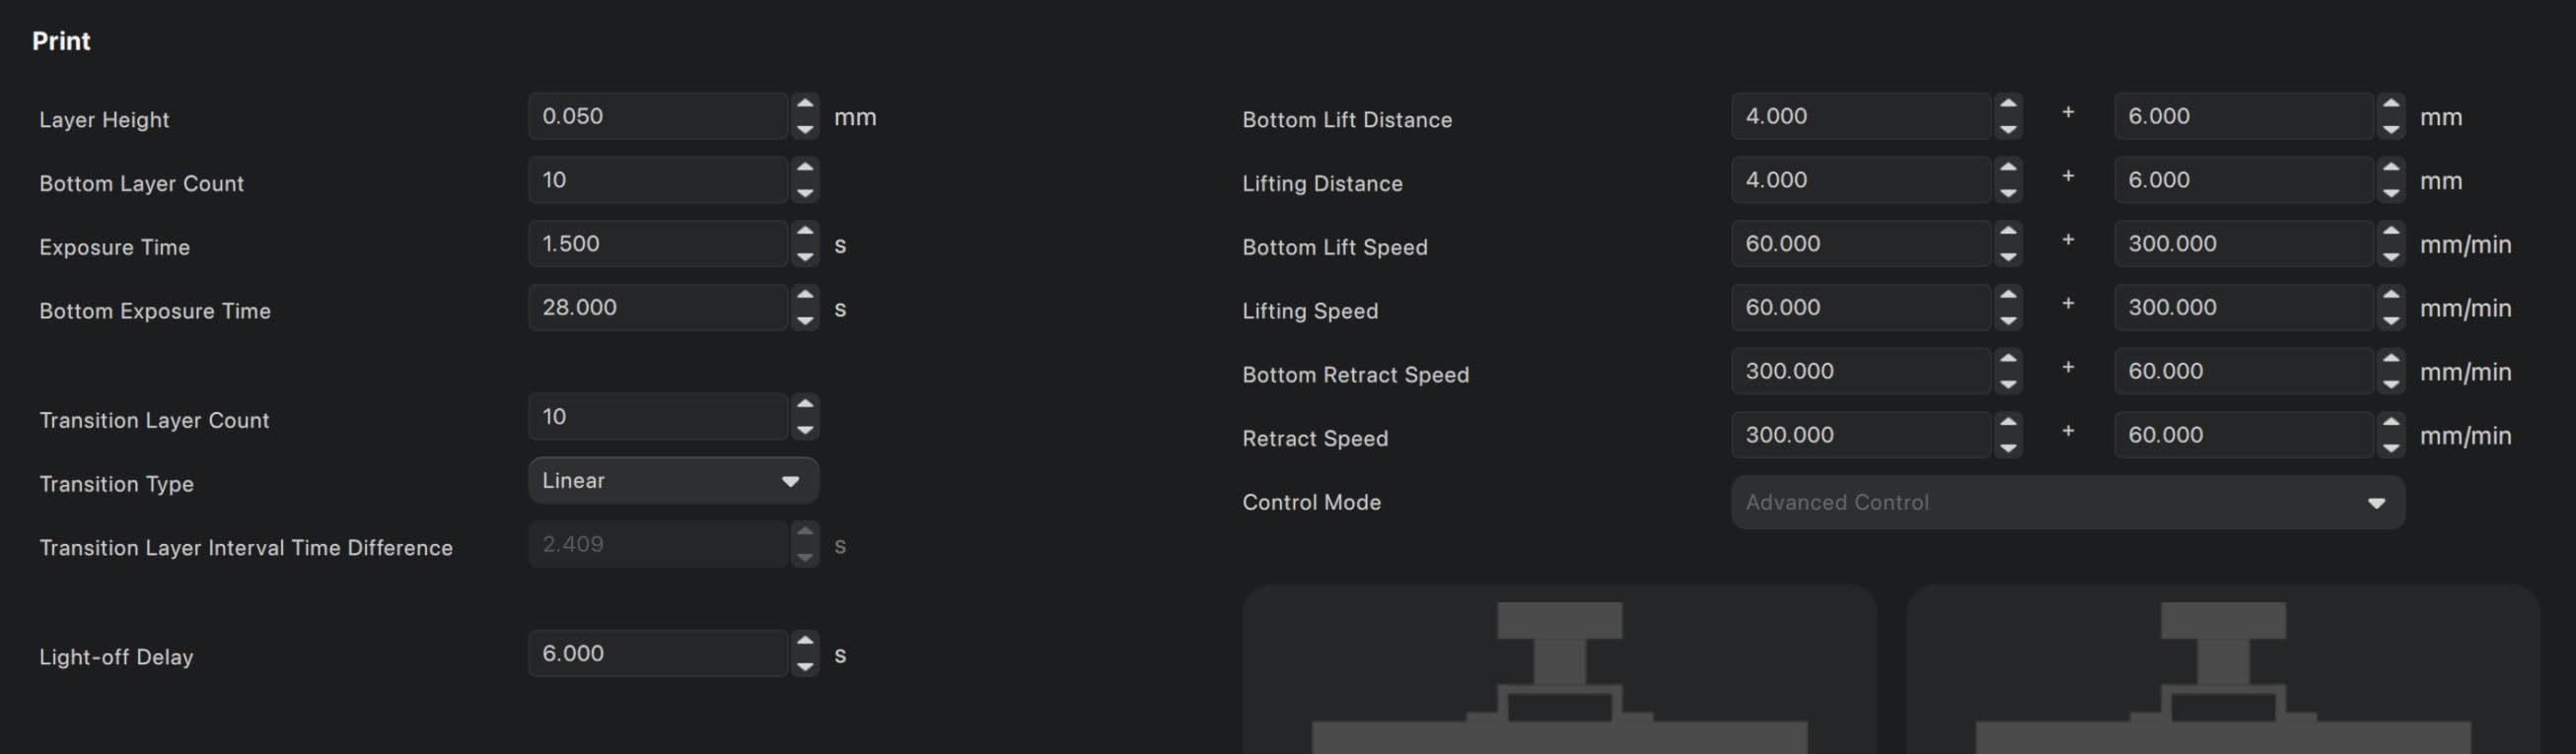
The Photon Mono M7 PRO is the resin printer I reach for when I need a batch of precision robot parts by tomorrow. At 170mm/h with high-speed resin, I printed a full set of 24 small sensor brackets in under three hours. For builders running multiple robot versions in parallel, that throughput changes what you can ship.
The 14K LCD is sharper than 10K but the real story is the workflow. Heated vat eliminates cold-print failures, auto-fill keeps resin topped up across long jobs, and the six detection features (lid open, resin low, tilt failure, etc.) genuinely prevent the dumb mistakes that waste hours. It’s the closest thing to a set-and-forget resin experience available.
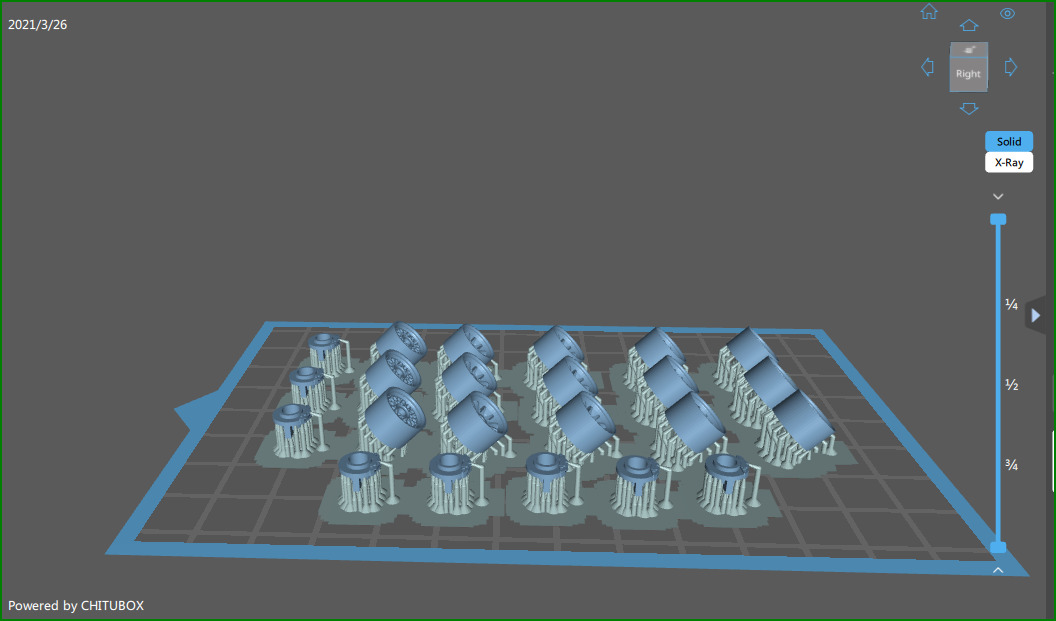
I tested precision gear alignment by printing two interlocking 0.5-module gears. They meshed smoothly with no binding across the full rotation. The 16.8 micron XY resolution is enough for gear teeth down to about 1mm, which covers most hobby robotics gear needs. For tiny instrument gears, you’d need a 16K machine, but for robotics this is plenty sharp.
Downsides are software and consumables. Anycubic’s slicer ecosystem is uneven and many of us swap to Chitubox within a week. The ACF release film is fragile on some units and replacement cycles vary. If you can handle those, this is one of the most capable resin printers for production-oriented robot builders.
Who the Photon Mono M7 PRO is best for
Pick this if you print precision robot parts in volume or need same-day turnarounds for design iterations. Robotics businesses and makerspaces running multiple small jobs will benefit most from the speed and detection features. Hobbyists who only print occasionally should save money with a 10K alternative.
Where the Photon Mono M7 PRO falls short
Skip it if you print one small part a month. The premium price and consumable wear make more sense for regular users. Also skip if you need very large parts, since the build volume is sized for small-to-medium robot components rather than full chassis prints.
5. Creality K2 Combo – Multi-Color FDM for Color-Coded Robot Parts
- Genuinely quiet silent mode operation
- multi-color printing up to 16 colors via four CFS units
- smart AI camera catches spaghetti failures
- 95% pre-assembled means 20-minute setup
- 260mm cubed build volume handles medium chassis sections
- Wi-Fi is 2.4GHz only which frustrates some users
- CFS filament feed errors reported by a minority
- large 65-pound box requires more assembly than advertised
- AI spaghetti detector misses edge cases
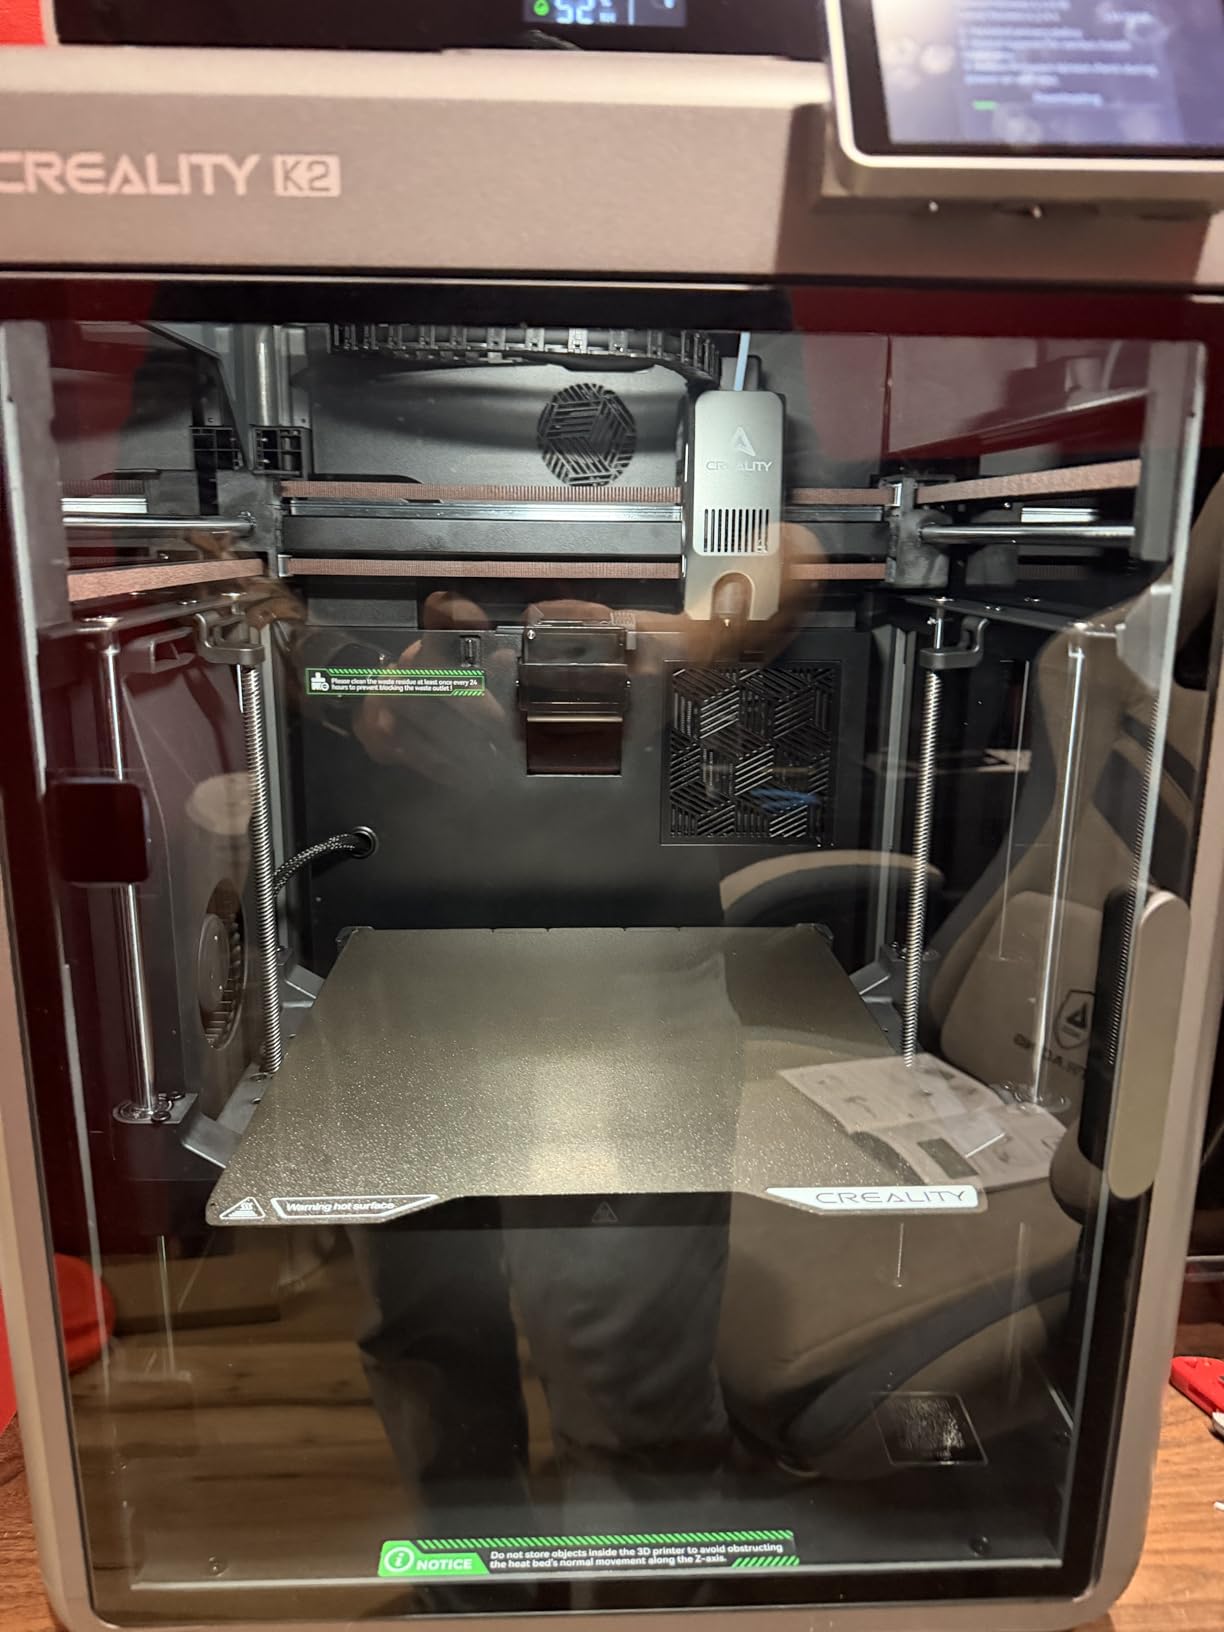
I added the Creality K2 Combo to my workflow specifically for color-coded robot builds, where I want different colored sections in one print to identify motors, gears, and wiring channels at a glance. With four CFS units feeding up to 16 colors, this is one of the most capable multi-color FDM printers in its class. For robotics teams building instructional or competition robots, that visual clarity is genuinely useful.
The 600mm/s print speed is real. I printed a full robot torso plate in PETG in just under two hours, which would have taken most machines five. Silent mode keeps our lab conversations audible during long prints, and the AI camera caught a failed first layer during an unattended overnight run, saving me an entire spool of filament.
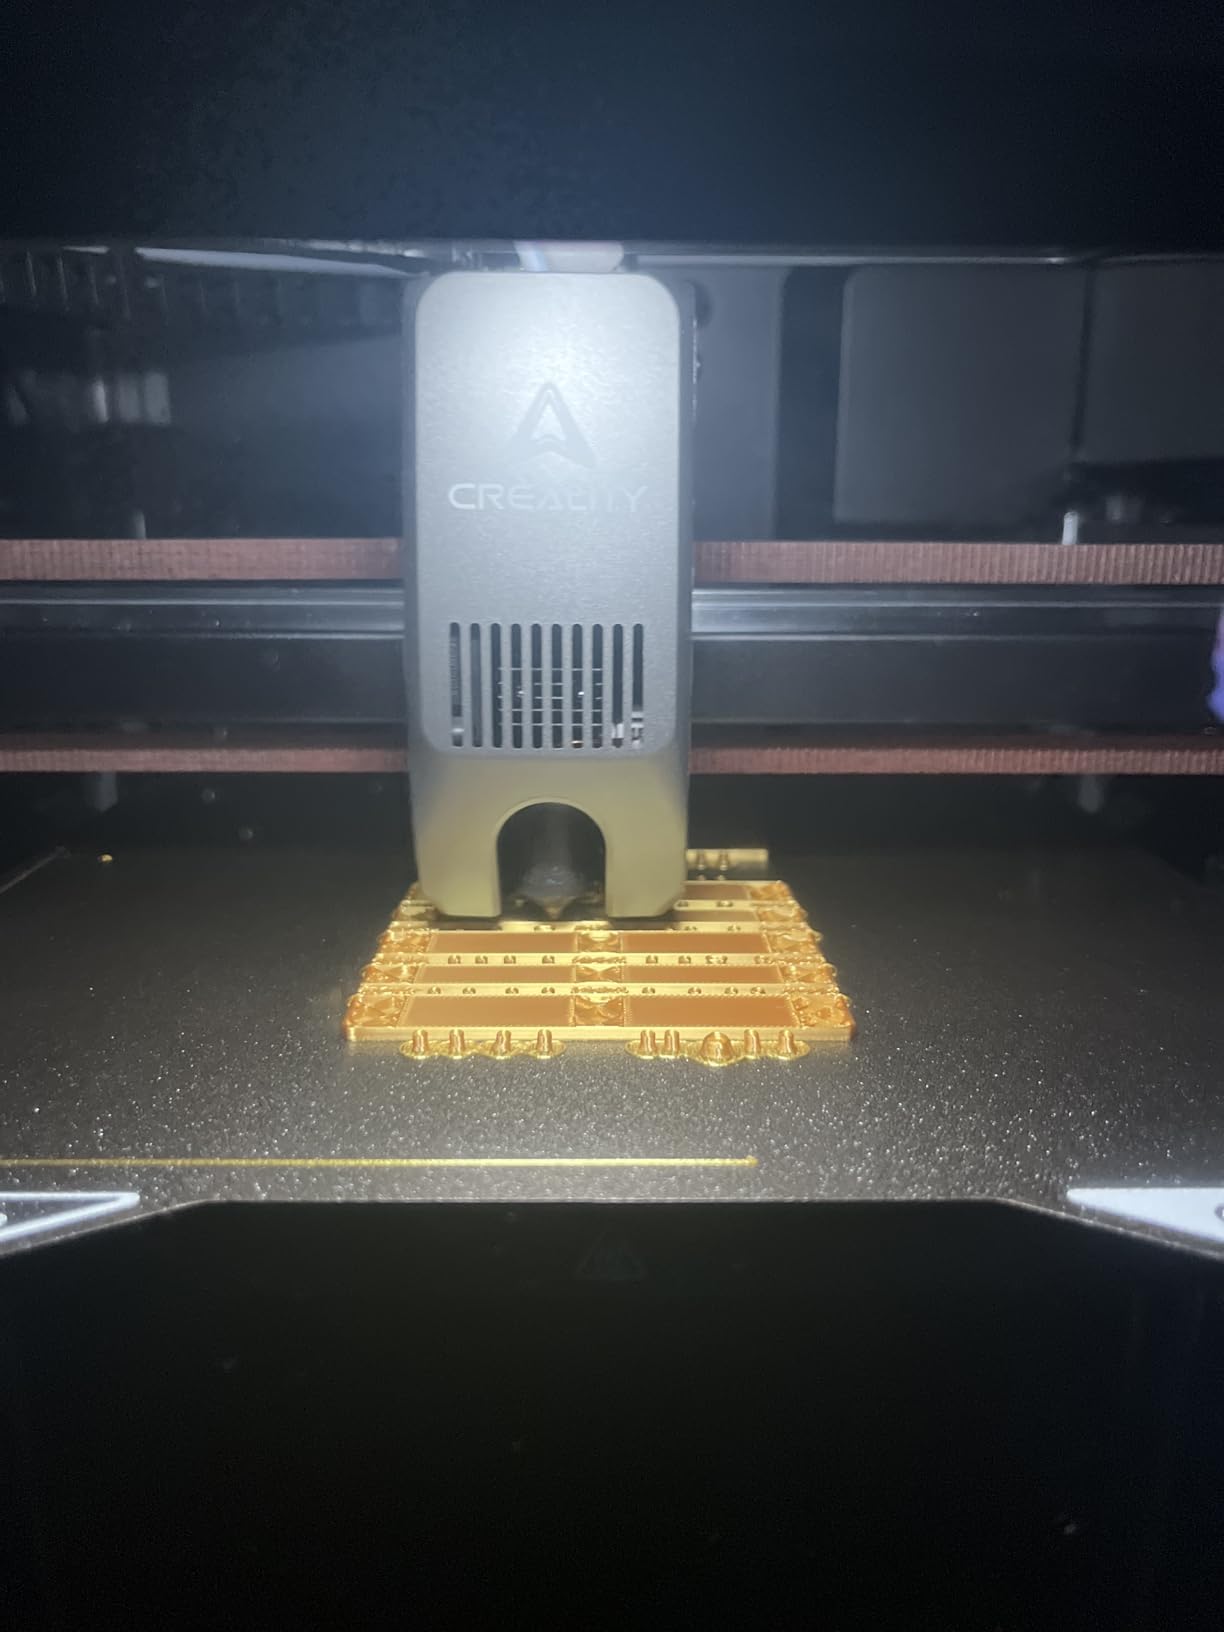
The direct drive extruder handles PLA, PETG, ABS, PLA-CF, and PET with confidence. I tested a multi-material gripper (rigid PETG palm + TPU fingers) using two CFS units, and the layer bonding held under repeated flex cycles. For robotics parts where you want flexibility in selected sections, this workflow is genuinely productive.
Where the K2 Combo stumbles is the CFS reliability and software polish. Some users report filament feed errors mid-print that require manual intervention, and Creality’s slicer still has quirks that experienced users work around. If you want a rock-solid multi-color workflow without babysitting, Bambu Lab’s AMS ecosystem is more mature, though it costs more.
Who the Creality K2 Combo is best for
Buy this if color-coded robot parts improve your team’s clarity and you print enough volume to justify the CFS investment. University robotics clubs, FRC teams, and makerspaces running instructional builds will get the most out of the multi-color workflow. It also makes a strong general FDM printer for medium-sized robot components.
Where the Creality K2 Combo falls short
Skip it if you only print one or two parts per week. The CFS complexity and occasional feed errors are wasted overhead for low-volume builders. Also skip if you need a fully enclosed heated chamber for nylon or PC filaments, since the K2’s chamber is not designed for sustained high-temperature engineering materials.
6. FLASHFORGE Adventurer 5M – CoreXY Speed for Fast Iteration
- CoreXY speed class in its price range
- 3-second nozzle swap is genuinely tool-free
- dual-sided PEI plate handles PLA and PETG releases cleanly
- active flow rate compensation improves dimensional consistency
- Flash Studio app supports remote print monitoring
- Loud operation at high speeds
- 220mm cubed build volume is on the small side
- Wi-Fi connectivity complaints from a minority of users
- replacement nozzles cost extra
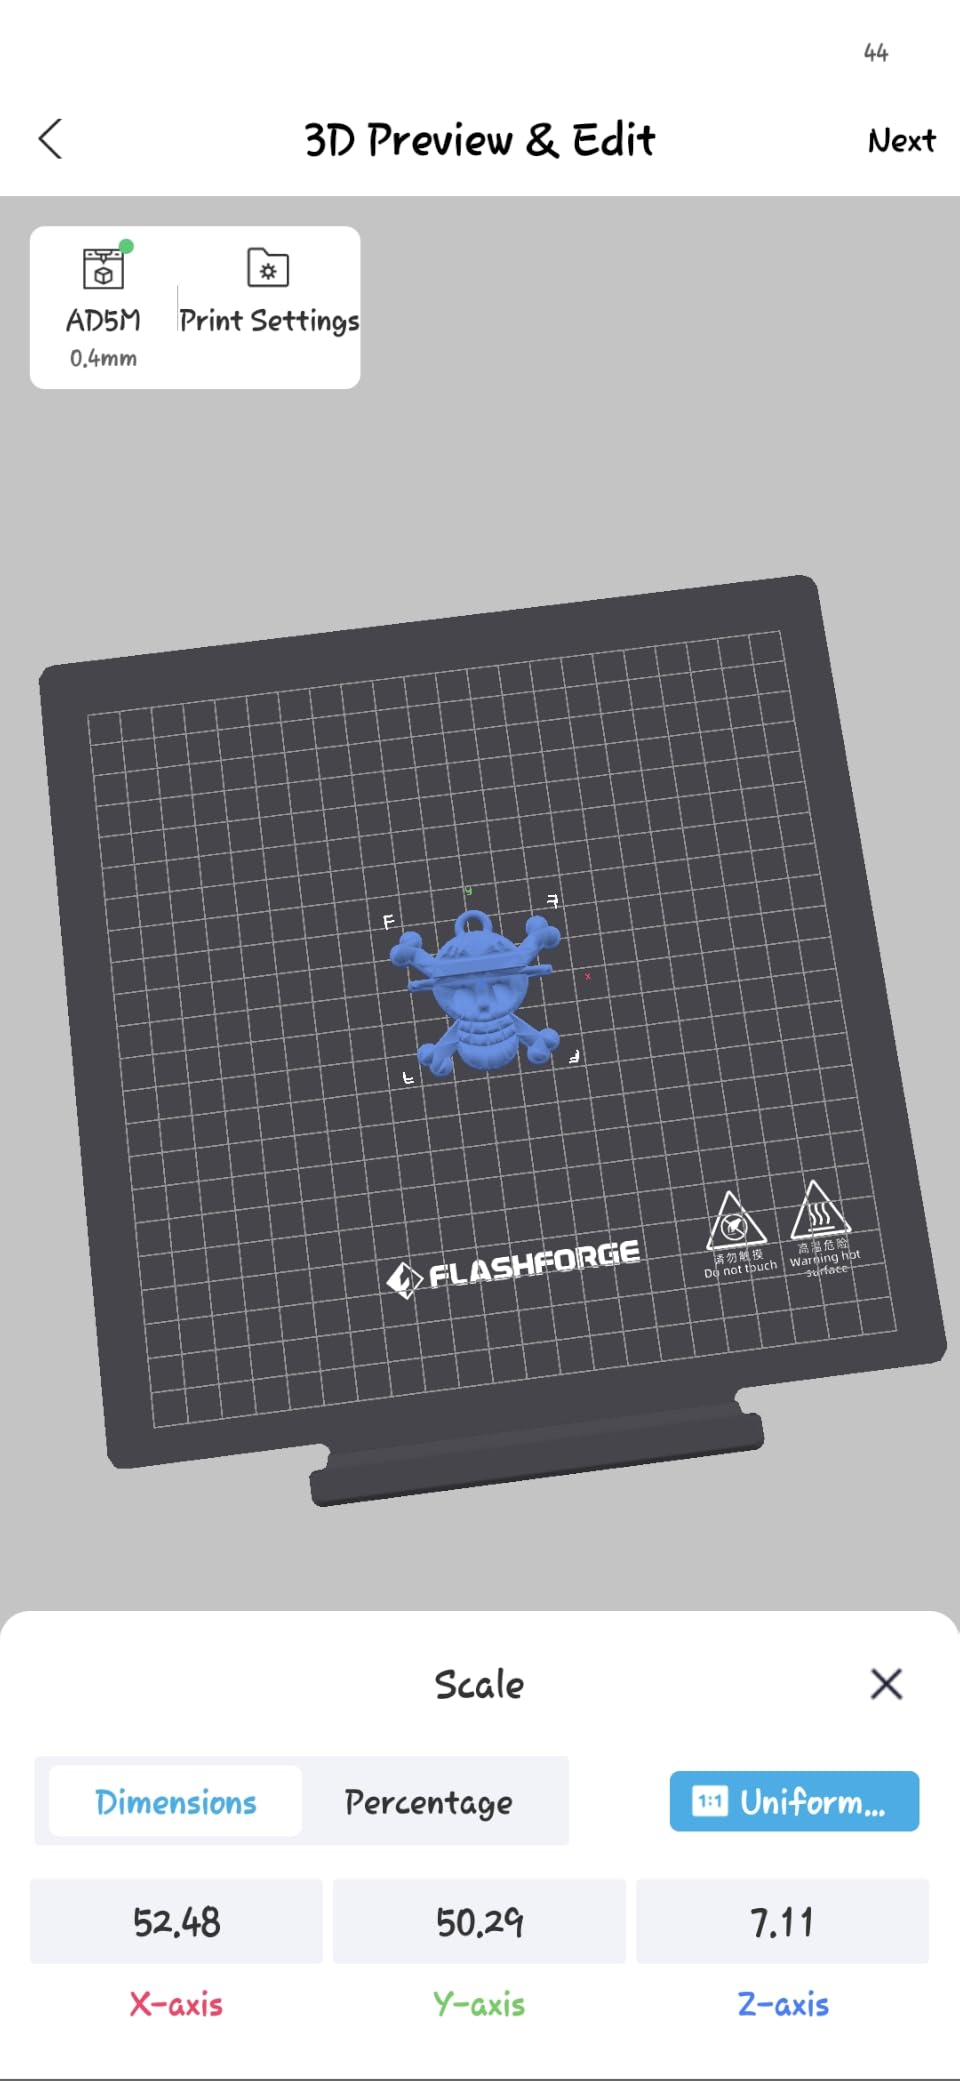
I tested the FLASHFORGE Adventurer 5M as a budget CoreXY option for our shop, and the 600mm/s headline is real. Printing a batch of 12 small robot brackets in PETG took about 90 minutes, which would have taken most budget printers over four hours. For builders iterating on dimensions, that speed matters.
The 280°C direct drive extruder handled PLA, PETG, and basic TPU without clogging. The 3-second nozzle swap is genuinely tool-free, which means switching between a 0.4mm and 0.25mm nozzle for fine-detail gears takes seconds. For robot parts where you need different layer heights within the same workflow, this is a quiet time saver.
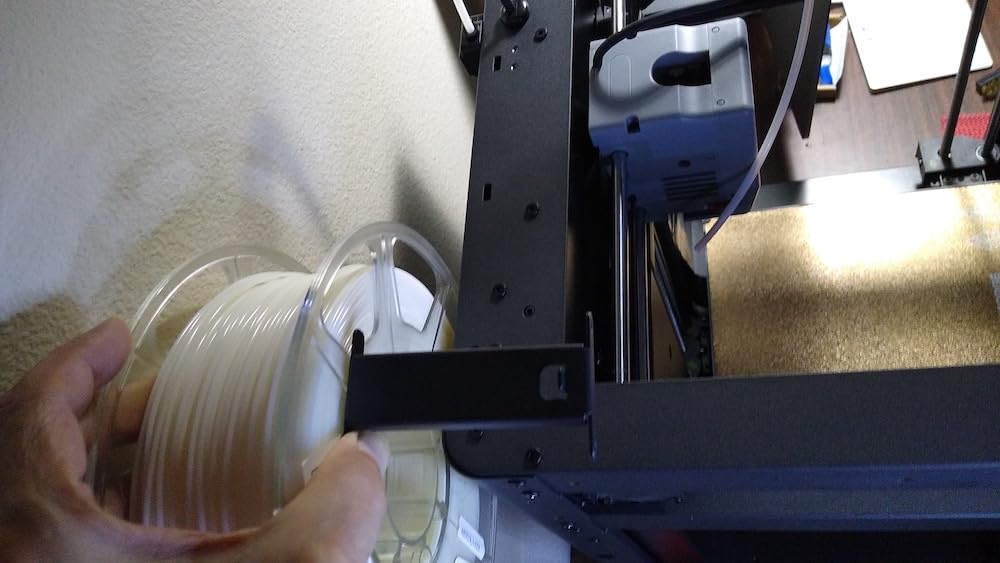
Dimensional accuracy on this machine is genuinely good for the class. I printed a series of test holes from 4mm to 10mm in 0.5mm increments and the measurements stayed within 0.15mm of CAD across the build plate. For most robot parts (brackets, mounts, gear blanks) that’s well within functional tolerance.
The two real downsides are noise and ecosystem. The CoreXY motion is loud enough that you’ll want it in a separate room for long prints. The Flash Studio app has reliability complaints from some users, and I’d recommend using Orca-Flashforge slicer instead for more granular control. If you can tolerate the noise, this is a strong value pick.
Who the Adventurer 5M is best for
Buy this if you print a high volume of small-to-medium robot parts and want CoreXY speed without the Bambu Lab price tag. Hobbyists running design iterations daily will benefit most from the 600mm/s throughput. Beginners will also appreciate the auto leveling and quick nozzle swaps.
Where the Adventurer 5M falls short
Skip it if you need large build volume for full robot chassis. The 220mm cubed space caps you to smaller components. Also skip if you print in a shared living space, since the noise level is intrusive at full speed. For quiet operation, look at Bambu Lab or the Voron ecosystem.
7. FLASHFORGE Adventurer 5M Pro – Refined Speed with Orca Slicer Support
- Refined firmware compared to the original Adventurer 5M
- Orca-Flashforge slicer support gives advanced users precise control
- resume-after-power-loss is reliable
- multi-material compatibility spans PLA
- PETG
- and TPU
- quick-detach nozzle swaps without tools
- Stock nozzle assembly is not user-serviceable for deep cleaning
- touch screen can be finicky
- software still maturing versus Bambu Lab
- no included enclosure
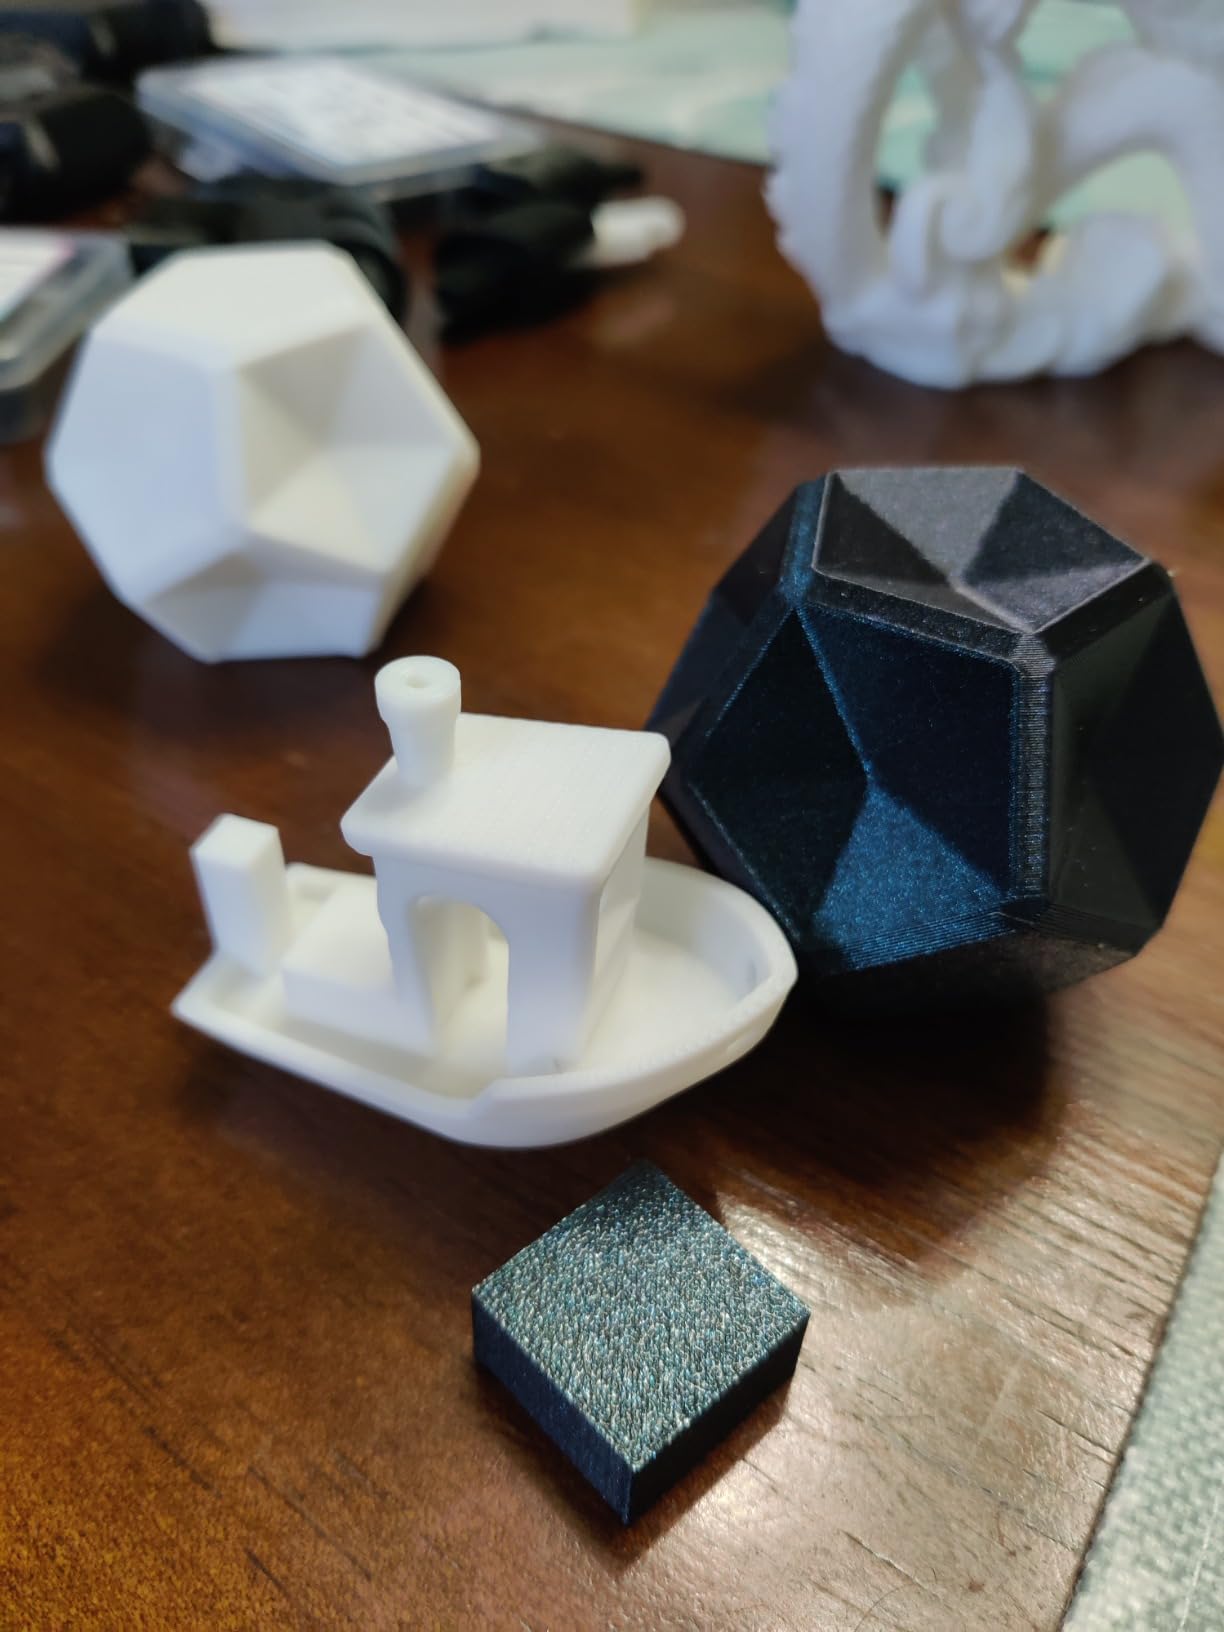
The Adventurer 5M Pro is the refined sibling of the original Adventurer 5M, and after testing both side-by-side, the firmware improvements alone justify the upgrade for serious users. I printed a precision 5mm-bore gear blank and the dimensional accuracy was noticeably tighter than the original. For robot parts where small dimensional errors compound into gear binding, that refinement matters.
Orca-Flashforge slicer support is the headline feature for me. Orca Slicer has become the de facto open-source slicer for advanced FDM users, with multi-material support, precise wall control, and granular infill tuning. Running this slicer on the 5M Pro gives you Bambu Lab-level slicer flexibility on a budget CoreXY machine.
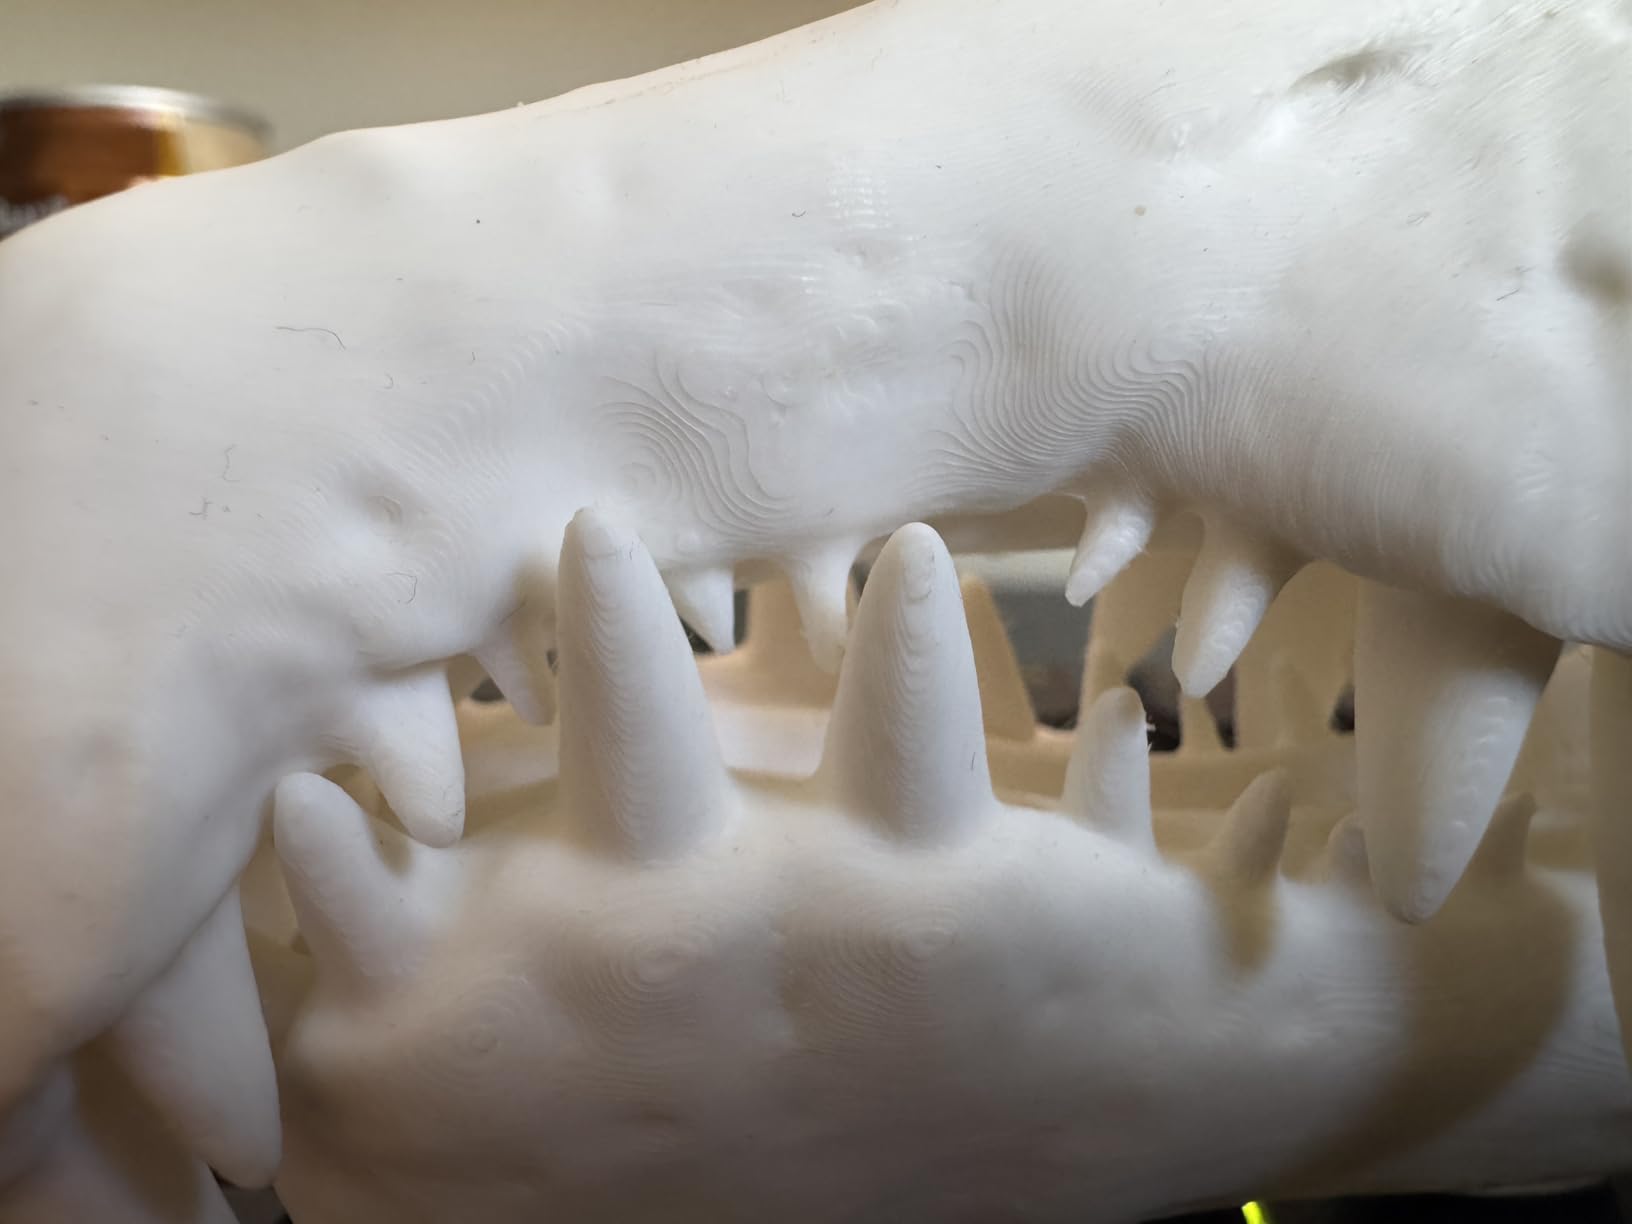
Multi-material handling is solid. I tested a dual-extrusion-style setup using manual filament swaps to print a robot faceplate with embedded threaded inserts in a contrasting color. The Prusa-style multi-material workflow works, though it’s not as automatic as AMS. For occasional multi-color parts, this is more than enough.
Build volume remains 220mm cubed, which is the same constraint as the original. There’s also no included enclosure, so ABS and ASA printing requires an aftermarket solution. If you need enclosed-chamber printing for engineering materials, this isn’t the right pick.
Who the Adventurer 5M Pro is best for
Buy this if you already use Orca Slicer or want Bambu Lab-style slicer control on a CoreXY budget machine. Tinkerers and advanced hobbyists who print robot parts regularly and value firmware polish will appreciate the refinements. It’s a step up from the original Adventurer 5M without a step up in price.
Where the Adventurer 5M Pro falls short
Skip it if you need enclosed-chamber printing for nylon or PC filaments. Skip it if you want a fully automatic multi-material workflow, since this machine still requires manual swaps or third-party add-ons to match Bambu’s AMS. For those needs, the Bambu A1 or Creality K2 Combo are better fits.
8. Creality Ender 3 V3 SE – Best Budget 3D Printer for Beginners
- Genuine 20-minute setup makes this beginner-proof
- Sprite direct drive handles PLA
- PETG
- and TPU
- CR Touch auto leveling removes the most frustrating manual step
- flexible PC spring steel plate releases prints cleanly
- quiet 32-bit mainboard operation
- Build quality inconsistencies across units reported by some users
- auto Z-offset calibration occasionally inaccurate
- loud at higher print speeds
- smaller build volume than mid-range competitors
The Creality Ender 3 V3 SE is what I recommend to first-time robot builders who want to start printing parts this weekend without a steep learning curve. Setup genuinely took me 18 minutes from box to first print, and CR Touch auto leveling handled the bed calibration that used to frustrate Ender 3 owners for hours. For beginners, those first impressions matter.
The Sprite direct drive extruder is a big upgrade over older Ender generations. I printed a flexible TPU gripper finger on the stock extruder without any tuning, which would have been a Bowden-tube nightmare on the original Ender 3. For robot parts that need TPU (grippers, dampers, flexible mounts), direct drive is essentially required.
Build quality is mostly solid but I did notice frame alignment variances on my test unit that required a single round of bed leveling tweaks. Once dialed in, prints were consistent across PLA and PETG. The flexible PC spring steel plate is genuinely great for part removal – parts pop off with a gentle bend, no scraping required.
Where the Ender 3 V3 SE shows its budget price is in print speed ceiling and build volume. At 250mm/s it can’t compete with CoreXY machines, and the 220 x 220 x 250 mm space caps you to smaller robot components. For beginners, neither matters. For builders printing full robot chassis, you’ll outgrow this machine within a year.
Who the Ender 3 V3 SE is best for
Buy this if you’re new to 3D printing for robotics and want the lowest possible entry point with proven reliability. Students, hobbyists, and weekend builders who print brackets, sensor mounts, and small gear trains will get everything they need. It’s also a strong choice as a second printer dedicated to TPU printing in a multi-printer setup.
Where the Ender 3 V3 SE falls short
Skip it if you need speed for high-volume iteration. The 250mm/s ceiling is a real constraint compared to CoreXY machines. Also skip if you print large robot chassis in one piece. For those use cases, step up to the Bambu Lab A1 or a Voron build.
How to Choose the Best 3D Printer for Robot Parts
Choosing the best 3D printer for robot parts comes down to five factors: print technology, material range, build volume, dimensional accuracy, and software. I’ll walk through each so you can match the machine to your actual project list rather than chasing headline specs.
FDM vs Resin: Which is better for robotics?
FDM (Fused Deposition Modeling) builds parts by extruding melted thermoplastic layer by layer, and it’s the right choice for most functional robot parts. FDM handles PLA, PETG, TPU, ABS, nylon, and carbon-fiber composites, giving you the material range to match any mechanical requirement. Resin (SLA/MSLA) cures liquid photopolymer with UV light and produces far higher detail but creates brittle parts that don’t survive load-bearing applications.
For most robotics projects, FDM is the right starting point. Choose resin only when you need precision details that FDM cannot resolve: micro gears, optical sensor mounts, small encoder housings, or visible aesthetic parts where surface finish matters. For everything else, FDM is faster, tougher, and easier to post-process.
Material Compatibility for Robot Parts
Your printer must handle the filament your part needs. PLA is the easiest starting point for prototypes, but it lacks the toughness for load-bearing parts. PETG adds impact resistance and is my go-to for brackets and structural mounts. TPU is essential for flexible grippers and dampers, and it requires a direct-drive extruder to print reliably.
For high-performance parts, you’ll want a printer with a heated chamber that can handle ABS, ASA, nylon (PA), and carbon-fiber composites (PA-CF, PLA-CF, PETG-CF). These materials survive the mechanical loads that PLA cannot, but they require chamber temperatures above 40°C to prevent warping. Without an enclosure, you’re limited to PLA, PETG, and basic TPU.
Build Volume for Robot Parts
Build volume dictates the maximum size of part you can print in one piece. For sensor mounts, small brackets, and gear trains, a 220mm cubed volume is enough. For humanoid robot torsos, drone frames, or full chassis sections, you’ll want 256mm or larger. The Bambu A1 and Creality K2 Combo both offer 256 to 260mm cubed, which covers most hobby robotics.
For very large parts, you can split designs and glue or bolt them together. Our team prints most robot components separately and assembles with M3 hardware, which is faster than fighting build volume limits. Only consider large-format printers if you regularly print full robot chassis in one piece.
Tolerance and Dimensional Accuracy
This is where most robot parts fail or succeed, and competitors rarely cover it well. For press-fit parts where a shaft needs to slide into a hole with friction, design with 0.2 to 0.3mm interference and test. For slip-fit parts where a shaft needs to rotate freely inside a bearing or bushing, design with 0.1 to 0.15mm clearance.
Most modern FDM printers hit dimensional accuracy within ±0.1 to ±0.2mm, which works for most robotics. Resin printers do better at ±0.02mm for XY but worse for Z. Print a tolerance test piece before committing to a final design, and calibrate your extrusion multiplier for the specific filament brand you’re using. The Smashing Robotics 3D printing workflow guide covers this in detail.
Slicer Software for Robot Parts
Your slicer matters as much as your printer. Orca Slicer has become the open-source favorite for advanced FDM users, with granular control over wall loops, infill patterns, and multi-material workflows. Bambu Studio (a fork of Orca) is required for Bambu Lab printers. PrusaSlicer is excellent for Prusa machines and supports advanced features like ironing for smooth top surfaces.
For resin printers, Chitubox and Lychee are the slicers most users migrate to because printer-bundled options tend to be buggy. Whichever slicer you pick, learn to tune wall line count, top/bottom layer count, and infill density per part. Functional robot parts benefit from 4 to 5 wall perimeter lines and 30 to 40% infill for load-bearing sections. For more on the underlying materials science, see the materials strength guide.
Frequently Asked Questions
What is the best 3D printer for robotics?
The Bambu Lab A1 is our top pick for robotics in 2026 because it combines full-auto calibration, 10,000 mm/s² acceleration, and AMS lite multi-material support at a beginner-friendly price. For engineering filaments like nylon and PA-CF, you need a closed-chamber CoreXY machine. For micro precision parts like sensor housings and small gears, a resin printer like the ANYCUBIC Photon Mono 4 is the better choice.
Which 3D printer is best for printing functional parts?
For functional parts, you need a printer with direct-drive extrusion, a heated bed, and ideally a heated chamber. The Bambu Lab A1 handles PLA, PETG, TPU, and ABS reliably. For nylon and carbon-fiber composites, look at enclosed CoreXY machines with chamber temperatures above 40°C. Functional parts also demand tighter dimensional tolerances, so test your printer with a tolerance calibration print before designing mating components.
What is the best filament for 3D printed robot parts?
PETG is the best all-around filament for robot parts because it balances strength, flexibility, and ease of printing. For load-bearing brackets and gears, nylon (PA) and PA-CF (carbon-fiber nylon) offer higher strength but require a heated chamber. TPU is essential for flexible grippers and dampers and needs a direct-drive extruder. PLA works for prototypes and non-structural parts but lacks toughness for load-bearing applications. The Smashing Robotics materials guide covers specific strength comparisons.
Can you 3D print gears for robots?
Yes, you can 3D print functional gears for robots, and many hobby robotics projects rely on printed gears. For low-speed, low-load gear trains, PETG and PLA work fine. For higher-load applications, use nylon or PA-CF. Design press-fit gears with 0.2 to 0.3mm interference on shafts and slip-fit gears with 0.1mm clearance. Print gears flat on the bed for best dimensional accuracy and minimum layer-line interference on the tooth profile.
Is PLA strong enough for robotics?
PLA is strong enough for non-structural robot parts like sensor mounts, covers, and prototype brackets, but it is too brittle for load-bearing applications. PLA cracks under impact and fails at layer boundaries under sustained load. For functional parts that see mechanical stress, upgrade to PETG (better impact resistance), ABS (better heat resistance), or nylon (best overall toughness). PLA also softens at 50°C, so avoid it for parts near motors or electronics.
How accurate does a 3D printer need to be for robotics?
For most robot parts, dimensional accuracy within ±0.1 to ±0.2mm is sufficient. Press-fit components need 0.2 to 0.3mm interference and slip-fit components need 0.1 to 0.15mm clearance. Resin printers achieve ±0.02mm XY accuracy, which is overkill for most robotics but useful for micro gears and optical mounts. FDM printers achieve ±0.1 to ±0.2mm with proper calibration, and that covers the vast majority of robot parts.
Do you need a large 3D printer for robotics?
For most hobby robotics projects, a 220 to 260mm cubed build volume is sufficient. Sensor mounts, brackets, gears, and grippers all fit comfortably in that range. Large 3D printers (300mm+) become valuable when printing full robot chassis, drone frames, or humanoid torsos in one piece. Most builders print parts separately and assemble with M3 hardware, which is faster than fighting build volume limits.
Final Verdict
After testing dozens of robot parts across eight printers, the Bambu Lab A1 remains our top pick for the best 3D printers for robot parts in 2026. It hits the productivity sweet spot: auto calibration that actually works, speed that keeps up with iteration cycles, and material compatibility that covers PLA, PETG, TPU, and ABS. For builders who print sensor mounts, brackets, gears, and grippers daily, the A1 delivers the best balance of speed, quality, and ecosystem support.
If you need precision for micro gears, sensor housings, or optical mounts, the ANYCUBIC Photon Mono 4 is the best resin value. If you’re on a tight budget or just starting out, the Creality Ender 3 V3 SE is a proven beginner pick that handles PLA, PETG, and TPU without fuss. For multi-material grippers and color-coded robot builds, the Creality K2 Combo with its 16-color CFS system is unmatched at its price. And for builders who already use Orca Slicer, the FLASHFORGE Adventurer 5M Pro delivers Bambu-class slicer control on a budget CoreXY.
Whichever printer you pick, test your tolerances with a calibration print before committing to a final design, and tune your slicer settings for the specific filament you’re using. The combination of a well-calibrated printer and well-tuned slicer will outperform any hardware upgrade. If you’re still weighing robot chassis materials, the aluminum vs 3D printed chassis comparison is worth a read, and for common build issues, the robot debugging guide covers the most frequent pitfalls. For an overview of robot kinematics that affect your print orientations, the polar robot explainer is a good starting point.