
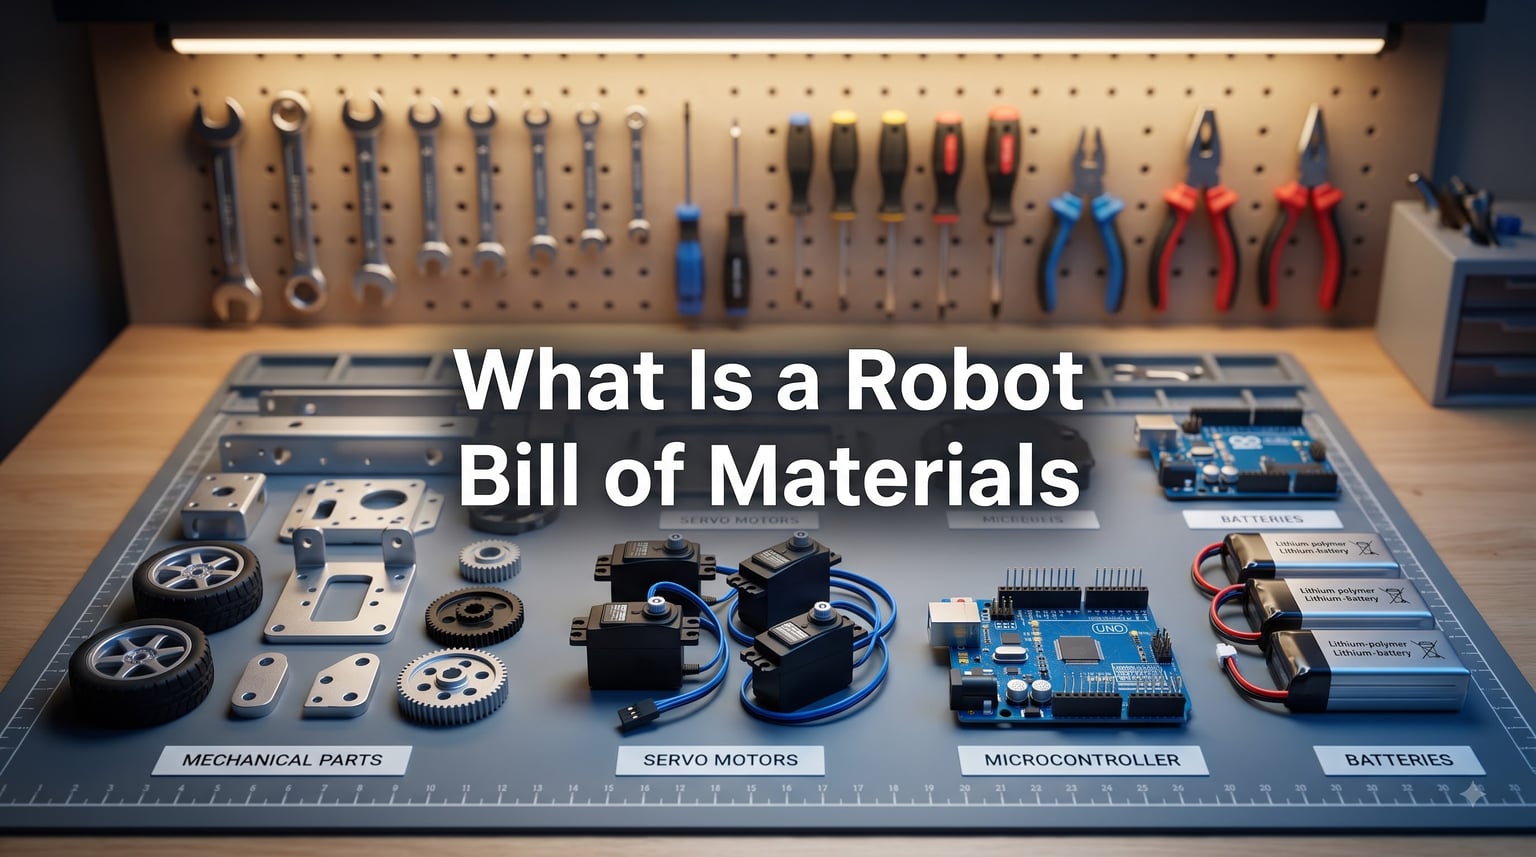
A robot bill of materials is the complete, itemized list of every part, component, and material needed to build a robot from scratch. I created my first robot BOM years ago on a yellow legal pad, and I underestimated the project cost by 40 percent. After that lesson, I learned that a well-structured bill of materials is not just a shopping list. It is a project planning document, a cost-control tool, and a communication bridge between designers, builders, and procurement teams.
In this guide, I will walk you through what a robot bill of materials actually contains, the different BOM formats used across hobbyist, competition, and commercial robotics, and the step-by-step process our team uses to build accurate BOMs for projects ranging from a Raspberry Pi rover to a humanoid arm. You will see real cost breakdowns based on industry research, learn which components dominate the budget, and pick up practical tools and templates to build your own BOM with confidence.
Table of Contents
What Is a Robot Bill of Materials
A robot bill of materials is a structured inventory of every physical component, subassembly, fastener, wire, and consumable needed to manufacture or assemble a complete robot. It typically includes part numbers, quantities, supplier information, specifications, and per-unit or total cost for each line item. A BOM is the single source of truth that drives budgeting, procurement, fabrication, and quality assurance for any robot project.
At its core, a robot BOM answers three questions for every part in the design: what is it, how many do we need, and what does it cost. Our team uses BOMs to coordinate between mechanical, electrical, and software engineers, and we update them whenever a design changes. According to industry research from Interact Analysis on humanoid robots, joint actuators alone typically account for over 30 percent of the total BOM cost in high-configuration humanoids, and more than 50 percent in simpler models without dexterous hands or advanced sensors. That single statistic tells you how much is riding on a well-organized BOM.
Robot BOMs are used by DIY builders managing a garage workshop, by FIRST Robotics Competition (FRC) teams documenting their machines for the commercial invoice, and by manufacturers producing fleets of commercial robots. Whether you are sourcing end effector components or specifying a chassis, the BOM ties every design choice back to a real, purchasable part.
Core Components Every Robot BOM Includes
Every robot BOM organizes parts into categories that map to physical and functional subsystems. Listing parts by subsystem helps you catch missing items, compare designs, and estimate labor alongside materials.
Mechanical Components
Mechanical parts form the structural skeleton of the robot. Your BOM should list chassis plates, brackets, fasteners, bearings, shafts, wheels, gears, and any custom-fabricated parts. The robot chassis materials alone often represent 15 to 25 percent of total BOM cost in mid-sized projects. For hobbyists, this category is dominated by 3D-printed parts, laser-cut plywood, and off-the-shelf aluminum extrusions.
Actuators and Motors
Actuators convert energy into motion, and they are usually the largest cost driver in any BOM. Common actuator types include DC gear motors, servo motors, stepper motors, brushless motors paired with motor controllers, and integrated joint modules. For a humanoid robot, joint actuators can exceed 50 percent of total BOM cost. For a small wheeled robot, motors and planetary gearbox components typically account for 20 to 35 percent.
Sensors and Perception Hardware
Sensors let your robot perceive its environment. Standard BOM entries include ultrasonic rangefinders, infrared sensors, LiDAR modules, IMUs, cameras, force-sensitive resistors, and encoders for motor feedback. Sensor costs vary wildly. A $3 IR sensor and a $400 LiDAR module might both belong on the same BOM, depending on project scope.
Electronics and Power Systems
The electronics category includes microcontrollers (Arduino, ESP32, Raspberry Pi), motor drivers, sensor breakout boards, PCBs, wiring harnesses, connectors, and power components like batteries, voltage regulators, and fuses. Proper power distribution components selection is critical because underspecifying wires or fuses is one of the most common BOM failures I see in beginner projects.
Fasteners, Adhesives, and Consumables
The final category is the one beginners forget most often. Screws, nuts, standoffs, zip ties, heat-shrink tubing, solder, double-sided tape, thread-locking compound, and structural adhesives all belong in the BOM. A reasonable rule is to add 5 to 10 percent to your fastener budget to cover replacements and prototyping losses.
Types of Robot BOMs: Hobbyist, Competition, and Commercial
The structure and rigor of a robot BOM depends on who is building the robot and why. I have worked in all three contexts below, and each has different documentation requirements.
Hobbyist and DIY BOMs
Hobbyist BOMs are usually a single spreadsheet or even a notebook page listing components grouped by subsystem. The goal is to keep the project under a personal budget, ensure nothing critical is missing, and document the build for sharing. These BOMs prioritize readability over formality and rarely include revision history or supplier qualification data.
Competition Robotics BOMs
Competition teams, especially in FIRST Robotics Competition, treat the BOM as a compliance document. Teams must produce a detailed BOM for the commercial invoice used in export documentation at international events. FRC BOMs list every purchased part with cost, every fabricated part with material cost and labor, and totals at the subsystem and robot level. The official FIRST BOM process document explicitly states that the bill of material helps teams determine the value of their robot for the commercial invoice.
Commercial and Industrial BOMs
Commercial robot BOMs are the most rigorous. They tie into enterprise resource planning systems, use approved vendor lists, include revision history, and connect to computer-aided design assemblies so design changes automatically propagate. A single change to a motor bracket might trigger hundreds of BOM updates downstream. For humanoid robots heading toward mass production, BOM management is one of the largest barriers to scaling.
Understanding BOM Costs and Cost Structure
Cost is the single biggest reason builders maintain accurate BOMs. Knowing where the money goes helps you prioritize design trade-offs and identify where to optimize. Our team tracks three cost metrics: total BOM cost, cost per subsystem, and cost per functional feature.
Where the Money Goes in a Robot BOM
Across the robot types we have built and reviewed, the cost distribution follows a consistent pattern. Actuators and motors are the dominant line item, often 25 to 50 percent of total cost. Electronics, including compute, sensors, and motor drivers, typically run 15 to 30 percent. Structural and mechanical parts run 10 to 25 percent. Power systems, including batteries and power distribution, run 5 to 15 percent. The remaining 5 to 10 percent covers fasteners, consumables, and contingency.
Why Actuator Cost Dominates
Joint actuators, especially in humanoids and robot arms, are expensive because they combine a high-torque motor, precision gearbox, encoder, and often an integrated controller in a single package. A single high-end actuator can cost more than the rest of a small robot combined. According to Interact Analysis research on humanoid robotics, this cost concentration is the primary reason humanoid robots remain expensive to manufacture at scale, and it is why BOM optimization focuses so heavily on actuator selection.
Hidden Costs Most BOMs Miss
I have watched projects go over budget because they missed shipping costs, customs duties, taxes, fabrication tooling, and replacement parts. A complete BOM budget should add 8 to 15 percent on top of parts cost for these items, plus a 10 percent contingency for design changes. If you are choosing a battery, factor in matching battery selection accessories like holders, chargers, and balancing leads that often get overlooked.
How to Create a Robot Bill of Materials: Step-by-Step Process
Creating a BOM from scratch is straightforward once you follow a repeatable process. Our team uses the same five-step workflow whether we are building a 3D-printed arm or a 20-DoF humanoid.
Step 1: Lock the Design Concept
Start with a clear robot concept, including a rough sketch, key dimensions, weight target, and core functions. Without a defined concept, your BOM will be a moving target. Document the design intent in a short paragraph and reference any CAD models, sketches, or prior robots you are using as inspiration. This step alone saves hours of rework later.
Step 2: Break the Robot Into Subsystems
Decompose the design into major subsystems. A typical decomposition includes structure and chassis, drivetrain or joint actuation, power system, control electronics, sensors, end effectors, and wiring. Every component on your BOM should map cleanly to one subsystem. If it does not, your decomposition is probably incomplete.
Step 3: Identify Components for Each Subsystem
Walk through each subsystem and list every required part. For actuators, note torque, speed, voltage, and interface requirements. For sensors, note range, resolution, and update rate. For structural parts, note material, dimensions, and fabrication method. Refer to existing robotic gripper components and gear designs to avoid inventing parts that already have proven solutions.
Step 4: Source and Cost Every Line Item
For each component, identify at least one supplier and capture unit cost, minimum order quantity, and lead time. Our team records three data points per line: preferred part, alternate part, and unit cost at quantity. This lets you swap parts quickly if a supplier is out of stock, and it gives you realistic cost projections.
Step 5: Review, Total, and Add Contingency
Final review is where you catch the mistakes. Check for missing fasteners, duplicated parts, forgotten consumables, and incorrect quantities. Sum the totals, add shipping and tax, and apply a contingency buffer. Only then is the BOM ready for procurement. Treat the BOM as a living document and update it whenever the design changes.
Tools and Software for Robot BOM Management
The right tool for your BOM depends on project size and team structure. A $200 hobby robot does not need enterprise software, and a $200,000 commercial robot cannot be managed in a spreadsheet alone.
Spreadsheet-Based BOMs
For most hobbyists and small competition teams, a Google Sheet or Excel workbook is the right starting point. Spreadsheets give you full control over columns, calculations, and conditional formatting, and they are free. The downside is version control and the lack of native integration with CAD or ERP systems.
Dedicated BOM and PLM Tools
For larger projects, product lifecycle management (PLM) tools like Arena, OpenBOM, and GrabCAD Workbench offer part libraries, revision history, supplier management, and CAD integration. Open-source options like PartsBox and LibreCAD-based databases are gaining traction in academic and small-business robotics labs. These tools pay off once your BOM exceeds 100 line items or your team grows beyond three people.
Cloud-Based Collaboration
Cloud BOM platforms let distributed teams edit the same BOM in real time, attach datasheets, and track supplier communications. This is especially valuable for competition teams with remote members or for companies coordinating across multiple engineering sites. The trade-off is cost, since most professional platforms charge per seat.
Robot BOM Optimization and Supply Chain Considerations
Once your first BOM is complete, the real work begins. Optimization is about reducing cost, shortening lead time, and improving reliability without sacrificing performance. Our team treats optimization as an ongoing process rather than a one-time event.
Substitution and Standardization
The easiest way to cut BOM cost is to standardize on parts you already use. If you have three different M3 standoff lengths, consolidate to two. If you have two motor drivers that do the same job, pick one. Standardization reduces inventory, simplifies assembly, and qualifies you for volume discounts. Component substitution should always be tested, because a 10 percent cheaper motor that runs 20 percent hotter is rarely a real saving.
Sourcing Strategies
Sourcing is where BOMs meet the real world. Single-source components are a risk. Our team maintains at least two qualified sources for any critical part, and for high-value components, we pre-qualify alternates during the design phase. For lower-cost items, we accept single sourcing but stock spares. Distributors like Digi-Key, Mouser, and Pololu cover most hobby and small commercial needs, while industrial suppliers like MISUMI and McMaster-Carr handle structural and mechanical parts.
Managing Lead Time and Risk
Lead time kills more robot projects than bad design. A $50 motor with a 12-week lead time is more expensive than a $75 motor in stock. Our BOM template includes a lead time column, and we color-code any line item over four weeks. For competition teams, this visibility is the difference between finishing the robot before the ship date and scrambling for last-minute substitutions. Real builders in FRC forums regularly warn about long-lead encoders, specialty gearboxes, and custom machined parts catching teams off guard.
Future-Proofing the BOM
Robotics is changing fast, and BOMs need to evolve with it. Plan for modularity so you can swap sensors or compute boards without redesigning the chassis. Document which components are likely to be obsolete in 24 months and identify drop-in replacements now. Design reviews at the BOM level catch these issues early, when changes are cheap.
Frequently Asked Questions About Robot BOMs
What is a BOM in robotics?
A BOM in robotics is a structured list of every component, part, and material needed to build a robot. It includes quantities, supplier information, and costs. A bill of materials drives budgeting, procurement, fabrication, and quality assurance across DIY, competition, and commercial robot projects.
How much does it cost to build a robot?
Robot build costs range from under 100 dollars for a simple Arduino-based rover to several hundred thousand dollars for a research-grade humanoid. A hobbyist wheeled robot typically runs 200 to 800 dollars in parts, a competition robot runs 3000 to 15000 dollars, and an industrial or humanoid prototype can exceed 100000 dollars. Actuators are usually the largest single cost category.
What components do I need to build a robot?
Every robot BOM includes structural parts, actuators or motors, sensors, control electronics, power systems, and fasteners. Specific components depend on the robot type. A mobile robot needs wheels, motor drivers, and a microcontroller. A robot arm needs servos or steppers, joint hardware, and an end effector. A humanoid adds integrated joint modules, dexterous hands, and advanced perception sensors.
How do I create a robot BOM?
Start by locking the design concept, then break the robot into subsystems like structure, drivetrain, power, electronics, and sensors. Identify components for each subsystem, source each part with cost and lead time, and total the BOM with shipping and contingency. Use a spreadsheet or PLM tool, and update the BOM whenever the design changes.
What are the most expensive robot components?
Actuators and integrated joint modules are usually the most expensive components in a robot BOM. In humanoid robots, joint actuators can exceed 50 percent of total BOM cost. Other high-cost items include LiDAR sensors, high-resolution cameras, force-torque sensors, and precision gearboxes. Cost concentration in actuators is one of the main challenges to scaling humanoid robotics.
How can I reduce robot BOM costs?
Reduce BOM costs by standardizing on fewer part numbers, sourcing from distributors with volume discounts, qualifying alternates for expensive components, and avoiding over-specification. Use 3D printing for structural prototypes, buy motor and sensor kits in bulk, and consolidate fasteners. Always add an 8 to 15 percent buffer for shipping, tax, and tooling.
What software should I use for robot BOM management?
For hobbyists and small teams, Google Sheets or Excel is enough. For larger projects, dedicated tools like OpenBOM, Arena PLM, or GrabCAD Workbench offer part libraries, revision history, and CAD integration. Cloud-based platforms enable real-time collaboration across distributed teams. The right tool depends on project size, team structure, and budget.
What is the difference between hobby and professional robot BOMs?
Hobby robot BOMs are informal, single-author documents focused on personal budget and build documentation. Professional robot BOMs tie into ERP systems, use approved vendor lists, include full revision history, and connect to CAD assemblies for automatic updates. Competition BOMs sit between the two, with formal structure for compliance but smaller scope than commercial builds.
Conclusion: Building Your First Robot BOM
A robot bill of materials is more than a parts list. It is the document that turns an idea into a buildable, budgetable, and repeatable project. Across every robot type we have built, from small wheeled rovers to multi-DoF humanoid arms, the BOM has been the single most important planning artifact. It catches missing parts before they stall the build, surfaces hidden costs before they blow the budget, and gives every team member a shared reference for what the robot actually contains.
If you are starting your first robot BOM today, begin with a clear design concept, decompose the robot into five to seven subsystems, and list every required component with at least one supplier and a unit cost. Add shipping, tax, and a contingency buffer, then review the BOM with another person before you place any orders. Treat the BOM as a living document, update it when designs change, and revisit your cost percentages after every build to sharpen your intuition for the next one.
Whether you are a hobbyist building a weekend rover, an FRC team documenting a competition robot, or a startup prototyping your first commercial humanoid, the discipline of building a real bill of materials will save you time, money, and frustration on every project that follows.