
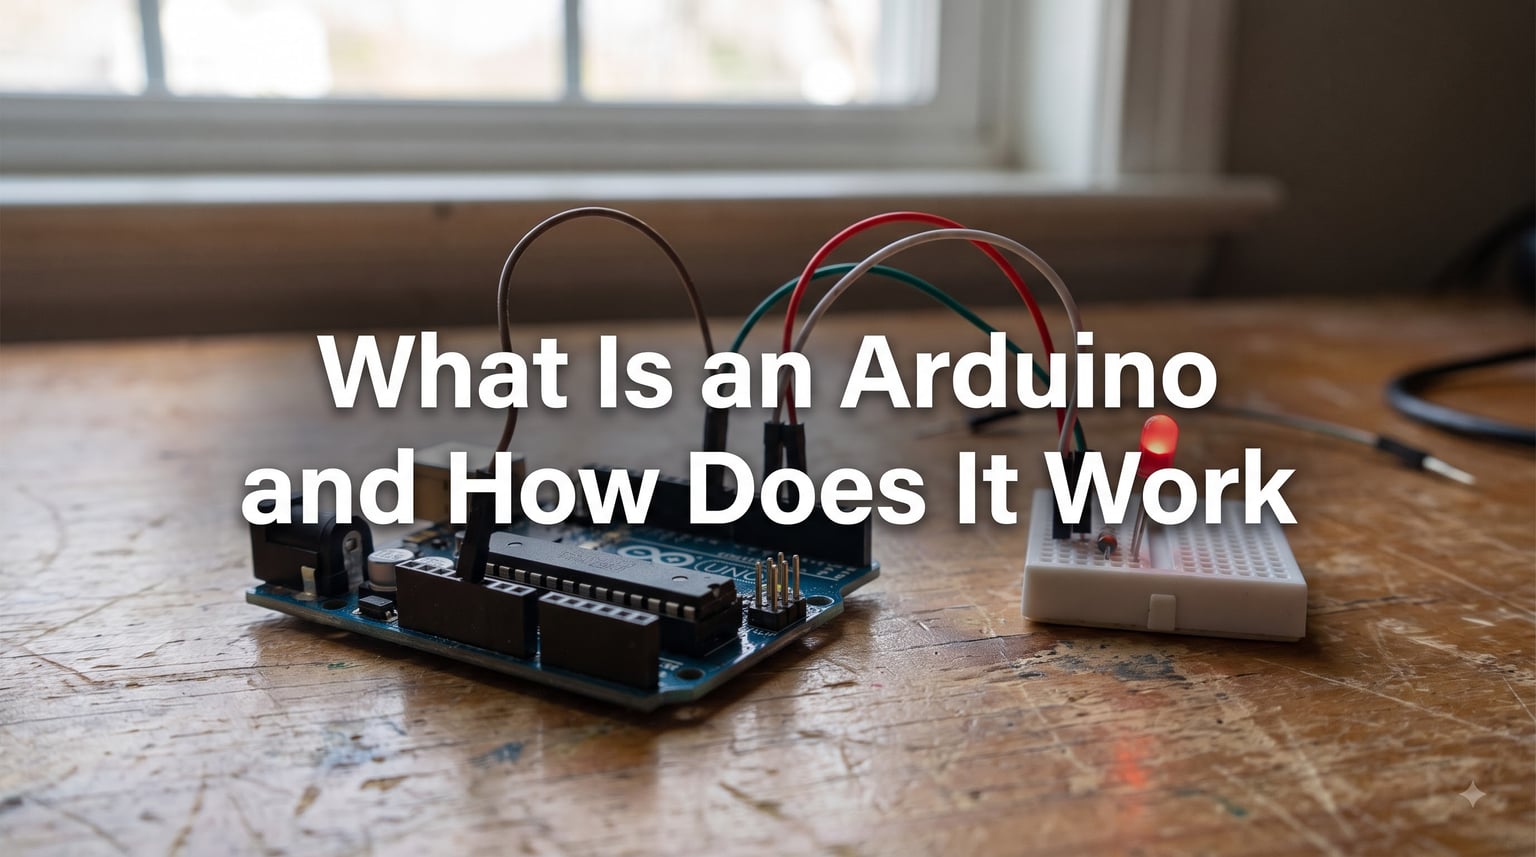
What is an Arduino and how does it work? In short, it is an open-source electronics platform built around a small programmable circuit board that reads inputs (like a button press or a temperature reading), runs code you wrote on your computer, and controls outputs (like LEDs, motors, or relays) based on that code. By the end of this guide, you will understand what every chip and pin on the board does, how the software talks to the hardware, and how to wire up and flash your very first project.
I built my first Arduino robot about eight years ago, and I still remember the moment I realized the little blue board was, in fact, a tiny computer designed for things like coffee makers, calculators, and plant-watering gadgets rather than Facebook or video games. If that distinction sounds odd, this article will clear it up. We will cover the hardware, the software, the workflow, and where Arduino fits in the wider world of microcontrollers and single-board computers.
Table of Contents
What Is an Arduino, Exactly?
Arduino is an open-source electronics platform that combines a physical programmable circuit board with a piece of software called the Arduino IDE. The board contains a microcontroller, which is a single-chip computer designed to do one job at a time, very reliably, in real time. The IDE is the program you run on your laptop to write code and send it to the board over USB.
The project was born in 2005 at the Interaction Design Institute Ivrea in Italy, where a group of teachers wanted an inexpensive tool for students who were not electrical engineers. They needed something cheaper than the bare-microcontroller development kits of the time, and they needed the schematic and the code to be free to share. The result was a board anyone could buy, read, and modify, paired with a simplified programming environment that hides most of the scary low-level stuff.
Three things make Arduino stand out for beginners. First, the hardware designs are published under open-source licenses, so third-party manufacturers build compatible boards at very low cost. Second, the programming language is a simplified version of C++ that includes helpful libraries for common sensors and motors. Third, the community is enormous, so almost any beginner question has already been asked and answered on forums, blogs, and YouTube.
From a practical standpoint, an Arduino board listens to the world through its input pins, follows the instructions you loaded into its flash memory, and pushes the results back out through its output pins. You can think of it as the gap between a sensor and a motor, with your code sitting in the middle making decisions.
Key Hardware Components on an Arduino Board
Every Arduino board looks slightly different, but they all share the same core building blocks. The Arduino Uno is the most popular model and the easiest one to learn on, so I will use it as our reference.
The microcontroller is the main chip, usually an ATmega328P on the Uno. It is the brain that runs your code, stores variables, and talks to the rest of the board at a clock speed of 16 MHz. Unlike the processor in your laptop, it has no operating system, no multitasking, and no screen. It runs exactly one program, top to bottom, in a loop forever.
Power inputs come in three flavors on most boards. The USB port supplies 5 volts and is also used for uploading code. The barrel jack accepts 7 to 12 volts from a wall adapter and feeds a voltage regulator that drops it to 5 volts for the logic circuits. The VIN pin lets you feed power directly from a battery or other source when USB is not available. If you have ever wondered why robots use separate power for logic and motors, it is exactly to keep these regulated 5-volt rails clean and noise-free.
Digital pins are the numbered pins along the edge of the board. Each one can read or write a value of HIGH (5 volts) or LOW (0 volts). You use them to switch an LED on, drive a relay, or read a button. Some of these digital pins support pulse width modulation (PWM), which simulates an analog voltage by switching the output very fast, and that is how you dim an LED or control a servo motor.
Analog input pins, labeled A0 through A5 on the Uno, measure variable voltages between 0 and 5 volts and convert them to numbers between 0 and 1023 using an analog-to-digital converter. This is how you read a potentiometer, a light sensor, or a temperature sensor. The board also exposes 5V and 3.3V power pins, ground pins, and a few communication pins for I2C and SPI buses.
Other visible components include a voltage regulator that drops external voltage down to safe levels, a 16 MHz crystal oscillator that keeps timing accurate, a reset button to restart the program, and small LEDs that indicate power, transmit, and receive activity. The TX and RX LEDs blink during code upload and serial communication, which is a useful first debugging tool.
How Arduino Works Step by Step
The operating cycle of an Arduino is simple and predictable. Understanding the loop makes every project easier to reason about.
Step 1: Read inputs. The microcontroller looks at the voltage on each analog and digital pin. A button press might pull a pin to 5 volts. A potentiometer might deliver 2.7 volts, which the ADC converts into the number 553. A temperature sensor returns a number proportional to heat.
Step 2: Process the information. Your code, which was compiled and uploaded ahead of time, runs through simple if-then logic, math, and library calls. Maybe it checks if the temperature is above 30 degrees, or if the button has been pressed at least 10 times.
Step 3: Control outputs. Based on the processed result, the code changes the state of digital pins. It might turn on a pin to switch a relay, write a PWM value to dim an LED, or send a serial message to your computer.
Step 4: Loop forever. After the loop body finishes, the program jumps back to the top and runs again, thousands of times per second. There is no shutdown, no standby, and no waiting for an event. The loop has to do all the work, which is why efficient code structure matters.
This is also why an Arduino can run without a computer once the code is uploaded. The compiled program lives in non-volatile flash memory on the microcontroller, so the board keeps doing exactly what you told it to do the last time you plugged it in. Power it from a battery pack and you have a standalone device.
How Arduino Programming Works
The Arduino IDE is a free, cross-platform editor that runs on Windows, macOS, and Linux. Inside it, you write sketches, which is the friendly name for Arduino programs. The editor highlights syntax, has a built-in library manager, and a serial monitor that lets you print debug messages back to your computer.
Every sketch has two required functions. The setup function runs once at startup and is where you configure pin modes, start serial communication, and initialize sensors. The loop function runs over and over forever, and it is where you read inputs, make decisions, and write outputs. That is the entire structure.
The language itself is a simplified version of C++. You still get variables, loops, if statements, and functions, but you do not have to mess with header files, makefiles, or complex build settings. Every Arduino-compatible library ships with example sketches, so you can open one, read it, modify it, and watch the change happen seconds later.
To upload code, you connect the board with a USB cable, select the correct board model and serial port from the IDE menu, and click the upload button. The IDE compiles your sketch, then uses a small piece of firmware called the bootloader, already pre-installed on the microcontroller, to receive the new program over the serial connection and write it into flash memory. The board resets and starts running your new code automatically.
Arduino vs Raspberry Pi: What’s the Difference?
This is one of the most common questions from beginners, and the short answer is that Arduino is a microcontroller (no operating system, real-time, great for sensor and motor control) while Raspberry Pi is a microcomputer (runs Linux, has a desktop, can multitask, great for camera work, web servers, and AI).
Quick comparison:
- Brain: Arduino has a microcontroller running one program at a time. Raspberry Pi has a CPU running a full operating system.
- Real-time: Arduino responds to inputs in microseconds, deterministically. Raspberry Pi can be interrupted by the OS.
- Power: Arduino sips power and runs for weeks on a battery. Raspberry Pi needs a solid 5V supply and burns through battery much faster.
- Best for: Arduino excels at simple, reliable, real-world control tasks. Raspberry Pi excels at anything that needs a screen, networking, or heavy computation.
Pick Arduino when your project reads sensors, blinks LEDs, controls motors, and runs forever on a small battery. Pick Raspberry Pi when your project needs a camera, web access, machine learning, or a graphical interface. Many advanced robots actually combine both: a Raspberry Pi for vision and high-level decisions, and an Arduino for low-level motor control.
Popular Arduino Board Types
There are dozens of Arduino-compatible boards, but most beginners only need to know about a few. Each one is a trade-off between size, power, and pin count.
Arduino Uno is the classic board. It has 14 digital pins, 6 analog inputs, USB-B connection, and a removable microcontroller chip. It is the most documented board on the planet, so any beginner tutorial you find will almost certainly work with an Uno. This is what I recommend for your first board.
Arduino Nano is the same chip as the Uno but shrunk to a thumb-size board that plugs directly into a breadboard. It uses a mini-USB or USB-C port. It is perfect for projects where space is tight, like a wearable or a small robot.
Arduino Mega has 54 digital pins and 16 analog inputs, which is helpful when you need to drive many LEDs, motors, or sensors at once. It is larger and more expensive, but it saves you from pin Multiplexing headaches in big projects.
Arduino Nano 33 IoT and ESP32 boards add built-in Wi-Fi and Bluetooth. If you want to send sensor data to the cloud or control a device from your phone, these boards are worth the extra learning curve. They are still programmed through the same IDE and the same simplified C++.
For a beginner, the Arduino Uno remains the safest choice. The tutorials are abundant, the shields and accessories are cheap, and the community support is unbeatable.
Getting Started with Your First Arduino Project
The fastest way to learn Arduino is to build a working project on day one. The Blink sketch, which makes the built-in LED flash on and off once per second, is the traditional hello world of the platform, and it works without any extra components.
Step 1: Gather what you need. Buy an Arduino Uno, a USB cable that matches the board’s USB-B port, and a computer running Windows, macOS, or Linux. That is the minimum. For later projects, you will also want a solderless breadboard, jumper wires, and a few components like LEDs, resistors, and buttons.
Step 2: Install the Arduino IDE. Download the latest version from the official Arduino website and install it. On Windows, the installer also installs the USB drivers you need to recognize the board. If you prefer a more modern editor, the Arduino IDE 2 is a desktop app with a built-in debugger and autocompletion.
Step 3: Connect the board and configure the IDE. Plug the Uno into your computer with the USB cable. In the IDE, open Tools, then Board, and select Arduino Uno. Open Tools, then Port, and select the serial port that appeared when you plugged the board in. On Windows, this is usually COM3 or higher. On macOS and Linux, it appears as /dev/tty.usbmodem or /dev/ttyUSB0.
Step 4: Open the Blink example. Go to File, then Examples, then 01.Basics, then Blink. A new window opens with the example code. Read it. The comments explain that the LED_BUILTIN constant is the pin number for the onboard LED, and that digitalWrite sets that pin HIGH or LOW.
Step 5: Upload and watch. Click the upload button (the right-pointing arrow). The IDE compiles the code, sends it to the board, and the TX and RX LEDs flicker. After a few seconds, the orange LED on the board starts blinking once per second. Congratulations, you have just built and deployed your first embedded program.
From here, try changing the delay values in the code and re-uploading. You will see the blink rate change in real time. Then move on to projects that add an external LED with a resistor, read a button, or measure light with a sensor. Each one teaches a new skill without needing new hardware.
Troubleshooting Common Arduino Problems
Every beginner hits the same handful of roadblocks. Here is how to fix the most common ones quickly.
Port not found: If the IDE does not list a serial port, make sure your USB cable is a data cable, not a charge-only cable. Many cheap USB cables only carry power. Try a different cable, try a different USB port, and confirm the cable works with another device.
Code not uploading: If the IDE reports an error, double-check that you have the right board and port selected. A mismatch between board model and IDE settings is the number one cause of upload failures. If you see an out-of-sync error, hold the reset button on the board, release it the moment the IDE finishes compiling, and the bootloader will catch the upload.
Board not responding: If your code uploads but the LED does nothing, open the serial monitor at 9600 baud and add some Serial.println statements to your loop. This is the embedded equivalent of print debugging. If you see the messages, your code is running. If you do not, your board may need a fresh bootloader.
Power issues: If your Arduino resets randomly when a motor spins up, the motor is drawing down the same supply and causing a brown-out. The fix is to power the motor from a separate supply and share only the ground. We have a full guide on why robots brown out and reset if you want to dig deeper.
Wiring mistakes: Double-check polarity on LEDs and polarized capacitors. A backwards LED will not light up but is otherwise harmless. A backwards capacitor can pop. Always disconnect power before rewiring, and review the safe wiring guide before working with anything more than 5 volts.
What Can You Build with Arduino?
Arduino is used for everything from blinking LEDs to controlling industrial sensors. Hobbyists build line-following robots, automatic plant watering systems, smart thermostats, and musical instruments. Artists create interactive installations that react to motion and sound. Educators use Arduino to teach programming, electronics, and engineering concepts in classrooms and summer camps.
For robotics specifically, Arduino is a great choice for the low-level control layer. Our guide on how a robot chassis works pairs well with an Arduino-based drive system, and the battery selection guide helps you pick the right power source for any mobile project.
Even though Arduino is rarely used in heavy industrial equipment (where PLCs and certified hardware dominate), it remains an excellent tool for prototyping, learning, and building one-off projects that need to work reliably without a screen or a keyboard.
Frequently Asked Questions About Arduino
How hard is it to learn Arduino?
Arduino is one of the easiest microcontroller platforms to learn. If you have ever written a few lines of code or followed a simple recipe, you can get an LED blinking within an hour. The simplified C++ language hides most of the complexity, and the example sketches do most of the work for you. Most beginners follow a tutorial on day one and start inventing their own projects within a few weeks.
What is the main purpose of Arduino?
The main purpose of Arduino is to make electronics and programming accessible to people who are not electrical engineers. It provides an inexpensive, well-documented board and a beginner-friendly software environment that lets you read sensors, control motors, and create interactive projects without needing deep knowledge of PCB design or embedded C.
Can an Arduino run without a computer?
Yes. Once you upload a sketch, the program is stored in flash memory on the microcontroller. You can unplug the USB cable, power the board from a battery or wall adapter, and the program will keep running forever. Many Arduino projects never connect to a computer again after the initial upload.
Is Arduino still relevant in 2026?
Arduino is still highly relevant for hobbyists, students, educators, and rapid prototyping. While industrial automation uses different hardware, the Arduino ecosystem remains the simplest way to learn embedded programming and remains the first choice for DIY robotics, sensor projects, and interactive art. The release of Wi-Fi-enabled boards and modern IDEs has kept it current.
Is Arduino just C++?
Arduino uses a simplified subset of C++ with a set of built-in helper functions. The sketch hides files like main.cpp and the linker details, so you focus on two functions called setup and loop. You can drop down to plain C++ if you need to, but most projects never have to.
Why is Arduino not used in industry?
Industrial controllers need safety certifications, extended temperature ranges, and deterministic real-time guarantees that hobby boards do not provide. Arduino is fantastic for learning and prototyping, but factories use PLCs, certified industrial PCs, and specialized safety relays for production lines.
Wrapping Up: Your Next Steps with Arduino
So, what is an Arduino and how does it work? It is a small, affordable, open-source microcontroller board that reads inputs, follows the code you upload, and controls outputs in a tight loop, forever, with no operating system in the way. The hardware is simple, the software is approachable, and the community is enormous.
If you are ready to start, grab an Arduino Uno, install the IDE, and run the Blink example today. Once that works, try a project with a button, then a temperature sensor, then a motor. Each small win builds confidence for the next one. Before long, you will be building robots, smart home gadgets, and tools that solve real problems in your own workshop.