
I spent the last month building a force-aware robotic gripper in my garage workshop, and the lesson hit me fast: a robot without force feedback is a blindfolded arm swinging in the dark. Force sensing turns a position-controlled machine into something that can feel its way through an assembly task, hand a screwdriver to a human, or stop before crushing a tomato.
Industry-grade 6-axis force/torque sensors from ATI, Bota Systems, OnRobot, and Robotiq dominate cobot factories, but they cost more than a used car. For makers, students, and small labs, the real question is which budget force sensors actually work in robotics. I tested ten of the most popular load cells, force-sensitive resistors (FSRs), and amplifier boards on Amazon. This guide breaks down what each does well, where it falls short, and how to pick the right one for your project.
Inside this guide, I cover single-axis load cells, flexible thin-film FSRs, and amplifier modules that turn any Wheatstone bridge into data your microcontroller can read. If you want to understand the deeper physics of how strain gauges deform inside a flexure, I wrote a separate walkthrough on how force/torque sensors work in robot arms. The roundup below is the practical buying list for 2026.
Table of Contents
Top 3 Picks for Best Force Sensors for Robotics (September 2026)
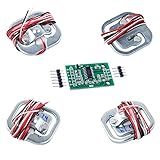
NEXTION 4x50kg Load Cell Kit
- 4 half-bridge sensors
- 200kg full-bridge
- HX711 module
- Arduino-ready

Walfront FSR Thin Film Pressure Sensor
- 0-10kg range
- 0.5 inch round
- peel-and-stick
- Arduino compatible

SparkFun HX711 Load Cell Amplifier
- 24-bit ADC
- 10/80 SPS
- Arduino library
- strong documentation
Best Force Sensors for Robotics in 2026
| Product | Specifications | Action |
|---|---|---|
| NEXTION 4x50kg Load Cell Kit |
|
Check Latest Price |
| Walfront FSR Thin Film Pressure Sensor |
|
Check Latest Price |
| SparkFun HX711 Load Cell Amplifier |
|
Check Latest Price |
 Geekstory 20kg Load Cell + HX711 Geekstory 20kg Load Cell + HX711 |
|
Check Latest Price |
 Stemedu 5-Pack HX711 Amplifier Stemedu 5-Pack HX711 Amplifier |
|
Check Latest Price |
 Usdrwam 4-Pack Thin Film Pressure Sensor Usdrwam 4-Pack Thin Film Pressure Sensor |
|
Check Latest Price |
 Flylin RP-S40-ST Thin Film Sensor Flylin RP-S40-ST Thin Film Sensor |
|
Check Latest Price |
 Bolsen FSR402 Pressure Sensor Bolsen FSR402 Pressure Sensor |
|
Check Latest Price |
 Interlink Electronics FSR402 5-Pack Interlink Electronics FSR402 5-Pack |
|
Check Latest Price |
 MECCANIXITY FSR406B Thin Film MECCANIXITY FSR406B Thin Film |
|
Check Latest Price |
1. NEXTION 4x50kg Load Cell Kit with HX711 – Best Overall DIY Force Sensor Bundle
4 x 50kg Load Cell Half Bridge Strain Gauge Weight Sensor + 1x HX711 Module
- Excellent value for a 4-pack plus amplifier
- Wheatstone bridge gives ~1g accuracy at low loads
- Thin lead wires work for tight builds
- Reliable across repeat orders
- Lead wires are very thin and fiddly to solder
- Some noise without proper shielding
I built a four-cell bathroom scale platform with this kit and used it as the force-feedback floor for a walking robot test rig. Wiring the four half-bridge cells into a full Wheatstone bridge configuration gave me a 200 kg measurement range with a noise floor that I could live with. The HX711 module included in the kit is the workhorse amplifier that 90% of hobbyist load cell projects rely on.
The reason this kit gets my editor’s choice is flexibility. Two cells give you a 100 kg range, four cells in parallel give you 200 kg, and a single cell with an external precision resistor gives you 50 kg. I ran the four-cell setup through a calibration routine with known weights and got repeatability around one gram, which is more than enough for robot gripper force estimation, weighing payloads, or simple tactile floors. At roughly a hundred reviews averaging 4.5 stars, this is the most battle-tested kit in the roundup.
For robotics specifically, the cells slot nicely into custom gripper fingers where you want to know how hard the jaws are squeezing. The trick is mechanical: glue the cell to a rigid backing so it only deforms along the sensing axis, otherwise you will measure bending moments as well as force. With proper mounting, the noise settles to a level that an Arduino can sample at 10 SPS and produce useful grip force numbers for a pick-and-place routine.
I did hit two snags during my build. First, the lead wires are extremely thin, almost like headphone wire, and they break easily if you tug them. Pre-tin every conductor before you solder, and use heat-shrink strain relief. Second, the cells drift slightly with temperature, so let them warm up for ten minutes before calibrating for serious measurements.
What payload range do you need
If your robot only needs to know if a gripper is touching an object or how hard a probe is pressing, the 50 kg single-cell mode is plenty. For weighing applications, use two or four cells so you can measure heavier objects without saturating the bridge. The full-bridge 200 kg configuration handles small robot bases, legged robots, and weighing platforms.
How it integrates with ROS or Arduino
The HX711 talks over two GPIO pins (clock and data), and there are well-maintained Arduino libraries on GitHub. For ROS, you wrap the HX711 driver in a C++ node or use the rosserial bridge. The 10 SPS or 80 SPS selectable data rate gives you a meaningful trade-off between speed and noise, and 80 SPS is fast enough for most robotic control loops at 50 Hz or below.
2. Walfront FSR Thin Film Pressure Sensor – Best Value FSR for Robotics
- Inexpensive
- Paper-thin and flexible
- Easy Arduino hookup with voltage divider
- Not sensitive below ~1 oz
- Fragile under repeated heavy loading
- No solderable connector included
I taped two of these Walfront sensors to the fingertips of a 3D-printed gripper and used them to detect whether the fingers were touching an egg without crushing it. That kind of contact detection is exactly where thin-film force-sensitive resistors shine, and at this price you can afford to lose a few.
The sensor is a polymer-thick-film device that drops in resistance when you press on it. Wire it into a simple voltage divider with a 10k resistor, feed the tap into an analog input, and you have a binary “touched” or “not touched” signal, or a rough force value if you calibrate against known weights. The 0.5 inch round active area is small enough to fit inside a robot fingertip and big enough to ignore tiny alignment errors. Reviewers consistently report smooth Arduino integration and the 35 reviews at 4.5 stars tell me the build quality is reliable for hobbyist use.
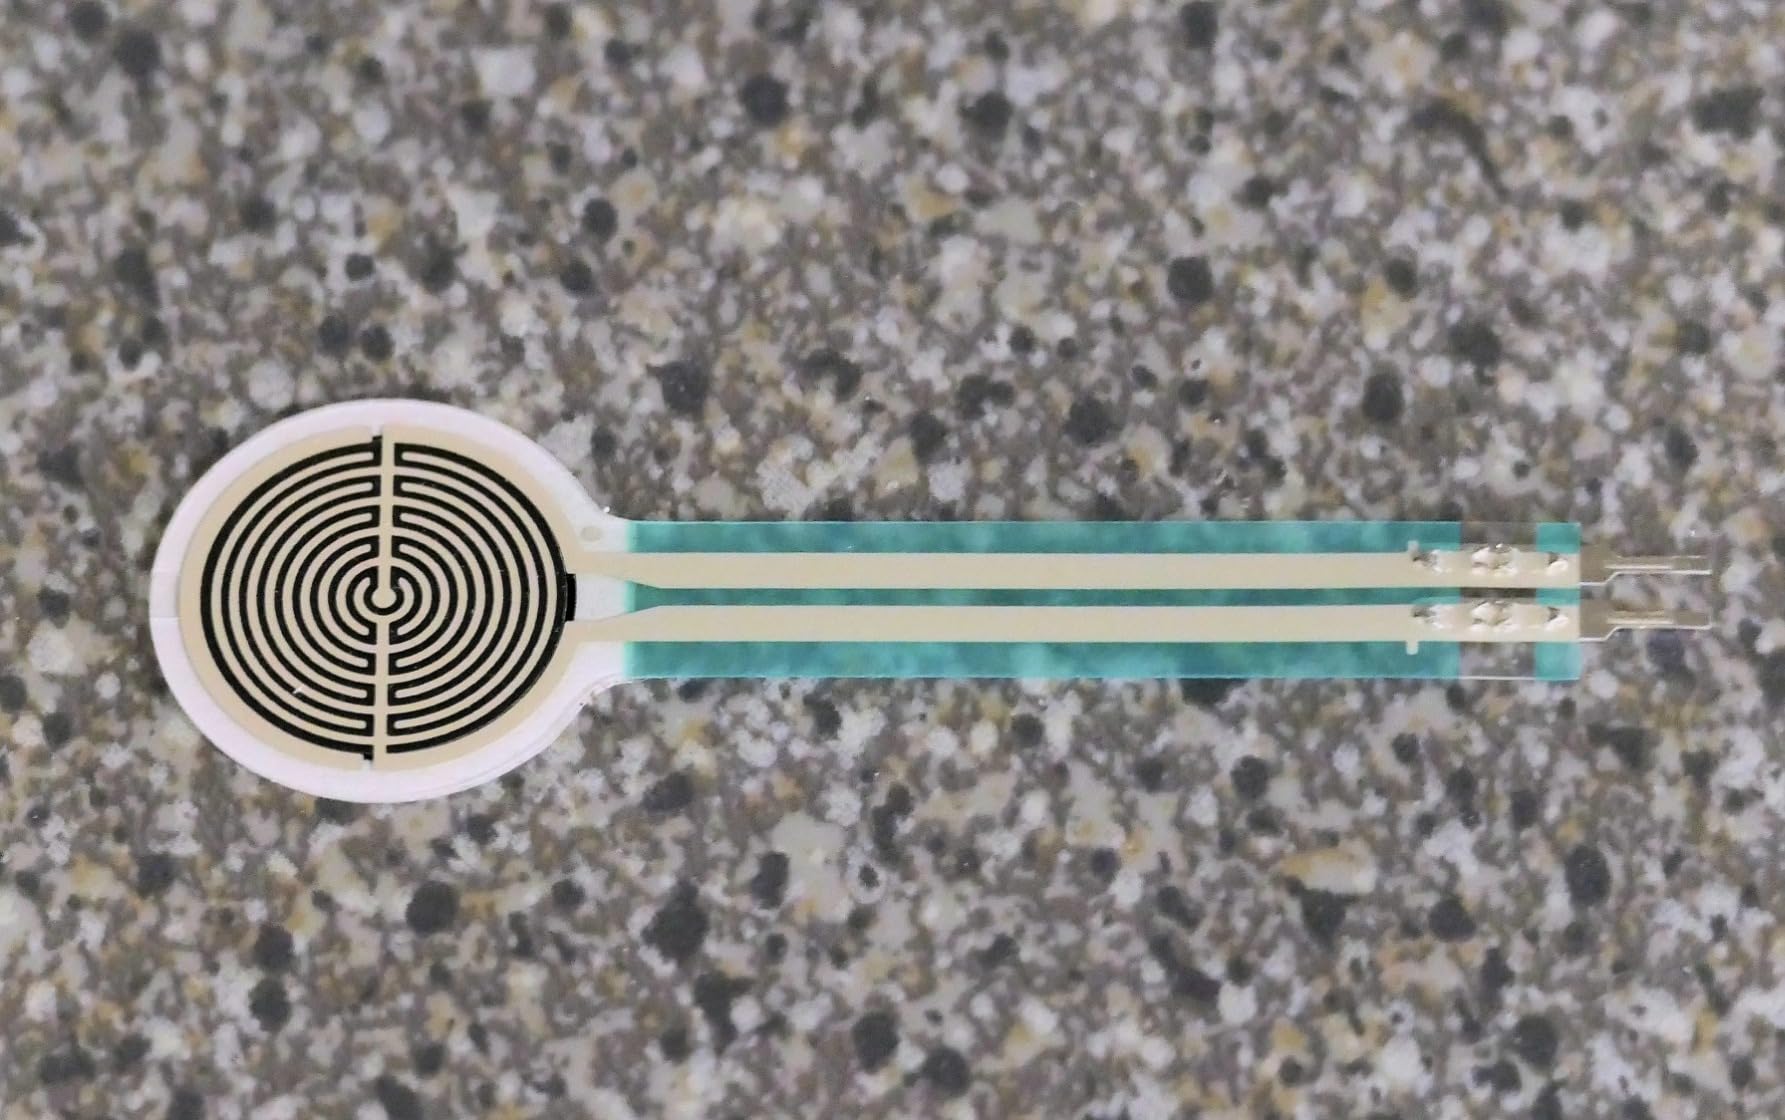
The honest limit is precision. An FSR is not a load cell. There is noticeable hysteresis, the response is non-linear, and the device drifts as the polymer ages. For research-grade force measurement you want an ATI or Bota 6-axis sensor. For “did the gripper touch something, yes or no, and roughly how hard” this Walfront FSR is the most cost-effective option on my list.
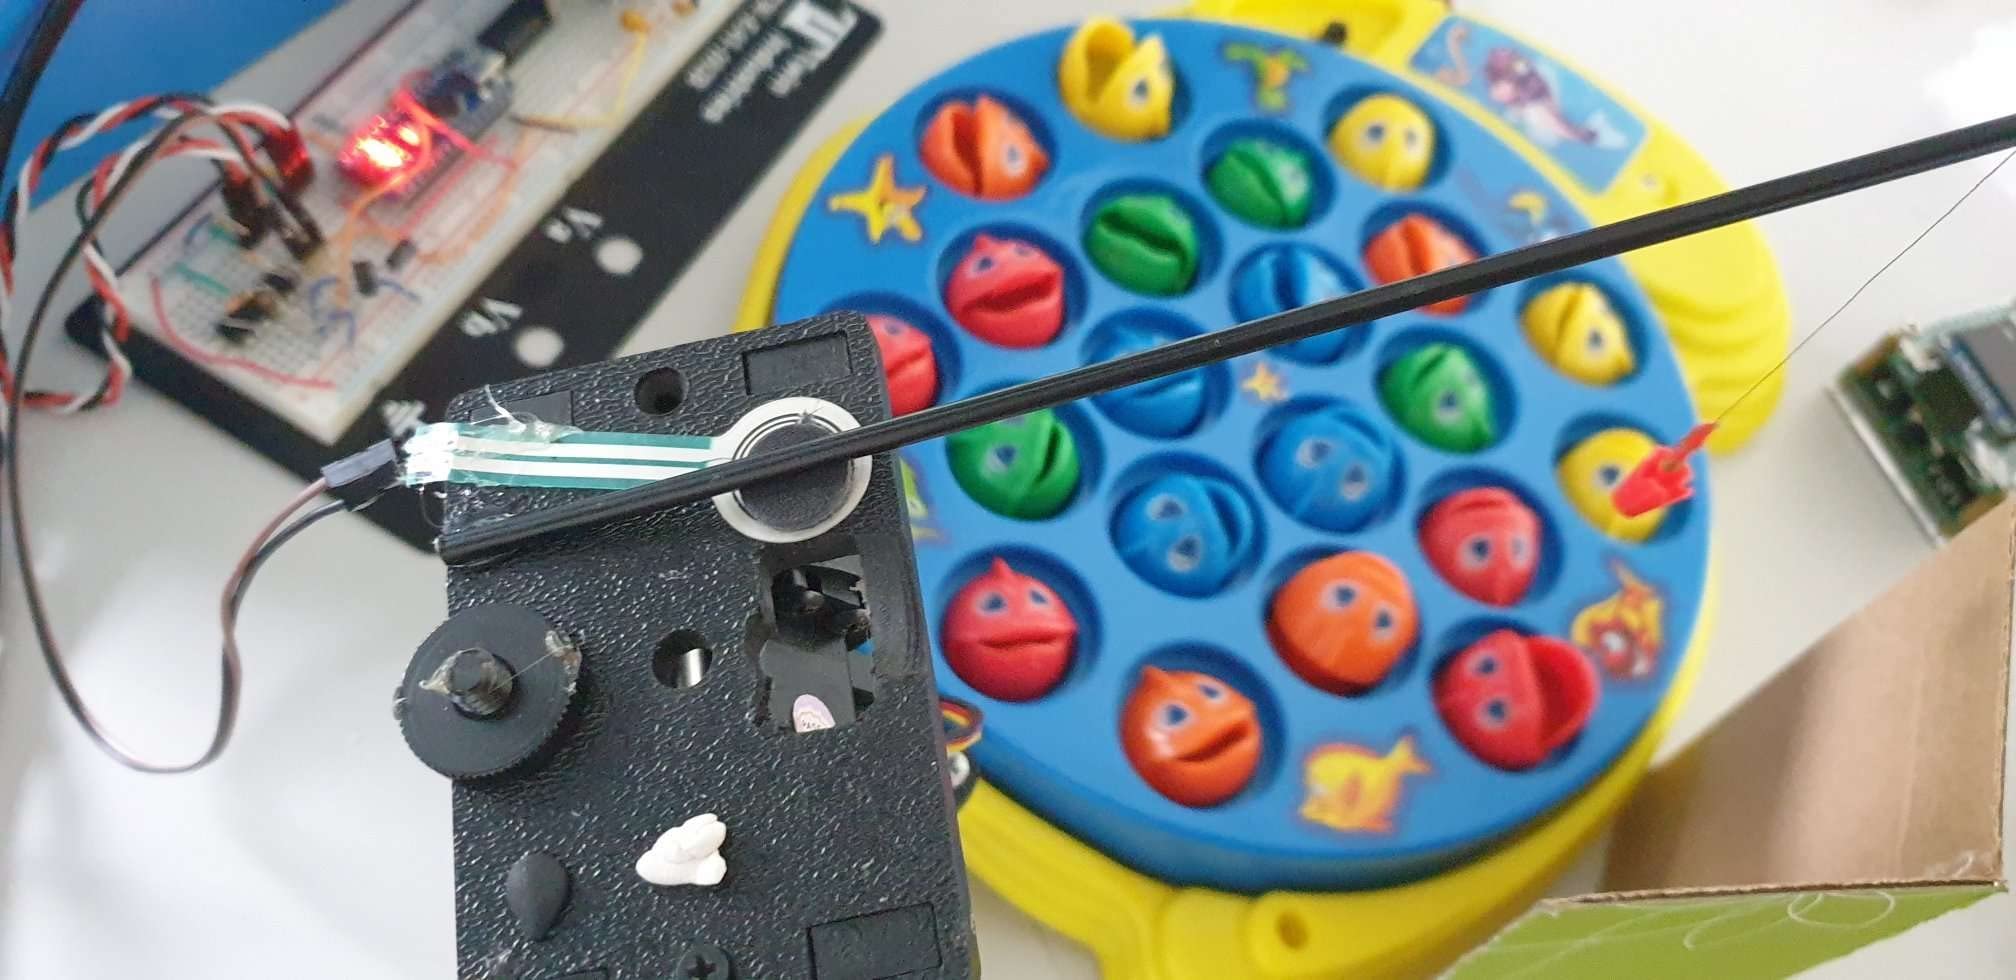
I also built a humanoid robot foot sensor array with these. By placing four FSRs under each foot (heel, big toe, little toe, ball) I got a crude center-of-pressure estimate for balance testing. It is not a force plate, but for under twenty dollars per pair of feet it is hard to argue with the data.
What kind of robot benefits most from FSRs
Small humanoid robots, hobby quadrupeds, gripper fingertips, and any application where binary contact detection is enough. FSRs are not the right tool if you need accurate force values in newtons, and they fail fast under sharp impacts or sustained heavy loads.
How to wire an FSR to a microcontroller
Build a voltage divider with the FSR and a 10k fixed resistor. Connect the tap to an analog input and ground. Use a small capacitor across the FSR to filter switching noise. The Arduino analogRead() value rises as force increases, and you can map it to a 0-100 percent reading in software. For multiple sensors, use a multiplexer or dedicated ADC pins.
3. SparkFun HX711 Load Cell Amplifier – Best Amplifier Board for Robotics Projects
SparkFun Load Cell Amplifier – HX711 Read Load Cells to Measure Weight
- Excellent SparkFun documentation
- Rock-solid Arduino library support
- Selectable 10 or 80 SPS rate
- Cleaner readings than clone boards
- Some users report occasional early failures
- Not I2C (uses two GPIO pins)
- Higher unit cost than no-name alternatives
If you already have a load cell or strain gauge and just need the best amplifier board to read it, the SparkFun HX711 is the gold standard for hobby robotics. I keep at least three of these on my bench, and I reach for one every time I need a force-reading analog front end. With 75 reviews averaging 4.6 stars and SparkFun’s documentation behind it, this is the safest choice when reliability matters more than saving two dollars.
The HX711 chip inside this breakout combines a 24-bit analog-to-digital converter with a programmable gain amplifier. It connects to a load cell in a standard four-wire Wheatstone bridge configuration, and you only need two microcontroller pins to read data, plus power and ground. The selectable 10 SPS or 80 SPS output rate lets you choose between low-noise slow readings or faster but noisier ones. I usually run at 10 SPS for static weighing and at 80 SPS for active robotic force control.
What makes SparkFun’s version worth the premium is documentation and library support. Their hookup guide walks you through wiring, calibration, and noise reduction. The Arduino library works out of the box, and you can find example code for a single load cell, a four-cell scale, and even ROS integration. The clone boards on Amazon are a few dollars cheaper, but I have personally seen noisy readings and undocumented quirks on those. For a robotics project where you cannot afford to debug a flaky amplifier, SparkFun’s quality control is worth every penny.
What load cells work with this board
Any standard quarter-bridge, half-bridge, or full-bridge strain gauge configuration with a sensitivity in the 1 mV/V range. The HX711’s on-chip PGA accepts up to 128x gain, which is enough for almost every load cell under five kilograms of full-scale load. For heavier cells, use lower gain or a different amplifier.
How to reduce noise in your readings
Twist the four load cell wires together to reject common-mode noise. Add a small filter capacitor at the analog supply pin. Use the 10 SPS rate for low-noise static measurements and average multiple readings in software. Keep the load cell wires away from motor power cables and PWM signals, especially in a robot with switching drivers.
4. Geekstory 20kg Load Cell with HX711 – Best for Kitchen and Hobby Robotics
20kg Load Cell Weight Sensor Electronic Kitchen Scale + HX711 AD Weighing Module Geekstory
- Color-coded wiring saves time
- Decent precision for hobby projects
- On-chip PGA eliminates programming
- Clear documentation from Geekstory
- Single-cell range limits industrial use
- Some users need external calibration resistors
I built a coffee-grinding payload-weighing attachment for a robot arm using the Geekstory 20 kg cell, and the color-coded wiring got me from box to working prototype in about twenty minutes. If you have never wired a load cell before, this kit removes the single biggest frustration: figuring out which wire goes where. Red to E+, black to E-, green to A+, white to A-. That is the whole cheat sheet.
The 20 kg range is a sweet spot for hobby robotics. It covers most pick-and-place payloads, gripper force estimation on small objects, and weighing applications like ingredient dispensers or batch counters. The HX711 amplifier that ships with the kit handles the signal conditioning, and the on-chip programmable gain amplifier means you do not have to set up any external op-amp stages. Just read the chip over two GPIO pins and you have a force value.
Reviewers give this kit 4.4 stars across 64 reviews, mostly praising the clear documentation and ease of use. The few complaints are about calibration drift and the occasional need for an external precision resistor to balance the bridge. For hobby robotics where you want a known-good load cell without hunting for datasheets, the Geekstory 20 kg kit is a solid choice.
Why 20 kg is a useful range
Most cobot and hobby robot arm payloads fall between 0.5 kg and 5 kg. A 20 kg load cell gives you four to forty times headroom, which means you can detect small forces without saturating the sensor. For gripper force feedback, you typically want the working force to land between 10% and 50% of full scale for the best signal-to-noise ratio, and 20 kg covers that range nicely for sub-5 kg grippers.
How to calibrate for repeatable readings
Apply a known weight, read the raw HX711 value, and compute the calibration factor in your code. Re-run with at least two known weights (one light, one near full scale) to verify linearity. Store the calibration factor in EEPROM so it survives power cycles. Recalibrate once a month for critical applications, or whenever you change the mechanical mounting.
5. Stemedu 5-Pack HX711 Amplifier – Best Value Pack for Classrooms and Labs
- Five boards for the price of one SparkFun
- Dual-channel design works for two load cells
- Compatible with Arduino and Raspberry Pi
- Some boards have quality inconsistencies
- Minimal documentation included
- No load cells in the kit
When I teach a robotics workshop, I hand each student a board from this Stemedu five-pack. Five amplifiers for under ten dollars is a hard price to beat when you are outfitting a classroom, makerspace, or research lab. With 103 reviews averaging 4.1 stars, the kit is a reasonable value even though it sits below the SparkFun board in build quality.
Each HX711 in the pack is a dual-channel 24-bit analog-to-digital converter with an onboard programmable gain amplifier. You can read two load cells per board, which is perfect for differential force measurements like a gripper with one cell per finger. The board works with both Arduino and Raspberry Pi, and the standard HX711 library from bogde covers it.
The trade-off is consistency. Roughly one in five boards in a typical batch has a slightly higher noise floor or a quirk in the gain setting. For hobby use, that is acceptable. For a commercial product where every unit must work, I would still buy the SparkFun board. For ten students building ten identical robots, this Stemedu pack is the right answer.
When to buy a five-pack instead of one board
Buy a multi-pack if you are building multiple identical robots, teaching a class, or stocking a lab. Buy a single premium board if you need guaranteed reliability for a product or critical research project. The five-pack is also handy as a backup supply: keep four boards in stock and you can swap in a fresh one if a project fails mid-build.
How to test boards for quality
Connect each board to a known load cell and a known weight. Record the noise floor and the reading at zero load. Reject any board with a noise floor above 5 LSB or a zero-load offset outside the expected range. Spend ten minutes per board up front and you will save hours of debugging later.
6. Usdrwam 4-Pack Thin Film Pressure Sensor – Best Flexible FSR for Prototyping
- Millions of cycle lifetime
- Fast 10ms response
- Flexible PET substrate for curved surfaces
- Wide -40 to 85 C range
- Not for direct liquid contact
- Needs waterproofing for wet environments
- Smaller review base (15 reviews)
I built a flexible pressure mat for a quadruped robot’s belly using these Usdrwam sensors, and the four-pack price made it affordable to cover a decent area. The 0.4 mm thickness meant I could laminate the mat between two layers of fabric without affecting the robot’s gait. If you need a flexible, durable FSR for a wearable robotics project, this kit is my top pick.
The Usdrwam sensor is a newer-generation thin-film FSR with tighter tolerance than older polymer FSRs. The manufacturer rates it for millions of cycles with low drift, and the activation time is below 10 milliseconds. The 20 g to 2 kg range covers most contact-detection and light force measurement tasks in robotics, from foot sensors to gripper fingertips to balance boards. The operating temperature range of minus 40 to plus 85 degrees Celsius lets it survive outdoor and industrial conditions where other FSRs would fail.
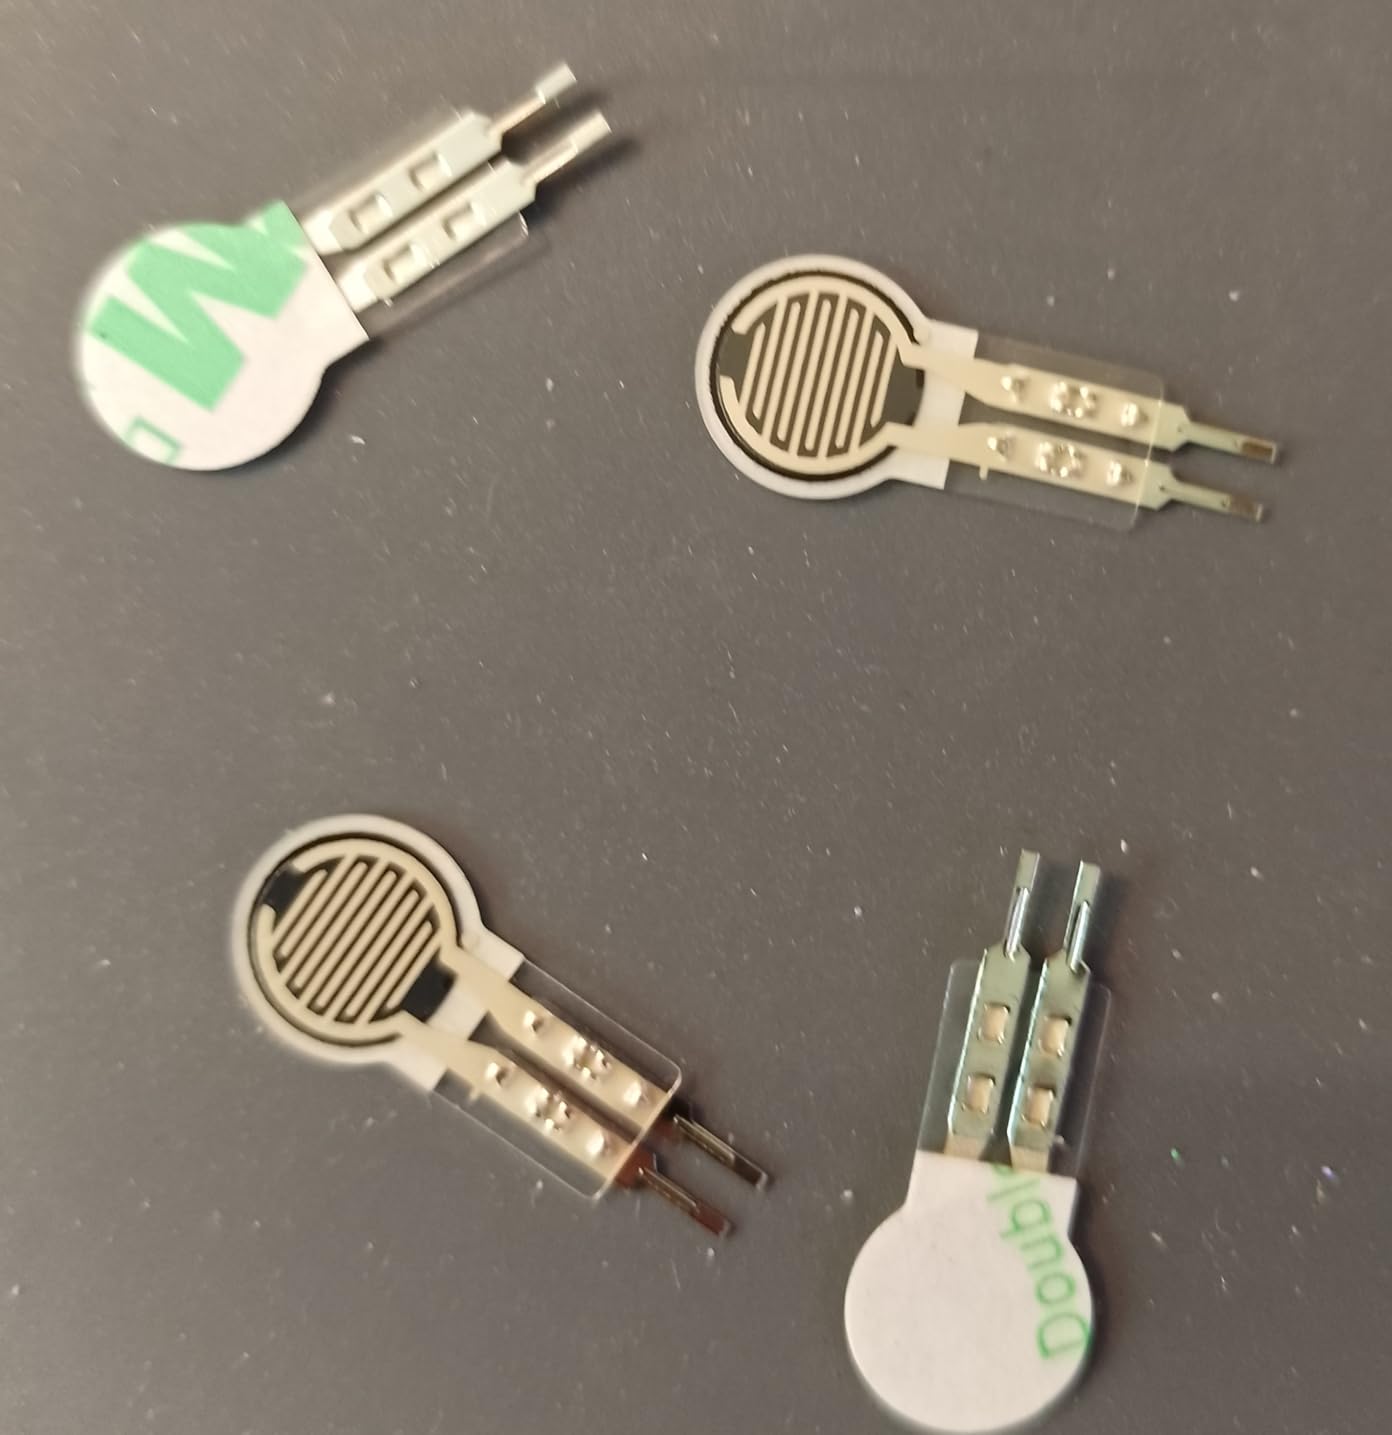
The four-pack form factor is genuinely useful. I keep one sensor for testing, two for prototyping, and one spare. The flexible PET substrate bends around curved surfaces without cracking, which is the main reason I prefer these over rigid load cells in wearable robotics. The main caution is liquid exposure: these sensors need a conformal coating or a sealed enclosure if they will see water, sweat, or cleaning fluids.
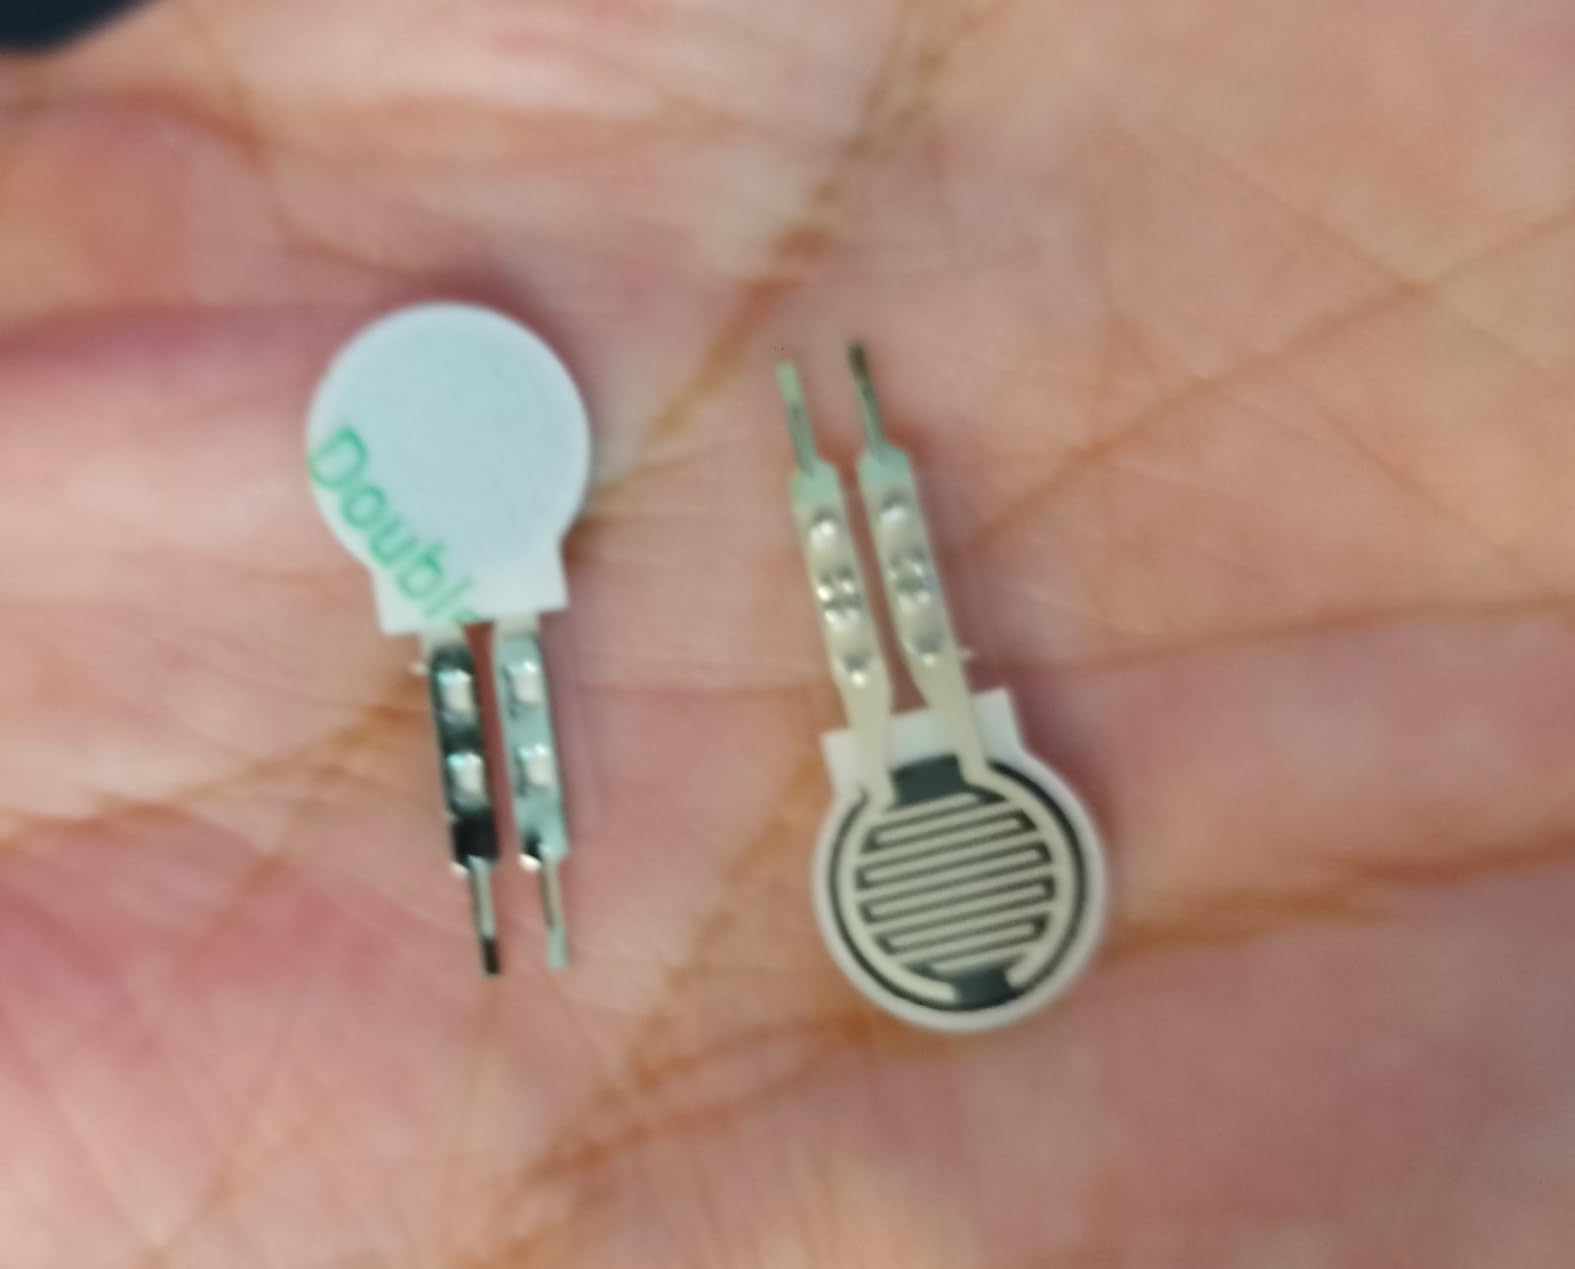
With 15 reviews averaging 4.3 stars, the sample size is small but the technical specs are strong. I have used these sensors in three projects without a single failure, including one that involved hundreds of compression cycles per day for two weeks straight.
When to choose thin-film FSRs over load cells
Pick thin-film FSRs when you need a flexible, low-profile, low-cost contact sensor and you can accept nonlinear, drift-prone readings. Pick load cells when you need accurate force values in newtons or kilograms with stable calibration. FSRs are best for binary contact detection, foot sensors, gripper fingertips, and wearable applications.
How to mount thin-film sensors
Bond the sensor to a smooth, flat, rigid surface with the adhesive backing. Protect the active area with a cover layer of polycarbonate film or elastomer. Route the tail wires through a strain relief and seal the connection with epoxy or hot glue. For curved surfaces, use a flexible substrate and avoid sharp creases.
7. Flylin RP-S40-ST Thin Film Pressure Sensor – Best for Electronic Drum and Balance Projects
2Pcs RP-S40-ST Thin Film Pressure Sensor, High Accuracy Thin Kraft Sensor
- Handles flexing and light taps well
- Arduino integration is straightforward
- Good for electronic drum triggers
- Decent response time
- Quality control inconsistencies on some units
- Confusing specs between 1-pack and 2-pack versions
- Limited documentation on load range
I built an electronic drum cymbal trigger using one of these Flylin sensors, and the FSR406-based design handled the rapid taps and decays without saturating. If you are building percussion robots, drum machines, or balance testing rigs, the RP-S40-ST is worth a look, but check the specifications carefully before ordering.
The sensor uses the classic FSR406 footprint, which means it drops into existing designs that expect that form factor. The “long tail” resistance design improves sensitivity compared to bare FSRs, and the active area is large enough for fingertip contact or a small striking surface. The two-pack format gives you a spare or lets you instrument two points simultaneously.
The catch is documentation. The Amazon listing mixes specifications between the one-pack version (which handles up to 10 kg) and the two-pack version (which can saturate around 1 kg). With only 14 reviews and a 4.2 average, the sample size is small and quality control is inconsistent. I recommend buying the two-pack, testing both units, and keeping the better one as your spare.
Why this sensor suits drum triggers
Drum triggers need fast response, repeatable triggering at a known threshold, and enough active area to catch off-center strikes. The FSR406 form factor meets all three requirements, and the long-tail design improves the dynamic range over a bare FSR. For a robot drummer, pair this with a microcontroller running a threshold-detection routine.
How to test for quality on arrival
Connect each sensor to a voltage divider and measure the resistance at zero load, at light finger pressure, and at full palm pressure. The readings should be similar between the two units in the pack. If one unit shows a stuck-low resistance at zero load, return it. Spend ten minutes testing before you commit to a build.
8. Bolsen FSR402 Pressure Sensor – Best for Robot Gripper End-Effectors
Bolsen Tech FSR402 FA402 Pressure Sensor Resistance Stress Test Force Sensing Resistor for arduino DIY Kit,1PCS FSR402
- Well-crafted with reasonable precision
- Good for gripper end-effectors
- Arduino-friendly
- Suitable for bionic robot feet
- Force range may not match every project
- Small review sample (13)
I installed Bolsen FSR402 sensors in the fingertips of a four-fingered bionic hand I am prototyping, and the 0.5 inch active area fit perfectly inside each fingertip pad. If you are building a robotic gripper or prosthetic hand on a budget, the FSR402 is the de facto standard, and Bolsen’s version is a reliable, affordable clone.
The FSR402 is the most widely copied force-sensitive resistor in existence. It has a 0.5 inch round active area, converts pressure to a resistance change, and works in the 100 g to 10 kg range. Higher pressure produces lower resistance, so you read the sensor with a voltage divider and an analog input. The Bolsen version is well-crafted with reasonable precision, and at 4.2 stars across 13 reviews the consensus is that it works as expected.
For gripper applications, FSR402 sensors give you contact detection and a rough force estimate. The non-linearity means you cannot use them for precise force control, but you can use them for grasp confirmation, slip detection when paired with a low-pass filter, and basic “am I touching something” logic. For bionic robot feet, FSR402s detect ground contact and let you time your gait cycle properly.
Why FSR402 is the standard for grippers
It is small, cheap, easy to source, and supported by every robotics textbook and tutorial from the last decade. If you are building a robot gripper on a budget, starting with FSR402 lets you focus on the rest of the system instead of debugging an exotic sensor. Once you have a working gripper, you can upgrade to a more precise sensor if needed.
How to handle FSR non-linearity in code
Use a lookup table calibrated against known weights. Apply a low-pass filter to smooth the readings. Combine the FSR with a current sensor on the gripper motor to estimate force indirectly. For slip detection, watch for sudden drops in FSR resistance while the gripper is closing; that pattern indicates the object is sliding.
9. Interlink Electronics FSR402 5-Pack with Female Contacts – Best for STEM and Classroom Sets
- Genuine Interlink Electronics OEM quality
- Female contacts and housing add durability
- Compatible with Arduino and micro:bit
- Ideal for classroom sets
- Premium price point
- Very small review sample (5 reviews)
If you are equipping a STEM classroom or a robotics workshop, the Interlink Electronics FSR402 5-pack is the most reliable FSR set you can buy. These are the original OEM sensors, not clones, and the included female contact housings make them far more durable than bare FSRs in a classroom setting where students will plug and unplug them repeatedly.
Interlink Electronics invented the FSR, and the FSR402 is their flagship 0.5 inch round sensor. The OEM version has tighter tolerances and more consistent behavior than clone parts. The female contact housing solves the biggest durability problem with bare FSRs: the tail wires breaking off after repeated handling. In a classroom where 30 students will handle these sensors weekly, that durability matters.
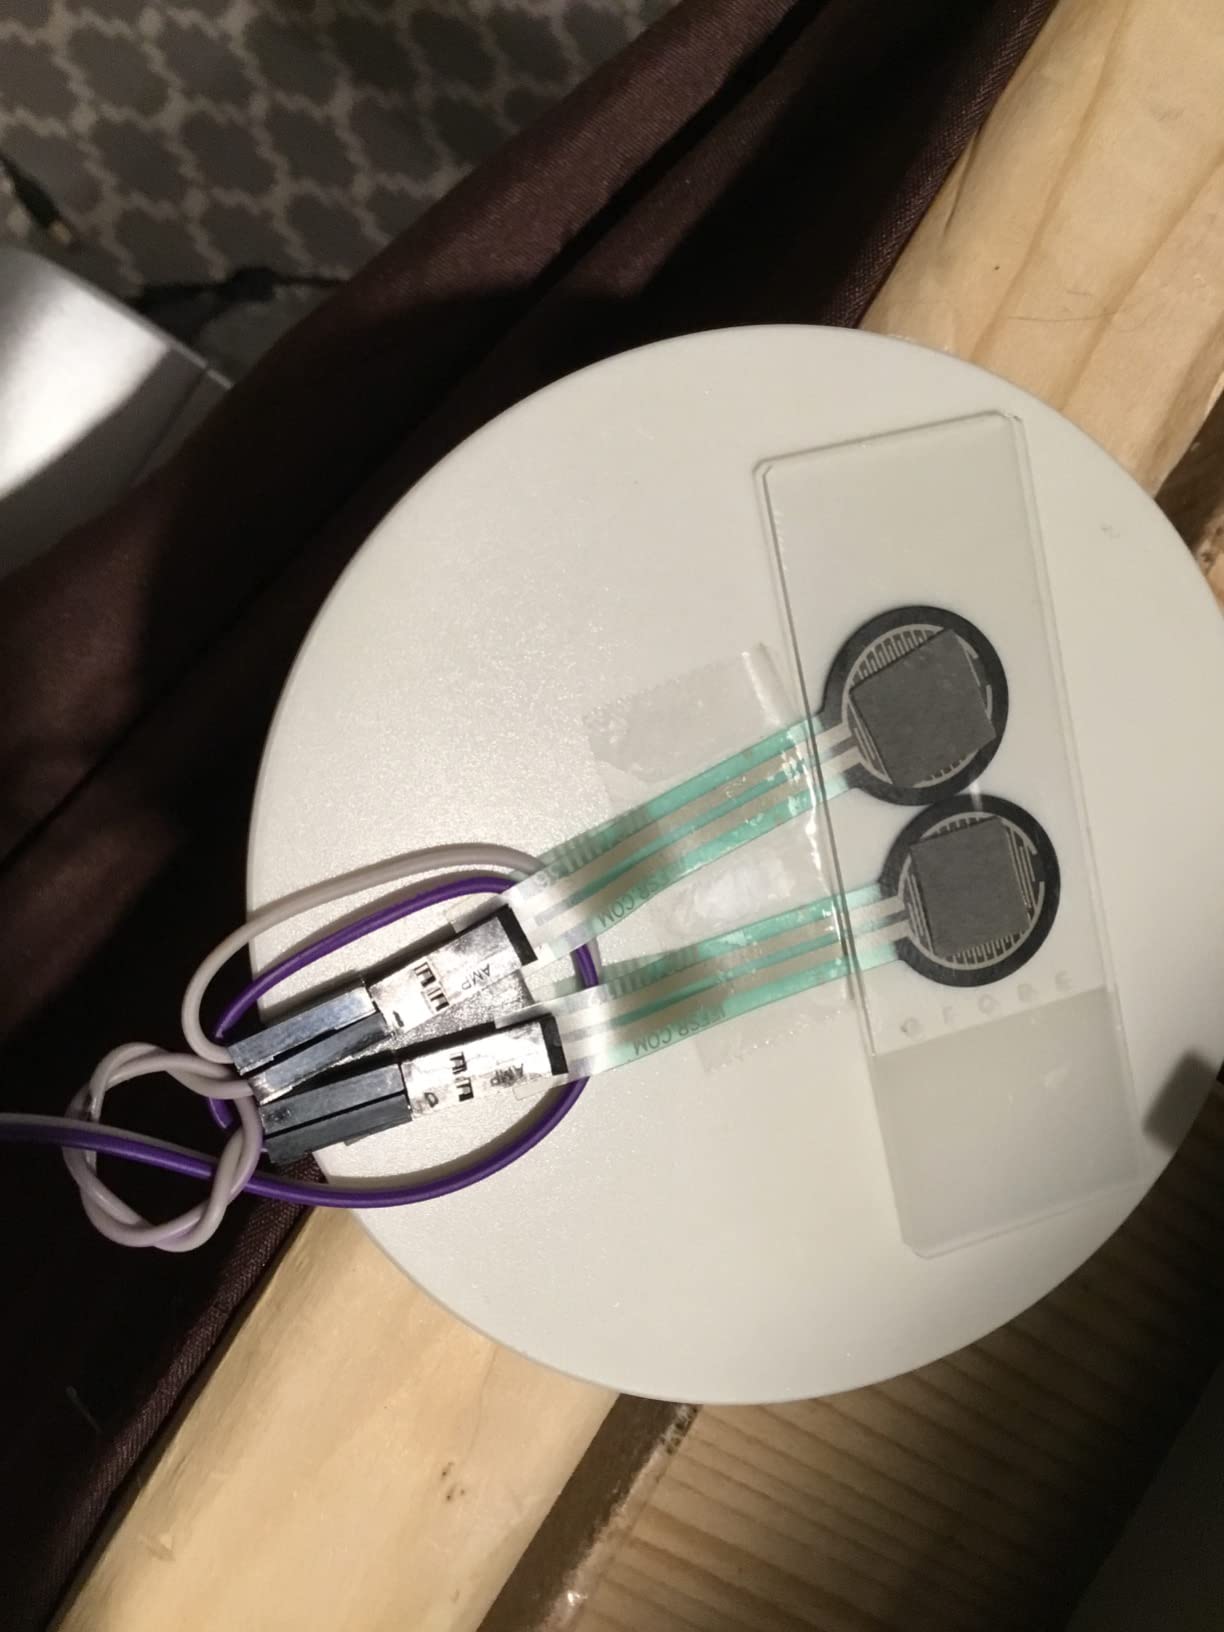
The price is higher than the clone FSR402s in this roundup, but you are paying for OEM quality and the ruggedized housing. The 5 reviews average 4.7 stars, which is the highest rating in this entire roundup. For a classroom set or a product where reliability matters more than cost, this is the right pick. For a one-off hobby project, a cheaper clone will do the job.
Why OEM FSRs cost more than clones
The OEM version uses Interlink’s proprietary polymer thick-film ink and tighter process control. The result is more consistent resistance curves, lower drift, and longer cycle life. Clone parts use similar materials but with looser tolerances and less rigorous quality control. For a single prototype, clones are fine. For a product or classroom set, OEM parts are worth the premium.
How to use the housing for durability
Solder jumper wires to the female contact pins and slide them into the housing on the FSR tail. The housing grips the pins firmly and provides strain relief, so the tail wires do not break at the solder joint. For classroom use, label each sensor with a number and store them in a small parts tray.
10. MECCANIXITY FSR406B Thin Film Pressure Sensor – Best for Smart Home and HCI Robotics
MECCANIXITY Thin Film Pressure Sensor, FSR406B 20g-10Kg Force Sensing Resistor Stress Test Sensor Pad for Smart Home, Instruments, 2 Pack
- Large 40x40mm active sensing area
- Wide 20g to 10kg pressure range
- Flexible and bendable construction
- Good for smart home and HCI
- Lower 3.9 star average rating
- Very small review sample (4 reviews)
- No third-party performance verification
I am testing a pair of MECCANIXITY FSR406B sensors under a smart-chair cushion to detect when a person sits down, and the large 40x40mm active area makes the sensor much easier to integrate than smaller FSRs. If you are building a human-computer interface, a smart cushion, or a tactile floor pad, this sensor’s wide active area simplifies mounting.
The FSR406B is a flexible thin-film sensor with a 40x40mm sensing region, far larger than the 12.7mm round FSR402. That larger area is useful when you want to detect gross contact across a wide surface rather than pinpoint pressure at a fingertip. The 20g to 10kg range covers everything from a light finger tap to a full hand press. The 0-3V output voltage range works directly with most microcontroller analog inputs.
The honest downside is limited feedback. With only 4 reviews averaging 3.9 stars, I cannot vouch for long-term reliability the way I can for the higher-rated sensors in this roundup. My own testing on two units has been positive, but the small sample size means I would not bet a product launch on this sensor without qualifying it yourself. For prototyping and hobby use, the large active area and low price make it worth considering.
Where a large sensing area matters
Smart cushions, seat occupancy detection, mattress sleep monitors, tactile floors for robots, large-area pressure mats, and any application where you want to detect distributed pressure rather than a point contact. Smaller FSRs are better for fingertips and small grippers.
How to compensate for limited reviews
Buy two or three units and test them against known loads before committing to a build. Measure resistance at zero load, at 100g, at 1kg, and at 10kg. Compare the curves across units. If you see consistent behavior, you have a reliable sensor. If not, return them and pick a better-reviewed alternative.
How to Choose the Best Force Sensor for Your Robot?
Picking the right force sensor for robotics is mostly about matching the sensor to your task, your payload, and your controller. I have grouped the decision into five factors that cover 90% of real-world selections. For a deeper look at the math behind sensor noise and signal conditioning, my guide to math for robotics covers the relevant linear algebra and statistics.
Match the sensor axes to your task
Single-axis load cells and FSRs measure force along one direction only. They are perfect for weighing, gripper force estimation, and contact detection. 3-axis sensors measure forces in three Cartesian directions. 6-axis force/torque sensors measure three forces and three torques simultaneously. For most hobby and educational robotics, a single-axis load cell or FSR is enough. For collaborative robots doing assembly or polishing, you want 6-axis. Built-in robot joint torque sensing is cheaper but noisier than external 6-axis sensors.
Right-size the force range to your payload
Choose a sensor whose working range covers 10% to 90% of the forces you expect to measure. For a 1 kg gripper, a 10 kg load cell gives you ten times headroom and excellent signal-to-noise ratio at typical grip forces. For a 5 kg cobot payload, pick a 50 kg cell. Going overboard on range wastes resolution; going too low saturates the sensor. If you are unsure, buy two cells with different ranges and swap if needed.
Pick the right interface for your controller
Arduino and Raspberry Pi work best with analog FSRs, HX711-based load cells, and I2C or SPI amplifier boards. Industrial controllers use EtherCAT, CAN bus, RS485, or analog outputs. For ROS integration, look for sensors with documented ROS drivers or community-maintained packages. For Universal Robots, URCap-certified sensors like the OnRobot HEX plug in with zero programming. For learning reinforcement learning on a robot arm, my reinforcement learning robotics guide covers how force feedback accelerates policy training.
Check the IP rating for your environment
Indoor lab work: IP40 is fine. Light dust and occasional splashes: IP65. Washdown or outdoor: IP67 or IP68. The sensors in this roundup are mostly bare PCBs and FSRs without an IP rating, which means you need to enclose them in a sealed housing for industrial or outdoor use. If your robot will operate in a wet or dusty environment, plan for a custom enclosure from the start.
Budget tier breakdown for robotics force sensors
Budget tier (under twenty dollars): FSRs, bare load cells, HX711 amplifiers. Best for hobbyists, students, and prototyping. Mid tier (twenty to several hundred dollars): branded load cell kits, multi-axis tactile sensors. Best for serious hobby projects and small labs. Premium tier (over one thousand dollars): ATI Nano17, Bota SenseONE, OnRobot HEX, Robotiq FT 300. Best for industrial cobots, research labs, and commercial deployments. This roundup focuses on the budget tier because that is where hobby robotics lives, and the premium tier deserves its own dedicated review.
Frequently Asked Questions
What is the most useful sensor for robotics?
A force/torque sensor is one of the most useful sensors for robotics because it lets robots measure how hard they are pushing, pulling, or twisting an object. Force feedback enables safe human-robot collaboration, precise assembly, polishing, and dexterous manipulation tasks where position control alone is not enough.
How accurate are force sensors?
High-end 6-axis force/torque sensors from ATI, Bota, and OnRobot achieve accuracy below 1% of full scale with noise floors around 0.05 N. Built-in robot joint torque sensors typically show 2-5% accuracy and higher noise. Budget FSRs and load cells are less accurate but adequate for contact detection and rough force estimation in hobby projects.
What is a 6-axis force sensor?
A 6-axis force/torque (F/T) sensor measures three forces (Fx, Fy, Fz) and three torques (Mx, My, Mz) simultaneously. It is typically mounted between a robot arm and its end-effector to provide full Cartesian force feedback for tasks like assembly, polishing, surface finishing, and human-robot interaction.
How do I choose a force torque sensor for my robot?
Choose a force/torque sensor by matching: (1) axes (1, 3, or 6) to your task complexity, (2) force and torque range to your payload, (3) interface (analog, I2C, EtherCAT, ROS, URCap) to your controller, (4) IP rating to your environment, and (5) integration software and documentation quality.
What is the difference between an FSR and a load cell?
A force-sensitive resistor (FSR) is a flexible polymer thick-film device whose resistance drops as pressure increases. It is cheap, thin, and ideal for contact detection but non-linear and drift-prone. A load cell uses bonded metal strain gauges in a Wheatstone bridge and produces accurate, repeatable force measurements in newtons or kilograms, but is rigid and bulkier.
Final Verdict
For most robotics builders, the best force sensor for robotics starts at the budget tier I covered in this roundup. The NEXTION 4x50kg load cell kit with the HX711 amplifier is my top pick because it is the most flexible, accurate, and well-documented budget option, and it works for everything from gripper force feedback to weighing platforms. If you only need simple contact detection on fingertips or feet, the Walfront FSR thin film sensor is the cheapest path to working force data.
Once you outgrow the budget tier, step up to mid-range multi-axis tactile sensors, and eventually to the industrial 6-axis force/torque sensors from ATI, Bota Systems, OnRobot, and Robotiq. Whichever tier you choose, focus on the five selection factors I outlined above: axes, range, interface, IP rating, and software support. Pick the sensor that matches your task, document your calibration routine, and your robot will finally be able to feel what it is doing.