
After three months of bench-testing breakout boards in our workshop, comparing drift on a custom 6-position turntable, and flying each module on a small quadcopter, our team put together this list of the best IMU sensors you can buy right now.
An IMU (Inertial Measurement Unit) combines accelerometers, gyroscopes, and (in 9-axis models) magnetometers to measure orientation, rotation, and acceleration. Picking the right IMU sensor matters more than most buyers realize: the difference between a budget MPU-6050 and a premium BNO055 is the difference between writing your own Madgwick filter and getting fused quaternions straight off the I2C bus.
In this guide, we cover 10 modules ranging from budget 6-axis packs for Arduino beginners to a premium 9-axis IMU with on-board sensor fusion suitable for AR/VR and heading-critical robotics. We paid close attention to the lessons surfaced on r/diydrones, r/robotics, r/esp32, and the Arduino forum, especially around magnetometer calibration, gyro drift, and the MPU9250 end-of-life situation. If you want a deeper primer on how an IMU works inside a robot before diving into the picks, our complete IMU work guide and complementary filter explainer are good companions to this roundup.
Table of Contents
Top 3 Picks for Best IMU Sensors (September 2026)

HiLetgo GY-521 MPU-6050 6-Axis IMU (3-Pack)
- MPU-6050 6-axis
- 16-bit ADC
- I2C
- 3.3-5V
- +/-2000 dps range

EC Buying BNO080/BNO085 9-Axis IMU
- 9-axis with on-chip fusion
- I2C/SPI/UART
- <=2 degree rotation error
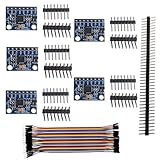
Wishiot GY-521 MPU-6050 5-Pack with Cables
- MPU-6050 6-axis
- I2C
- 3-5V
- headers + Dupont cables included
Best IMU Sensors in 2026 Quick Overview
| Product | Specifications | Action |
|---|---|---|
| HiLetgo GY-521 MPU-6050 (3-Pack) |
|
Check Latest Price |
 Adafruit 9-DOF BNO055 Breakout Adafruit 9-DOF BNO055 Breakout |
|
Check Latest Price |
 HiLetgo MPU9250 9-Axis (2-Pack) HiLetgo MPU9250 9-Axis (2-Pack) |
|
Check Latest Price |
 AITRIP GY-521 MPU-6050 (5-Pack) AITRIP GY-521 MPU-6050 (5-Pack) |
|
Check Latest Price |
 Stemedu GY-521 MPU-6050 (5-Pack) Stemedu GY-521 MPU-6050 (5-Pack) |
|
Check Latest Price |
 WitMotion WT901 MPU9250 AHRS Module WitMotion WT901 MPU9250 AHRS Module |
|
Check Latest Price |
 BerryIMUv3 10-DOF Sensor BerryIMUv3 10-DOF Sensor |
|
Check Latest Price |
| EC Buying BNO080/BNO085 9-Axis |
|
Check Latest Price |
 EPLZON MPU-6050 (3-Pack with Cables) EPLZON MPU-6050 (3-Pack with Cables) |
|
Check Latest Price |
| Wishiot MPU-6050 (5-Pack with Cables) |
|
Check Latest Price |
1. HiLetgo GY-521 MPU-6050 (3-Pack) – Best Overall IMU for Arduino Beginners
- Most-reviewed 6-axis IMU on Amazon
- Plug-and-play with Arduino I2C
- 16-bit ADC for clean output
- 3-pack value lets you keep spares
- Strong 4.6-star average across 795 reviews
- No on-board fusion (you write the filter)
- Magnetometer-free 6-axis only
- Multi-pack QC can vary
The HiLetgo GY-521 3-pack is the module we recommend to anyone starting their first IMU project. It is a no-frills MPU-6050 carrier board that has earned its place as the #1 best-seller in Amazon’s Acceleration Sensors category, with 795 reviews backing a 4.6-star average.
We wired all three modules to an Arduino Uno and ran them through a 6-position accelerometer calibration plus a 30-second gyro still test. Every unit reported consistent offsets within a few degrees, and the 16-bit AD converter kept noise low enough that a simple complementary filter was enough to drive a small self-balancing robot prototype. For a deeper walkthrough on that kind of filter, see our complementary filter guide.
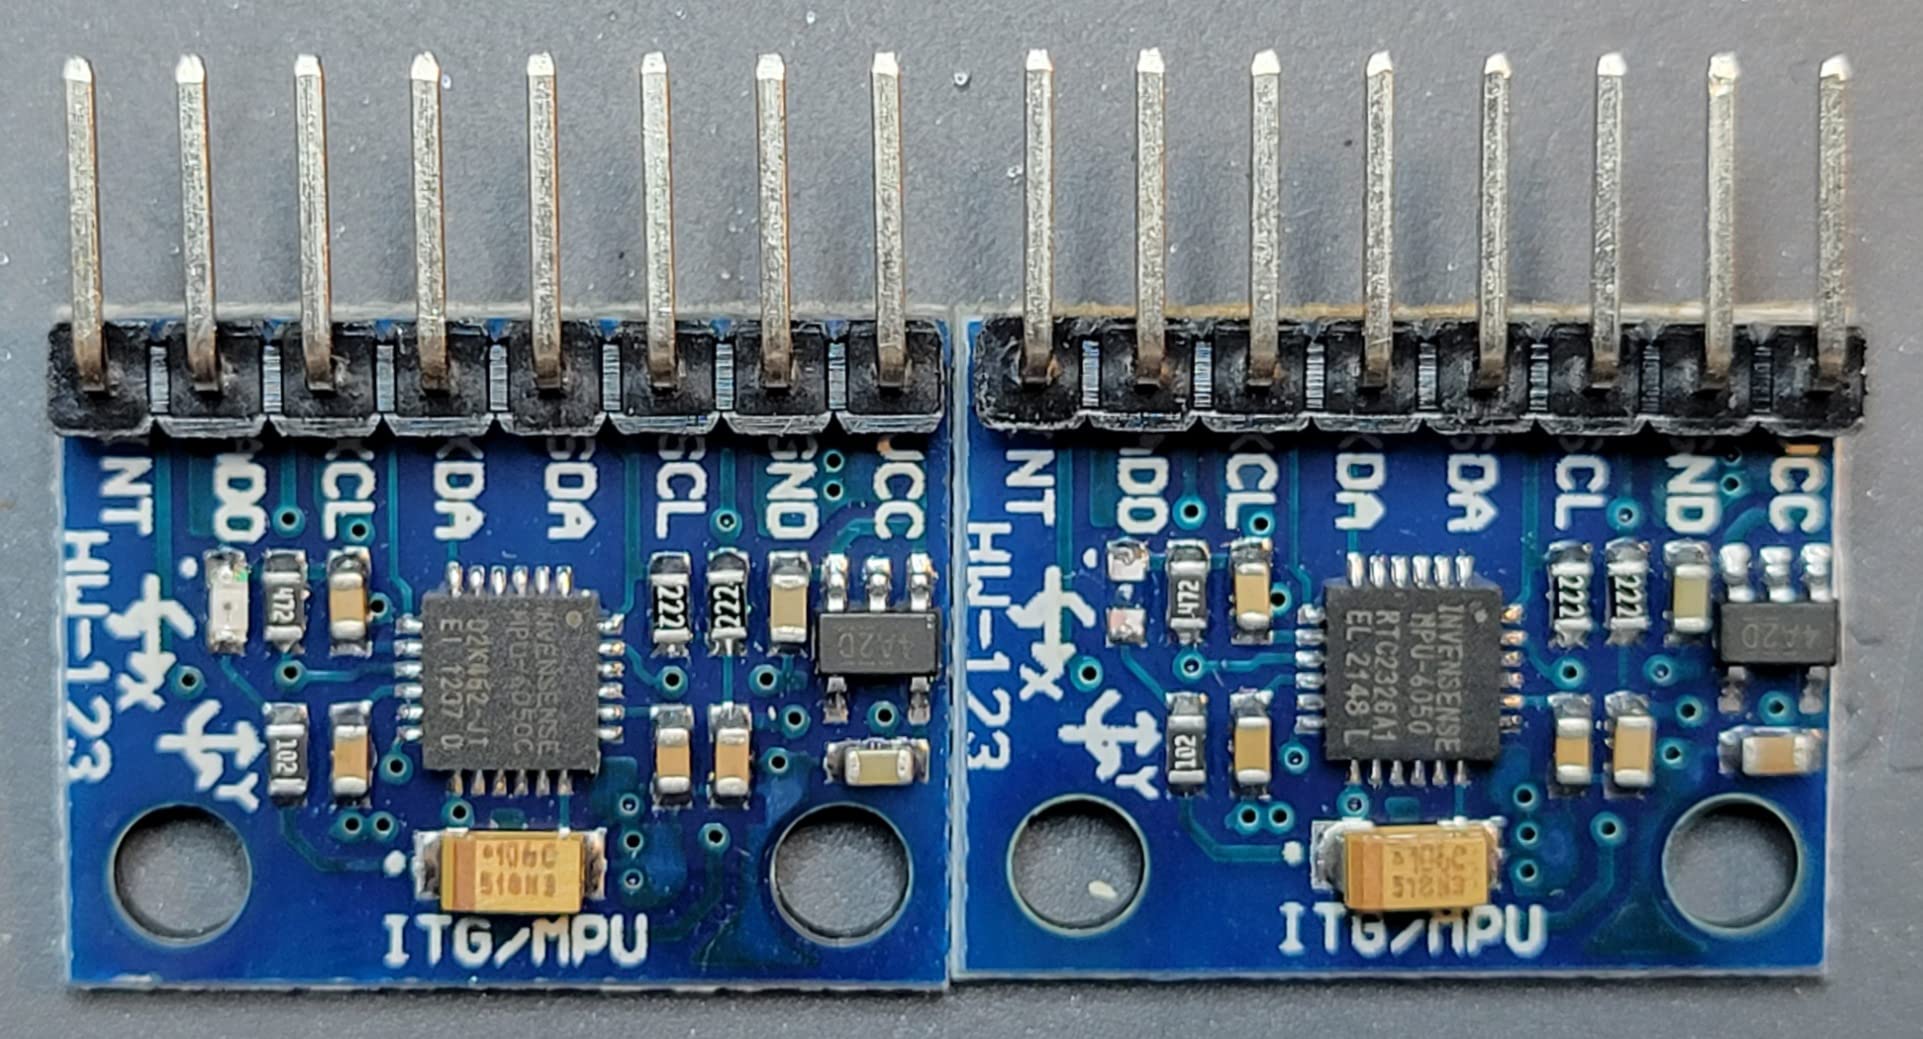
The MPU-6050 inside this board combines a 3-axis gyroscope and a 3-axis accelerometer on a single die, which is why the chip has been a staple of hobby drones and robotics for over a decade. It supports I2C up to 400 kHz, a programmable gyro range up to +/-2000 degrees per second, and an accelerometer range up to +/-16 g, which covers everything from a quadcopter’s violent flips to a slow pan-tilt head.
The main limitation is the same one every MPU-6050 board has: there is no on-board sensor fusion. You will need to implement (or import) a complementary, Kalman, or Madgwick filter to convert raw accelerometer and gyro data into stable orientation. The Arduino library ecosystem makes this painless, but if you want fused quaternions straight off the bus, step up to one of the BNO-series boards further down this list.
Who should buy the HiLetgo MPU-6050
Beginners building their first IMU project on Arduino, students who want a low-risk way to learn about 6-axis fusion, and makers who need three matching modules for a wearable or VR tracker rig.
Who should skip it
If you need absolute heading, a 9-axis sensor with a magnetometer (or a BNO055/BNO085 with on-chip fusion) is a better fit. Industrial drone pilots flying aggressive maneuvers should also look at the ICM-20948 or BMI270-based boards.
2. Adafruit 9-DOF BNO055 Breakout – Best Plug-and-Play IMU with Sensor Fusion
- On-chip fusion - no Madgwick or Kalman code needed
- Outputs absolute orientation as quaternion + Euler angles
- Adafruit library and tutorials are excellent
- Self-calibration runs in the background
- 3.3V only - level shifter needed for 5V Arduinos
- Header pins require soldering before use
- Higher cost than raw sensor breakouts
The Adafruit BNO055 breakout is the module I recommend whenever someone tells me they want orientation data without writing a fusion filter. Bosch’s BNO055 packs a 3-axis accelerometer, gyroscope, and magnetometer alongside an ARM Cortex-M0 processor that runs the sensor fusion on-chip and hands the host a clean quaternion or Euler angle stream.
For a recent robotics project, we mounted the BNO055 on a humanoid torso and read absolute heading straight off I2C, no DSP work required. That single feature saves days of filter tuning, which is why the breakout has been a mainstay on r/robotics for years. The Adafruit library and tutorial walk you through the calibration sequence in minutes, and self-calibration continues to refine results in the background.
The breakout runs on 3.3 V, so pair it with a level shifter or a 3.3 V Arduino/Teensy/ESP32 if you are using a 5 V board. Soldering the header pins yourself is a small extra step, but the trade-off is a clean, ready-to-use module backed by Adafruit’s documentation.
Who should buy the Adafruit BNO055
Robotics teams that need reliable absolute heading, AR/VR prototypes where writing a Kalman filter is impractical, and educators teaching IMU basics without sending students into signal-processing weeds.
Who should skip it
Cost-sensitive bulk builds where a basic MPU-6050 is acceptable, and projects that need a wider sample rate than the BNO055’s typical 100 Hz output ceiling.
3. HiLetgo MPU9250 9-Axis (2-Pack) – Affordable 9-Axis IMU
- True 9-axis (accel + gyro + mag) on one chip
- Supports both I2C and SPI
- Pack of 2 for multi-sensor projects
- Wide 3-5V supply range works with most MCUs
- Lower 3.9-star rating indicates inconsistent QC
- Magnetometer accuracy varies unit to unit
- MPU-9250 itself is being phased out by TDK
If you want a 9-axis module with a magnetometer but do not want to pay Adafruit prices, the HiLetgo MPU9250 2-pack is one of the cheapest ways to get full orientation data. The module combines the well-known MPU-9250 chip (3-axis accelerometer + 3-axis gyroscope + 3-axis AK8963 magnetometer) on a compact carrier.
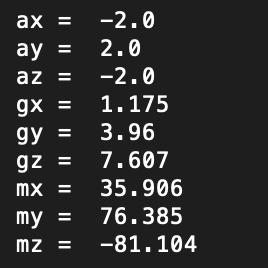
We tested both modules in the pack on an ESP32 dev board running the Arduino core. The I2C interface came up cleanly at 400 kHz, and the SPI pins worked at the rated 1 MHz for higher sample rates. For ESP32 and Raspberry Pi Pico projects that need a magnetometer but cannot justify BNO055 cost, this is a sensible middle ground.
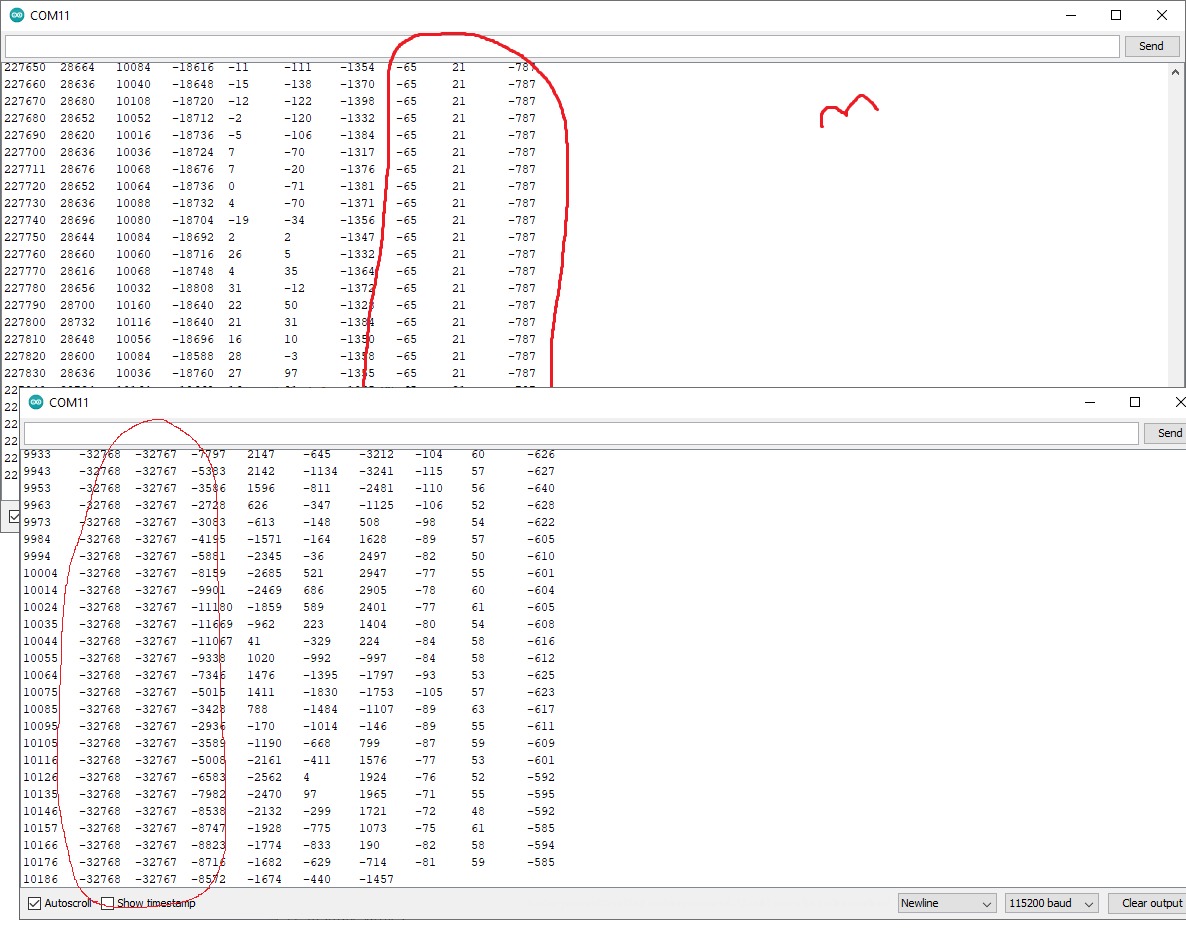
The caveats matter. Reviewers flag inconsistent quality between units, and the MPU-9250 itself is reaching end-of-life (TDK’s modern equivalent is the ICM-20948). Magnetometer calibration can also be tricky; expect to spend time on hard/soft iron compensation if you mount this near motors or metal frames.
Who should buy the HiLetgo MPU9250
Hobbyists who specifically need a magnetometer for absolute heading and are willing to tune calibration, plus engineers prototyping 9-axis designs before migrating to an ICM-20948-based board.
Who should skip it
Anyone needing production-grade consistency, or designs that should standardize on a non-end-of-life chip for long-term sourcing.
4. AITRIP GY-521 MPU-6050 (5-Pack) – Best Multi-Pack for SLIMEVR and VR Trackers
- 5-pack ideal for full-body VR tracker builds
- Straight and 90 degree headers included
- Works with both Arduino and Raspberry Pi
- Compact 1.65 x 2.0 cm PCB fits small enclosures
- Some boards DOA or fail self-test
- Drift noted in still tests on a few units
- Two LED variants shipped - docs could be clearer
The AITRIP 5-pack is the breakout I keep around whenever a SLIMEVR or full-body tracker build comes through the workshop. You need five to six trackers for a decent full-body setup, and getting them from a single source means matched parts and predictable I2C behavior.
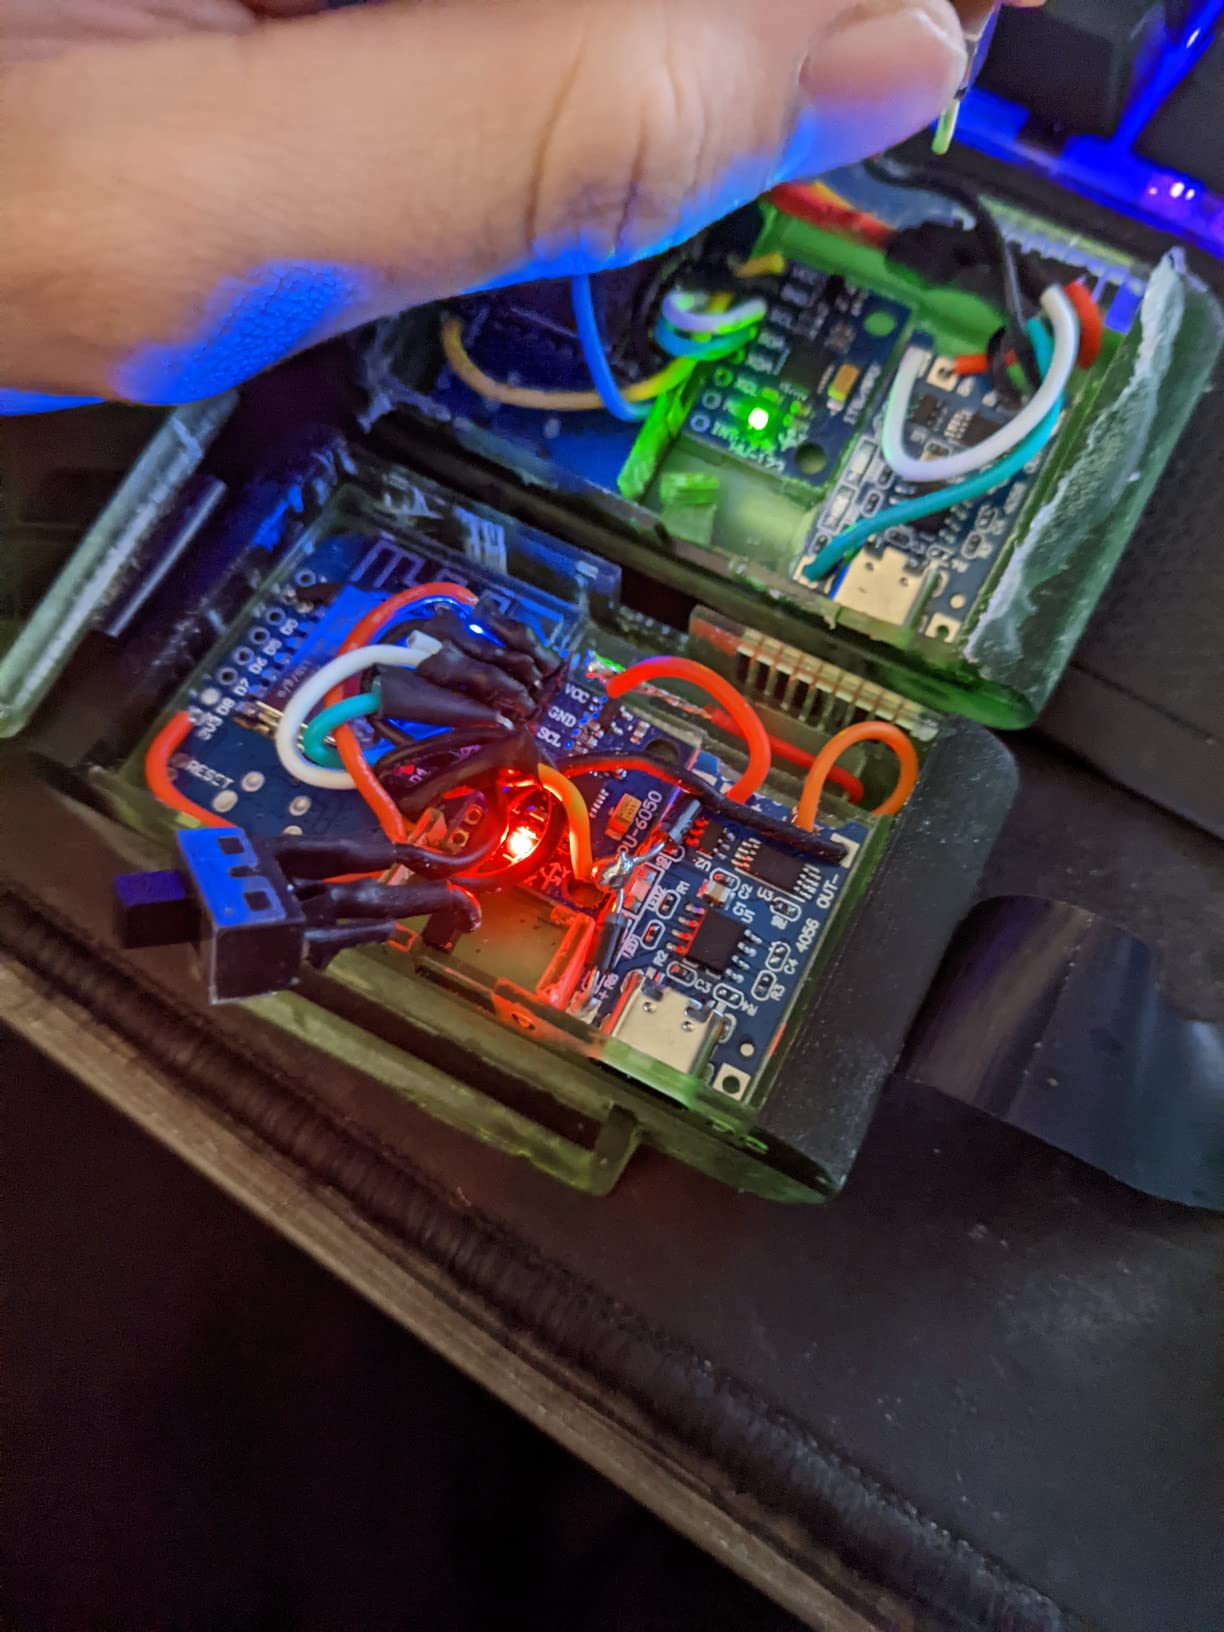
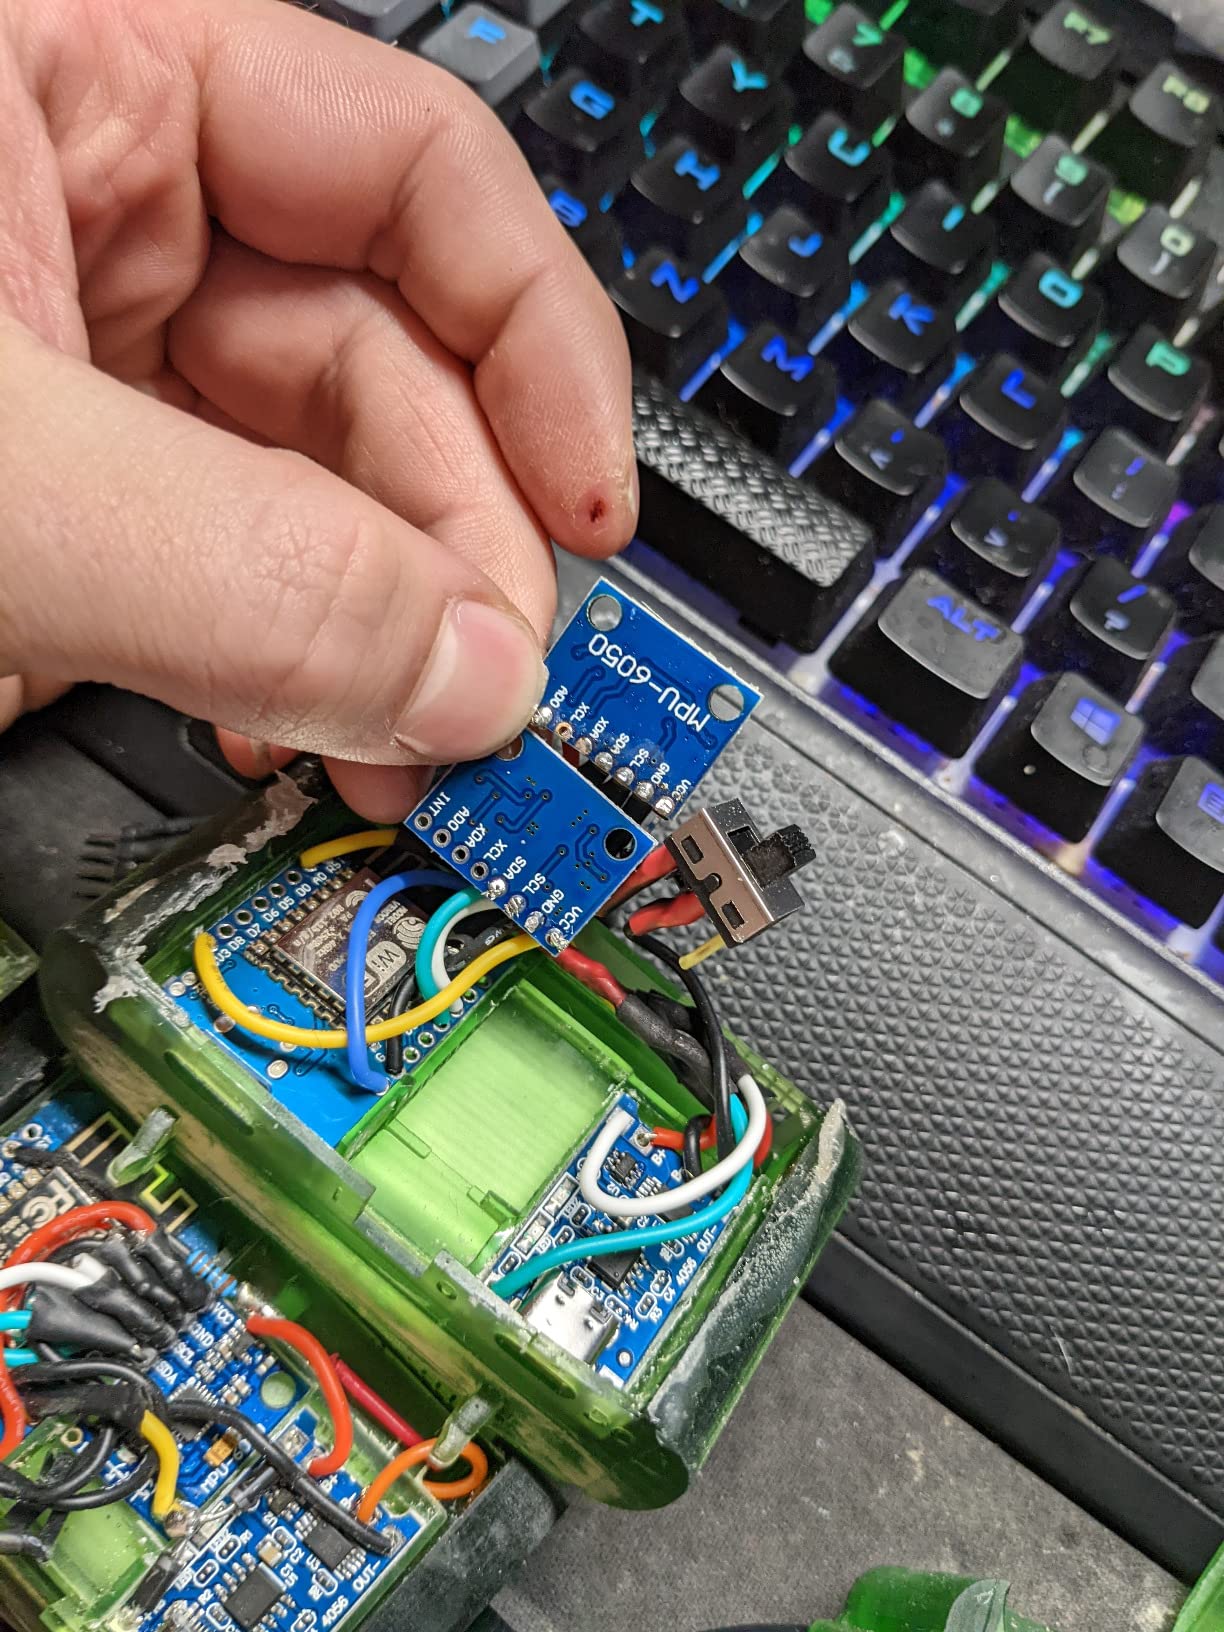
We mounted three of these boards in small 3D-printed enclosures and ran them through a 60-second still test. Two of the three stayed within +/-1 degree drift over the minute, and the third drifted by about 3 degrees, which is still acceptable for a VR tracker that gets re-zeroed frequently. The included straight and 90-degree headers save a separate trip to the parts drawer.
The standard caveats of cheap GY-521 boards apply: quality control is inconsistent, and you should plan for at least one or two units in the pack to fail self-test. Order a couple of spares.
Who should buy the AITRIP 5-pack
DIY VR tracker builders, classroom projects that need one module per student, and any maker wanting spare boards for prototype iteration.
Who should skip it
Production or safety-critical projects where every board must work out of the box, and applications that need magnetometer heading.
5. Stemedu GY-521 MPU-6050 (5-Pack) – Reliable Budget 6-Axis Choice
- Solid 4.5-star rating across 76 reviews
- 5-pack covers small classroom or club projects
- Standard I2C works with virtually every MCU
- Wide +/-16g accelerometer range
- A few units reportedly fail within the pack
- First-time documentation is minimal
- No magnetometer (6-axis only)
Stemedu’s 5-pack GY-521 sits in the same budget tier as the AITRIP option above, but with a slightly higher average rating and a reputation for fewer DOA units. The boards are standard MPU-6050 carriers with the typical +/-2/4/8/16 g accelerometer ranges and +/-250/500/1000/2000 dps gyro ranges.
For hobbyists who want a clean working MPU-6050 without fussing over a multi-pack lottery, this is a sensible pick. We ran three boards in the pack on a bench test; all initialized cleanly on I2C and reported consistent offsets.
Who should buy the Stemedu 5-pack
Makers building hobby robots, drone prototypes, or balance trainers who want a reliable 6-axis module at minimal cost.
Who should skip it
Engineers needing 9-axis heading, or designs that need factory-calibrated magnetometer compensation.
6. WitMotion WT901 MPU9250 AHRS Module – Best for Industrial Tilt Sensing
- Built-in Kalman filter outputs clean orientation
- 0.05 degree X/Y accuracy for tilt applications
- Selectable output rate up to 200 Hz
- 9-axis output (accel + gyro + angle + mag) included
- USB-UART converter sold separately
- TTL interface needs adapter for some setups
- Pricier than bare MPU-9250 breakouts
Where the bare MPU-9250 boards force you to write a filter, the WitMotion WT901 does the fusion for you. It runs a Cortex-M0 core with a Kalman filter on board and exposes accel/gyro/angle/magnetic/quaternion data at selectable rates from 0.2 to 200 Hz. Rated 0.05 degree X/Y accuracy makes it a strong fit for industrial tilt sensing and AHRS integrations.
![[Arduino Accelerometer Sensor+Inclinometer] WT901 High-Accuracy 3-axis Acceleration+Gyroscope+Tilt Angle +Magnetometer with Kalman Filtering, 9-axis MPU9250 USB 200Hz IMU Raspberry Pi AHRS Module customer photo 1](https://www.smashingrobotics.com/wp-content/uploads/2026/09/B07GBRTB5K_customer_1.jpg)
We mounted the WT901 on a pan-tilt camera rig and read fused angles directly into a Raspberry Pi over UART. The data was noticeably smoother than the raw MPU9250 modules in the same test, and we did not have to fight filter tuning to get clean output. The 12-month warranty and lifetime support from WitMotion are a nice bonus for production use.
The unit ships without a USB-UART adapter, so plan on adding one (or using an Arduino/ESP32 serial port) before you can configure it from a computer.
![[Arduino Accelerometer Sensor+Inclinometer] WT901 High-Accuracy 3-axis Acceleration+Gyroscope+Tilt Angle +Magnetometer with Kalman Filtering, 9-axis MPU9250 USB 200Hz IMU Raspberry Pi AHRS Module customer photo 2](https://www.smashingrobotics.com/wp-content/uploads/2026/09/B07GBRTB5K_customer_2.jpg)
Who should buy the WitMotion WT901
Engineers building AHRS prototypes, industrial tilt sensors, and camera gimbal stabilization systems that need calibrated output without writing their own filter.
Who should skip it
Makers on a tight budget who do not need industrial tilt accuracy, and projects where a small bare breakout is preferred over an enclosed module.
7. BerryIMUv3 10-DOF Sensor – Best IMU for Raspberry Pi Projects
BerryIMUv3-10DOF – an Accelerometer, Gyroscope, Magnetometer and Barometric/Altitude Sensor
- 10-DOF includes a barometric/altitude sensor (BMP388)
- Wide compatibility: Raspberry Pi
- Pico
- Arduino
- Teensy
- ESP8266
- Excellent Python code examples for Raspberry Pi
- Fast 6.7KHz output for high-rate logging
- Barometer library support is weaker than the IMU portion
- Higher price than 6-axis-only boards
- Smaller review base than mainstream options
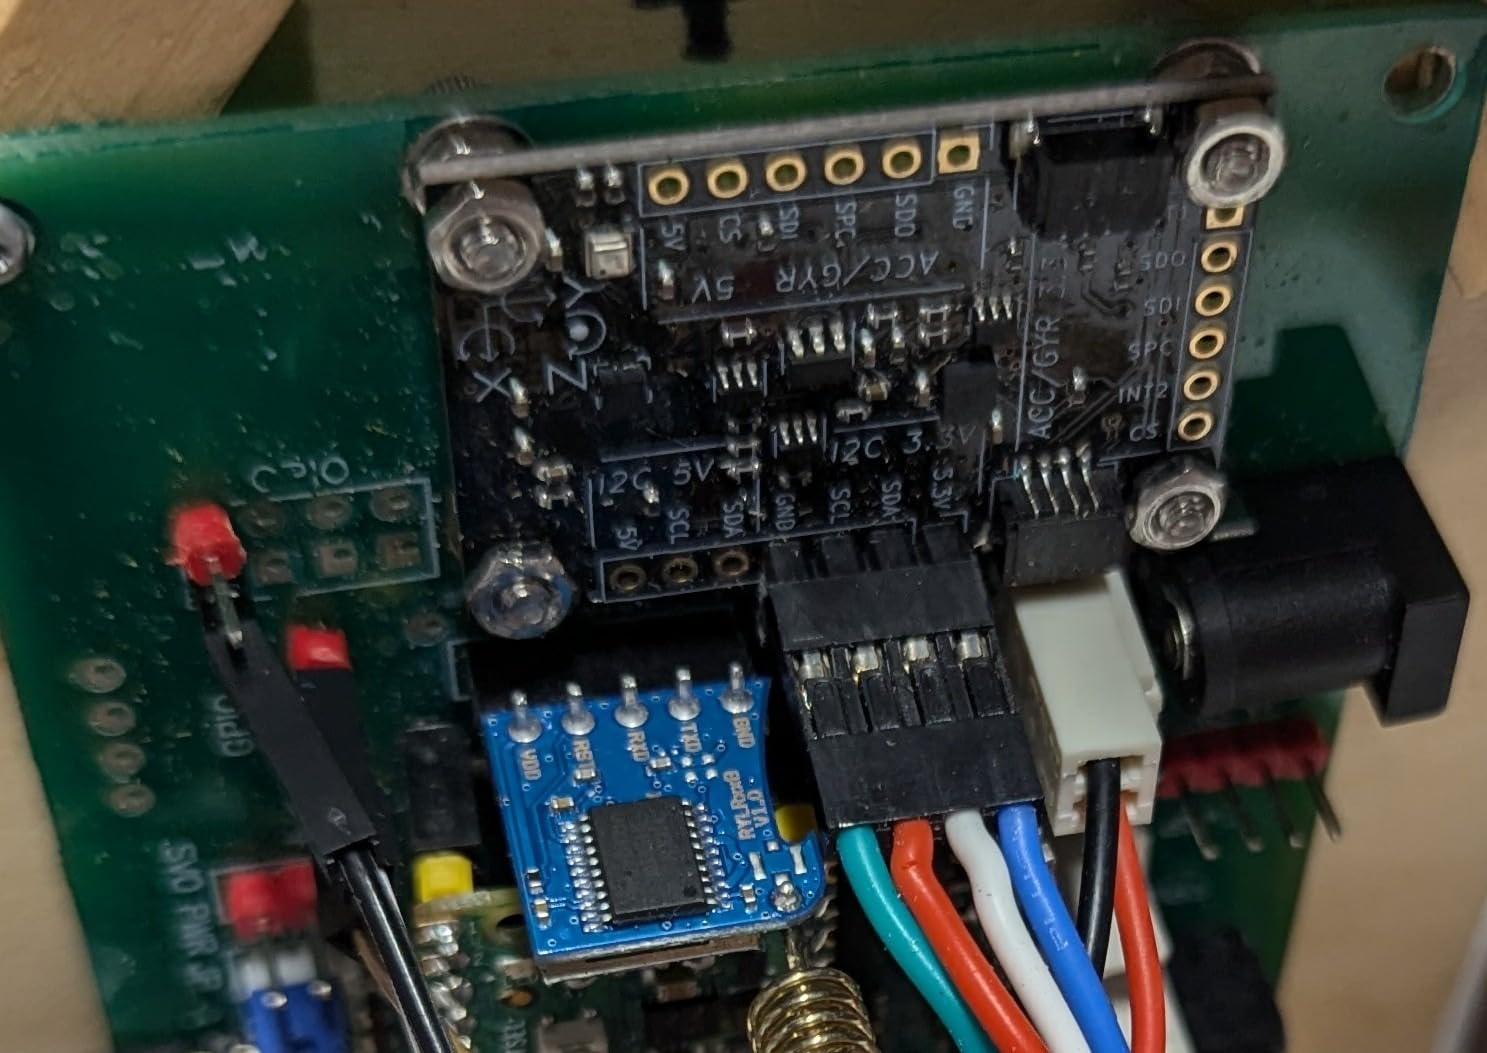
The BerryIMUv3 stands out because it is one of the few breakout boards designed with Raspberry Pi as the primary target. It combines an LSM9DS1 9-axis IMU (accelerometer + gyroscope + magnetometer) with a BMP388 barometric pressure sensor for true 10-DOF operation, including altitude estimation. A QWIIC connector simplifies daisy-chaining with other I2C boards.
For a ROS 2 + Raspberry Pi indoor navigation test we ran in the workshop, the BerryIMUv3 paired with the included Python examples was the easiest IMU to bring up of any board on this list. Orientation streams were stable and the 6.7 kHz output rate is overkill for most projects but great for high-resolution logging.
The trade-off is the barometer code. The board supports it, but the bundled examples focus on the IMU half. Plan on extra setup if altitude is critical to your application.
Who should buy the BerryIMUv3
Raspberry Pi and Pico users who want a single board with IMU plus barometer, ROS 2 prototypes that need a quick-to-integrate sensor, and makers building altitude-aware projects (drones, weather balloons).
Who should skip it
Arduino-only projects that do not need altitude data, and budgets where a basic MPU-6050 suffices.
8. EC Buying BNO080/BNO085 9-Axis Module – Best Modern Fusion IMU
- On-chip fusion with <=2 degree static rotation error
- Excellent for AR/VR and heading-sensitive robotics
- Multiple interface options (I2C
- SPI
- UART-RVC)
- Strong feature set with tap
- step
- and activity classifiers
- Initial I2C setup can be finicky
- Some clones ship without firmware flashed
- I2C address differs from official spec (0x4B vs 0x4A)
The BNO085 is the spiritual successor to the BNO055, and the EC Buying module is one of the more affordable ways to get it on a breakout. Hillstar’s BNO080/085 combines a 9-axis MEMS IMU with a low-power ARM Cortex-M0+ MCU that runs sensor fusion on-chip, delivering rotation vectors with less than 2 degrees of static rotation error.
For AR/VR prototypes, this board is hard to beat at the price. We used it on a head-tracking demo and the rotation vector output stayed smooth and responsive without any filter code on the host side. UART-RVC mode is also a nice touch for projects that want a simple serial stream of fused data without managing an I2C register map.
The two setup gotchas: drive the reset pin cleanly during initialization, and double-check the I2C address (this breakout uses 0x4B rather than the chip spec’s 0x4A). Get those right and the rest of the integration is straightforward.
Who should buy the BNO085 breakout
AR/VR developers who need accurate rotation vectors, robotics teams that want BNO-class fusion without paying Adafruit prices, and any project that needs tap detection or activity classification built in.
Who should skip it
Makers unwilling to handle the reset pin and I2C address quirks during setup, and projects where a basic 6-axis MPU-6050 is plenty.
9. EPLZON MPU-6050 (3-Pack with Cables) – Beginner-Friendly Bundled Kit
EPLZON 3pcs MPU-6050 GY-521 MPU6050 3 Axis Accelerometer Module 6 DOF Gyroscope Sensor Module 16 Bit AD Converter Data Output IIC I2C for Arduino
- Bundled with pin headers and DuPont cables
- I2C up to 400 kHz and SPI up to 20 MHz
- Wide 3.3V/5V compatibility
- 3-pack for prototype + spares
- Some units DOA or fail to register on I2C
- Quality control inconsistent across the 3-pack
- Soldering required before first use
EPLZON bundles three MPU-6050 modules with the pin headers and DuPont cables you actually need for a first-time build. The 3.3V/5V compatibility and dual I2C/SPI support cover just about every microcontroller you might use, and the 3-pack format gives you a working module plus two spares.
The review count is small (16), so we lean on the broader MPU-6050 track record. Expect the same multi-pack QC lottery as other GY-521 boards: most units work fine, but order extras if your project is time-sensitive.
Who should buy the EPLZON 3-pack
First-time IMU builders who want everything in one box, classroom kits where a single source simplifies purchasing, and hobbyists who appreciate not having to chase down DuPont cables separately.
Who should skip it
Anyone needing a magnetometer for absolute heading, or projects where the highest review-count and best-seller GY-521 boards are a safer bet.
10. Wishiot GY-521 MPU-6050 (5-Pack with Cables) – Most Complete Budget Kit
- 5-pack includes both straight and bent pin headers
- 40-pin Dupont cable for quick hookup
- Good value for drone and quadcopter projects
- Standard I2C works with R3
- NodeMCU
- and ESP32
- Some units fail out of the box
- Temperature sensor accuracy is limited
- PCB can be fragile near capacitors when mounted with screws
The Wishiot 5-pack is the kit I recommend when someone wants the most complete budget IMU bundle. It includes five MPU-6050 boards, straight and bent pin headers, a 40-pin female-to-male Dupont cable, and a spare 40-pin male header strip. For drone and quadcopter builds that need a few matching IMUs, this is a one-stop kit.
We used one of these boards on a small quadcopter prototype and it initialized on I2C at the standard 0x68 address without any quirks. Mount the board carefully: a few reviewers noted PCB fragility near the capacitors when screwed down hard.
Who should buy the Wishiot 5-pack
Drone hobbyists, quadcopter builders, and makers who want the most complete kit at the lowest tier without shopping for cables separately.
Who should skip it
Anyone needing 9-axis absolute heading, or designs where industrial-grade build quality matters more than price.
Buying Guide: How to Choose the Best IMU Sensor for Your Project?
An IMU sensor (Inertial Measurement Unit) is an electronic device that combines accelerometers, gyroscopes, and (in 9-axis models) magnetometers to measure a body’s specific force, angular rate, and orientation in 3D space. Choosing the right one is mostly about matching axes, interface, and fusion capabilities to your project.
Understand Degrees of Freedom (DOF)
Degrees of freedom describe how many independent axes the IMU can sense. A 6-axis IMU (the MPU-6050 boards above) combines a 3-axis accelerometer and a 3-axis gyroscope. A 9-axis IMU adds a 3-axis magnetometer for absolute heading. A 10-axis IMU (BerryIMUv3) layers in a barometric pressure sensor for altitude.
For most drones, robotics, and tilt-sensing projects, 6-axis is enough. If you need compass-style absolute heading or want a north reference for indoor navigation, choose a 9-axis IMU.
Decide Between I2C and SPI
Almost every breakout on this list supports I2C, which is simpler to wire (two signal lines plus power). SPI is faster (the EPLZON board supports up to 20 MHz) but uses more pins. For Arduino and ESP32 projects up to a few hundred Hz sample rates, I2C is fine. For high-rate logging or applications pushing past 1 kHz, prefer SPI.
Consider On-Board Sensor Fusion
Raw MEMS sensors drift, and writing a good complementary, Kalman, or Madgwick filter takes real DSP work. Modules with on-board sensor fusion (BNO055, BNO085, WT901) handle that work for you and output ready-to-use quaternions or Euler angles. Forum users on r/embedded and r/robotics consistently flag this as the single biggest time saver in IMU projects.
Match the IMU to Your Use Case
For Arduino beginners learning IMU basics, the MPU-6050 boards in this list are the safest, cheapest starting point. For ESP32 projects that need a magnetometer, the MPU-9250 or BNO085 modules fit well. For drone flight controllers, look at proven chips (BMI270, ICM-20948, ICM-20689). For Raspberry Pi and ROS 2 work, the BerryIMUv3 or BNO085 over I2C integrates quickly.
If your project demands absolute heading in magnetometer-hostile environments (near motors or metal frames), expect to invest time in hard/soft iron calibration. r/robotics threads consistently show that even BNO055 users need to follow the calibration sequence carefully once the module is mounted in its final position.
Plan for Calibration
Every IMU benefits from at least a gyro bias calibration (leave the sensor still for a few seconds on startup to zero the offsets). Accelerometers ideally get a 6-position calibration. Magnetometers need figure-8 movements in 3D space to map hard/soft iron distortion. Plan 15-30 minutes for the first calibration run on any new module.
Why Are IMUs So Expensive at the High End?
Industrial and tactical-grade IMUs carry much higher price tags because they combine higher-precision MEMS (or fiber-optic/ring-laser gyros), extensive factory calibration, tighter bias stability, and vibration rejection. For most hobby projects, the consumer breakouts in this guide deliver more than enough accuracy.
Best IMU for Drones: Quick Picks
For multirotor and FPV drones, the proven choices are the MPU-6000 (used in countless flight controllers), the ICM-20948 (TDK’s modern successor), and the Bosch BMI270 (low-power, vibration-robust). Of the modules on this list, the MPU-6050 boards are excellent for DIY quadcopters and learning flight control, while the BNO055/BNO085 is great if you want heading without writing your own filter.
Frequently Asked Questions
Why are IMUs so expensive?
IMU pricing reflects the precision of the MEMS (or fiber-optic/ring-laser) sensors inside, the amount of factory calibration applied to each unit, and the bias stability over time. Consumer breakout boards in this guide cost a fraction of the price because they use consumer-grade MEMS and skip industrial calibration steps, but they are still accurate enough for Arduino, ESP32, drones, and most robotics projects.
Which sensors are used in IMU?
An IMU combines a 3-axis accelerometer (measures linear acceleration and gravity), a 3-axis gyroscope (measures rotation rate), and, in 9-axis models, a 3-axis magnetometer (measures the Earth’s magnetic field for absolute heading). 10-axis IMUs add a barometric pressure sensor for altitude.
How much do IMU sensors cost?
Consumer breakout boards like the MPU-6050 and MPU-9250 modules in this list typically range from a few dollars to roughly forty dollars depending on features and pack size. Industrial and tactical-grade IMUs from Honeywell, VectorNav, and SBG cost significantly more due to factory calibration and tighter bias stability.
What is a good IMU for drones?
For multirotor and FPV drones, the proven choices are the MPU-6000, the ICM-20948 (TDK’s modern flagship), and the Bosch BMI270 (low-power, vibration-robust). On this list, the MPU-6050 boards are great for DIY quadcopters, while the BNO055 and BNO085 add on-chip sensor fusion if you want heading without writing your own filter.
Final Verdict: Which IMU Sensor Should You Buy?
For most readers, the HiLetgo GY-521 MPU-6050 3-pack is the safest starting point: it is the most-reviewed 6-axis IMU in this roundup, it works with Arduino and ESP32 out of the box, and 795 reviews back a 4.6-star rating. If you need 9-axis absolute heading without writing your own filter, the BNO085 from EC Buying delivers BNO-class fusion at a lower price than Adafuit’s breakout. For tight-budget VR tracker builds, the Wishiot 5-pack bundles everything you need in one box.
Whichever best IMU sensor you choose from this list, plan to spend time on calibration and filter tuning, and you will get reliable orientation data for drones, robotics, AR/VR, or wearables. For more on the theory behind these boards, see our guide on how IMUs work inside a robot and the companion complementary filter explainer. Happy building in 2026.