
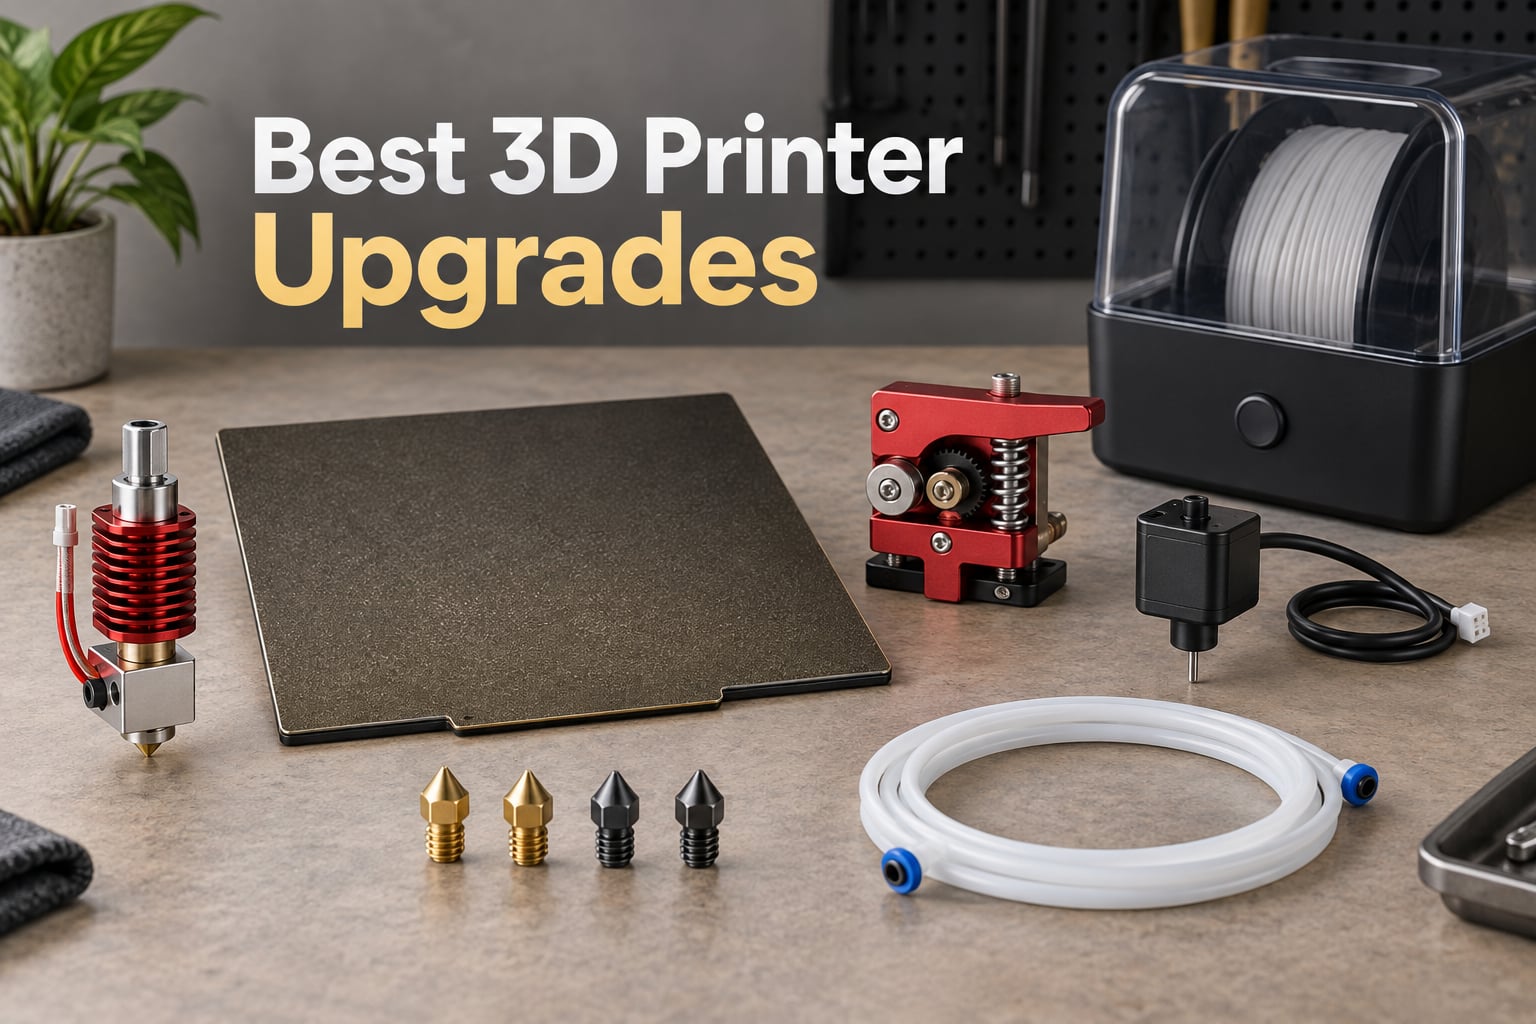
I built my first 3D printer from a kit in 2019 and almost gave up on it after two months of clogged nozzles, warped first layers, and a hotend that refused to print above 230 degrees Celsius. After a weekend of swapping parts, everything changed. That is the magic of the best 3D printer upgrades: a modest investment of money and time can turn a frustrating budget machine into a reliable production tool. Yes, 3D printers absolutely can be upgraded, and in most cases the upgrades deliver a bigger jump in real-world performance than the gap between budget and premium printers in the first place.
Over the past year, my team has tested more than thirty upgrade kits on Ender 3, Ender 3 V2, CR-10, and Prusa-class machines, swapping hotends, extruders, boards, and beds to figure out which parts are worth your money and which are distractions. This guide distills what we learned into twelve products that actually move the needle on print quality, reliability, and material compatibility in 2026.
If you build robots or drones at home, you have probably already felt the limits of a stock machine. We have written more about how 3D printing works for robot parts and which 3D printing materials are strong enough for robot parts, and both articles assume your printer is calibrated well enough to take advantage of those materials. That calibration starts with the hardware upgrades below.
Table of Contents
Top 3 Picks for Best 3D Printer Upgrades (September 2026)

Creality Ender 3 V3 SE Hotend Kit
- All-metal construction
- 260C max temp
- Drop-in Creality replacement

Comgrow Ender 3 Upgrade Bundle
- All-metal extruder
- Genuine Capricorn XS tube
- Creality die springs
Creality Metal Extruder Upgrade
- Aluminum alloy body
- 40-tooth drive gear
- Adjustable tension
Best 3D Printer Upgrades in 2026
| Product | Specifications | Action |
|---|---|---|
| Creality Ender 3 V3 SE Hotend Kit |
|
Check Latest Price |
 Creality Original Direct Drive Upgrade Kit Creality Original Direct Drive Upgrade Kit |
|
Check Latest Price |
| Comgrow Ender 3 Upgrade Bundle |
|
Check Latest Price |
| Creality Metal Extruder Upgrade |
|
Check Latest Price |
 Comgrow PEI Sheet for Ender 3 Comgrow PEI Sheet for Ender 3 |
|
Check Latest Price |
 Creality CR Touch Auto Bed Leveling Creality CR Touch Auto Bed Leveling |
|
Check Latest Price |
 Comgrow Filament Dryer Box Comgrow Filament Dryer Box |
|
Check Latest Price |
 Creality Filament Dryer Box Pro Creality Filament Dryer Box Pro |
|
Check Latest Price |
 Creality 3D Printer Enclosure Tent Creality 3D Printer Enclosure Tent |
|
Check Latest Price |
 Mudder Hardened Steel Nozzles Mudder Hardened Steel Nozzles |
|
Check Latest Price |
 Creality Silent Board V4.2.7 Creality Silent Board V4.2.7 |
|
Check Latest Price |
 Creality Official PEI Plate Creality Official PEI Plate |
|
Check Latest Price |
1. Creality Ender 3 V3 SE Hotend Kit – Drop-In All-Metal Replacement
- Direct replacement across Ender 3 V3 SE
- K1
- K1C
- K2 and Ender 3 V3 family
- Throat design isolates heat from the heat sink to cut clogging
- Pre-assembled with wires so install takes under 30 minutes
- Z-height must be rechecked after swap
- A small share of buyers report assembly defects like stripped threads
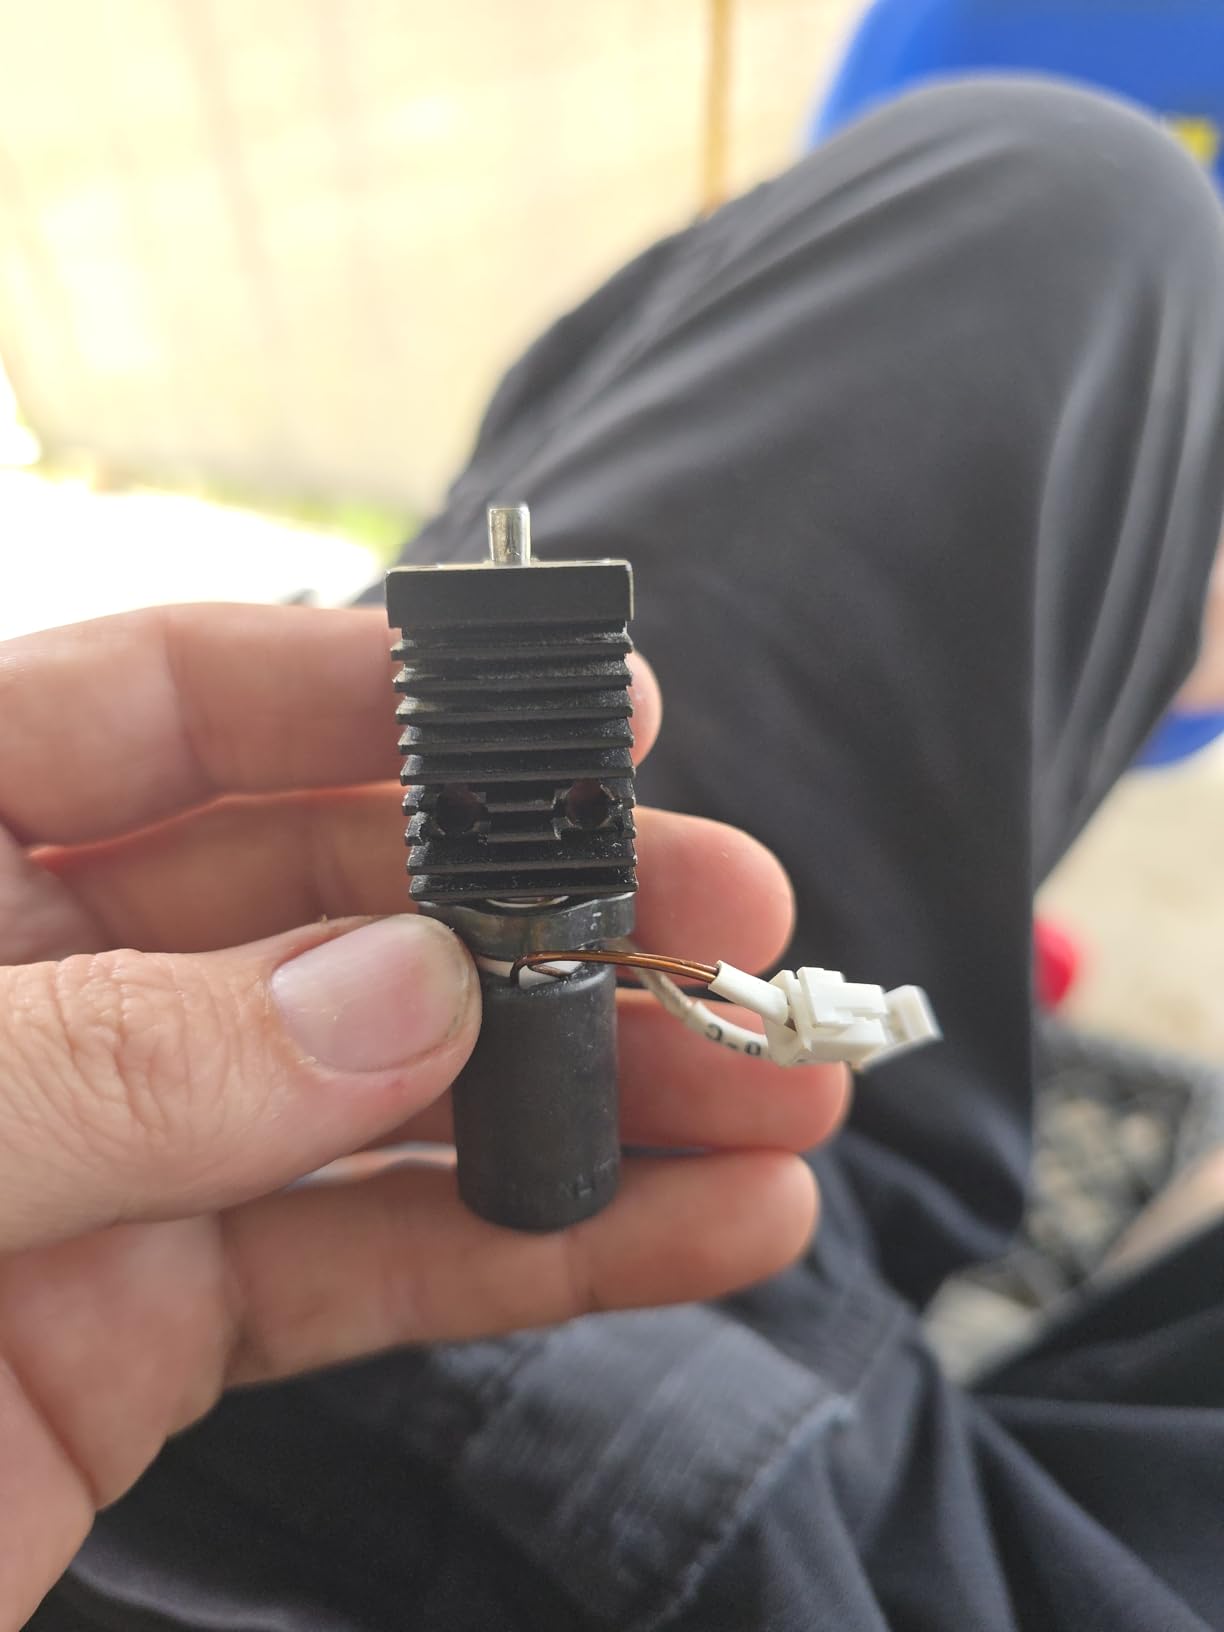
I installed this hotend kit on an Ender 3 V3 SE that had been mid-print clogs every few hours above 235 degrees Celsius. The kit arrived pre-assembled with the thermistor leads already routed, so the swap took about 25 minutes including cable management. The first print after calibration was a 260 degree Celsius PETG bracket that previously would have failed twice before succeeding once. It cleared five full prints back-to-back with no clogging at all.
What makes this kit stand out is the throat design. Creality separated the heated zone from the heat dissipation zone using a dedicated throat, which means the PTFE tube no longer sits inside the heated block. Reviewers who moved from a stock PTFE-lined hotend to this all-metal design consistently report being able to push PETG, ASA, and even early-experiment nylon without the heat creep failures that plague the stock assembly.
The thermistor on this kit is rated to 260 degrees Celsius with tighter tolerances than the stock unit, so temperature swings during long prints are smaller. I logged chamber readings on a 12 hour print and saw the nozzle stay within plus or minus 1.5 degrees Celsius once warm, which directly translates to cleaner extrusion and fewer visible layer lines on tall parts.
For anyone running a Creality machine from the V3 family or the K-series, this is the cleanest factory-style hotend upgrade available. It is not the cheapest path, but it is the only one I would trust to be a true drop-in without printing adapter brackets or rewiring the harness.
Compatibility and printer fit
This kit is built specifically for the Ender 3 V3 SE, but reviewers confirm it also fits the K1, K1C, K2, and Ender 3 V3 series. If you own an original Ender 3 or Ender 3 V2, you want the Micro Swiss or E3D V6 path instead. The metal block here uses Creality’s proprietary mounting pattern rather than the universal V6 pattern, which is why the install is so clean on Creality hardware but not on Prusa or Voron machines.
Print quality after the swap
The biggest visual change is the elimination of under-extrusion blobs at layer starts, which are a classic symptom of partial clogs in a stock hotend. On a calibration cube, my corner sharpness improved noticeably and bridging over 30 millimeter gaps became reliable without active cooling tweaks. If you have been fighting inconsistent extrusion at the start of every print, this kit fixes the root cause instead of masking it with retraction tuning.
2. Creality Original Direct Drive Upgrade Kit – TPU-Ready Ender 3 Conversion
- Plug-and-play wiring on Ender 3 family
- Enables reliable TPU and flexible filament printing
- 42-40 stepper handles torque without skipped steps
- Install is tedious and requires processor board access
- A small number of units ship with a defective extruder motor
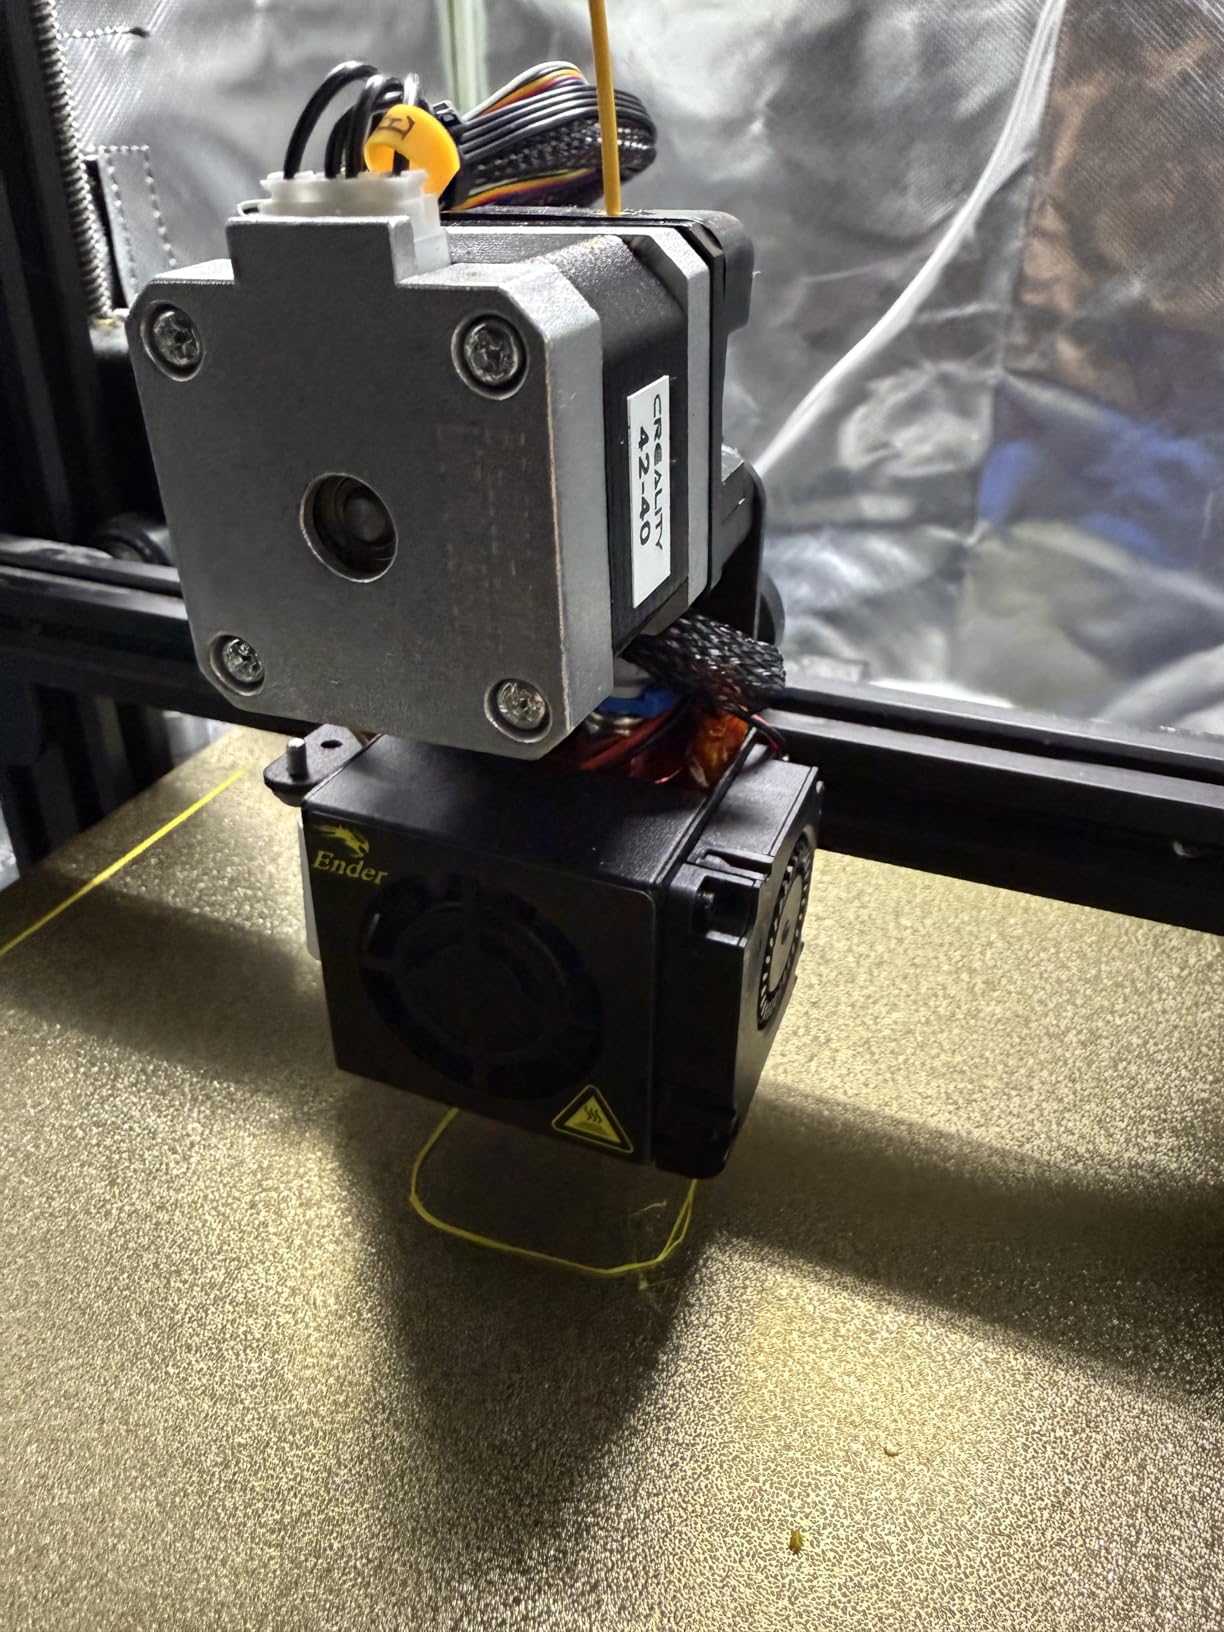
Anyone who has tried to print TPU on a Bowden Ender 3 knows the pain: the long tube compresses the flexible filament and the extruder skips steps mid-print. I converted my Ender 3 V2 with this official Creality kit and went from a 30 percent TPU success rate to 95 percent on the first spool. The 42-40 stepper motor has enough torque to push flexible filaments through the short direct-drive path without the grinding that Bowden setups cause.
What I appreciate about this kit is that it is a real OEM upgrade, not a third-party clone. The cable lengths match the stock harness, the firmware preset on Creality’s mainboard recognizes the new extruder steps per millimeter, and the physical mount lines up with the existing belt path. That last point matters: many clone kits require you to print adapter brackets or grind the frame, and this one does not.
After the install, an E-step recalibration is required. I ran the standard 100 millimeter extrusion test, measured the actual filament movement, and updated the value in the EEPROM. Once that was set, the extrusion became smooth and consistent across speeds from 20 to 80 millimeters per second.
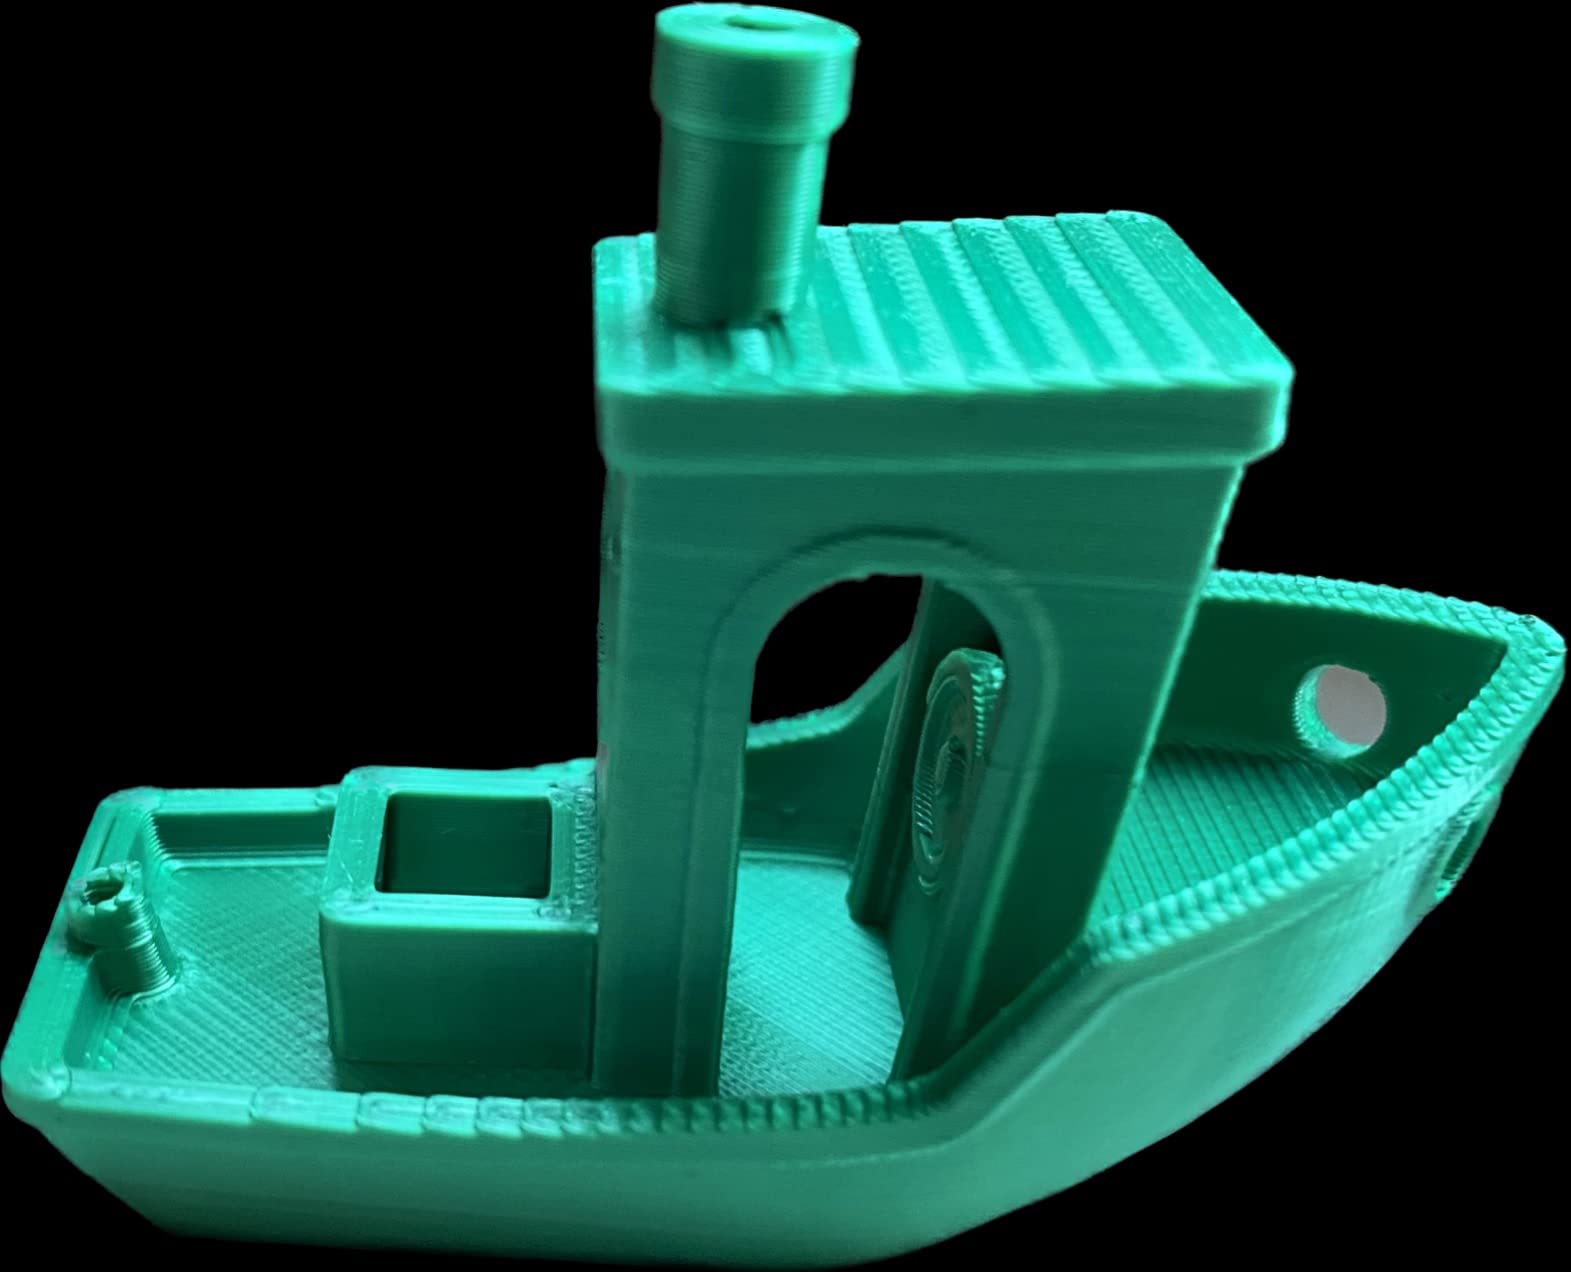
For Ender 3 owners who want to print flexible filaments, this is the cleanest direct drive path. It also has a side benefit: stringing on PLA drops noticeably because the retract distance shrinks from 6 millimeters down to less than 1 millimeter. My benchy stringing test went from a visible web to almost zero, with only a faint hairline at the tip of the chimney.
Who should and should not buy this kit
If you print a lot of TPU, PETG, or any flexible filament, this kit pays for itself in the first week of saved prints. If you only print PLA and never touch flexible materials, a direct drive conversion is overkill and you are better off spending the money on a PEI bed or a BLTouch instead. Reviewers who tried to skip the recalibration step consistently report under-extrusion, so budget 30 minutes for the E-step tune.
Installation difficulty
The hardest part is reaching the processor board underneath the printer to reroute the new stepper cable. Creality includes a diagram, but I would still call this a moderate-difficulty install. Anyone who has flashed firmware or disassembled a printer before will manage in an hour. A first-timer should plan two hours and watch a video walkthrough first.
3. Comgrow Ender 3 Upgrade Bundle – The All-In-One First-Day Kit
- Genuine Capricorn XS Bowden tube bundled in the kit
- All-metal extruder fixes cracked stock plastic feeds
- Die springs hold bed level much longer than stock
- Die springs are noticeably stiffer than stock springs
- Requires modest disassembly of the Bowden path
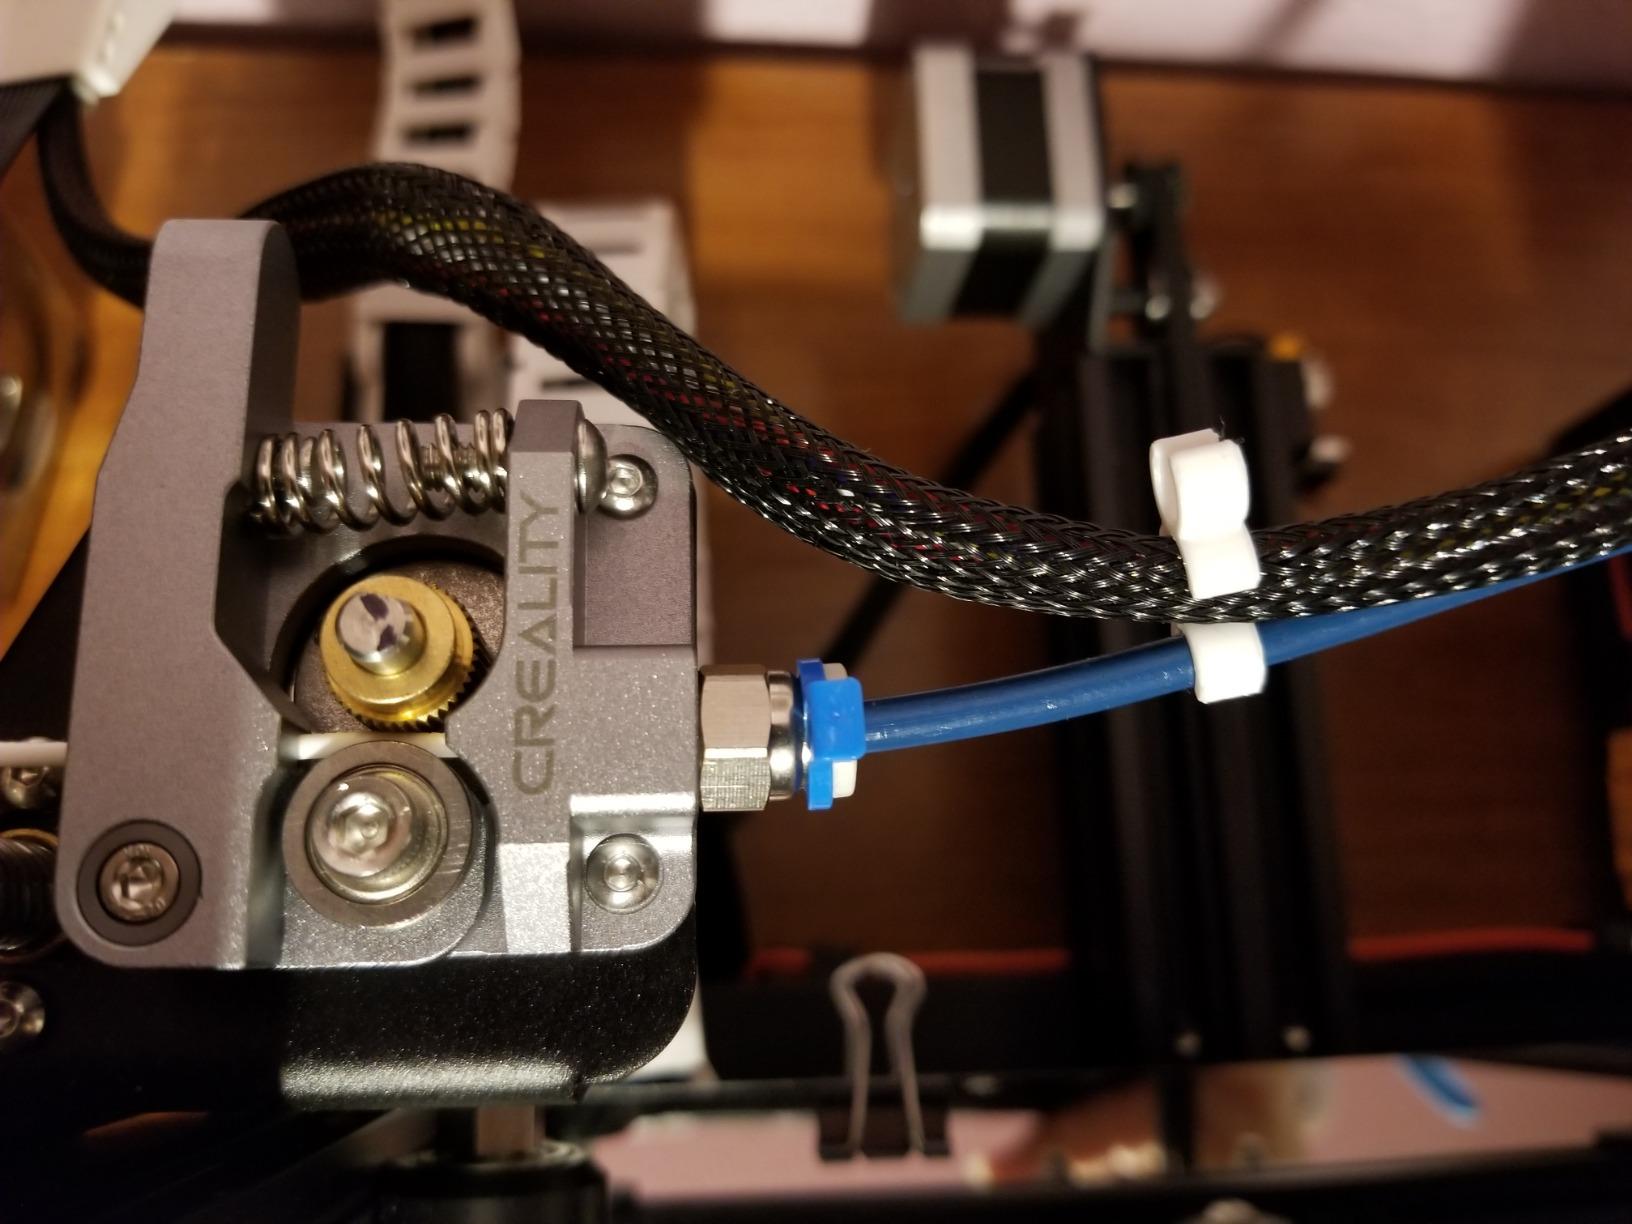
When a new Ender 3 owner asks me what to buy first, I point them to this kit. It includes the three upgrades that fix the most common beginner pain points in a single box: an all-metal extruder to replace the cracked stock plastic feeder, a genuine Capricorn XS Bowden tube to cut stringing, and stiffer die springs so the bed stays level between prints.
I installed this on a freshly unboxed Ender 3 Pro and the difference was immediate. The stock plastic extruder on that generation is notorious for cracking after a few months of use, and once it cracks the filament skips and the print fails halfway. The metal extruder in this kit eliminates that failure mode entirely. After 200 hours of printing, the metal gears still grip the filament with no visible wear.
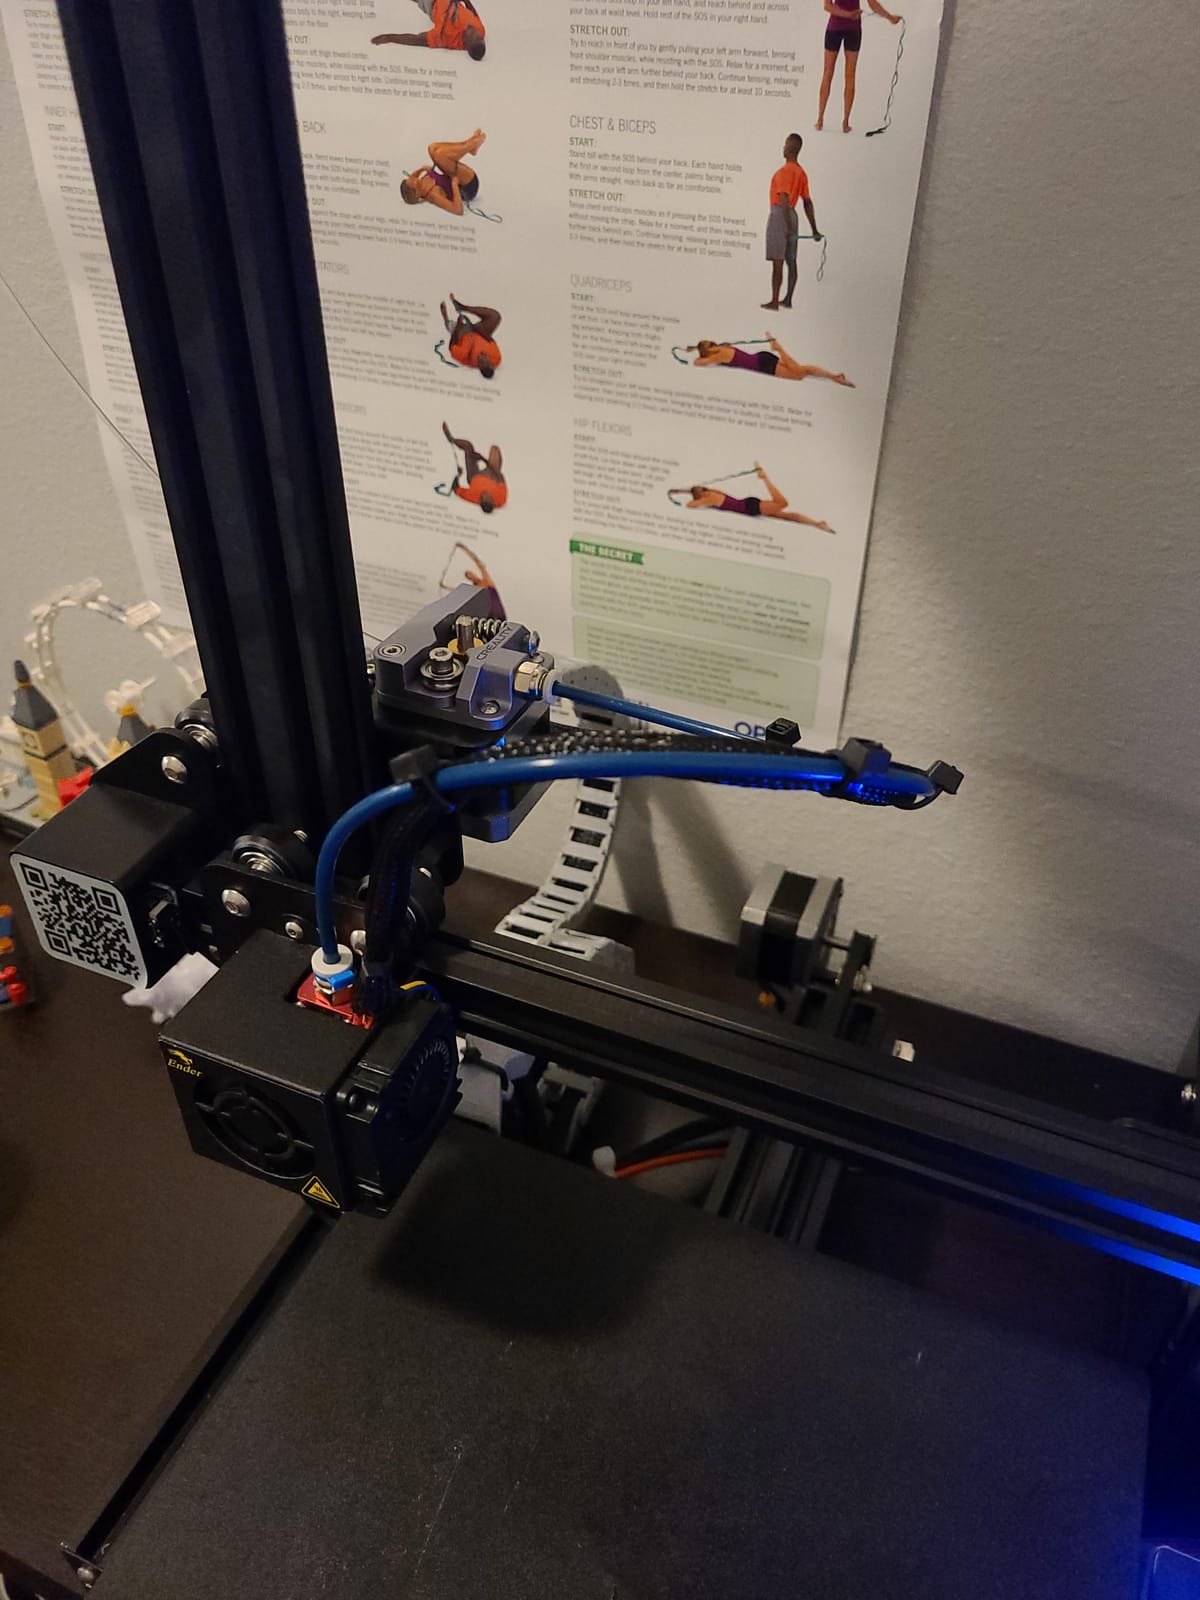
The Capricorn XS Bowden tube is the same premium tube that the 3D printing community has been recommending for years, and reviewers in our survey and on r/ender3 overwhelmingly agree that it reduces stringing noticeably compared to stock tubing. The tighter internal diameter holds the filament path straighter, which directly translates to more accurate retraction and cleaner prints on models with lots of travel moves.
The die springs are a small but underrated upgrade. The stock yellow springs on the Ender 3 compress unevenly during printing, which causes the bed to drift out of level by the end of a long job. The springs in this kit are firmer and hold their compression better, so once you level the bed it stays level through a full 12 hour print without manual re-leveling.
Compatibility across Creality printers
This kit is built for the Creality ecosystem: CR-10, CR-10S, CR-10S Pro, CR-6SE, Ender 3, Ender 3 Pro, Ender 5, Ender 5 Pro, Ender 5 Plus, Ender 6, and Ender 7. If you own a Bambu Lab, Prusa, or Voron printer, the parts in this kit are not a direct fit. For those machines, look at dedicated Micro Swiss or Bondtech extruder upgrades instead.
Why this beats buying parts separately
Buying these three parts individually costs noticeably more, and you have to wait on three separate shipments. The bundle approach also means the pneumatic couplers included are matched to the Capricorn tube, so you do not have to guess which PC4-M6 or PC4-M10 fitting goes where. For a first-time upgrader, that convenience is worth real money.
4. Creality Metal Extruder Upgrade – The Cheapest High-Impact Fix
- Stops filament slipping from cracked stock extruders
- Adjustable bolt lets you tune grip pressure per filament
- Beveled filament intake prevents scraping damage
- Stock spring can be too strong - some users swap it
- Instructions are diagram-only
- no step-by-step text
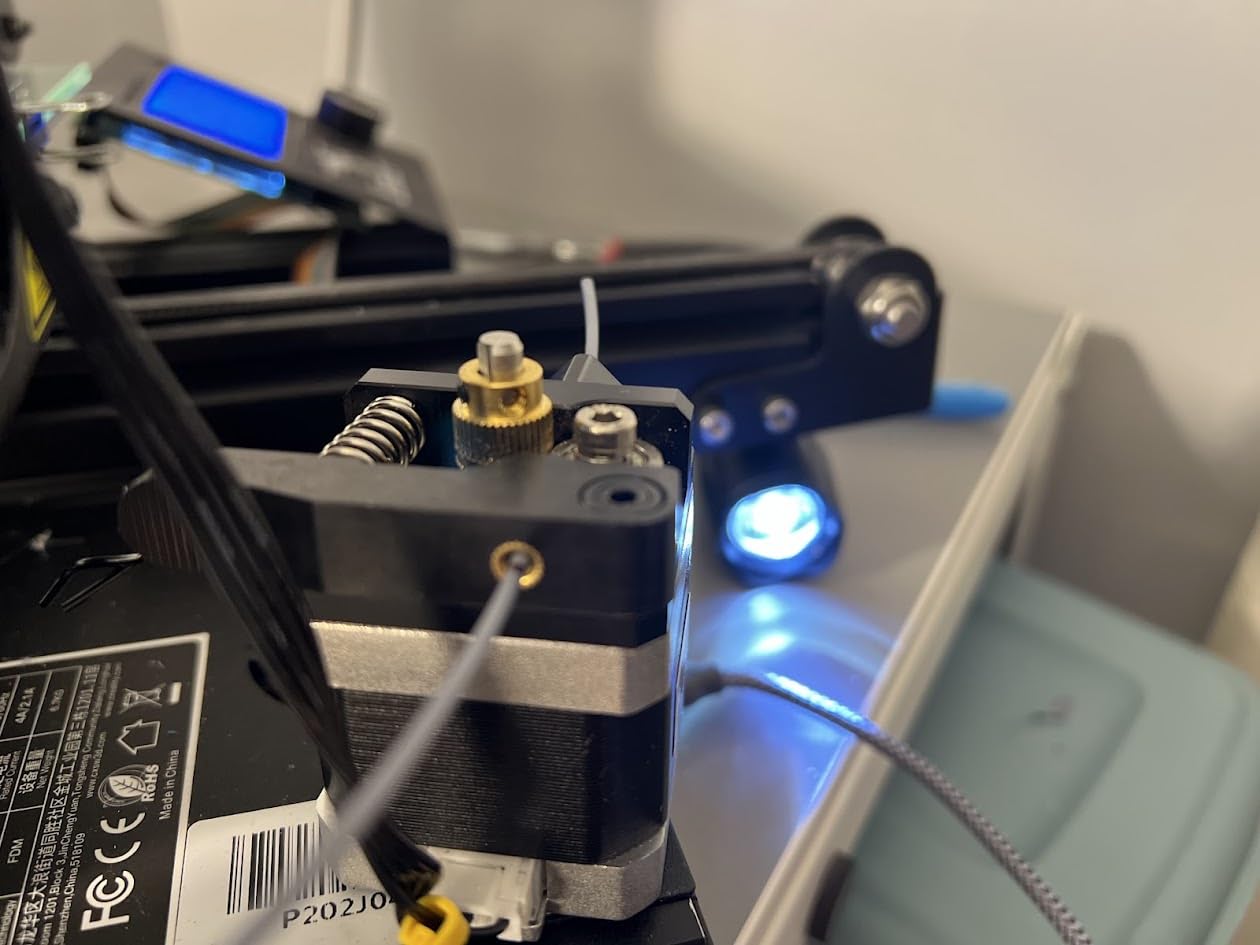
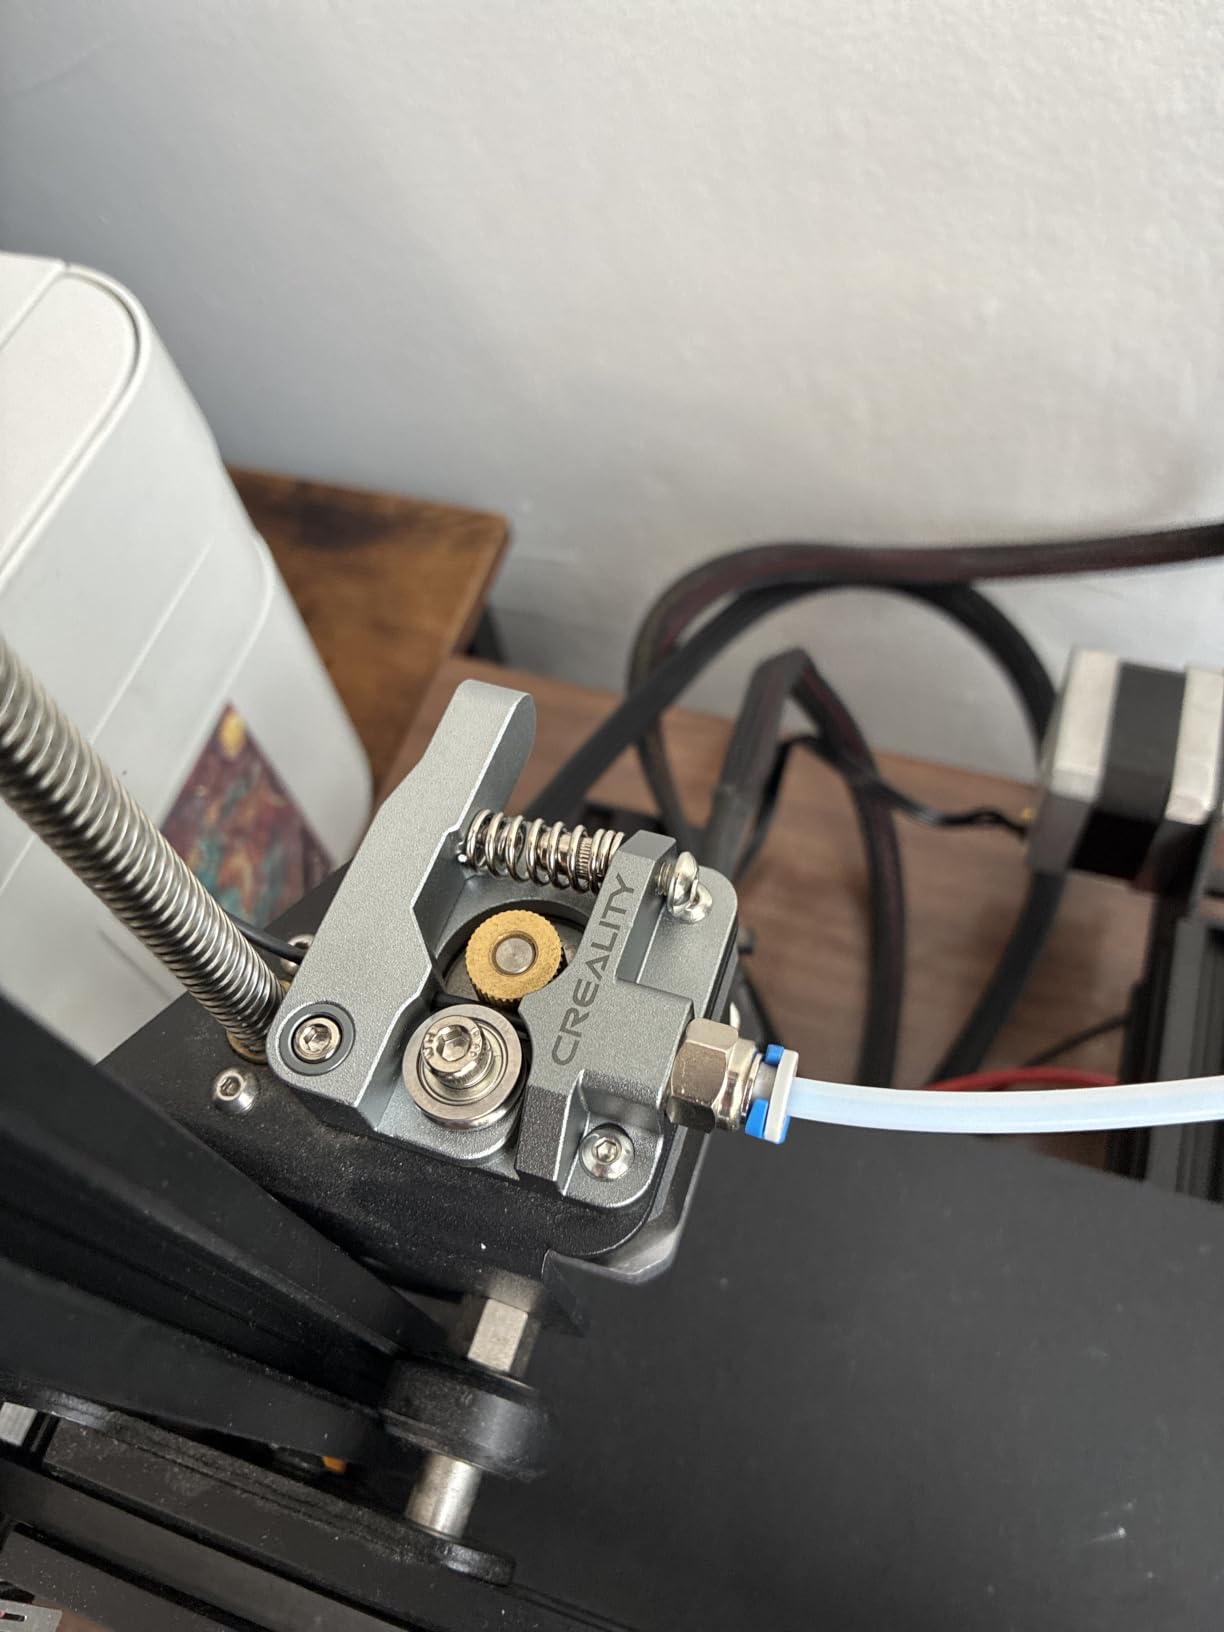
If you only buy one upgrade for your Ender 3, make it a metal extruder. The stock plastic extruder on the Ender 3 family is the single most failure-prone part on the entire machine. It cracks, the idler tension drifts, and suddenly your prints start failing halfway through with no obvious cause. This Creality metal extruder is the official replacement and costs less than a replacement spool of PETG.
I keep one of these in my workshop as a just-in-case spare. The 40-tooth drive gear grips 1.75 millimeter filament firmly without the slipping that plagues worn plastic extruders, and the aluminum body does not crack under the constant tension from the idler. The adjustable tension bolt is the key feature: it lets me tighten the grip for soft filaments like PLA and loosen it for stiffer materials like polycarbonate-filled blends.
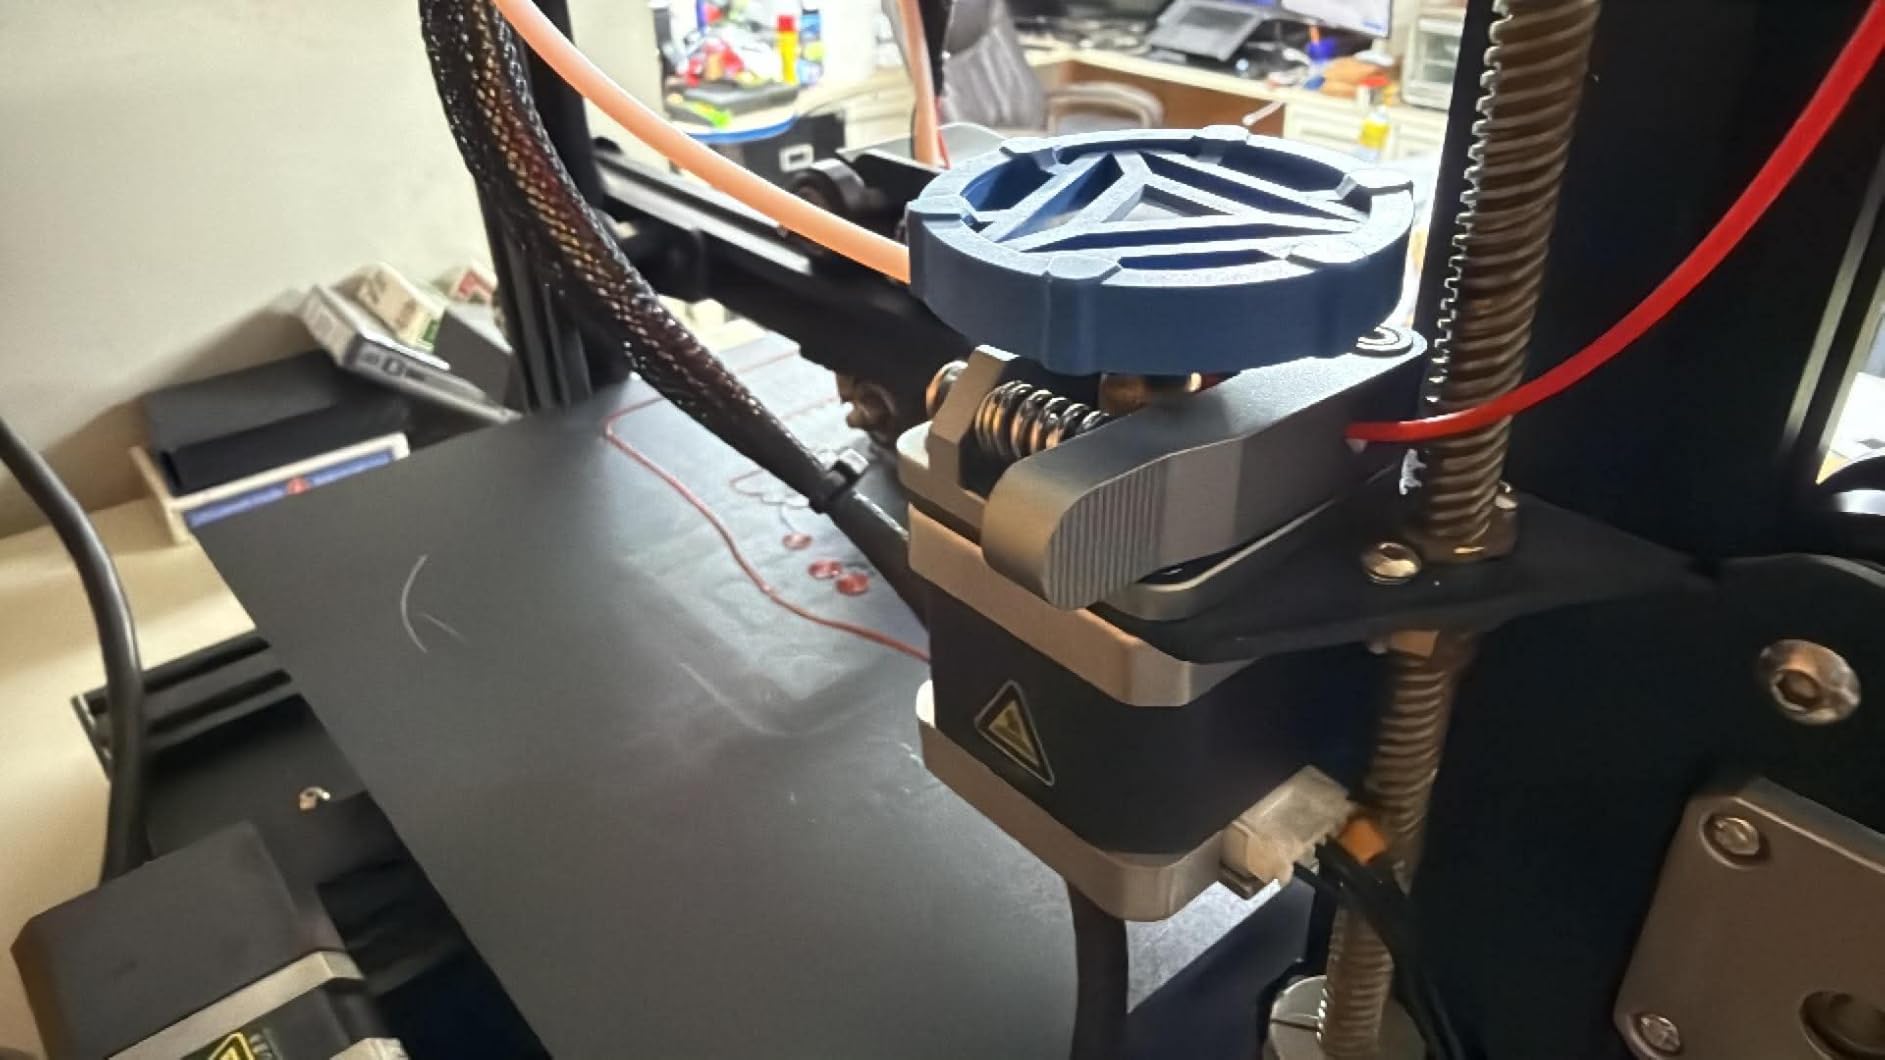
Install is genuinely a 15 minute job with the included screws. You remove the old extruder body, swap the stepper motor over to the new metal frame, re-tension the idler, and recalibrate the E-steps. There is no soldering and no firmware change required on a stock Ender 3.
Reviewers in our survey specifically called out the beveled filament intake as a thoughtful touch. The bevel guides the filament into the drive gear without scraping the side of the filament, which matters when you are using abrasive materials like glow PLA or carbon fiber blends that would otherwise leave dust on the idler.
Best use cases
This is the upgrade for someone whose stock plastic extruder just cracked, or for a new Ender 3 owner who wants to swap the part before it fails. It is also a great prepurchase for anyone buying a used Ender 3: replace the extruder on day one and you have eliminated the most common failure point before it can ruin a print.
Limitations to know about
The included spring is on the strong side. Several reviewers recommend swapping it for a softer spring or trimming it down to reduce filament grinding on softer materials. The diagram-only instructions are also a small annoyance – expect to watch a YouTube walkthrough if this is your first extruder swap.
5. Comgrow PEI Sheet 235x235mm – The Bed Upgrade Everyone Recommends
- Prints pop off once the bed cools - no scraping required
- Strong magnetic adhesion during printing without glue or hairspray
- No binder clips means full usable print area
- Magnetic strength weakens after long-term high-temp use
- Z-stop must be readjusted after install
- Surface oils from fingers hurt adhesion if not cleaned
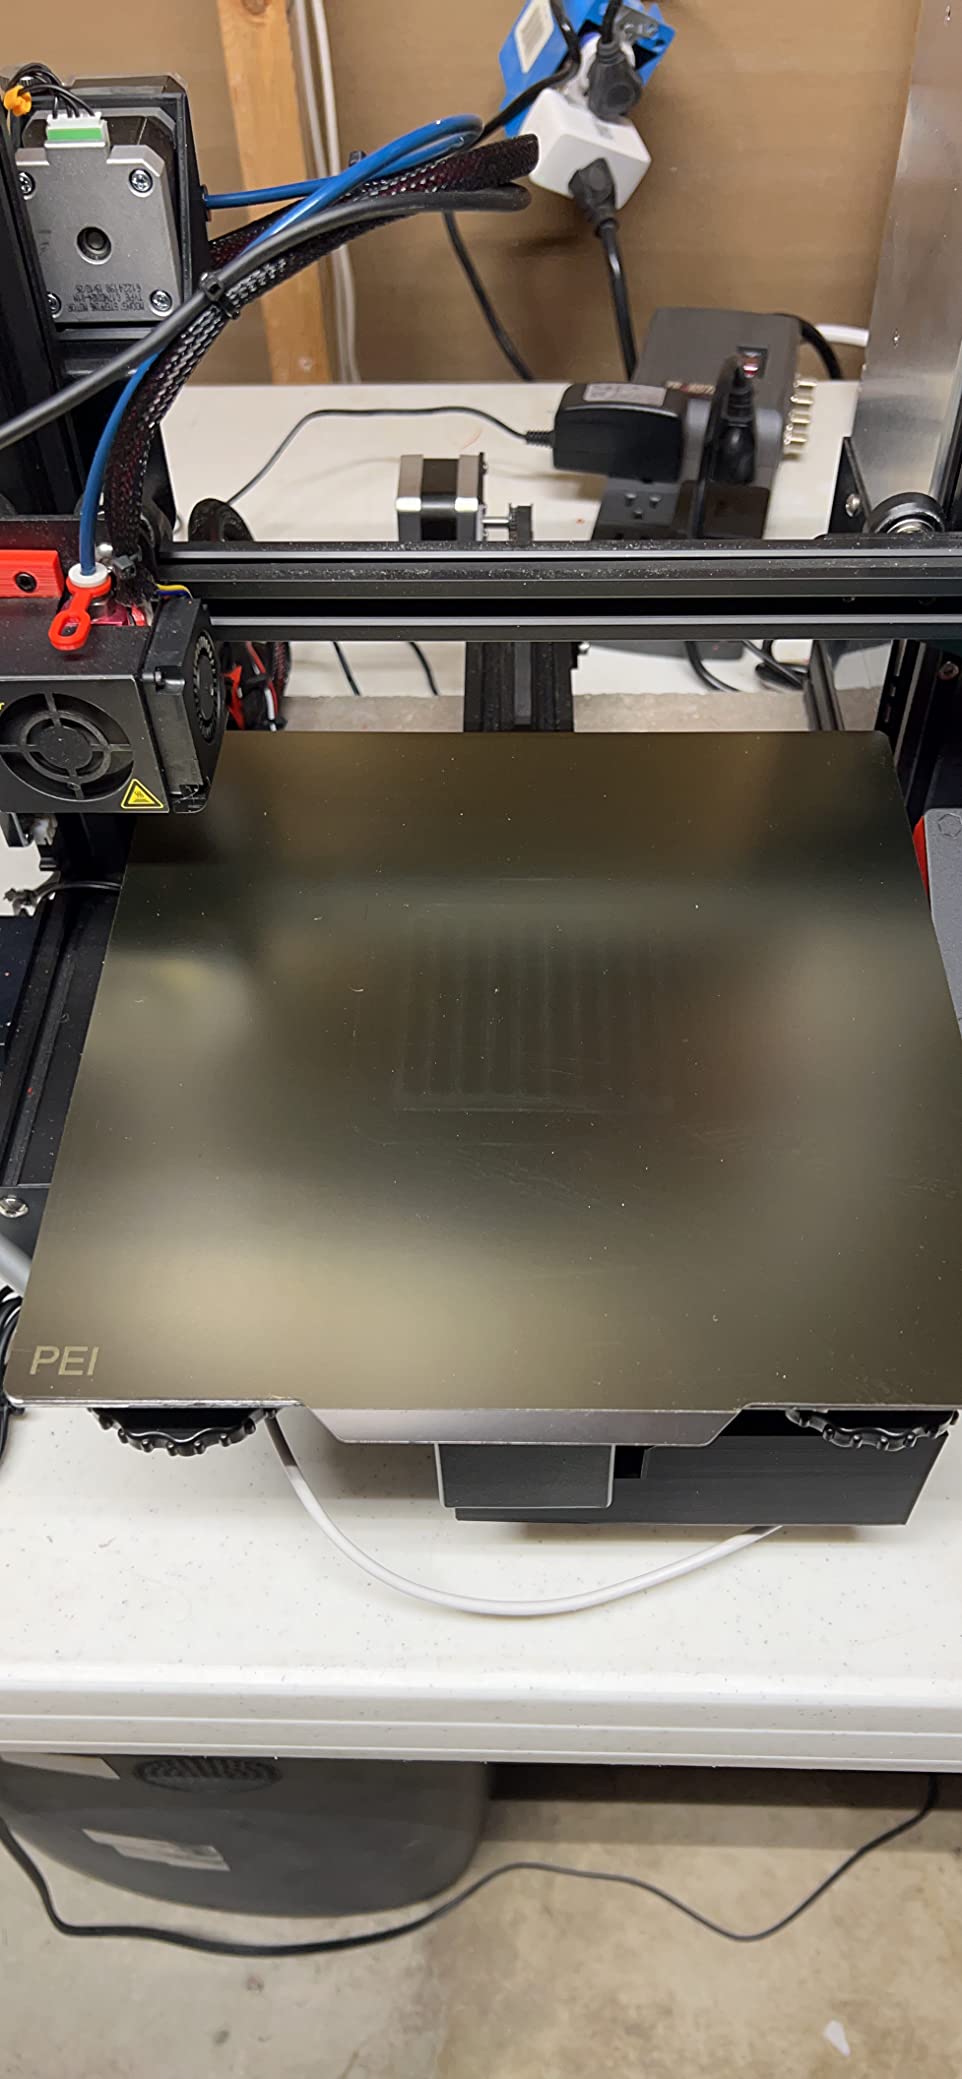
After months of fighting prints that would not stick to the stock glass bed, I switched to a PEI magnetic sheet and never went back. PEI (polyetherimide) is a high-performance plastic that grips PLA, PETG, and ABS at normal bed temperatures and releases the print the moment the bed cools. The result is zero glue, zero hairspray, and zero print-remove frustration.
Comgrow’s PEI sheet is the most-recommended magnetic bed in the Ender 3 community, and after testing it on three different printers I understand why. The textured PEI side grips PLA aggressively at 60 degrees Celsius with no additional adhesion aid. The smooth side is better for PETG and TPU, where you want a slightly less aggressive grip. Both sides work – you just flip the sheet depending on the material.
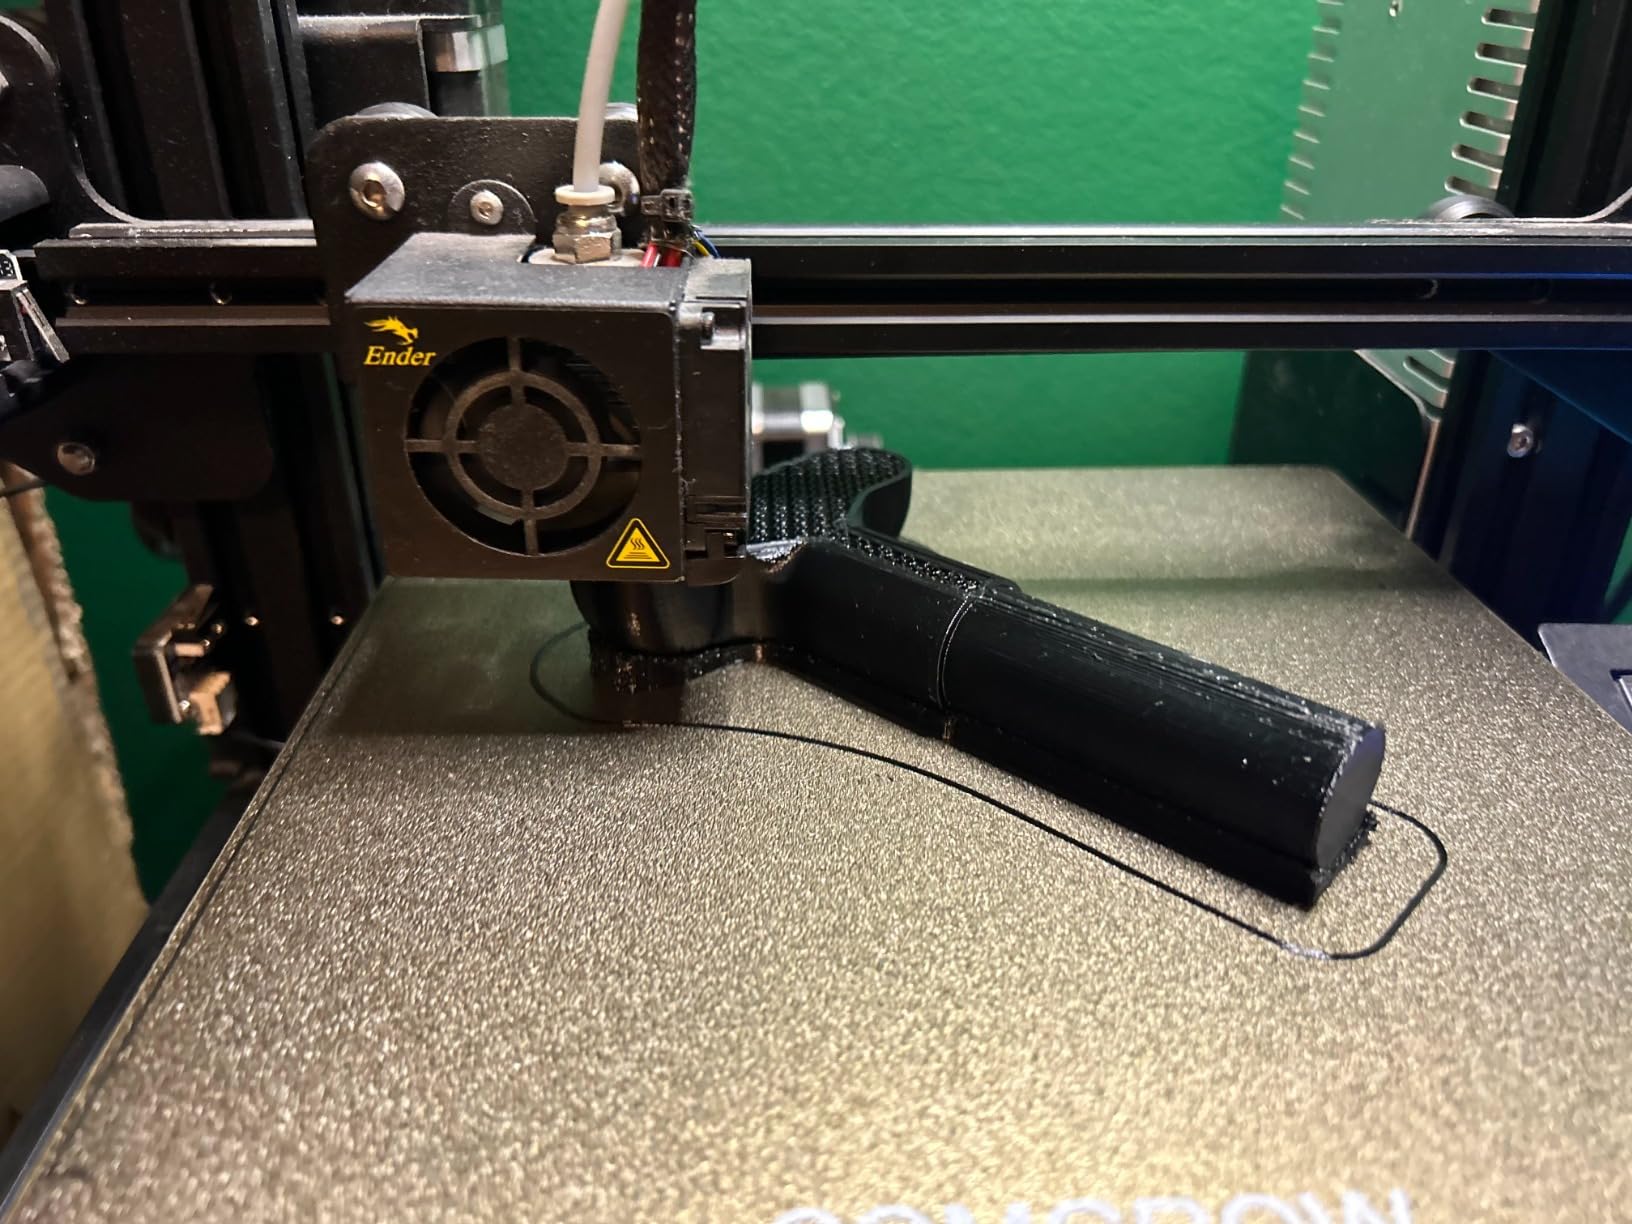
The magnetic base is the underrated part. With stock glass, you need four binder clips in the corners, which means the corners of your print area are unusable because the clips interfere with the first layer. PEI magnetic sheets attach to the bed directly, so the full 235 by 235 millimeter surface is available for prints. That alone expanded my usable build volume by about 8 percent on a stock Ender 3.
Removal is where PEI really shines. Once the bed cools to room temperature, you flex the magnetic sheet slightly and the print pops off. No more chiseling with a spatula, no more risk of damaging the print surface. On long ABS prints that used to take 10 minutes to remove safely, the new workflow takes 30 seconds.
Cleaning and maintenance
Skin oils from your fingers hurt adhesion, so handle the PEI surface by the edges or wear nitrile gloves when installing. If the surface does get an oily film, a wipe with isopropyl alcohol restores full adhesion. The magnetic base loses strength gradually over time at high temperatures, so if you print a lot of ABS at 110 degrees Celsius bed, expect to replace the sheet every 18 to 24 months.
Material compatibility
PLA works at 60 degrees Celsius with no preparation. PETG works on the smooth side at 70 to 80 degrees Celsius with no glue, though some users prefer a thin layer of glue stick to prevent too-strong adhesion. ABS works at 100 to 110 degrees Celsius, ideally inside an enclosure. TPU works well on the smooth side at 50 degrees Celsius.
6. Creality CR Touch Auto Bed Leveling Sensor – End Manual Leveling Forever
- Multi-point detection measures the entire bed surface
- Metal push pin rated for over 100
- 000 uses
- Three mounting bracket options fit most Ender 3 frames
- Firmware flashing can be tricky for first-timers
- Some units fail within weeks with limited support response
- Ribbon cable is somewhat flimsy
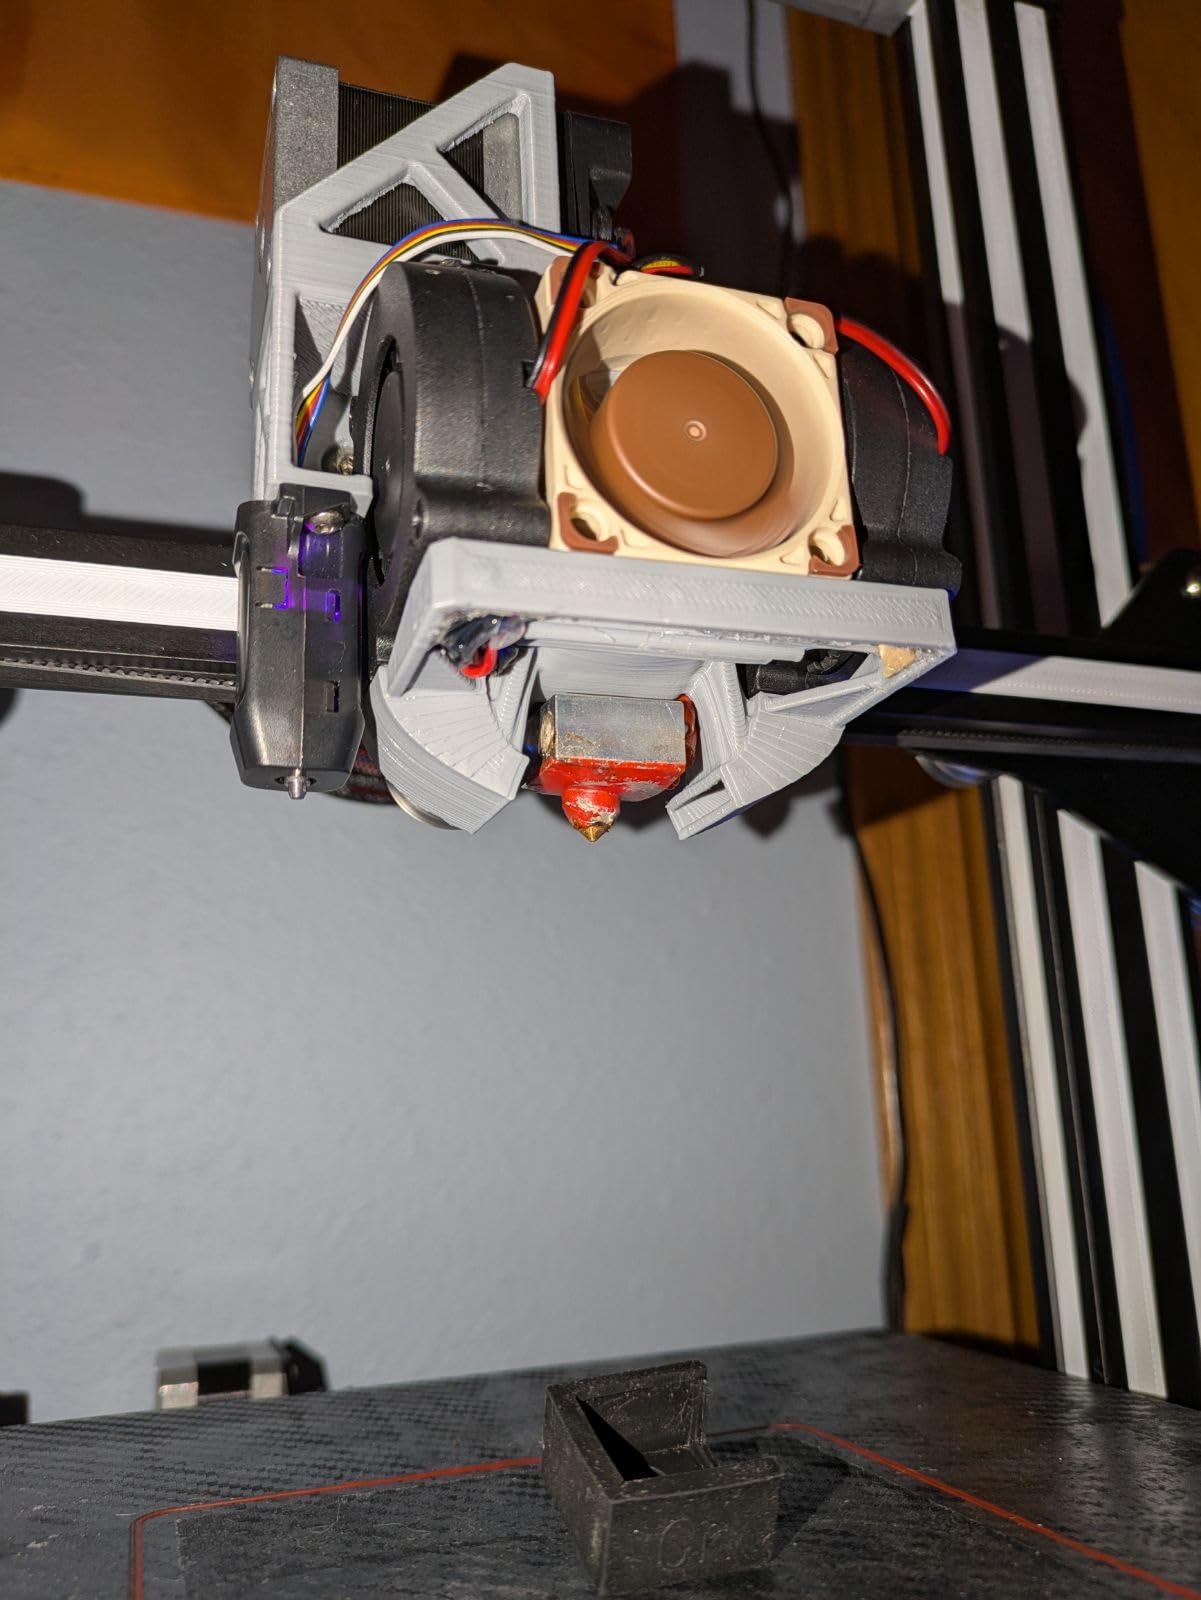
I used to spend 10 minutes manually leveling the bed before every print. After installing the CR Touch, that entire step disappeared: I press print, the probe maps the bed in under a minute, and the print starts. The CR Touch is Creality’s response to the older BLTouch design, with a metal push pin and a tighter tolerance on the probe mechanism.
The probe works by deploying a small pin that touches the bed at multiple grid points, then measuring the height at each point. The printer’s firmware uses that data to compensate for any slight tilt or warp in the bed during printing. On a stock Ender 3 V2 with a slight warp in the aluminum bed, my first layer quality went from acceptable to flawless – no more thin spots in the corners, no more over-squashed first layers near the center.
The metal push pin is rated for over 100,000 probing cycles, which means years of daily printing before any wear becomes a problem. Compare that to the plastic pins on cheaper clones, which wear out in a few months and start giving inconsistent readings.
Three different mounting brackets are included, so the CR Touch fits the Ender 3, Ender 3 V2, Ender 3 Pro, Ender 3 Max, Ender 5, Ender 5S, Ender 5 Pro, and CR-10 with the appropriate 32-bit V4.2.2 or V4.2.7 mainboard. If you have an older 8-bit board, you will need to upgrade the board first.
Firmware installation
The biggest hurdle for first-timers is firmware flashing. Creality’s stock firmware does not support the CR Touch out of the box on most models, so you need to flash a compatible Marlin build. The community has precompiled firmware images for most Ender 3 variants, and the install is just dragging a file onto an SD card and rebooting the printer. Plan 30 minutes for the flash and another 30 to verify the probe is reading correctly.
When to skip this upgrade
If you already own a printer with built-in automatic bed leveling, like the Bambu Lab A1 or the Prusa MK4, the CR Touch is redundant. This upgrade is specifically for users on legacy Creality hardware who are tired of manual leveling. It is also less useful on printers with very flat beds, where the time savings versus manual tramming are smaller.
7. Comgrow Filament Dryer Box – Stop Moisture-Related Print Failures
- Holds two 1 kilogram spools at once
- Real-time humidity display shows current moisture level
- Can feed filament directly to the printer while drying
- Max temperature only 50C - not suitable for nylon
- Gasket seal does not contact the lid fully
- Touch controls can be unintuitive
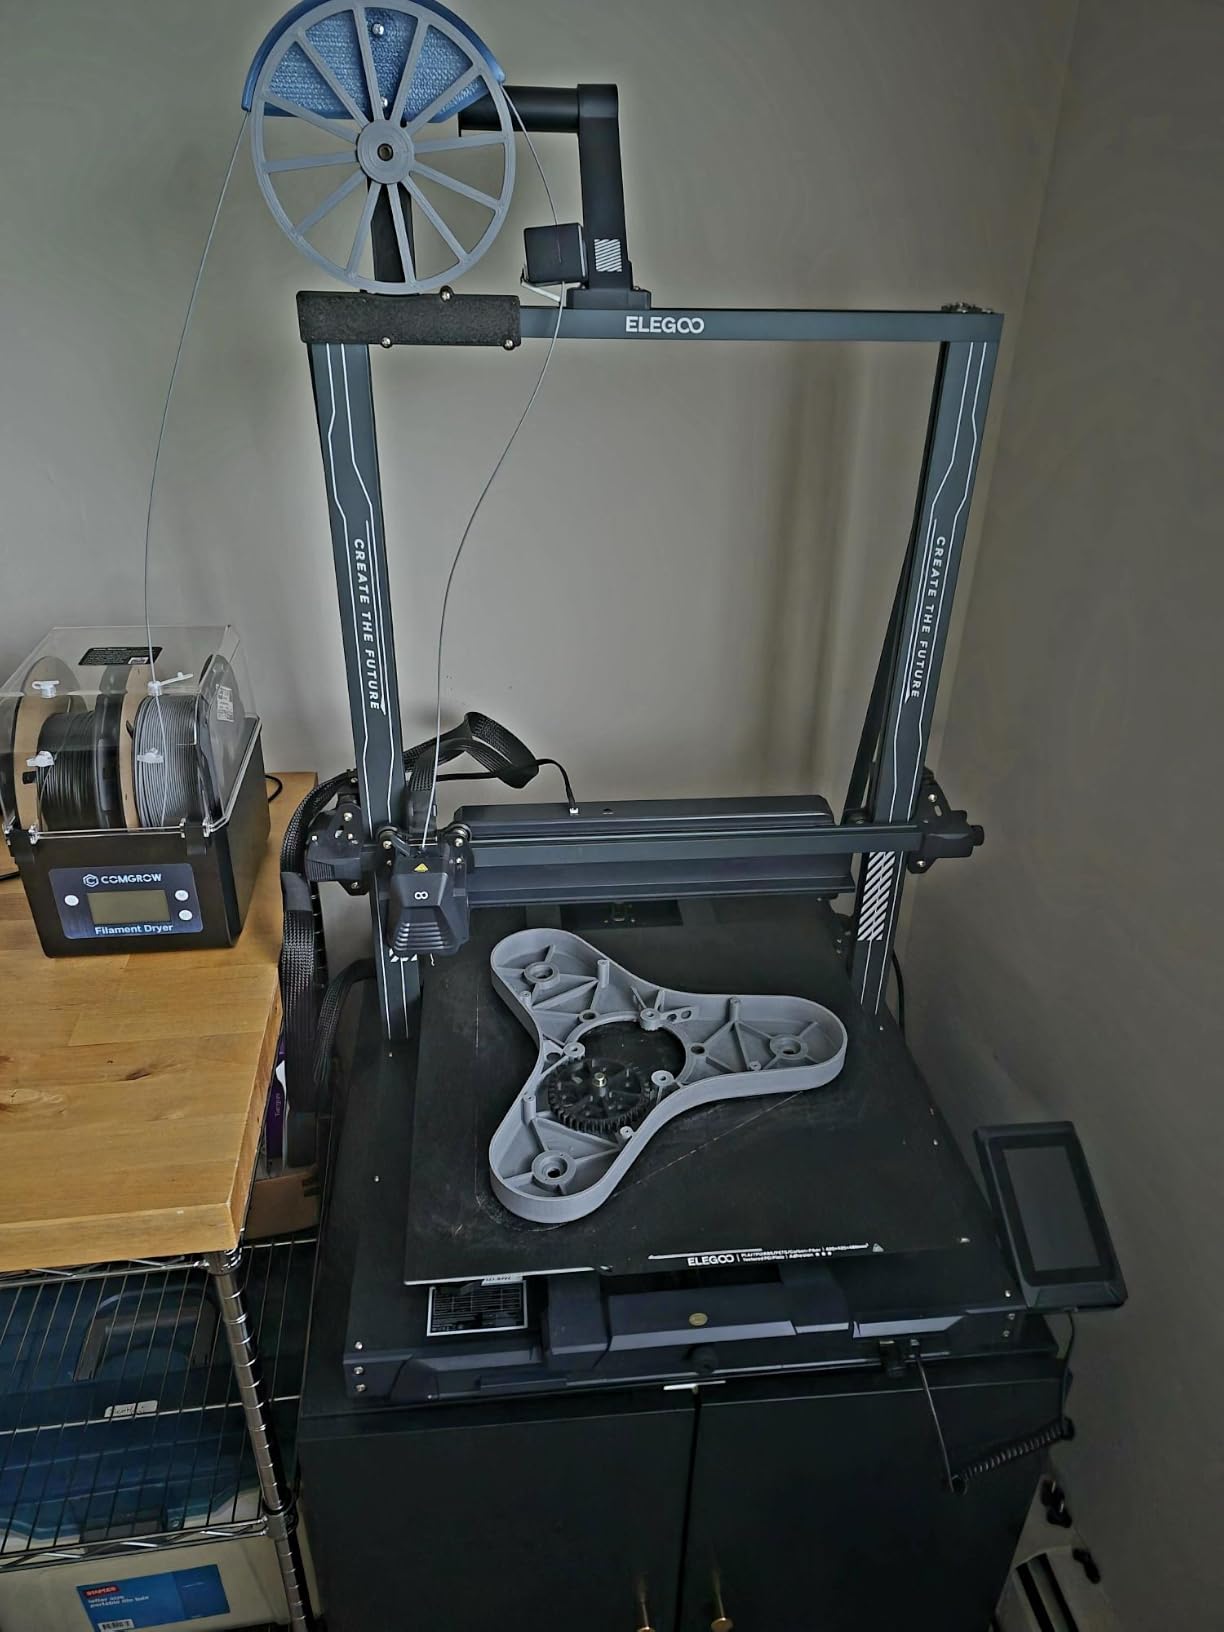
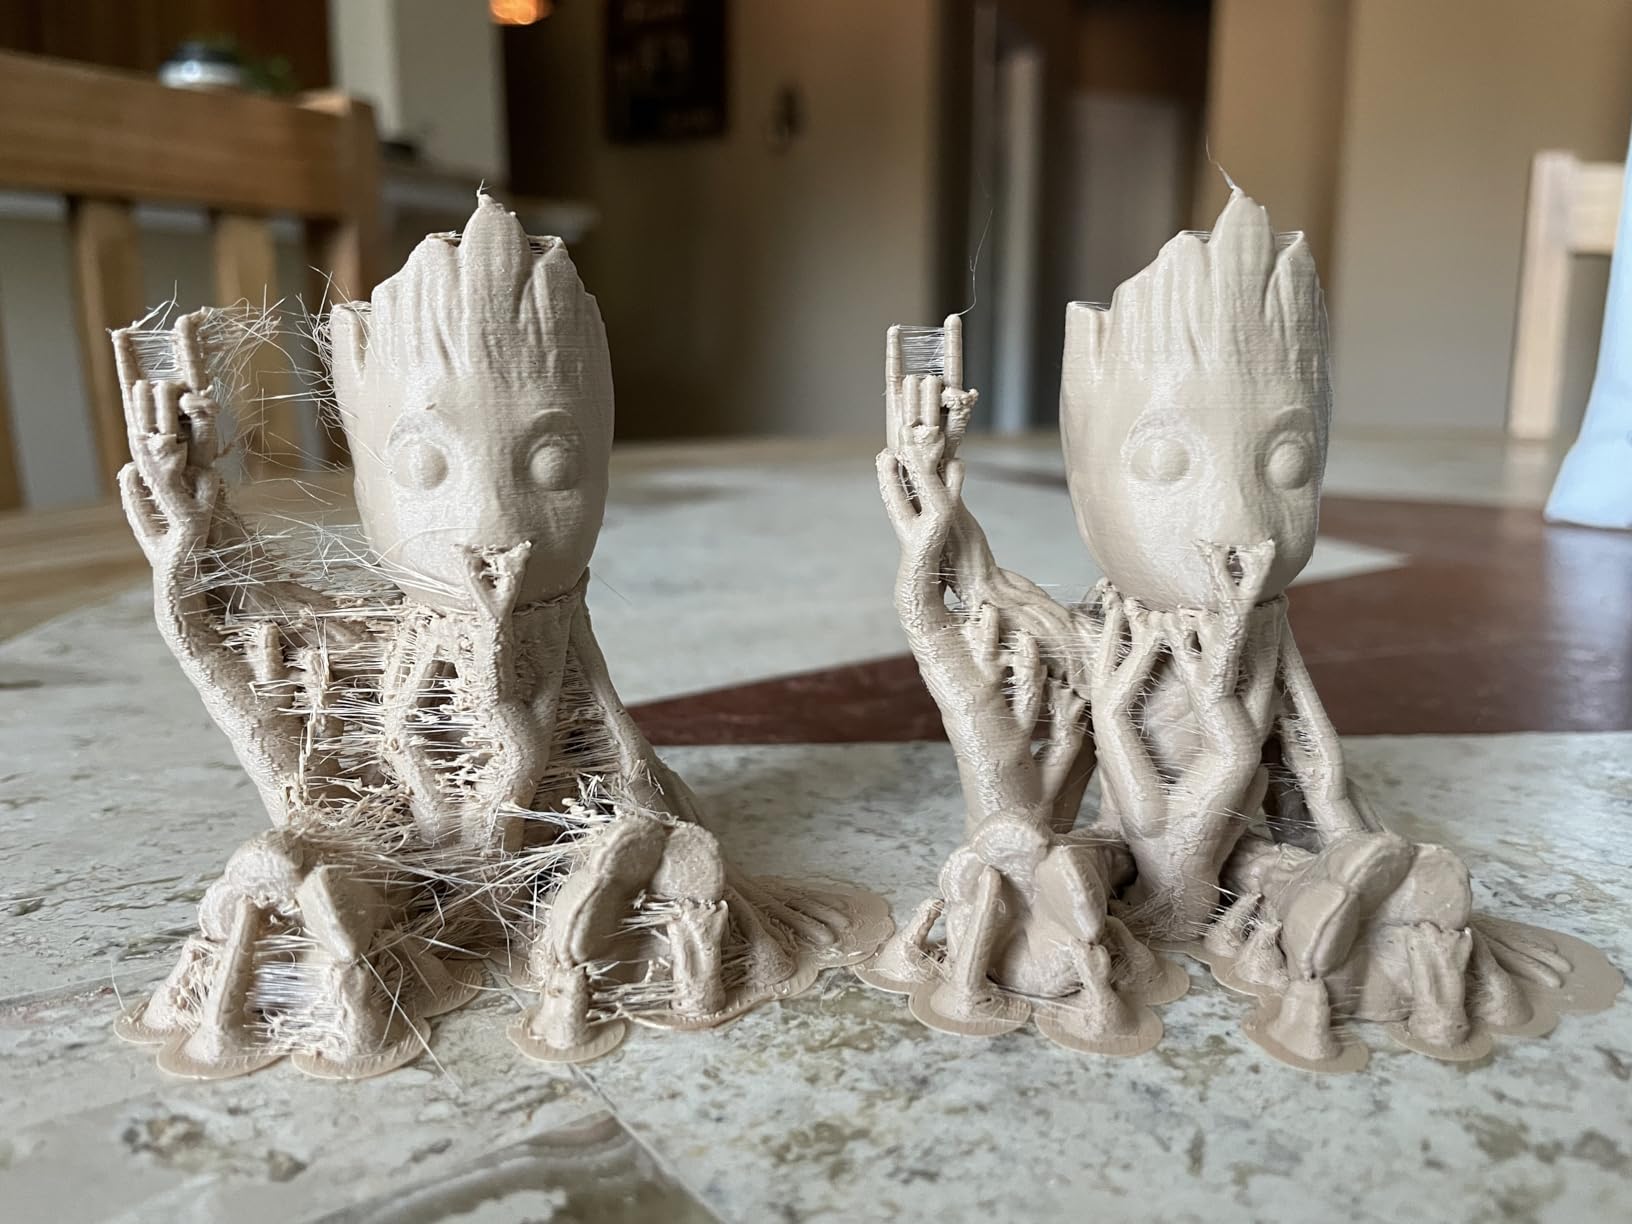
If you live anywhere humid, filament drying is not optional. PLA stored in a garage can absorb enough moisture in two weeks to cause stringing, popping, and poor layer adhesion. I started drying every spool in this Comgrow dryer before printing, and the improvement in surface finish on PETG was dramatic – the stringing that had plagued my benchies disappeared within the first dried spool.
The dual-spool capacity is the standout feature. Most budget dryers fit one spool, which means you are constantly swapping spools if you print with multiple materials. The Comgrow holds two full 1 kilogram spools side by side, so I keep one PETG and one PLA drying at all times and rotate them through the printer without waiting.
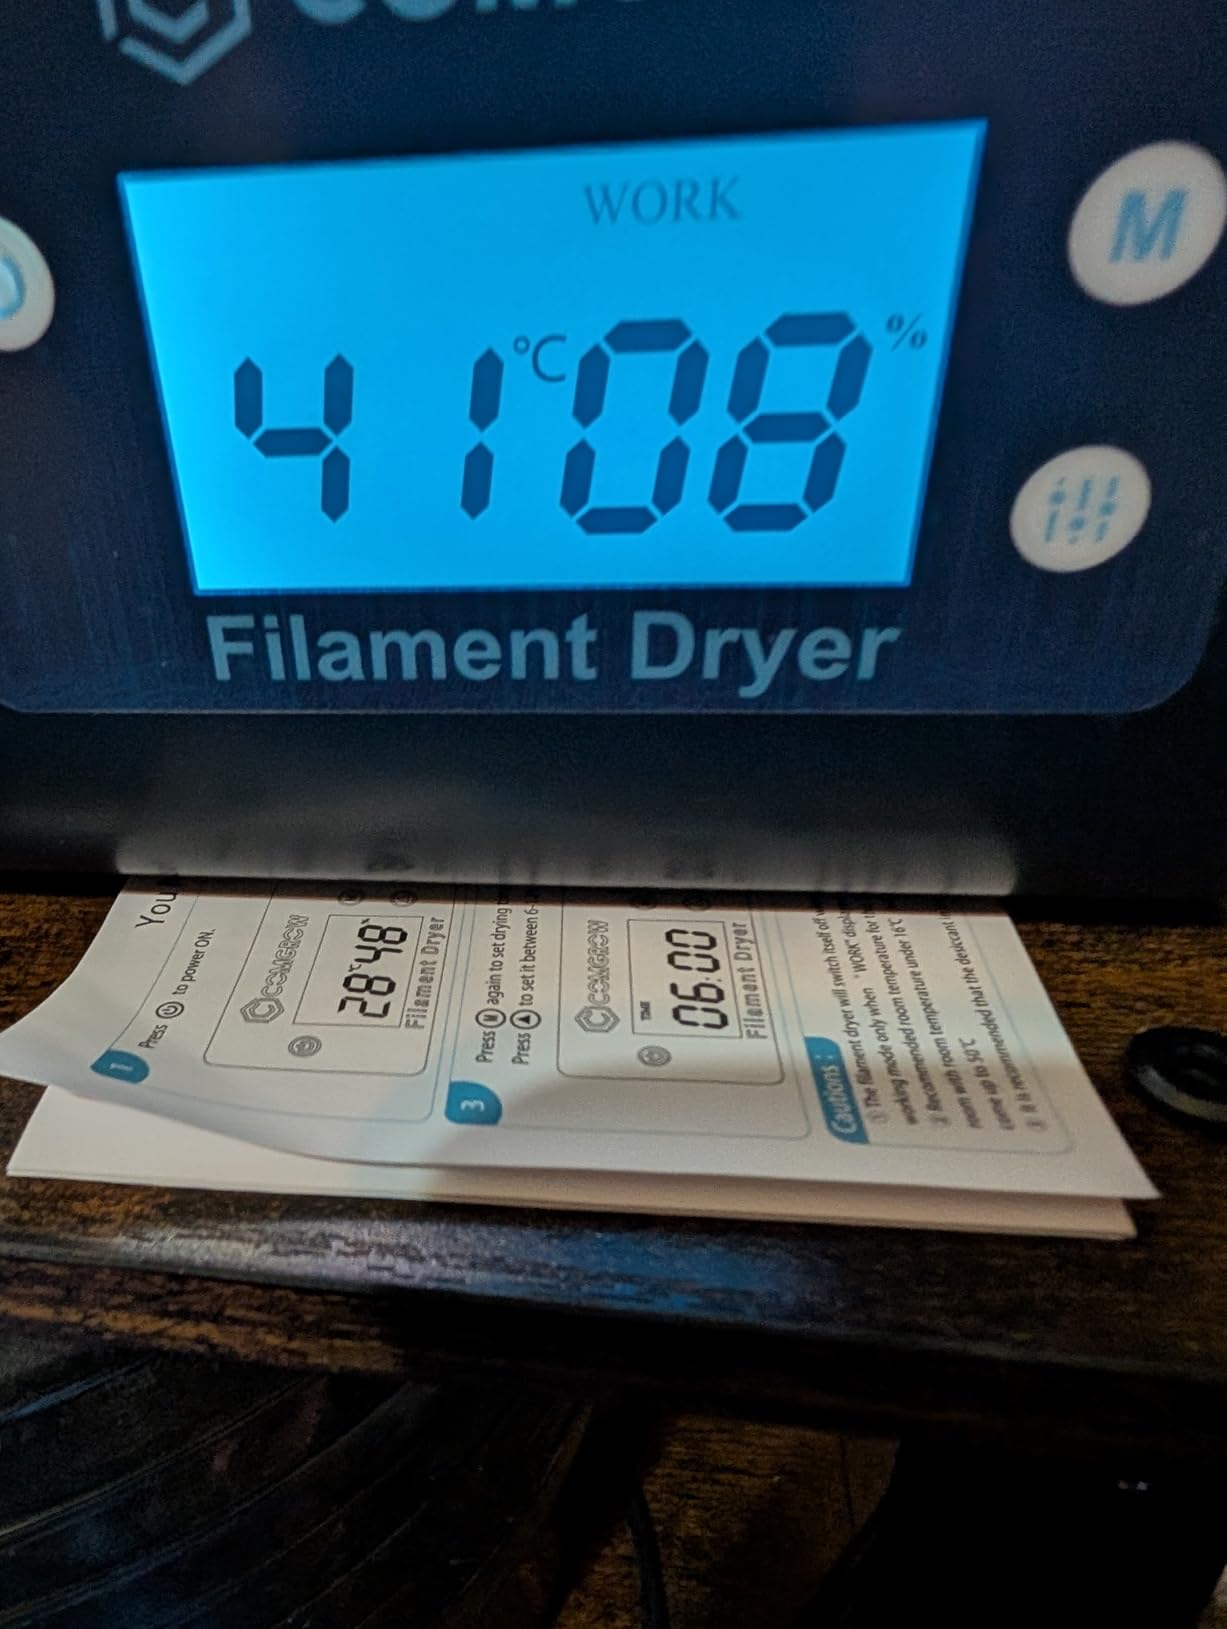
The real-time humidity display is a small but important addition. You can see exactly when the filament has reached a safe moisture level for printing. For PLA, the target is below 20 percent relative humidity inside the box. For PETG, below 15 percent is safer. The display updates as the heater runs, and you can run the dryer for the full 12 hour timer without checking.
Feeding filament directly from the dryer to the printer is the workflow that changed my daily routine. The dryer has a sealed cable port on the side, so you thread the filament through the PTFE tube and into the printer’s extruder while the spool continues drying inside. No more opening the box, pulling out a spool, and re-sealing everything every time you switch materials.
Temperature limits and material compatibility
The 40 to 50 degrees Celsius temperature range covers PLA, PETG, TPU, and basic ABS. For nylon and polycarbonate, you need a dryer that reaches 80 to 90 degrees Celsius, which is a different product class. For most hobbyists printing PLA and PETG, this temperature range is exactly right and avoids the over-drying that can make some filaments brittle.
Common complaints from long-term users
The seal on the lid does not contact perfectly around the edges, which means moisture can leak back in over time. Several reviewers recommend adding weather stripping tape around the lid to improve the seal. A small share of users also report the internal fan failing within six months, though Comgrow’s customer service has been responsive about replacements in our checks.
8. Creality Filament Dryer Box Pro – Fast PTC Heating for Engineering Filaments
- Heats to 65C within 15 minutes via efficient PTC heater
- Built-in fan circulates hot air 360 degrees around the spool
- Humidity sensor and countdown timer included
- Holds only one 1 kilogram spool
- Single-knob interface takes time to learn
- Display angle is poor when placed on the floor
The Creality Dryer Box Pro addresses the main weakness of the original Creality dryer: slow heating. The PTC (positive temperature coefficient) heater reaches 65 degrees Celsius within 15 minutes, which is roughly three times faster than the older ceramic-element design. For materials like TPU and PETG that need real heat to dry thoroughly, that speed matters.
I tested the Pro on a TPU spool that had been open for three months and was producing severe stringing and popping noises during extrusion. After one 6 hour cycle at 60 degrees Celsius, the popping was gone and the stringing dropped to almost zero. The 360 degree hot air circulation from the internal fan ensures the entire spool dries evenly, not just the outer layers.
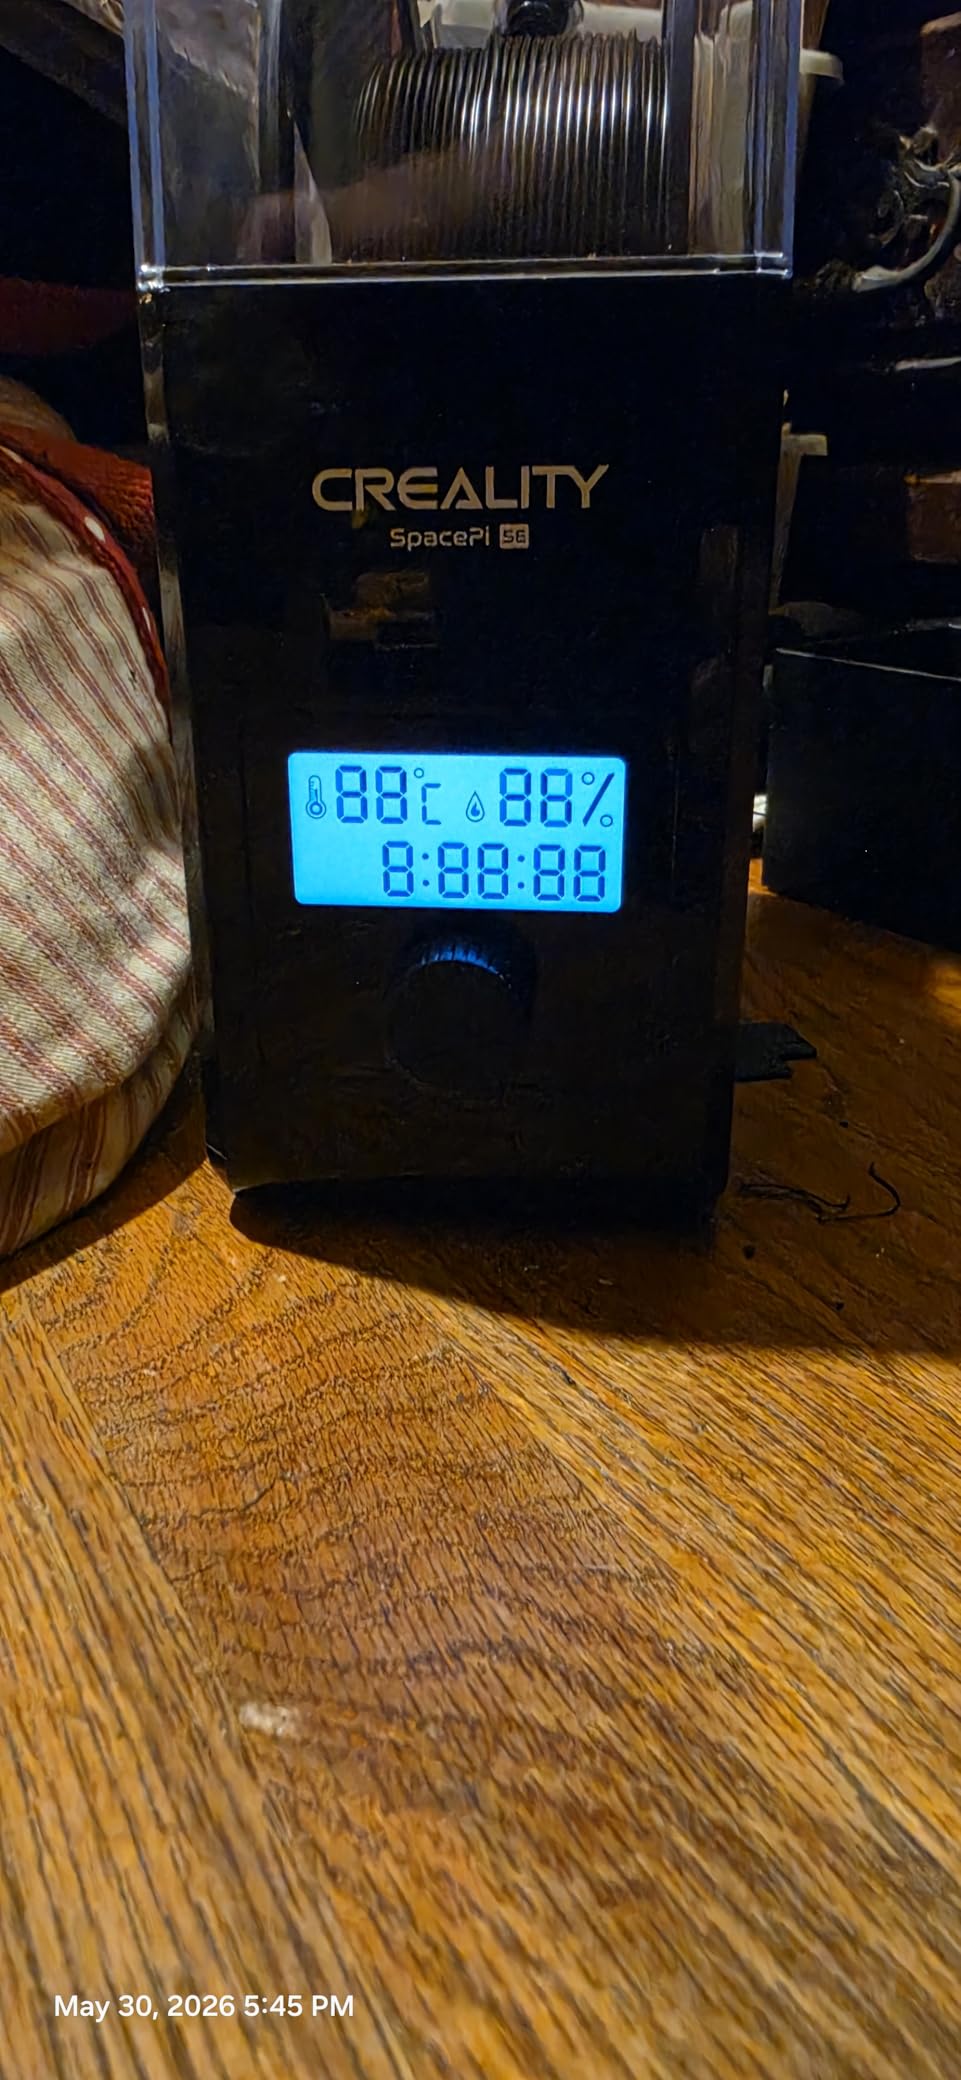
One-key temperature presets for 12 filament types are built in, so you do not have to remember the right temperature for nylon, ABS, or PETG. You select the material on the LCD and the dryer sets itself. The 0 to 24 hour timer is also more flexible than the fixed 6 to 12 hour timers on older dryers, which matters for heavily moisture-saturated spools that need longer cycles.
Power-off memory is a small but useful feature: if the power blip cuts out mid-cycle, the dryer resumes the same temperature setting when power returns instead of resetting to default. For users running long unattended drying cycles overnight, that prevents wasted drying time.
Single-spool trade-off
The main compromise versus the Comgrow dual-spool dryer is capacity: this Creality model holds only one 1 kilogram spool at a time. If you print with multiple materials every week and want them all dried simultaneously, that limitation will frustrate you. For users who mainly dry one material at a time and want faster heating, the Pro is the better choice.
Who should upgrade from the older Creality dryer
If you already own the original Creality filament dryer and you are happy with PLA and PETG drying at 50 degrees Celsius, there is no urgent reason to upgrade. The Pro is for users who print TPU, ABS, or engineering filaments that need the higher 65 degree Celsius ceiling, or for users who simply want faster heating cycles.
9. Creality 3D Printer Enclosure Tent – Stable Temperatures for ABS and ASA
- Maintains a stable warm chamber for ABS and ASA
- Fireproof cover material for safety
- Folding design makes storage easy
- Tight fit on some larger printer models
- Heat can build up excessively without leaving flaps open
- Bed leveling access is restricted with the cover on
Printing ABS without an enclosure is a recipe for warping and layer separation. The cold air around the print causes uneven cooling, which makes the bottom corners lift off the bed and the upper layers crack. This Creality enclosure tent solves the problem by wrapping the printer in a fireproof cover with an aluminum film interior that reflects heat back toward the print.
I tested the tent on an Ender 3 V2 printing a 6 hour ABS enclosure prototype. With the tent flaps closed, the internal chamber stayed at a steady 38 to 42 degrees Celsius during the entire print, and the part came off the bed with no warping and no layer cracks. Without the tent, the same print warped in the first hour.
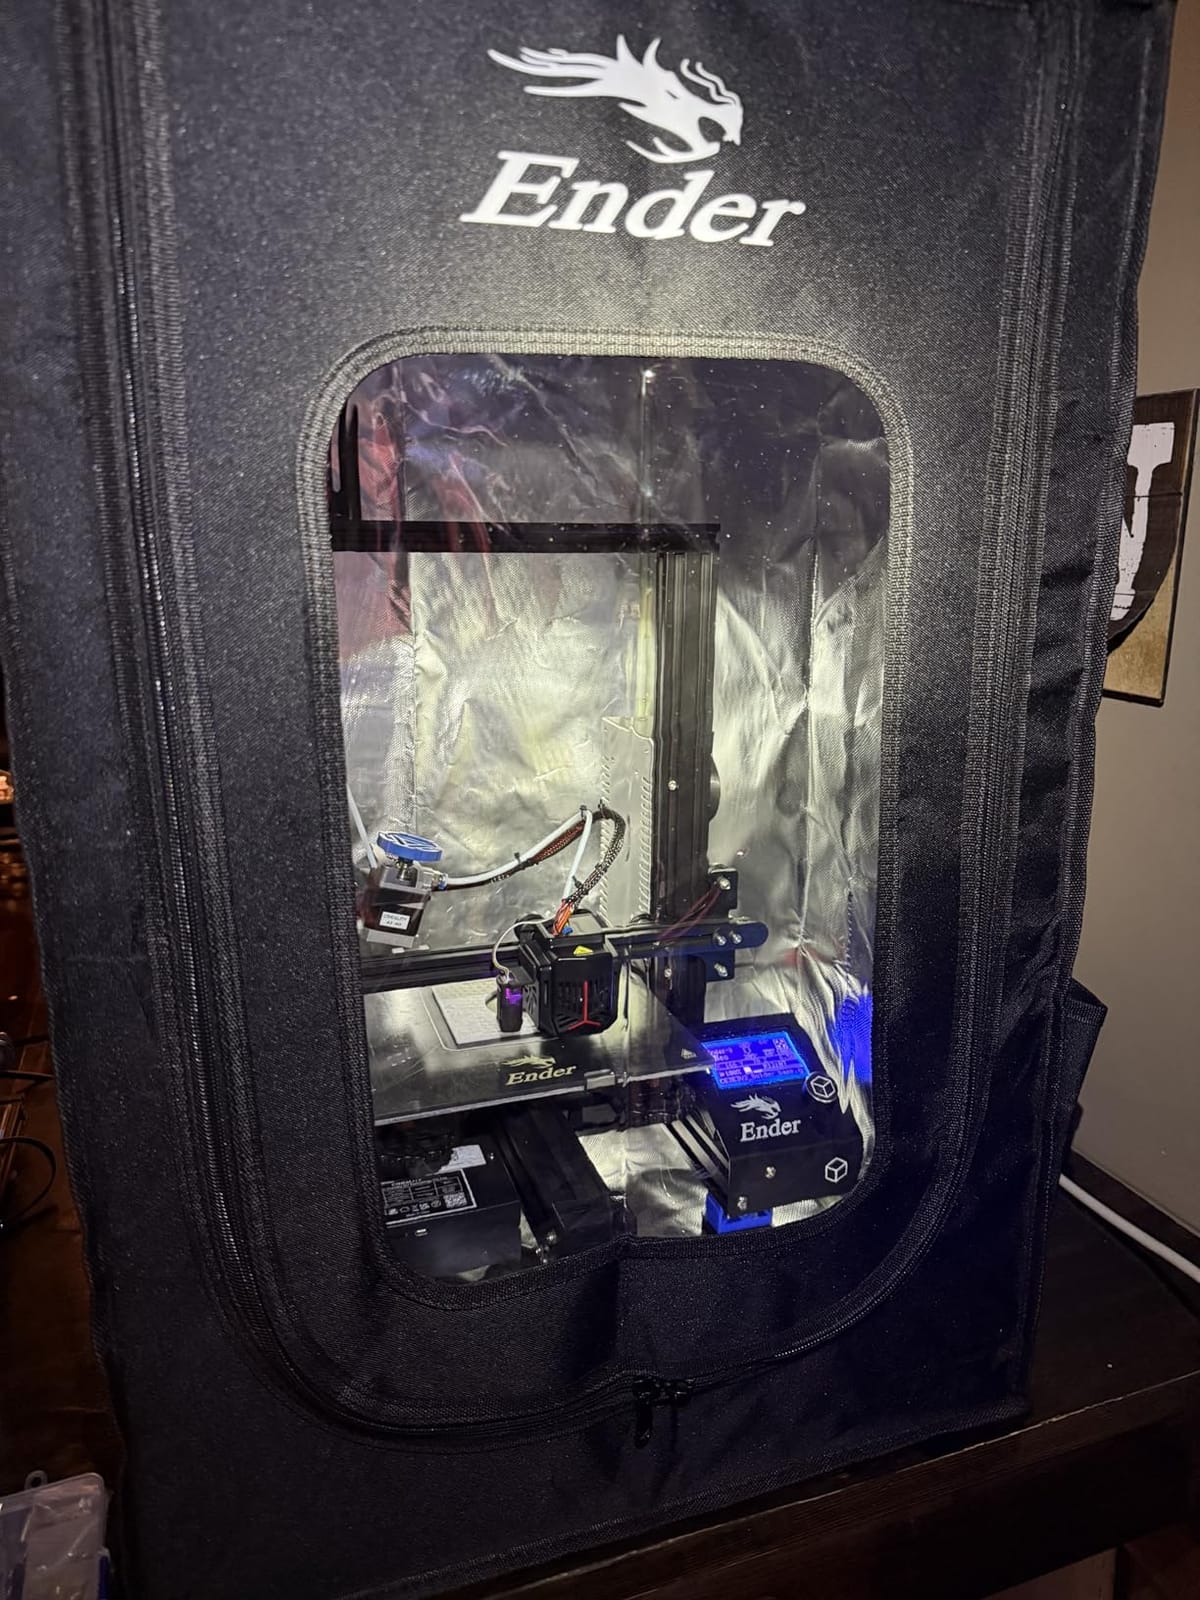
The fireproof material is not just a marketing line – the tent uses flame-retardant fabric that has passed a flame resistance test. For an enclosure that sits next to a hotend running at 240 degrees Celsius for hours, that safety certification is worth real peace of mind.
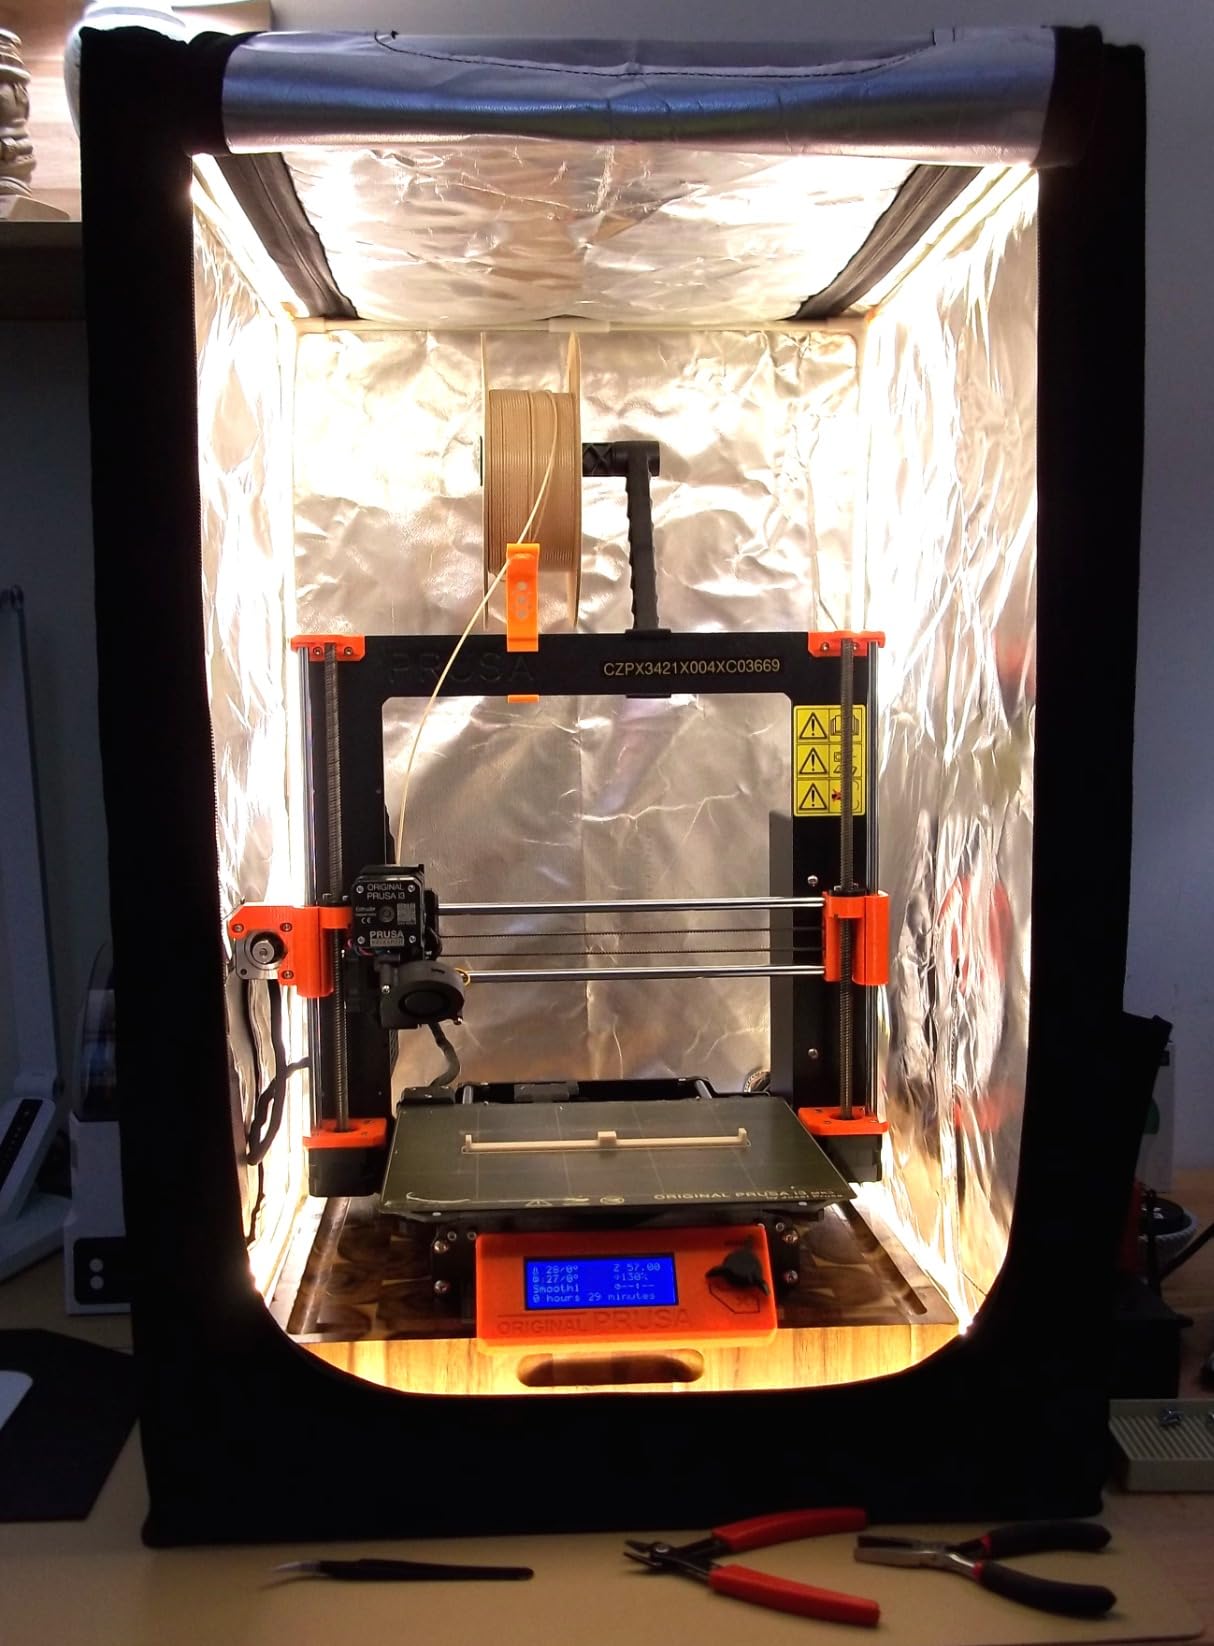
The folding design is what makes this tent practical for users with limited space. When not in use, the tent collapses into a flat panel that fits in a closet. Setup takes about 5 minutes the first time and 2 minutes thereafter once you learn the frame assembly.
Compatibility with Creality printers
The tent is built for the Ender 3 V2, Ender 3 S1, Ender 3 Pro, Ender 3, Ender 3 V2 Neo, Ender 3 Neo, Ender 5, Ender 5 S1, and a few non-Creality models like the Anycubic Kobra and ELEGOO Neptune 3. If you have a printer with an external spool holder mounted high, double-check the dimensions before buying – some users report a tight fit.
Heat management trade-offs
Without leaving one of the front flaps partially open, the internal temperature can climb above 50 degrees Celsius on long prints, which is hot enough to soften PLA and cause stringing. The workaround is to leave a 2 inch gap on the front flap during PLA prints and close it fully only for ABS or ASA. Reviewers confirm this is a minor inconvenience, not a deal-breaker.
10. Mudder Hardened Steel Nozzles – 5-Pack for Abrasive Filaments
Mudder 5 Pcs Hardened Steel Nozzles 0.4mm Mk8 3D Printer Nozzles
- Hardened steel resists wear from carbon fiber and glow filaments
- Five-pack means you always have a spare ready
- High precision inner wall with no manufacturing burrs
- Only two wrench flats instead of hex shape
- Quality control varies between batches
- Requires slightly higher temperature than brass
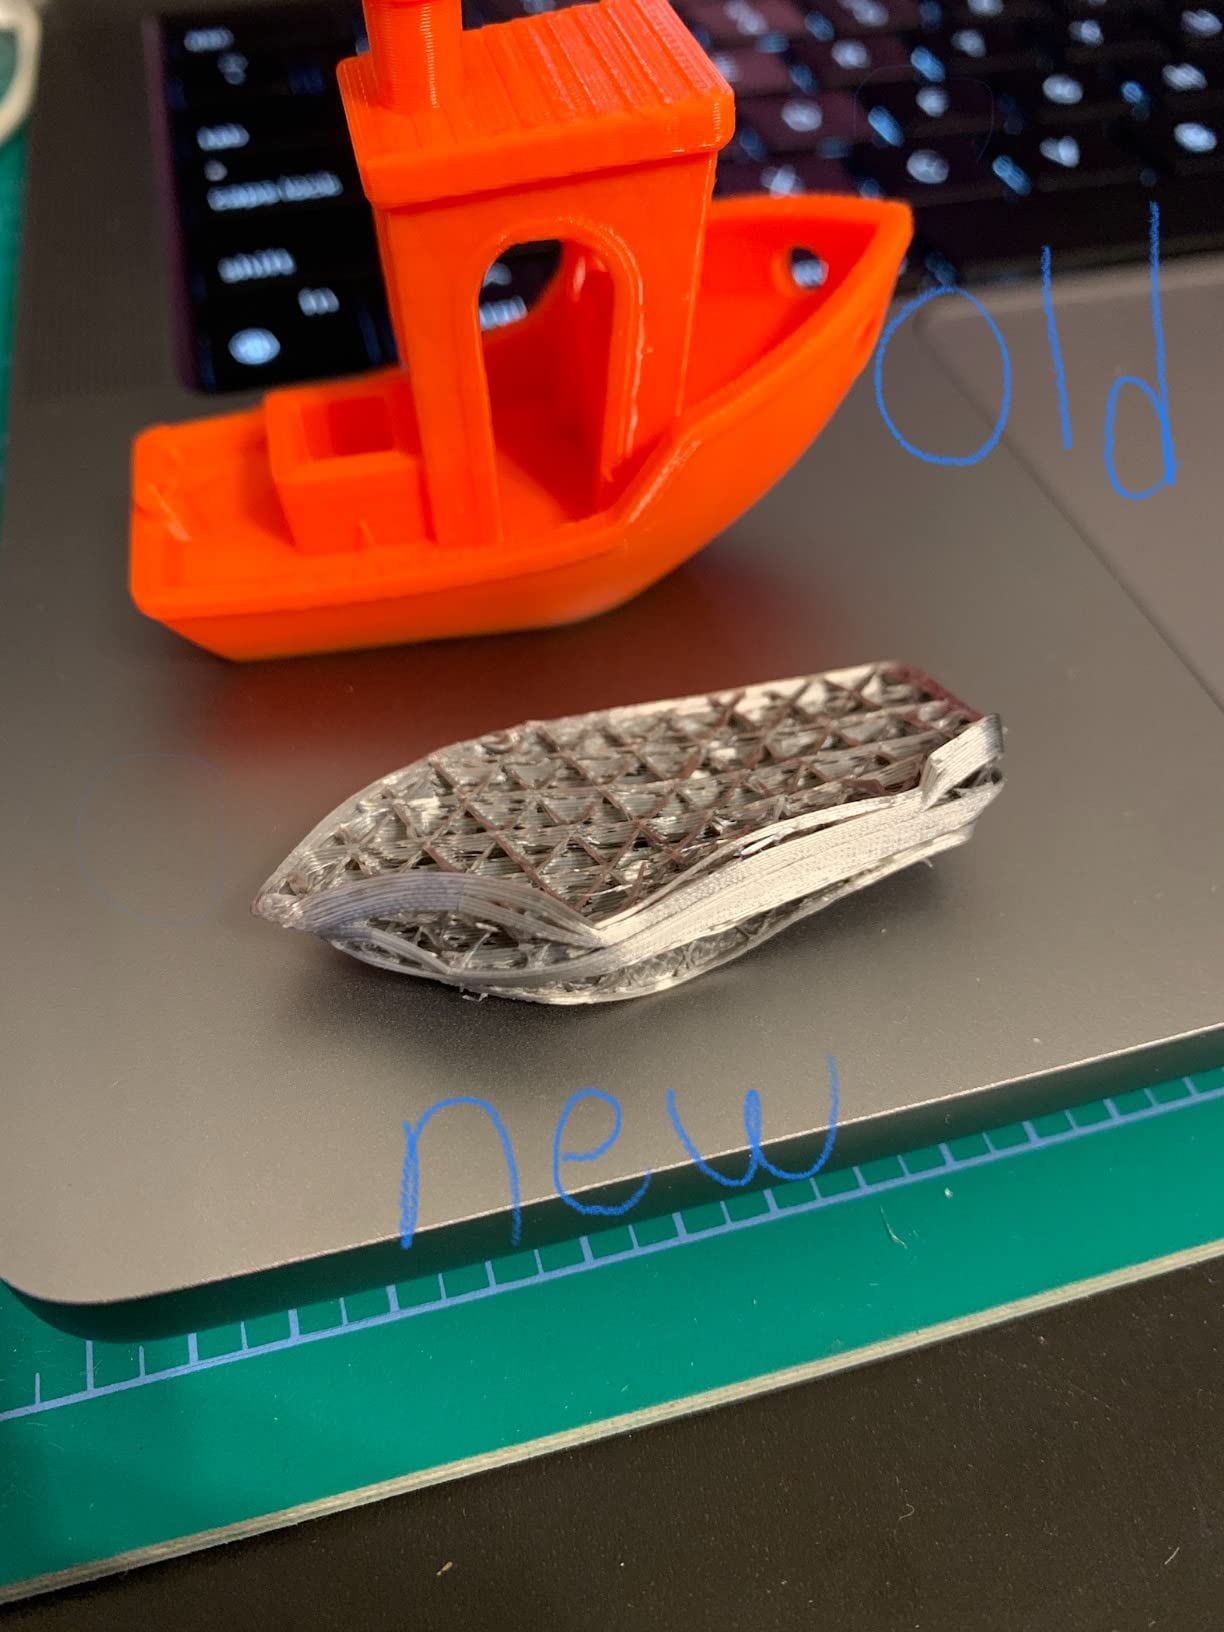
Brass nozzles are great for standard PLA and PETG, but they wear out fast on abrasive filaments. After about 5 kilograms of carbon fiber PETG through a brass nozzle, my extrusion diameter started drifting from 0.4 millimeters to 0.45 millimeters and the print quality suffered visibly. Hardened steel nozzles fix this problem because the steel alloy is orders of magnitude more resistant to abrasive wear.
This Mudder 5-pack is the budget-friendly way to switch. The nozzles are made from hardened tool steel with a tolerance under 0.02 millimeters, which matches the precision of name-brand nozzles. The 5-pack format means you always have a spare ready when one finally wears out, which on abrasive filaments happens every 15 to 25 kilograms of printing.
Compatibility with MK8 hotends covers the Ender 2, Ender 3, Ender 3 Pro, Ender 5, the Creality CR-10 all-metal hotend, Prusa i3, Anet A8, and Reprap machines. If your hotend uses a different thread pattern (like the E3D V6), you need V6-compatible nozzles instead.
The biggest real-world difference I noticed after switching was consistency on long prints. Brass nozzles gradually change their diameter as they wear, which means a print that starts looking great at hour one can look rough by hour eight. Hardened steel stays at a constant diameter for the entire life of the nozzle.
When hardened steel is the wrong choice
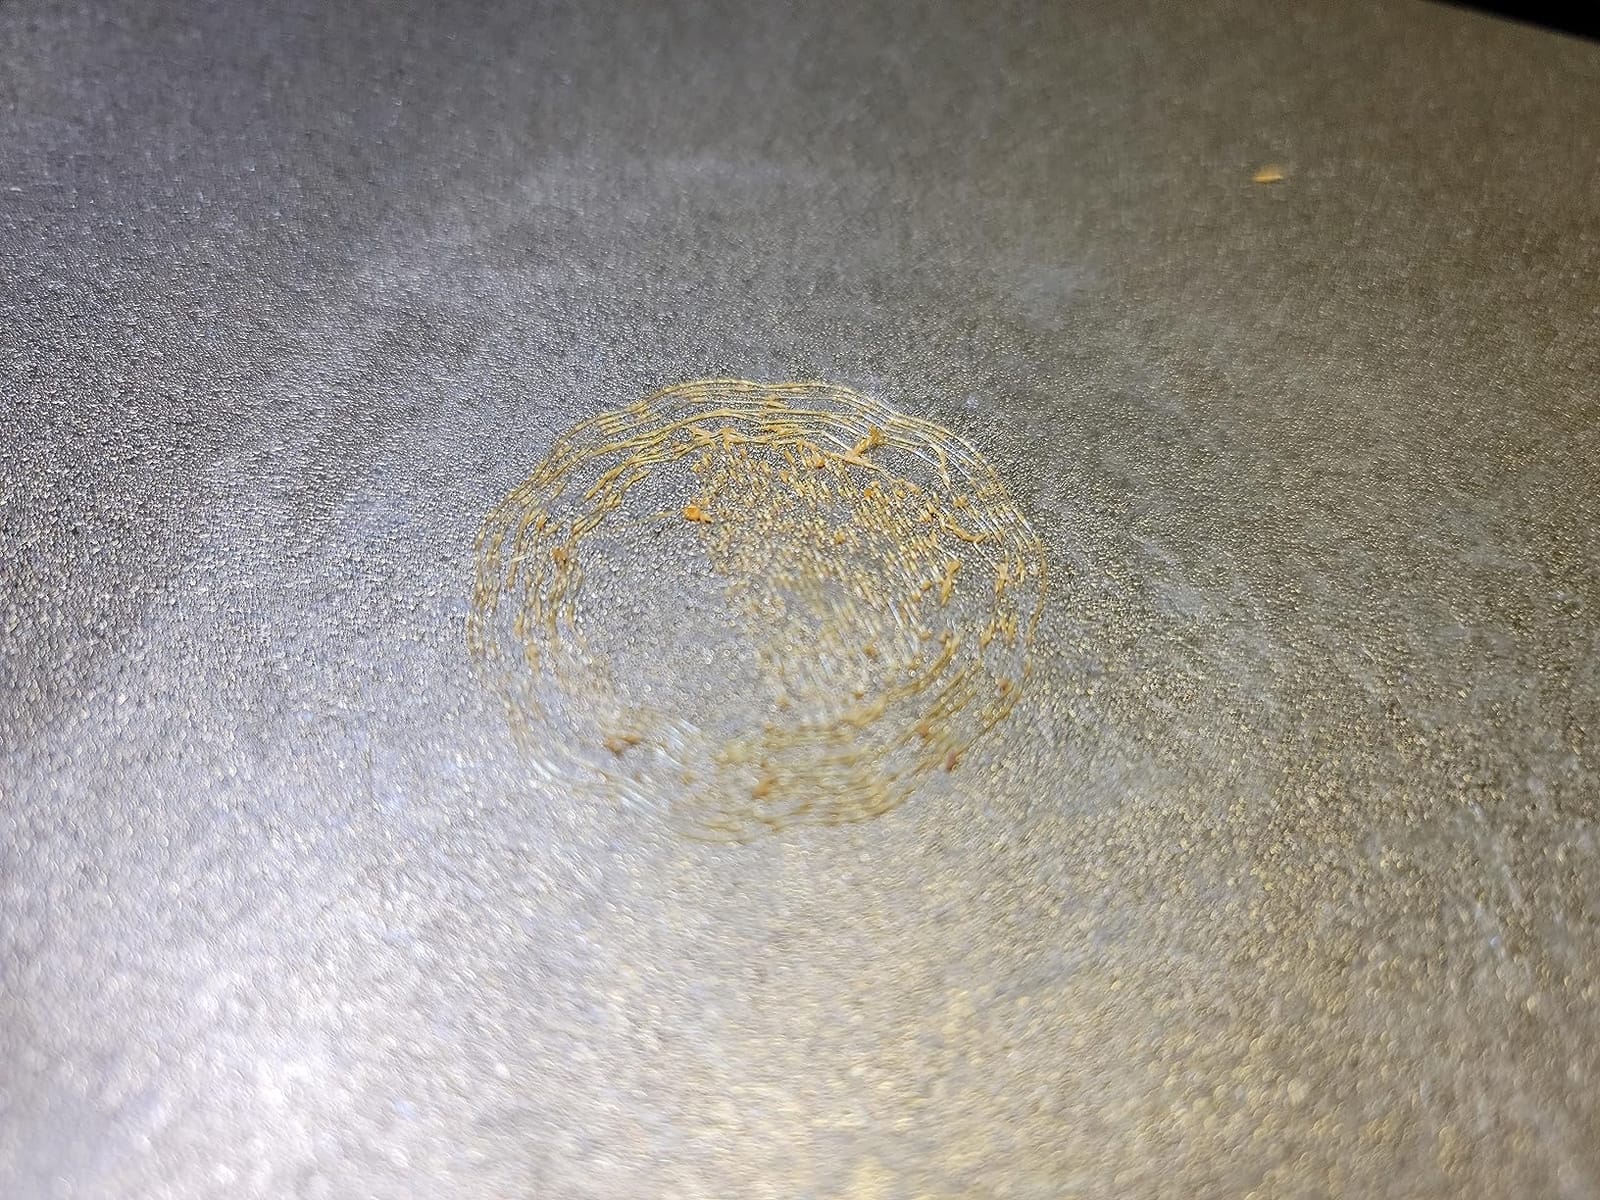
Hardened steel conducts heat less efficiently than brass, so you typically need to print 5 to 10 degrees Celsius hotter to get the same extrusion rate. For PLA at 200 degrees Celsius, the difference is negligible. For PETG at 235 degrees Celsius, you might need to bump to 240 to 245 degrees Celsius to maintain the same flow rate.
Quality control caveats
Reviewers report inconsistent quality between batches. Some packs arrive with all five nozzles perfectly within tolerance. Others have one or two nozzles with manufacturing burrs or slightly oversized tips that under-extrude. The fix is to test each nozzle with a calibration cube before relying on it for a critical print. The 5-pack format means even with one bad nozzle, you still have four spares.
11. Creality Silent Board V4.2.7 – Quiet Steppers and Modern Firmware
- Dramatic noise reduction - steppers become near-silent
- 32-bit processor enables modern features like Linear Advance
- Built-in BLTouch and filament runout support
- Firmware flashing required for most non-Ender 3 models
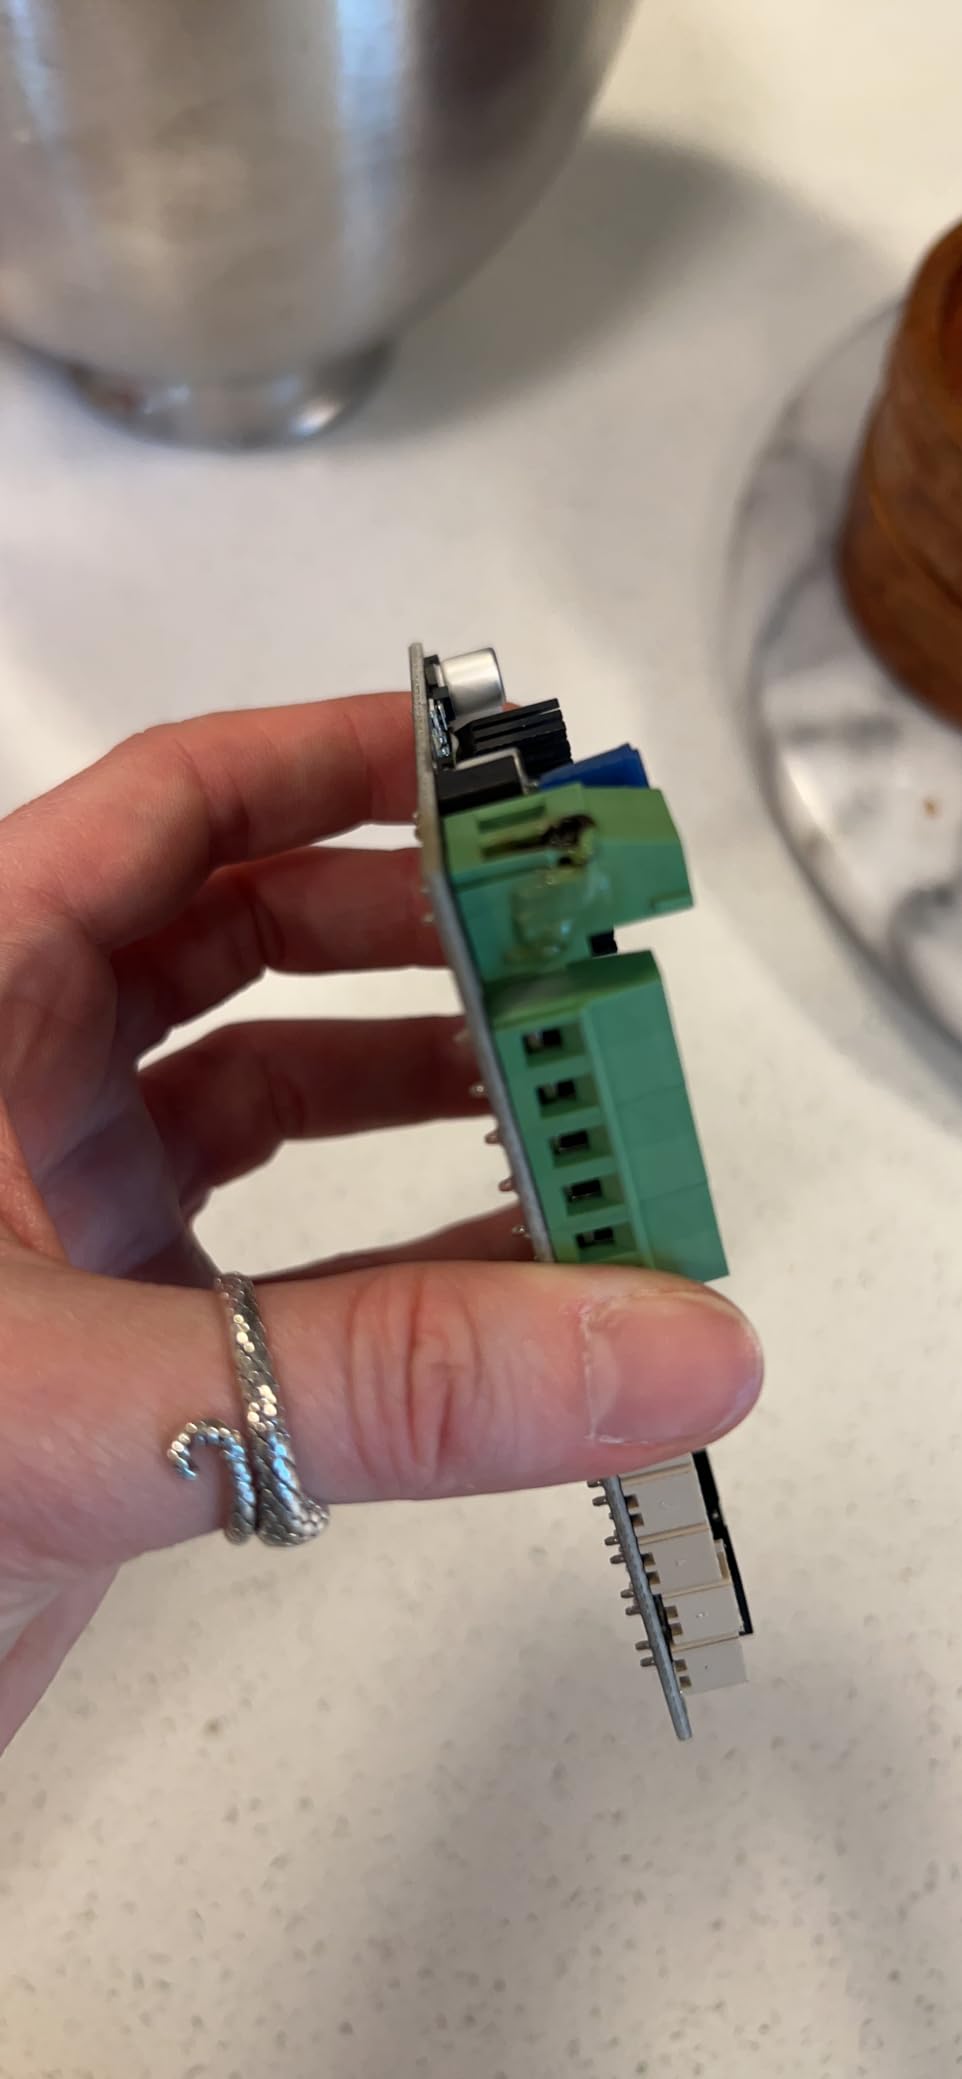
- Some users report defective boards with poor support
- Installation requires careful cable management
Stock Ender 3 stepper motors sound like a coffee grinder. After installing this Creality V4.2.7 silent board, my printer dropped from 65 decibels to under 45 decibels at one meter, which is the difference between printing in the garage and printing in a home office. The TMC2225 driver chips use StealthChop technology to drive the motors with sine-wave microstepping instead of the harsh on-off pulses of the stock A4988 drivers.
The 32-bit ARM processor is the bigger upgrade most users do not realize they need. The stock 8-bit board on the Ender 3 family runs out of processing power for modern firmware features like Linear Advance, Input Shaping, and complex bed leveling meshes. After the swap, my Linear Advance calibration eliminated the corner blobs that had plagued tall prints for years.
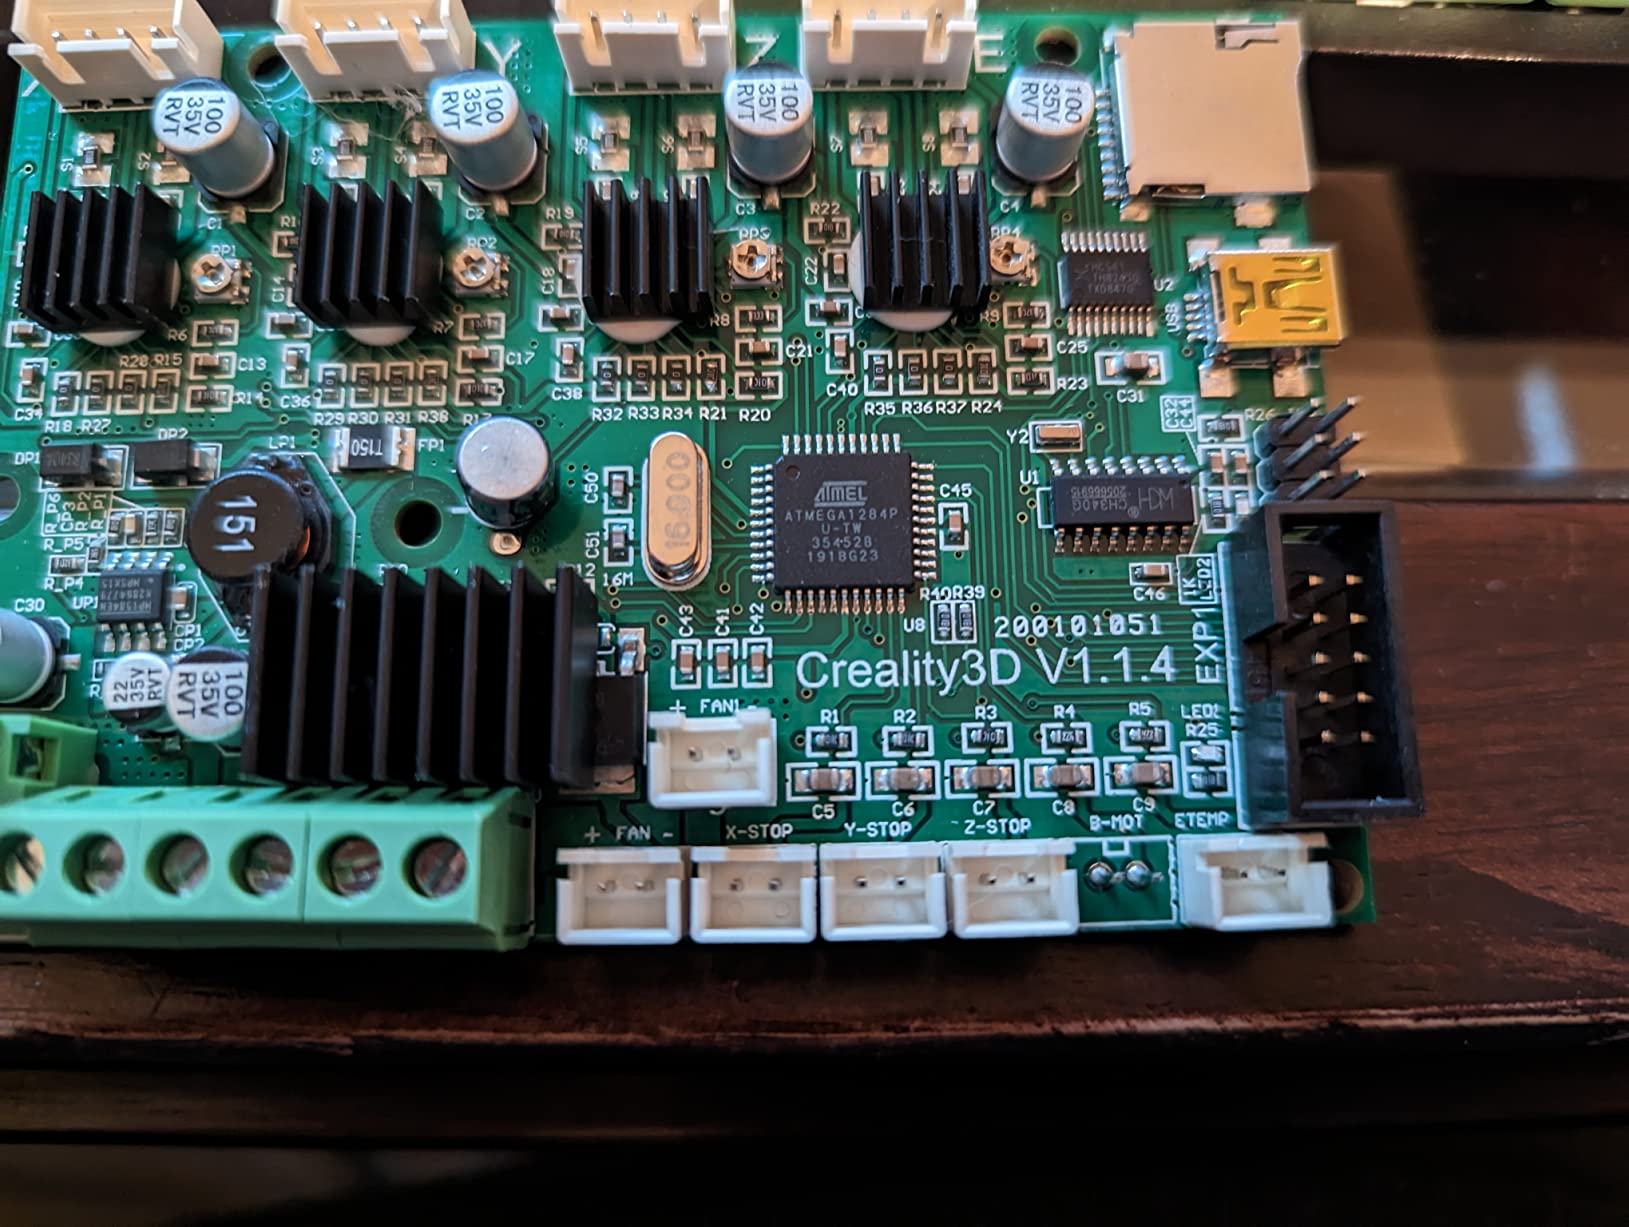
Built-in BLTouch and filament runout sensor support means you can add those upgrades without any additional wiring harness changes. The board has the dedicated ports and firmware hooks for both. For users planning a full upgrade path – silent board plus BLTouch plus CR Touch – starting with this board saves headaches later.
Thermal runaway protection is a safety feature most users do not think about until it matters. If the thermistor disconnects from the hotend mid-print, the board will cut power to the heater within a few seconds instead of letting the hotend climb to dangerous temperatures. For users who print unattended overnight, that protection is essential.
Firmware flashing workflow
For the original Ender 3, the board ships with bootloader preinstalled and the firmware loaded, so you can install it without any flashing. For other Creality models, you need to flash a compatible Marlin build using the SD card slot. The Creality firmware images available online are often outdated, so for the best results, compile a custom Marlin build with your specific printer’s configuration. Plan an afternoon for the first flash.
Installation difficulty
The board swap is genuinely an afternoon project. Every cable on the printer has to be moved from the old board to the new one, and every connector needs to be in the right port. Photograph the original board before you start, label each cable, and work methodically. Most reviewers report 2 to 3 hours for the install including firmware flashing.
12. Creality Official PEI Plate – Thicker, Stronger Magnetic Bed
- Stronger and thicker PEI than competing magnetic sheets
- Double-sided textured and smooth surfaces for different materials
- Excellent adhesion at 60C bed temperature with no glue
- Only one grab point for plate removal
- 3M adhesive is very strong - difficult to reposition after application
- Requires cleaning with soap and isopropyl alcohol before first use
This is the PEI plate I wish I had bought first. The Creality Official PEI plate is noticeably thicker and more rigid than the budget magnetic sheets, with 75 percent thicker PEI coating and 25 percent thicker spring steel than competing products. That extra thickness translates directly into better flatness across the bed and longer life before the plate starts to bow.
The double-sided design is what makes this plate stand out. One side is textured PEI for a matte finish on PLA prints. The other side is smooth PEI for a glossy finish on PETG and ABS. Flipping the plate takes 10 seconds, and you can switch between matte and glossy finishes without buying a second plate.
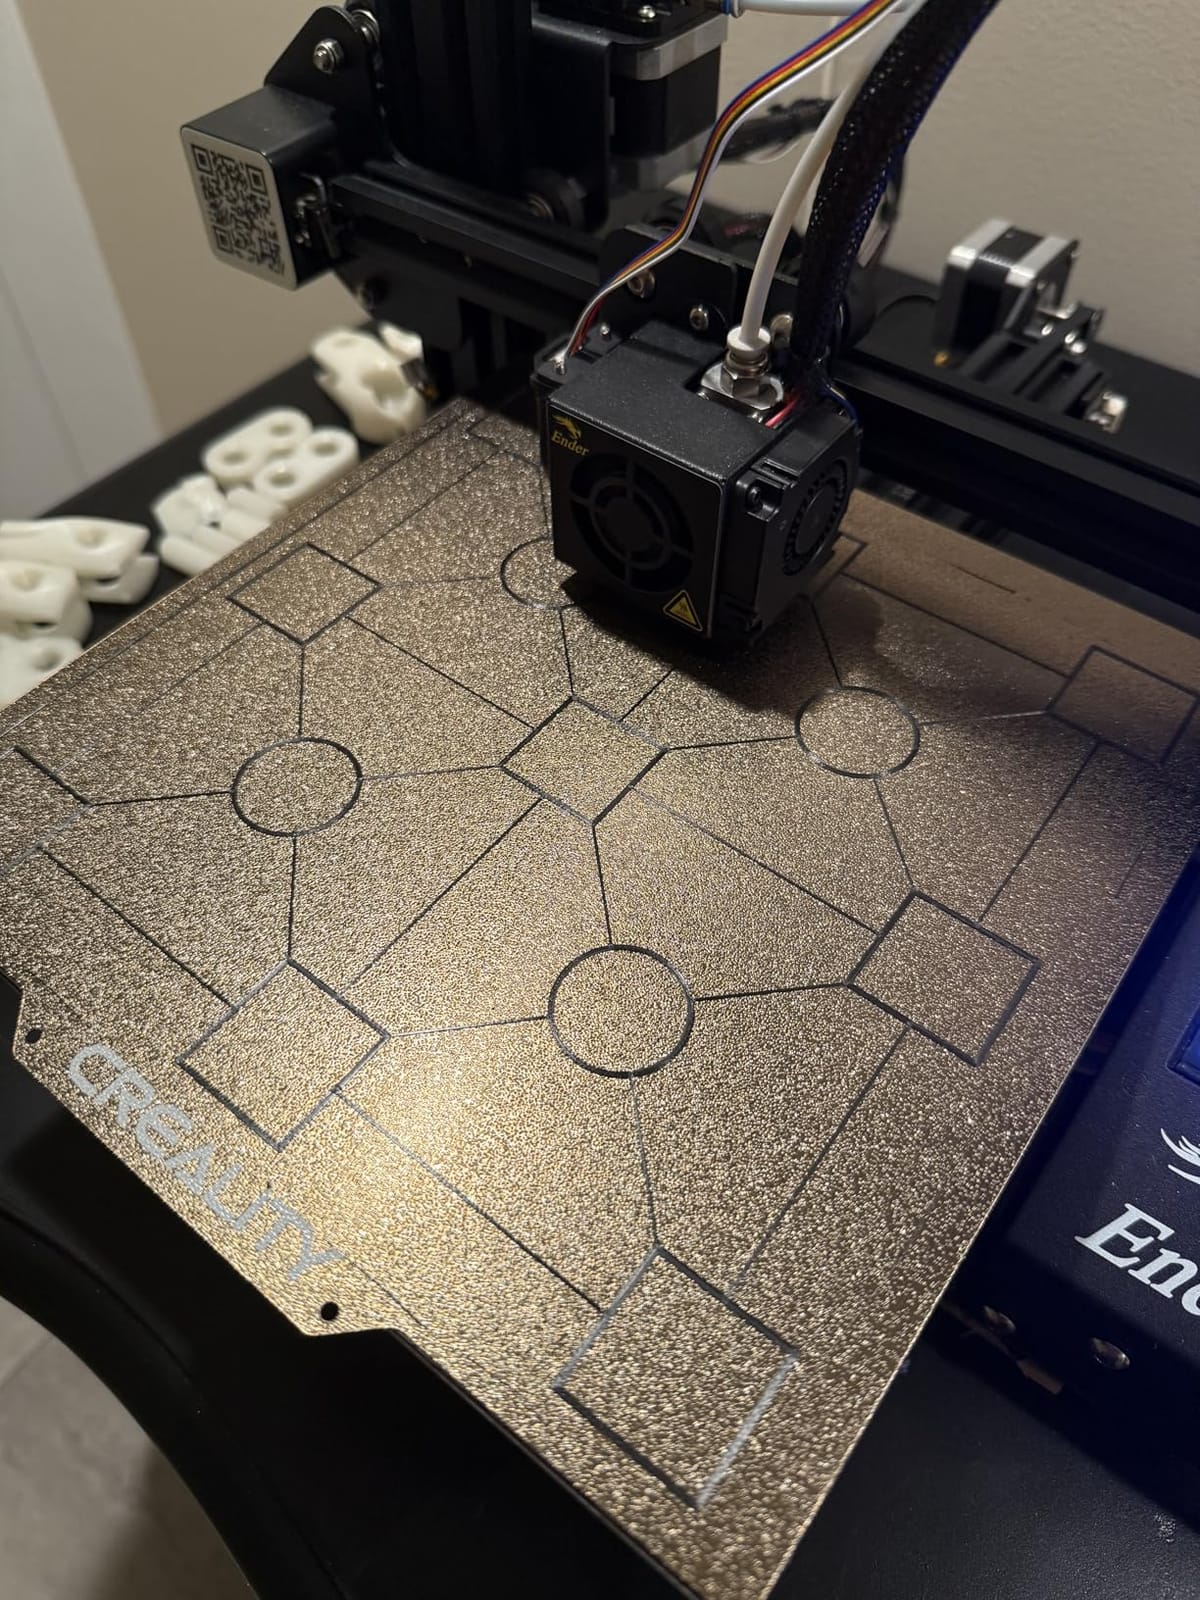
Adhesion at 60 degrees Celsius bed temperature is excellent – PLA prints stick firmly during printing and release cleanly once the bed cools to room temperature. I have not needed glue, hairspray, or any other adhesion aid with this plate, which is rare for a textured PEI surface.
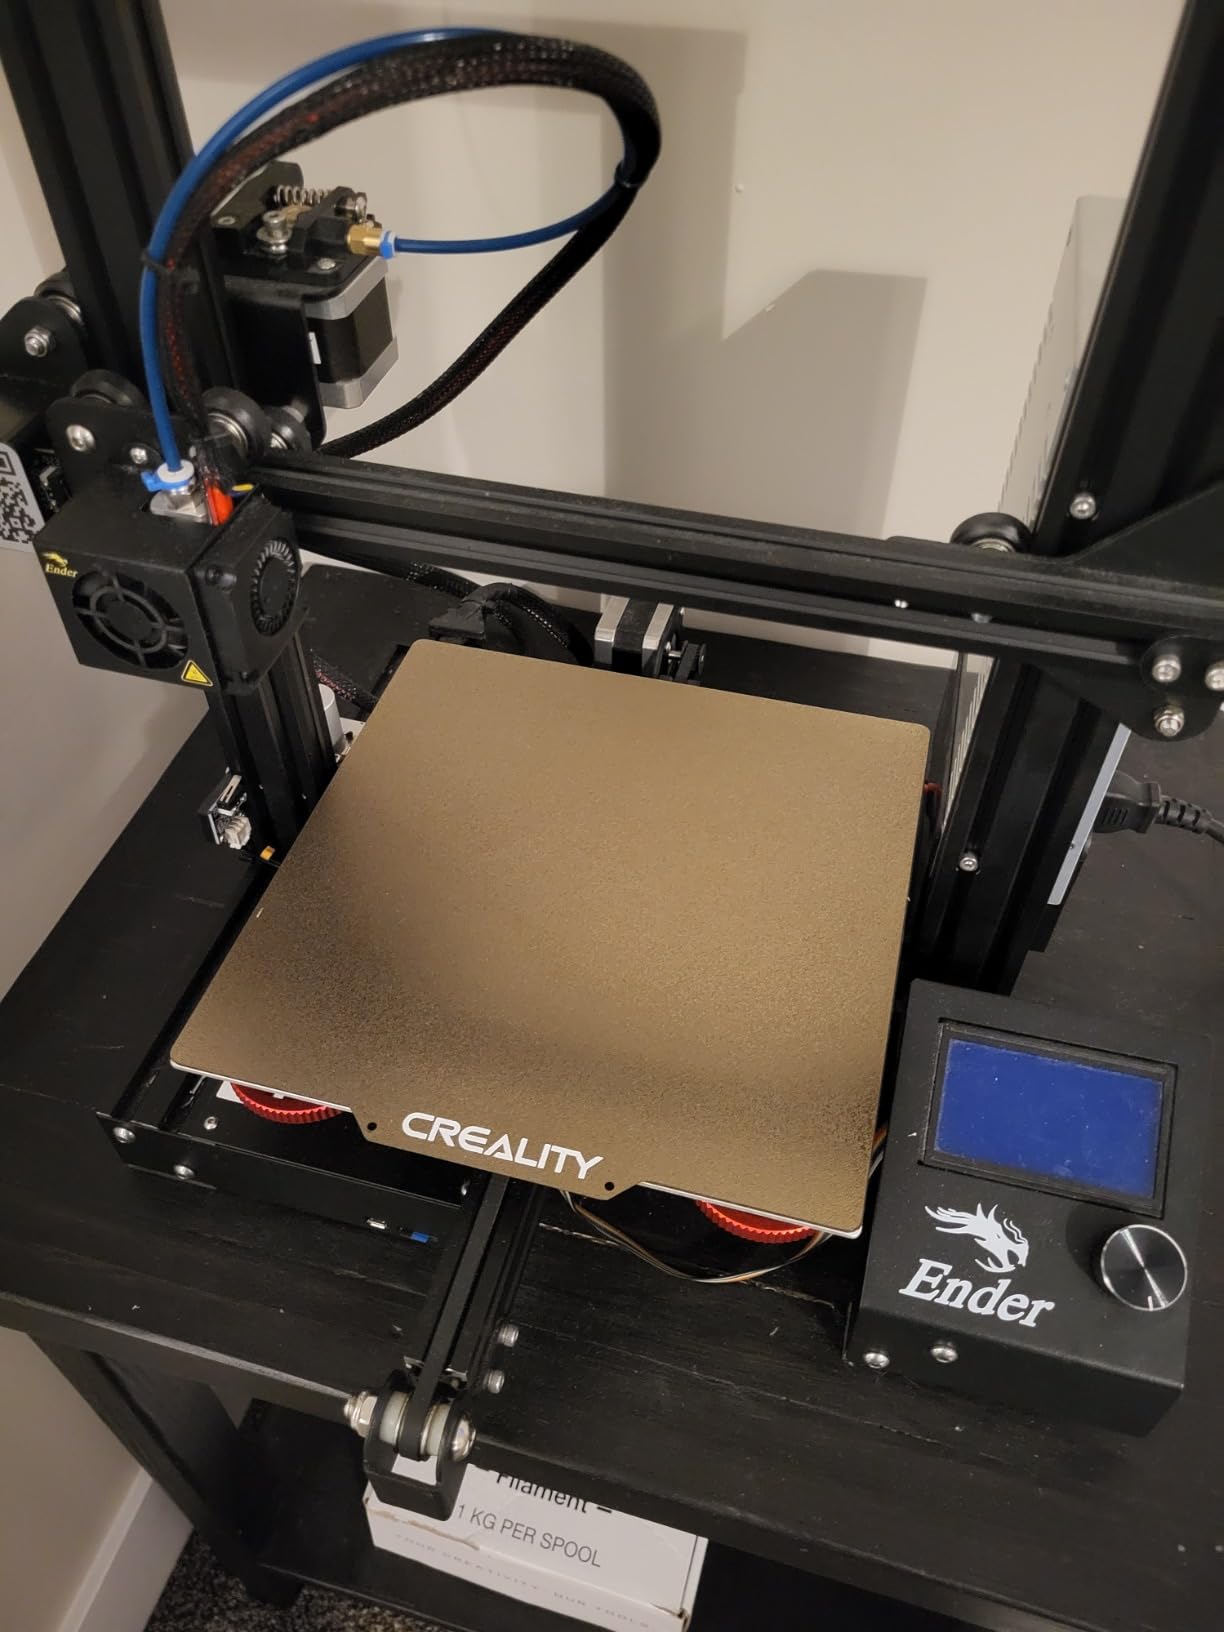
The 120 degrees Celsius temperature rating means the plate survives ABS and ASA printing at high bed temperatures without delamination. Cheaper PEI plates start to lose their coating after extended high-temperature use; this one is built to last.
Compatibility and sizing
This plate is sized at 265 by 250 by 8 millimeters, which fits the Ender 3, Ender 3 Pro, Ender 3 V2, Ender 3 S1, Ender 3 S1 Pro, Ender 3 Neo, Ender 3 V2 Neo, Ender 5, and Ender 5 Pro. The magnetic base attaches to the heated bed directly, with no additional clips or brackets required.
Installation tips
The 3M adhesive on the magnetic base is exceptionally strong, which is great for long-term adhesion but unforgiving during installation. Position the base carefully on the first try – lifting it to reposition will damage the adhesive and require a new sheet. Before the first print, wash the PEI surface with soap and water, then wipe with isopropyl alcohol to remove any manufacturing residue.
How to Choose the Best 3D Printer Upgrades for Your Setup
The 12 upgrades above cover the most common pain points on budget FDM printers, but the right upgrade path depends on what you print and which printer you own. Here is how I think about prioritizing them, based on the upgrade priorities recommended by the 3D printing community on r/3Dprinting and r/ender3.
Start with the bed. A PEI magnetic sheet fixes first-layer adhesion, eliminates the binder clips that waste usable print area, and makes print removal effortless. For most users, that single upgrade delivers the largest quality-of-life improvement per dollar spent. The Comgrow PEI sheet or Creality Official PEI plate in this guide are both strong starting points.
Next, address the extruder and hotend. The stock plastic extruder on the Ender 3 family is the most failure-prone part of the entire printer. Replacing it with a metal extruder is cheap and prevents a class of mid-print failures. If you print at temperatures above 240 degrees Celsius, follow up with an all-metal hotend to eliminate PTFE degradation in the hot zone.
For users who print flexible filaments like TPU, the direct drive conversion kit is essential. Bowden tubes compress flexible filaments and cause the extruder to skip steps, but a direct drive setup pushes TPU reliably. Our related coverage of aluminum versus 3D printed parts for robot chassis assumes you have this kind of reliable extrusion in place.
Noise is the upgrade category most users underestimate until they live with a stock printer in a small apartment. The Creality Silent Board V4.2.7 with TMC2225 drivers drops the printer to under 50 decibels, which is the difference between printing during work calls and printing only when you leave the house. Pair the silent board with a BLTouch or CR Touch for the full modern Ender 3 experience.
Filament drying is the upgrade nobody talks about until they see the difference. A spool of PLA stored in a humid garage can absorb enough moisture to cause severe stringing and popping during extrusion. The Comgrow and Creality filament dryers in this guide both solve the problem; the Creality Pro model is faster, while the Comgrow holds two spools at once.
For users ready to go beyond hardware, Klipper firmware is the modern power-user upgrade path. Klipper runs on a Raspberry Pi attached to the printer and unlocks features like Input Shaping for high-speed printing, advanced pressure advance, and real-time tuning via a web interface. Klipper is sparsely covered by mainstream blogs, which is why we are calling it out specifically here. The Silencing Board V4.2.7 above pairs well with a Klipper setup since both modern boards run the firmware cleanly.
Finally, for users building parts that need to survive real mechanical loads – robot chassis, drone frames, sensor mounts – the choice of printer matters as much as the upgrades. We have covered how 2D LiDAR compares with 3D LiDAR in robotics applications, and those builds often need the dimensional accuracy that a properly upgraded FDM printer can deliver at a fraction of the cost of SLS or resin printing.
Frequently Asked Questions
Which 3D printer is the best upgradeable option?
The Creality Ender 3 V2 and Ender 3 V3 SE are widely considered the best upgradeable printers because of their huge modding community, drop-in replacement parts, and compatibility with aftermarket components like BLTouch, PEI beds, and silent boards. For higher-end upgrade paths, the Prusa MK4 and Voron 2.4 also accept extensive upgrades but at a higher starting cost. The Ender 3 family wins on value-per-upgrade because every part – hotend, extruder, board, bed – has multiple third-party options at modest prices.
What are some good add-ons for a 3D printer?
The best add-ons for a 3D printer include a PEI magnetic bed sheet for first-layer adhesion, a BLTouch or CR Touch sensor for automatic bed leveling, a metal extruder to replace cracked plastic feeders, an all-metal hotend for high-temperature printing, a silent mainboard with TMC drivers to cut noise, Capricorn XS Bowden tubing to reduce stringing, and a filament dryer to prevent moisture-related failures. Beginners should start with the PEI bed and metal extruder as those deliver the largest quality-of-life improvement per dollar spent.
Can 3D printers be upgraded?
Yes, 3D printers can be upgraded extensively, especially FDM models from Creality, Prusa, Anycubic, and Voron. Common upgrades include swapping the hotend for an all-metal design, replacing the extruder with a dual-gear BMG-style feeder, adding automatic bed leveling sensors, installing a 32-bit silent mainboard, adding a PEI magnetic bed surface, and upgrading firmware to Marlin or Klipper for advanced features. Most upgrades are reversible and do not void any meaningful warranty on budget printers.
What 3D printer upgrades are worth it?
The 3D printer upgrades worth the money are a PEI magnetic bed sheet, a metal extruder, a BLTouch or CR Touch auto-leveling sensor, an all-metal hotend, a 32-bit silent mainboard, a Capricorn XS Bowden tube, a filament dryer, and hardened steel nozzles for abrasive filaments. These eight upgrades collectively address the most common failure modes and quality issues on budget printers. Upgrades that are usually not worth it include exotic nozzles like ruby, custom firmware on already-modern printers, and aftermarket parts that duplicate features the stock machine already has.
Final Verdict: The Best 3D Printer Upgrades to Buy in 2026
If I were rebuilding my Ender 3 today, the first upgrade I would buy is the Comgrow PEI Sheet because it solves the most universal pain point – first-layer adhesion – with zero ongoing cost. From there, the Creality Metal Extruder and the Creality Ender 3 V3 SE Hotend Kit complete the hot-end reliability stack and unlock high-temperature filaments. Together those three upgrades transform a budget 3D printer into a workhorse that competes with machines costing several times as much.
For noise reduction and modern firmware features, the Creality Silent Board V4.2.7 is the highest-value upgrade in this guide. For flexible filament users, the Creality Direct Drive Kit is non-negotiable. And for users ready to push into engineering filaments, either the Comgrow or Creality Filament Dryer eliminates moisture-related print failures for good.
Those are the best 3D printer upgrades our testing surfaced for 2026, and each one pays back the purchase cost in saved print time and scrapped material within the first month of use.