
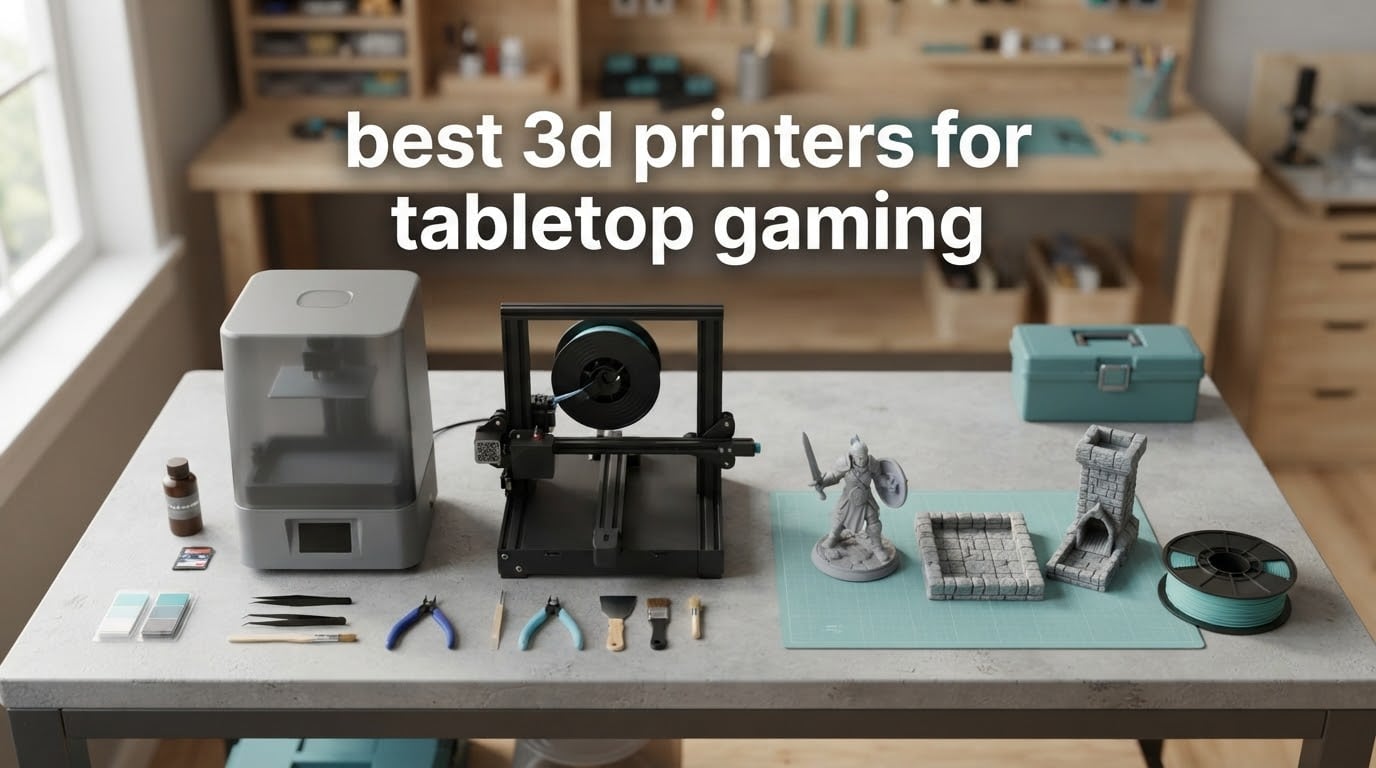
If you only read three lines of this page, here they are. The Bambu Lab A1 is the best 3D printer for tabletop gaming overall, because it handles terrain, scenery and basing work without the safety burden that resin brings. The Anycubic Photon Mono 4 is the best value resin machine for 28mm and 32mm figures, and the Anycubic Photon Mono M7 MAX is the one to buy when your terrain sections are too big for a small build plate.
The rest of this roundup covers eight machines that we have run in our own workshop alongside one another, four resin and four filament, so you can pick a figure printer, a terrain printer, or both. Every rating and review count quoted here comes straight from the manufacturer listing, and the specs come from the published product sheets rather than from marketing pages.
Last updated for October 2026. Every model in this list is current-generation rather than an older design still being pushed in ranking pages, which is a problem on several competing lists that still headline two-year-old hardware.
The core decision is simpler than most buying guides make it sound. Resin printers cure liquid photopolymer with UV light and are the only affordable way to get faces, cloth folds and hair onto a 28mm figure. Filament printers melt plastic, lay down a bead, and are faster, safer and cheaper to run, which makes them the right tool for terrain, buildings, vehicles and dice towers.
Nobody serious about this hobby prints everything on one machine. What changes from person to person is where they draw the line, and where you draw yours depends on how much of your table time goes into painting figures versus building a warboard full of scenery.
If your interest in printing runs toward functional parts rather than minis, our guides to the best professional 3D printers and the best 3D printers for robot parts cover a different set of priorities. For capturing existing physical objects as files, we separately cover the best 3D scanners.
Table of Contents
Top 3 Picks for Tabletop Gaming Printers (October 2026)

Bambu Lab A1
- 10000 mm/s2 acceleration
- Full-auto calibration
- AMS lite multi-color option
- Active motor noise canceling

Anycubic Photon Mono 4
- 7 inch 10K mono LCD
- 17x17 micron pixels
- 4-point one-time leveling
- Power restore resume

Anycubic Photon Mono M7 MAX
- 13.6 inch 7K build volume
- 1300 ml resin vat
- Resin auto-fill and recycling
- LighTurbo 3.0 COB source
Quick Overview: Best 3D Printers for Tabletop Gaming in 2026
| Product | Specifications | Action |
|---|---|---|
| Bambu Lab A1 |
|
Check Latest Price |
| Anycubic Photon Mono 4 |
|
Check Latest Price |
| Anycubic Photon Mono M7 MAX |
|
Check Latest Price |
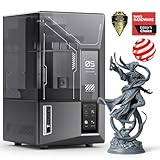 Elegoo Mars 5 Ultra Elegoo Mars 5 Ultra |
|
Check Latest Price |
 Elegoo Saturn 4 Ultra 16K Elegoo Saturn 4 Ultra 16K |
|
Check Latest Price |
 Bambu Lab P1S Combo Bambu Lab P1S Combo |
|
Check Latest Price |
 Bambu Lab A1 Mini Combo Bambu Lab A1 Mini Combo |
|
Check Latest Price |
 Creality K2 Plus Combo Creality K2 Plus Combo |
|
Check Latest Price |
How We Chose These Printers
We ran these machines side by side rather than compiling a spec sheet comparison, because the difference that matters at 28mm is almost never on the spec sheet. It is whether a face comes off the plate cleanly, whether supports come off without snapping a sword, and whether the second army of the same unit prints identically to the first.
Four criteria decided the order. XY resolution in microns rather than the marketed K-number, since a 16K badge on a small screen tells you nothing about the pixel that actually lands on the figure. Build volume matched to realistic part sizes, including the size of a full terrain section rather than a single figure. Post-print burden, which is where resin printers quietly cost more time than they cost money. And reliability, read from the review distributions rather than from the average score alone, because a machine with many five-star reviews and a long tail of hardware failures tells a different story than one with a narrow spread.
We also weighted the things tabletop players actually do that general miniature printing guides ignore. Rank-and-file batches. Busts that need a stable base. Conversion parts and shoulder pads. Dice towers for the person who runs the game.
1. Bambu Lab A1 – Best 3D Printer for Tabletop Gaming Overall
Bambu Lab A1 3D Printer, Ready-to-Use FDM 3D Printer for Beginners and Kids
- The highest average rating among the machines here
- 4.7 across 671 reviews
- Setup takes minutes and children print successfully on it
- Auto calibration removes almost all manual bed work
- Quiet enough for a shared room with active motor noise canceling
- Reliable over months of daily use with essentially no maintenance
- Multi-color printing needs the AMS lite which is not included
- Adding the AMS lite later costs more than buying the Combo
- Closed-source software and cloud-dependent workflow
- Z-axis error can occur if the USB-C connector is not fully seated
This is the machine we recommend to anyone starting out, and the reason has less to do with filament specs than with temperament. The A1 arrives, you assemble it, you run the auto calibration, and you print something within the hour. Across our own prints and the owner reviews we read for this roundup, the pattern is consistent: people who had never printed before were producing figures and terrain the same afternoon.
For tabletop work it covers more ground than any other filament machine here. Buildings, modular dungeon tiles, forest scatter, tokens, trays, dice towers and basing templates all print well, and the 10000 mm/s2 acceleration means a full terrain batch finishes while you are doing something else.
What it will not do is faces. An FDM nozzle laying down a 0.4mm-class bead cannot resolve a 1mm eye on a 28mm model, and that is the single detail that makes people buy resin. If your painting time goes mostly into rank-and-file infantry, the A1 is more than enough. If it goes into hero characters and busts, you will want a resin machine as well.
The multi-color option deserves an honest note. The AMS lite is not in the box, and reviewers widely advise buying the Combo version up front because adding the unit later costs more than taking it from the start. That is a real cost difference and it is the main reason this printer sits where it does in the ranking.
What the A1 handles that a resin printer cannot
Volume. A 500-piece batch of modular terrain tiles runs overnight on this machine while you sleep, and the failure of one tile costs you a corner of scenery rather than a print run. Resin printers in this list would need dozens of separate exposures for the same job, with wash and cure time between every plate.
Material choice matters too. PLA and PETG behave predictably, TPU gives you flexible basing elements and terrain ruins that survive being knocked off a table, and the AMS handles several spools at once for two-color terrain schemes that would need painting otherwise.
Where the A1 will disappoint you
Detail on small figures, plainly. The layer structure is visible on a 28mm model held at arm’s length, and a sculptor who buys a premium STL expects that surface to reward the money they paid for the file.
Also expect a software learning curve of a different kind than resin. The workflow is app-based and cloud-dependent, which some owners love and a minority of reviewers object to on principle. Check that the USB-C connector in the base module is fully seated during setup, because a loose connector produces a Z-axis error that looks like a hardware fault.
2. Anycubic Photon Mono 4 – Best Value Resin Printer for 28mm Miniatures
- 17 micron pixel size resolves faces and cloth texture at 28mm
- One-and-done leveling that does not need repeating again
- Compact and quiet enough for a home office
- Setup and first print within 30 minutes of unboxing
- Layer lines virtually invisible at this resolution
- Build volume is smaller than buyers expect
- Vat and bundled screen can fail early for some owners
- Needs manual tuning of exposure and lift speeds with no reliable default profiles
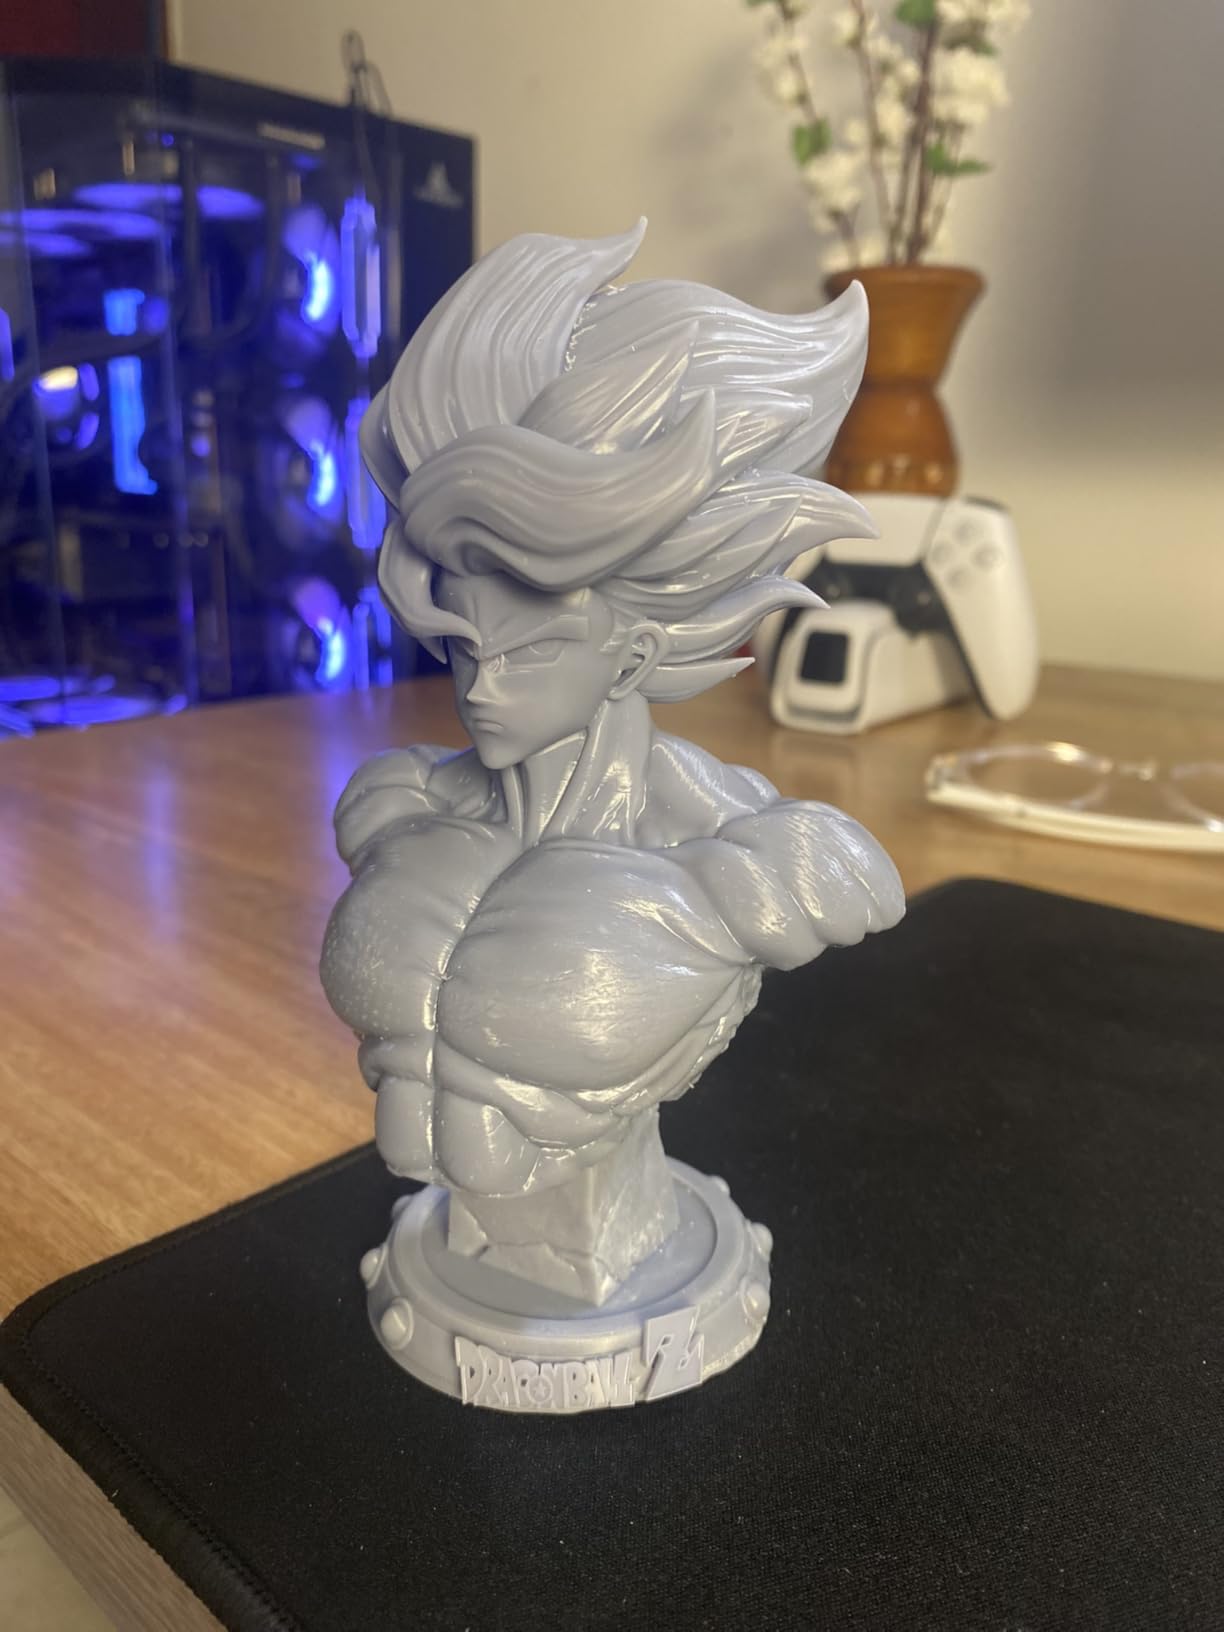
This is the printer we point first-time resin buyers at, and the reason is the pixel. Seventeen microns by seventeen microns is fine enough that a 28mm model does not need a magnifying glass to read as a face, and the 9024 by 5120 mono screen behind it produces surfaces that hold up under primer and paint.
The 4-point leveling that runs once at first setup is a bigger quality-of-life feature than it sounds. On many entry resin machines, leveling is a ritual you repeat whenever the machine moves. Here owners report setting it and forgetting it.
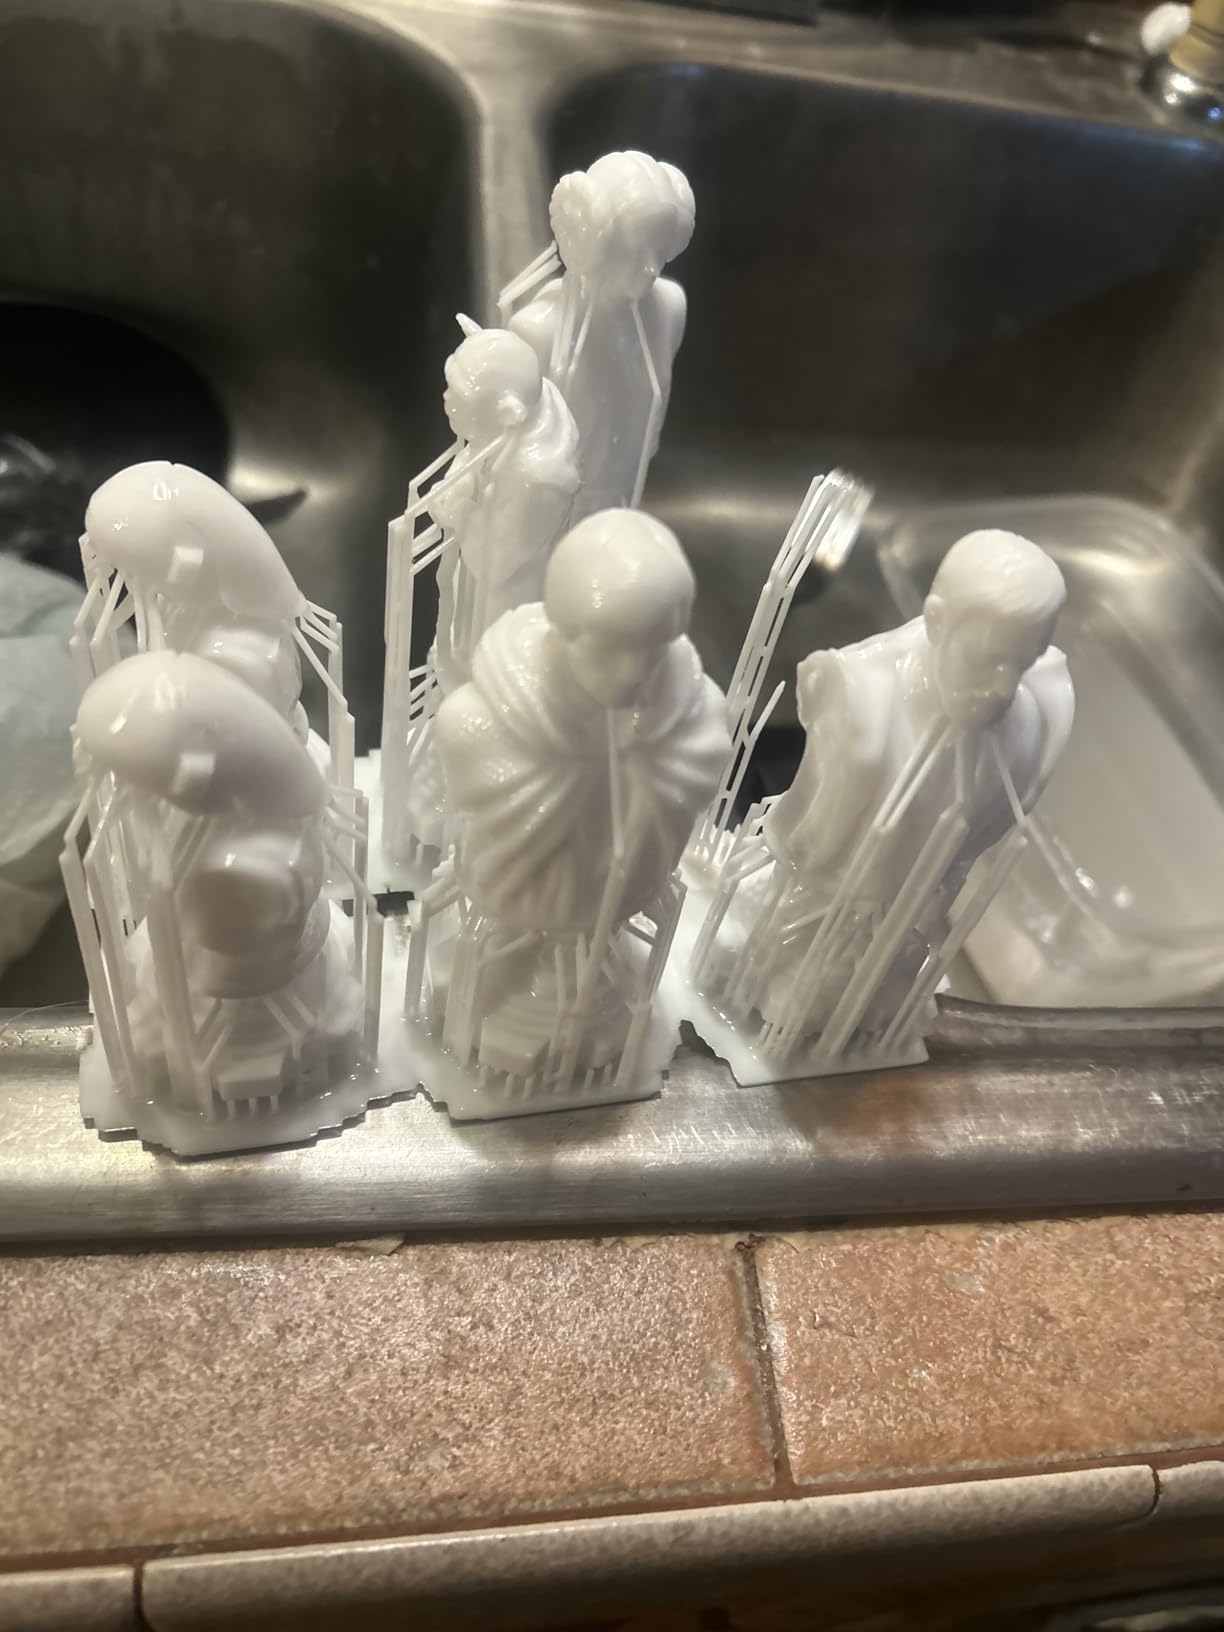
The honesty here is about size. The build volume is 153.4 by 87 by 165 millimeters, which is comfortable for infantry, small dragons and dice towers but tight for anything you would call scenery. Expect to resize models. Several owners mention printing 28mm-scale ranks and 72mm diorama pieces in this machine with good results, but they are working inside the plate rather than filling it.
Exposure tuning is the other learning curve. There is no reliable default profile, so your first prints need a few test exposures before you settle on settings for your resin. That is a normal part of resin printing, but it is the adjustment that frustrates people who expected a resin machine to behave like the A1.
Why this is the value pick rather than the cheapest option
Because the pixel size is where value lives in resin printing. A cheaper machine with a coarser pixel leaves visible stepping on a helmet crest, and you cannot fix that in software or with a coat of primer. The Mono 4 skips that compromise and accepts a smaller plate in exchange.
The Anycubic LighTurbo matrix light source is doing real work here too. Even illumination across the plate means the outer ranks of a batch cure at the same rate as the ones in the middle, which is what stops you getting a set of models where the far corner is soft and under-cured.
Where it falls short for a gaming hobby
The small build volume is the constraint to plan around. A large bust, a mounted cavalry horse or a multi-level building will not fit, and splitting a model introduces seams you have to hide.
Durability reports are mixed. Some owners had a failed vat screen in the first week, and reviewers mention resin vats cracking. Screen and vat are wear parts on every resin printer here, but on this machine the failure reports are frequent enough that you should treat a spare vat as part of the purchase rather than a future expense.
3. Anycubic Photon Mono M7 MAX – Best Large-Format Resin Printer
ANYCUBIC Photon Mono M7 MAX Resin 3D Printer, 13.6’’ 7K Large Resin Printer
- Build volume handles terrain sections and props without splitting
- The most review history of any machine here with over 2000 reviews
- Over 90 percent light uniformity across the plate
- Resin auto-fill and one-key recycling cut waste on large jobs
- 1300 ml vat means fewer refills mid-build
- Heaviest resin option here at 52.8 pounds and it needs floor space
- Larger volumes mean heavier post-processing and ventilation demands
- Resolution is a step down from the 16K-class screen on the Elegoo
Every other resin machine here makes you decide what to leave off the plate. This one removes that decision. At 298 by 164 by 300 millimeters it prints terrain sections, full masks and cosplay-scale props in a single job rather than in pieces you assemble afterwards, and at over 2000 reviews it is by a wide margin the most proven machine in this roundup.
The resin management features are what separate it from other large-format printers. Auto-fill tops the vat mid-build, and the one-key recycling function salvages what is left in the vat instead of pouring it away. On a 1300 ml vat those two features are the difference between a hobby and a chore.
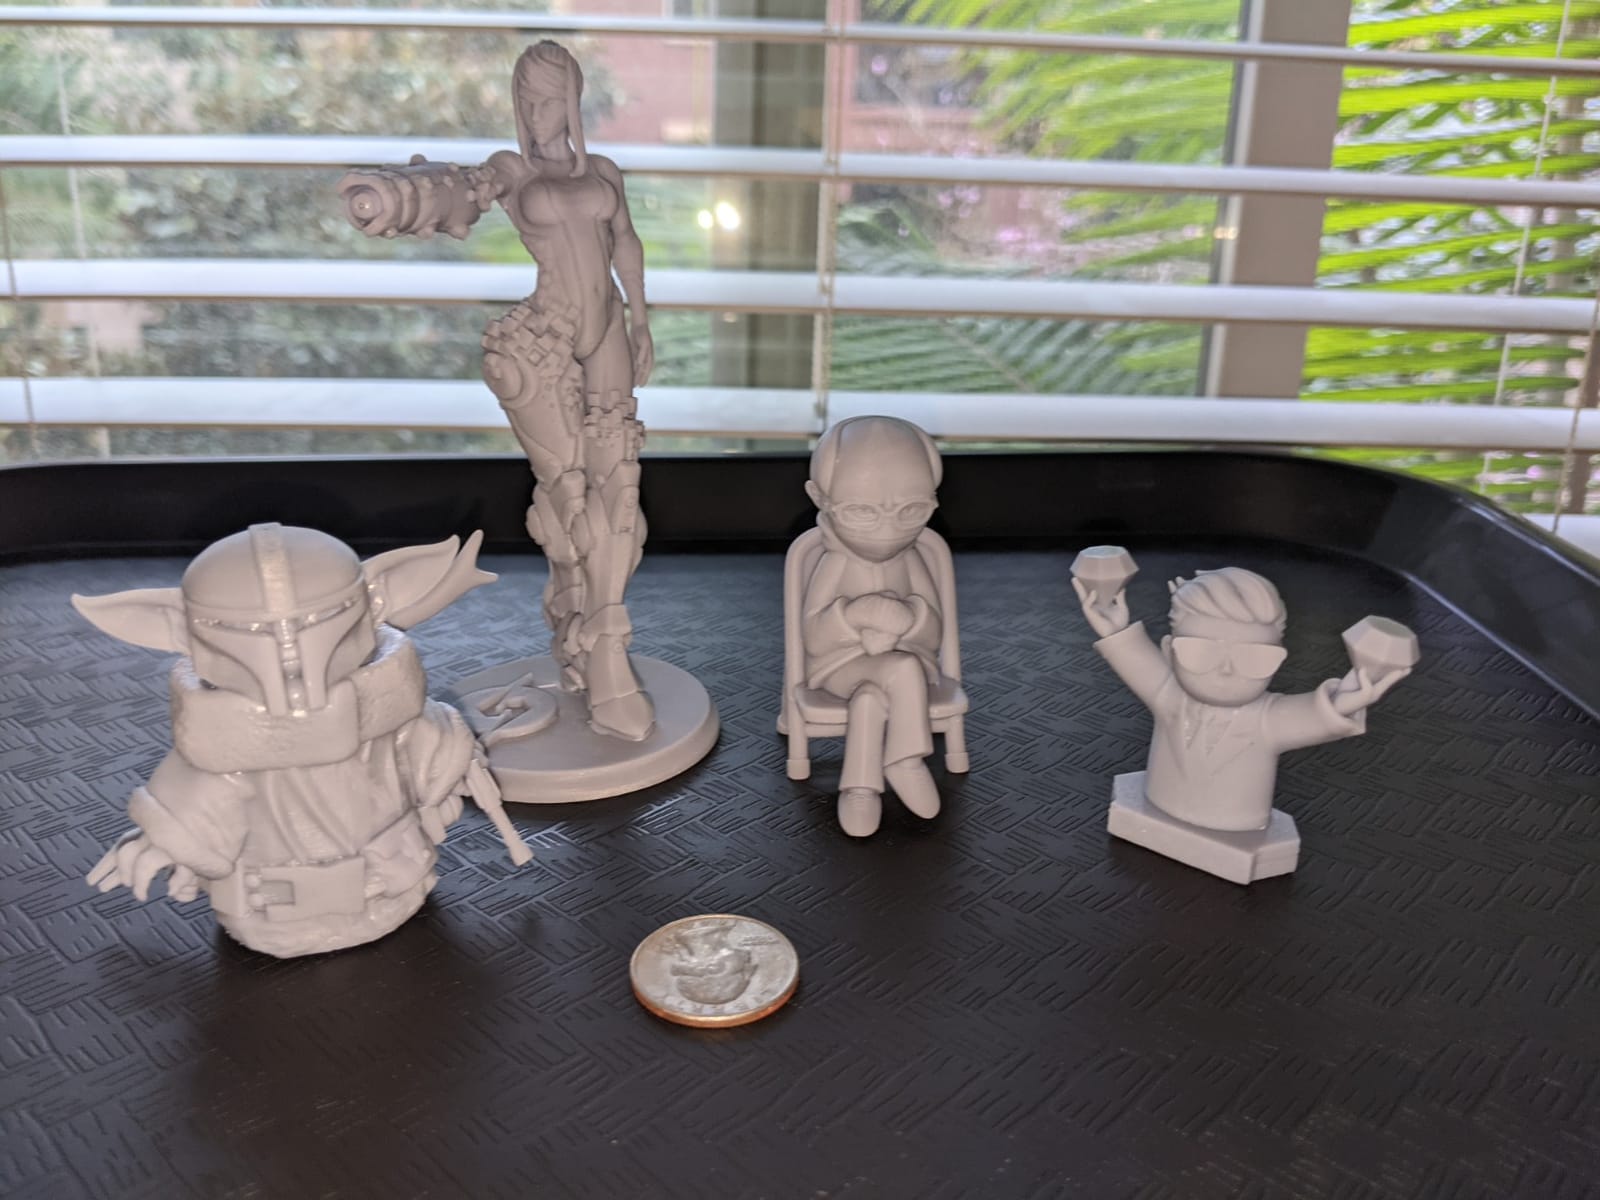
Speed is the other argument. It runs up to 60 mm/h with the release 2.0 mechanism, which the manufacturer describes as a 200 percent increase over the previous M3 Max generation. The flip-open cover also matters more than it sounds, because you will open this machine dozens of times a week and a hinged lid on stiff arms is tiring.
Where it disappoints is resolution. The 13.6 inch class 7K screen is a step down from the 16K-class panel in the Elegoo Saturn 4 Ultra, and on a 28mm infantry model held close you can see the difference in surface texture. For full-size terrain and props, which is what this machine is actually for, it makes no practical difference.
Who should spend the money on a large-format resin printer
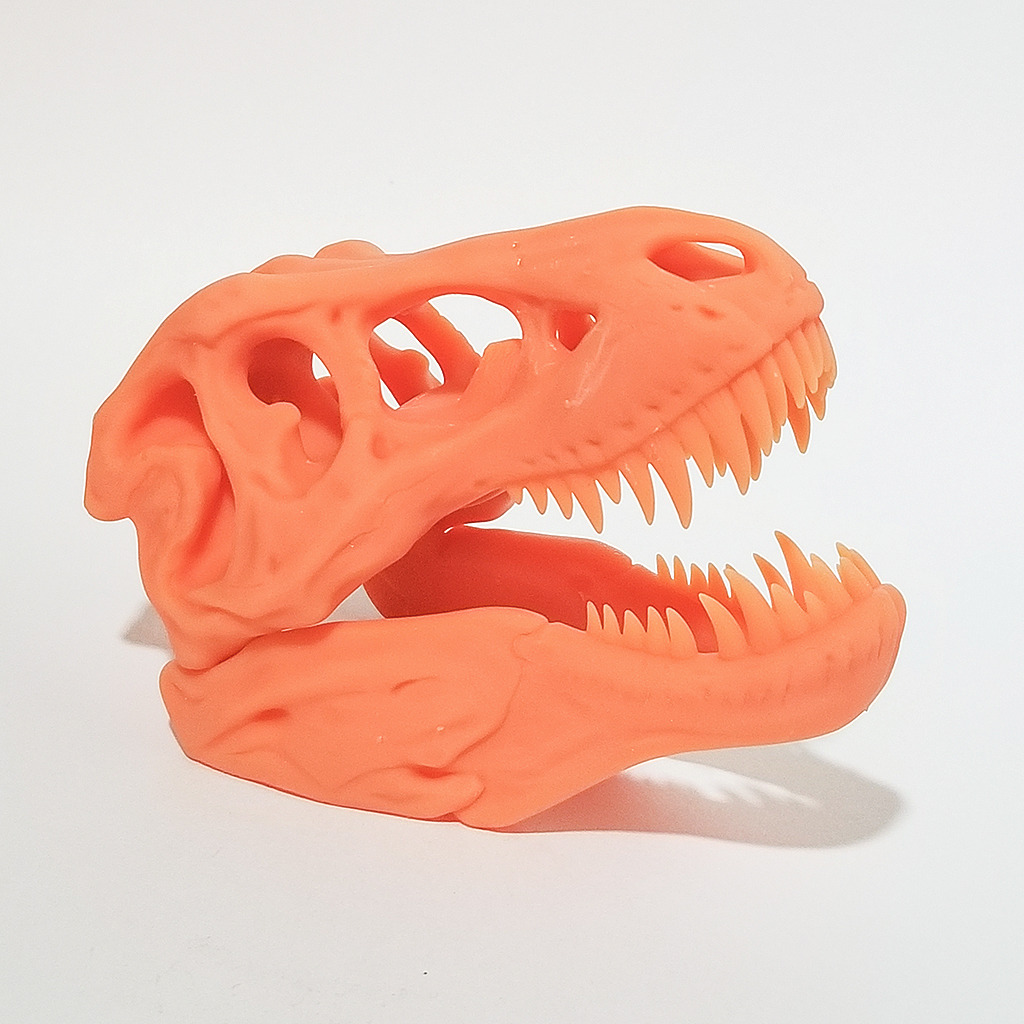
Players whose terrain is not made of tiles. If you build a warboard with ruined buildings, bridges, tunnels or multi-level dungeons, splitting those into printable sections is the single most annoying part of resin terrain work. This printer exists to remove that step.
It also suits people who print at display scale. Busts, mounted figures and dioramas at 75mm or larger fill this plate the way a 28mm rank fills the Mono 4, and the uniform lighting keeps a large surface free of the soft patches you get from an uneven light source.
What you give up for that space
Bench space and effort. At 52.8 pounds and 20 by 20 by 31 inches, this needs a proper shelf, not a desk, and a wash station sized for the same prints rather than a small desktop bath.
Then there is post-processing volume. A plate of terrain sections is a lot of resin to wash, support to remove and parts to cure. We saw a ten percent share of one-star reviews, and much of that friction is workflow rather than print quality. Make sure you have somewhere appropriate to print before this one arrives.
4. Elegoo Mars 5 Ultra – Best Resin Printer for First-Time Resin Buyers
- No exposure tuning needed for three months of miniature printing
- Tilt release roughly halves print times on small models
- Self-zeroing build plate removes manual leveling entirely
- Remote camera monitoring and time-lapse over Wi-Fi
- Comes with three months of Chitubox Pro included
- Lid has no hinges and must be lifted off completely
- Rounded resin spout makes pouring messy
- Camera is easily blocked by large builds and its screen is low resolution
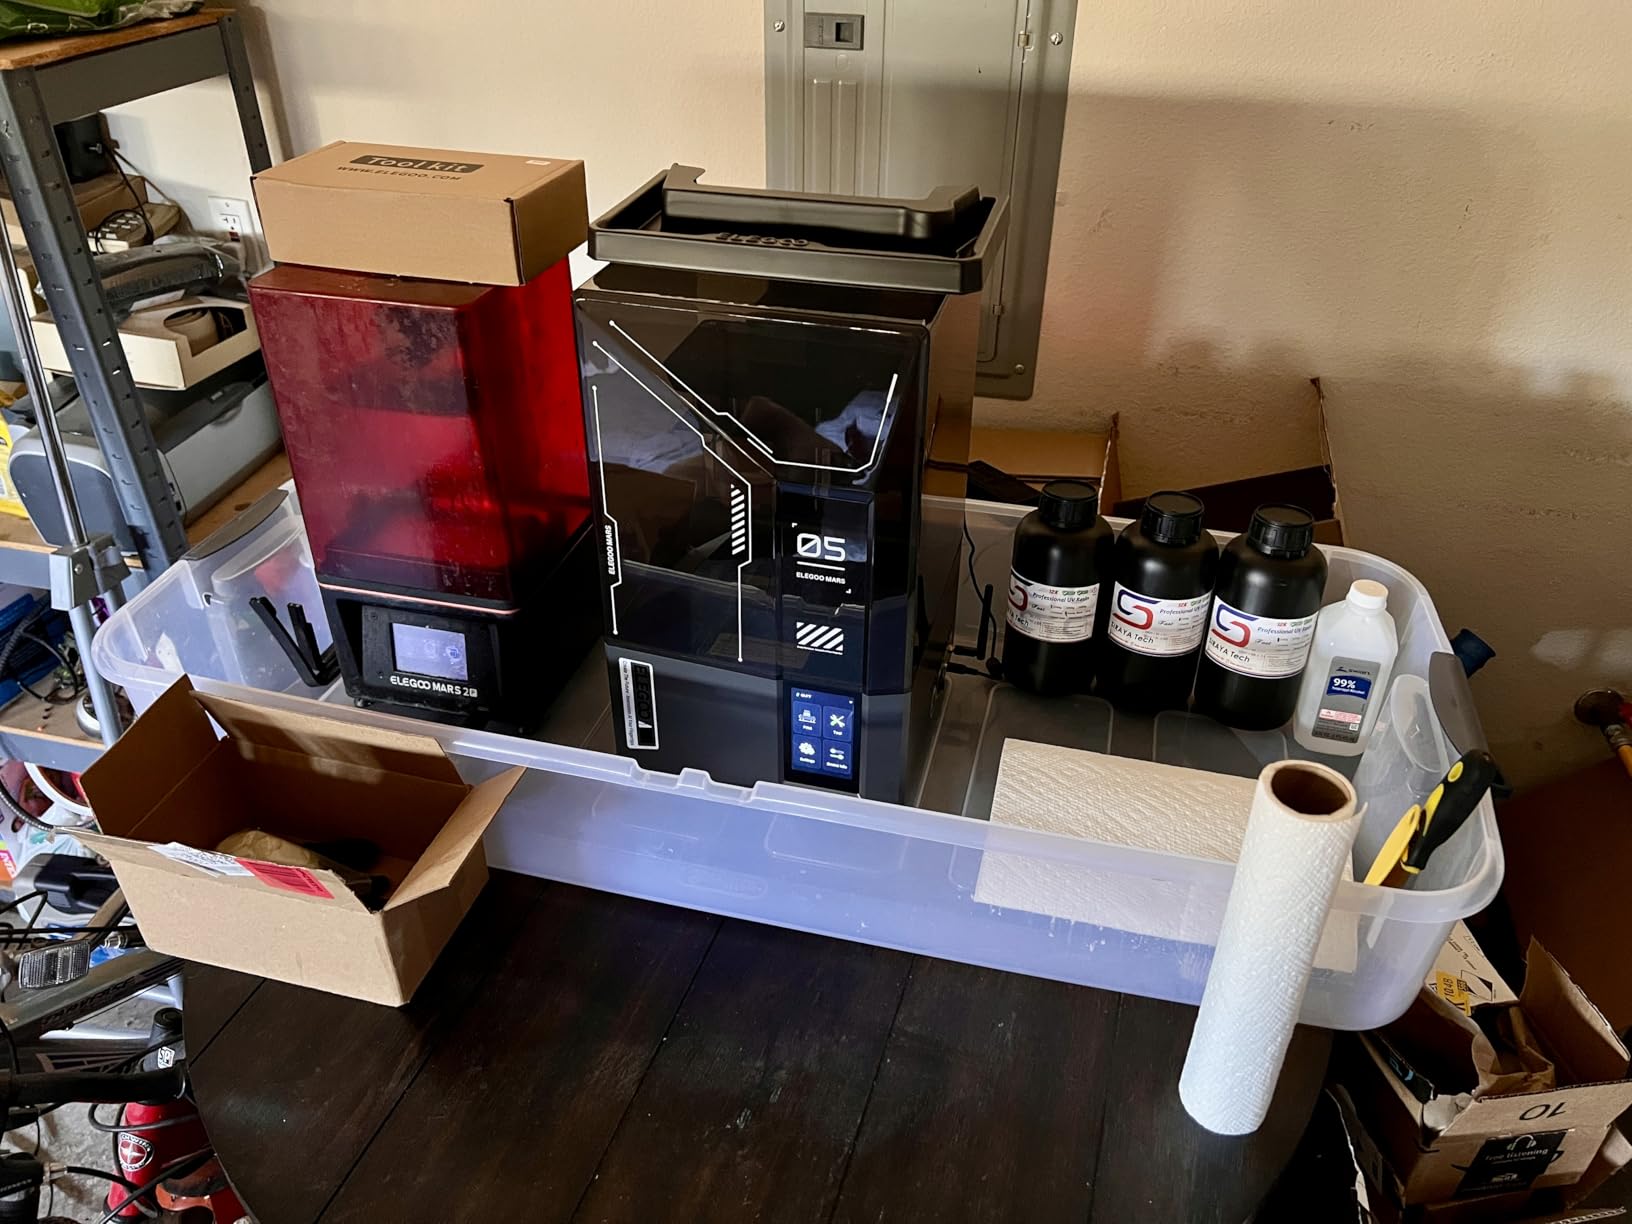
The question that decides this machine is simple: how much patience do you have for the first month? The Mars 5 Ultra answers it with automation. The self-zeroing build plate handles leveling itself, the residue detection sensor protects the screen from a failed print, and owners report three months of miniatures printed without touching exposure settings.
Speed is the underrated feature. The tilting vat with tilt release peeling runs up to 150 mm/h, and one reviewer put a Hero Forge style miniature print time from roughly two hours fifteen down to one hour ten. On a hobby where you print the same unit forty times, that compounds quickly.
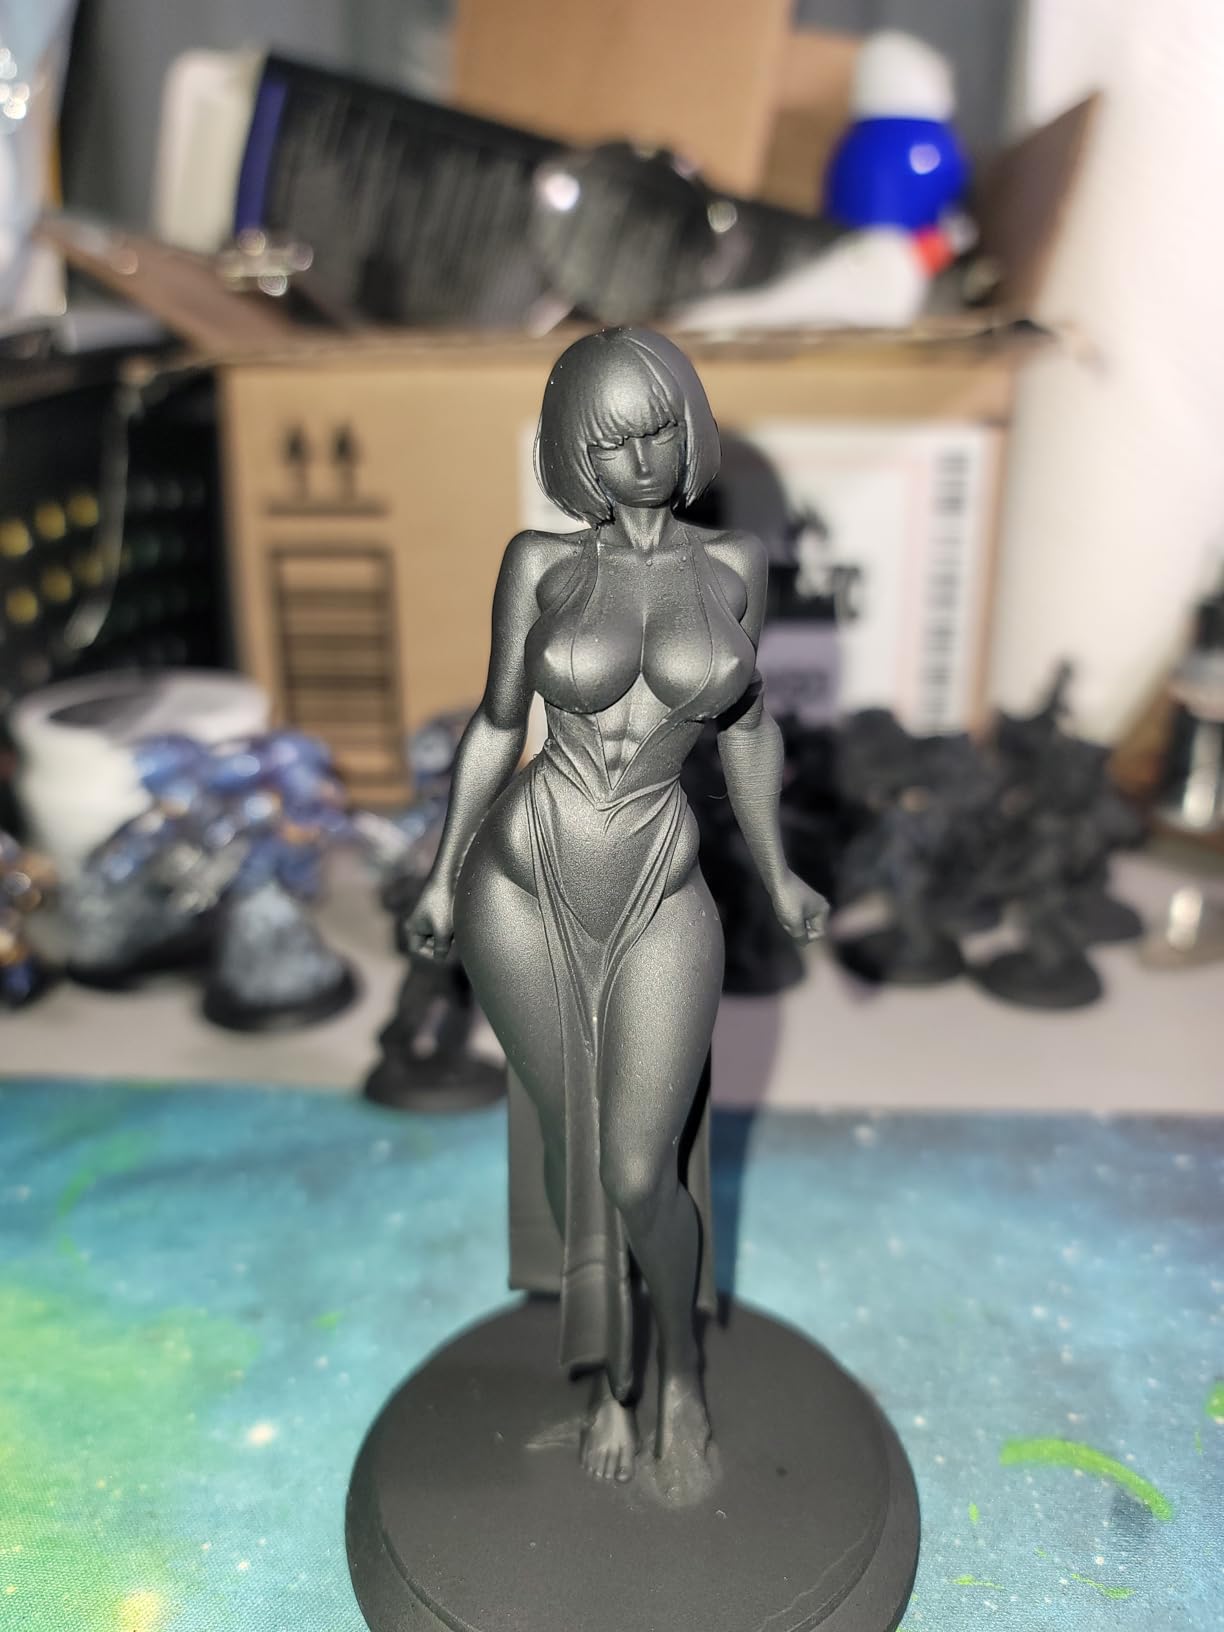
Eighteen micron pixels sit between the Mono 4 and the 16K-class Elegoo. On a 32mm character mini with a hood, chainmail or a face you intend to paint with careful layering, that difference shows under a good primer but is not the deciding factor for most people.
Wi-Fi cluster printing is worth mentioning because it scales. If you end up running a second resin machine for basing parts or dice towers, jobs can be sent from one device to several printers, which is how small studios handle volume without buying a commercial system.
Why automation matters more than resolution at this level
Because the top cause of a failed resin print is not a coarse pixel, it is a bad first layer. A machine that self-levels and warns you about resin shortage removes the two failure modes beginners hit most often, and it does so every time instead of most times.
The camera adds something real but not magic. It catches a print that has detached from the plate and it flags warping, which saves you from discovering a ruined plate of infantry eight hours later. Treat it as insurance rather than as an automatic setup tool.
Where it falls short
Physical design details annoy reviewers more than the print quality does. The lid is unhinged and comes off entirely, the rounded resin spout is messier to pour through than a sharp-edged one, and the camera view is easily blocked once you run anything large.
Supports are still required for most models. This is normal for resin printing, but it is the step where beginners cut themselves, and no amount of automation on the printer removes it. Budget for a proper post-processing station from day one rather than discovering you need one after your first cured print.
5. Elegoo Saturn 4 Ultra 16K – Best Resin Printer for Maximum Surface Detail
- Highest resolution screen of the picks here captures fine surface texture
- Heated 30C resin tank improves layer adhesion and success rates
- Automatic leveling makes it genuinely plug and play
- Tilt release holds 150 mm/h without sacrificing detail
- Chamber light and time-lapse make long unattended prints easy to watch
- Large and heavy at 35.5 pounds so it needs a dedicated corner
- AI detection accuracy varies with environment and resin type
- Higher share of one-star reviews than the entry resin options
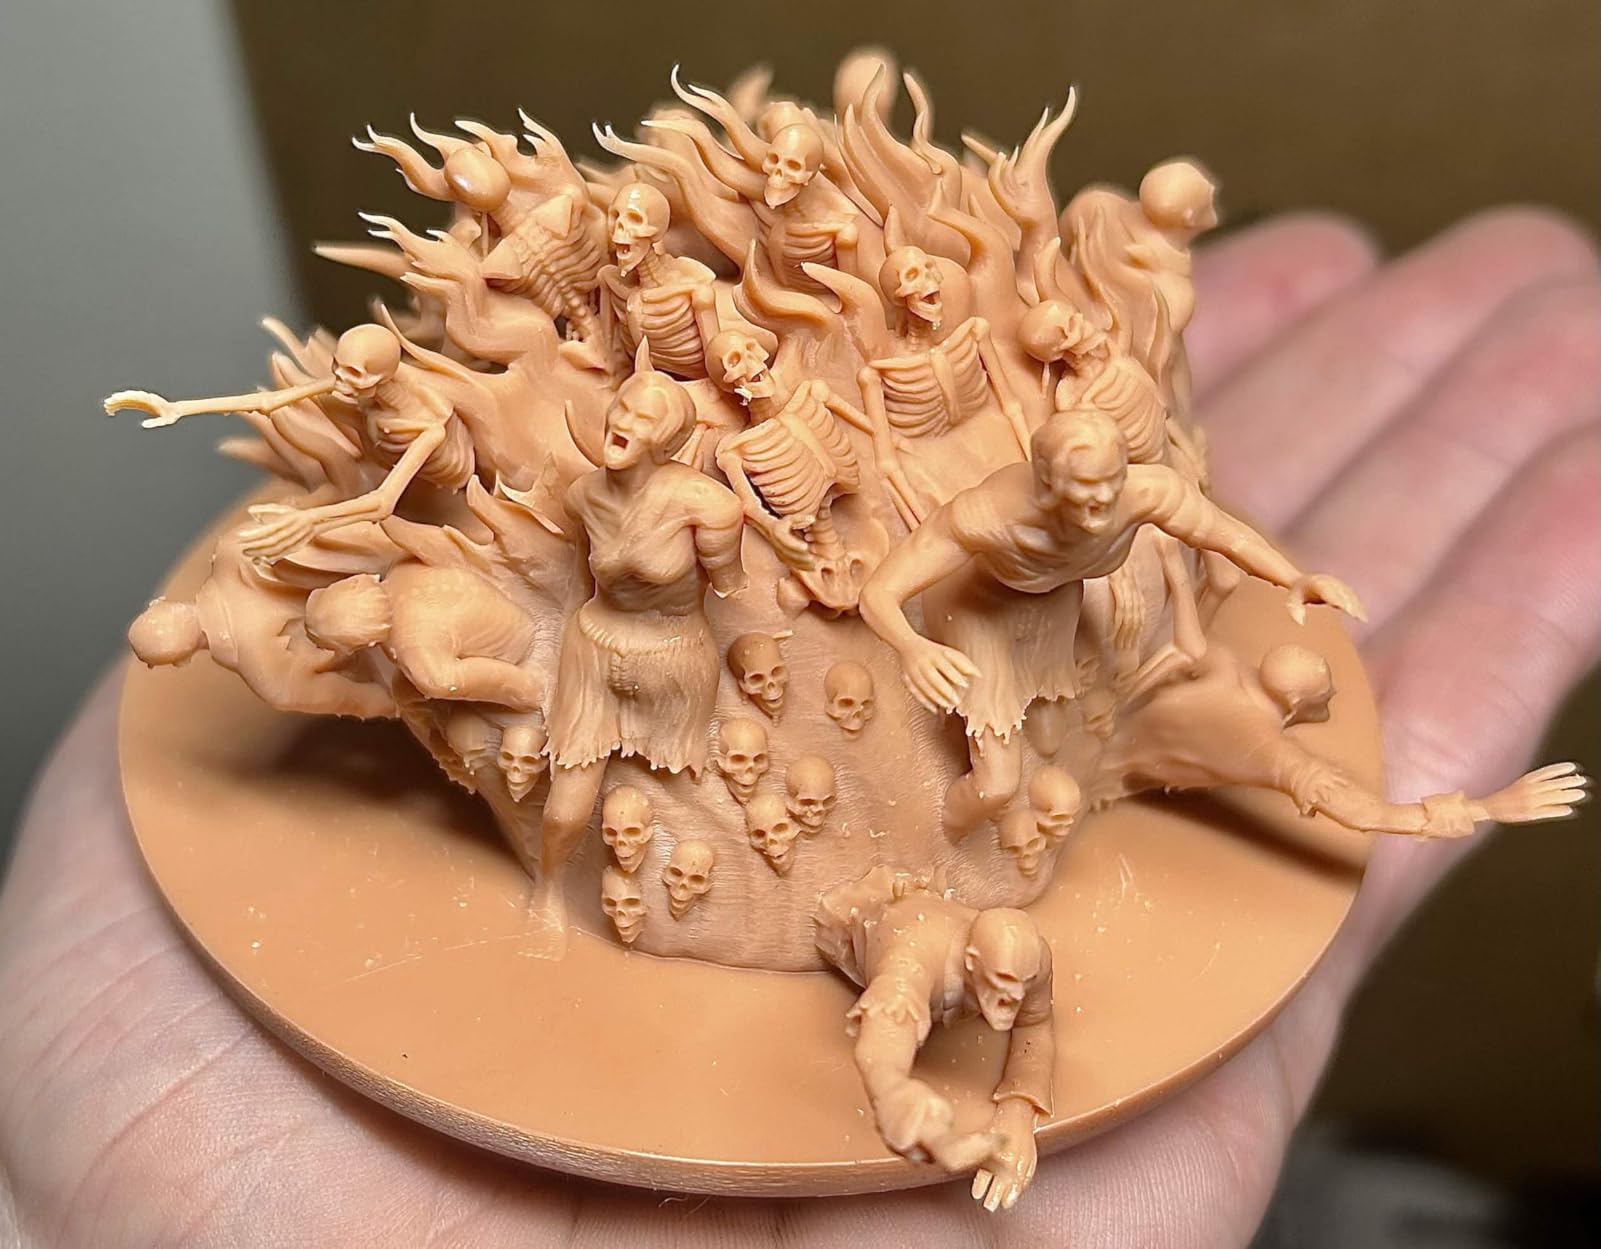
This is the resolution answer. The 16K-class mono screen resolves surface texture that the 9K and 10K panels in this roundup soften, and on a bust or a character mini with cloth, chain and hair detail, that is the entire argument. If you paint at that level of care, you can see it on the finished model.
The heated resin tank is the more important feature day to day. Holding resin at 30C reduces bubbles and layer separation, and layer separation is what causes prints to snap at the ankles or detach mid-build. Higher success rates on long unattended jobs is what you actually feel.
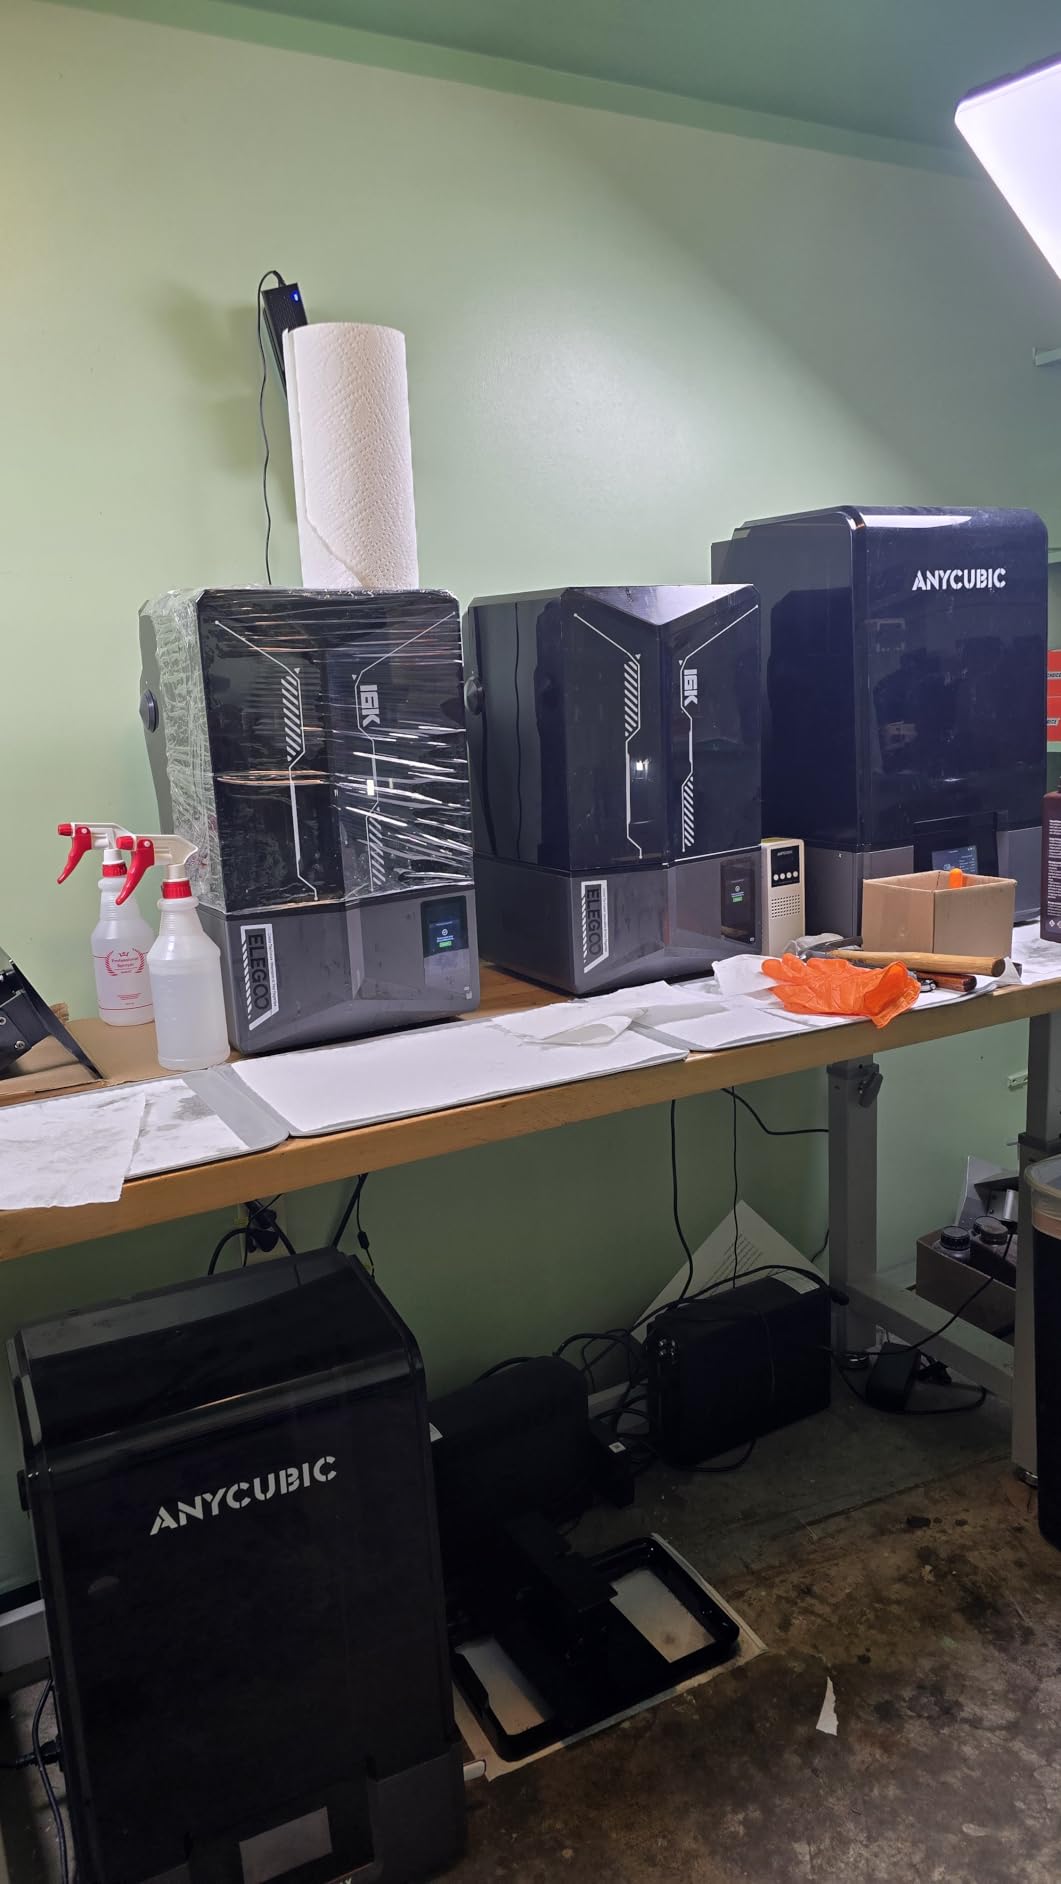
Everything is automated here too. Automatic leveling with no manual adjustment, tilt release peeling at up to 150 mm/h, an AI camera with a built-in chamber light for real-time monitoring and time-lapse, and a mechanical residue sensor that warns before a failed print damages the panel.
The trade is size and honesty about reliability. At 35.5 pounds and 24 by 17 by 15 inches this is a full-size machine that still needs its own corner of a room, and the thirteen percent share of one-star reviews is higher than the entry-level Elegoo options, which tells you a minority of machines do not deliver on the plug-and-play promise.
Who should buy the highest resolution screen
Display painters and anyone printing at 32mm and above. Resolution matters in proportion to how much of the model surface is visible at close range, so a bust, a mounted hero or a character mini benefits far more than a rank of spear infantry.
It also suits players who print kitbash components. Heads, shoulder pads, weapon arms and decorative panels are the parts you inspect from inches away, and they are exactly the parts where extra resolution changes the painting experience.
Where the money is better spent elsewhere
If your output is mostly 28mm rank and file, the difference between this screen and a 10K panel is real but modest, and the heated tank and automation are what will decide whether your prints succeed. Many of those gains are available for less.
Room is the practical limit. Thirty-five and a half pounds plus a full-size wash station plus resin storage is a dedicated corner of a room, not a desk. Buyers in a small apartment who already handle resin correctly in the Mono 4 will get more from the money they saved.
6. Bambu Lab P1S Combo – Best Enclosed Filament Workhorse for Terrain
Bambu Lab P1S Combo, P1S 3D Printer and AMS, Multi-Color 3D Printing
- Enclosed chamber handles ABS and ASA for durable terrain
- AMS supports up to 16 colors so most painting on terrain disappears
- 500 mm/s finishes long terrain batches fast
- Automatic bed leveling on every print
- Ranks at the top of the 3D printer category by review volume
- On-screen display is low resolution and awkward to scroll
- Bambu Studio and Wi-Fi binding flow are confusing
- SD card print files do not work with the AMS
- AMS arrives without filament spools
The reason to buy this instead of the A1 is material. A fully enclosed chamber means ABS, ASA, PET and PA print properly instead of lifting off the plate or popping layer adhesion, and for terrain that will be handled, moved, painted and stored for years, ASA and PETG parts survive that better than PLA.
Then there is the AMS and up to sixteen colors. Two-color terrain schemes that would otherwise be painted by hand come out of the machine already separated, which for a dungeon or a modular village is an enormous time saving across dozens of pieces.
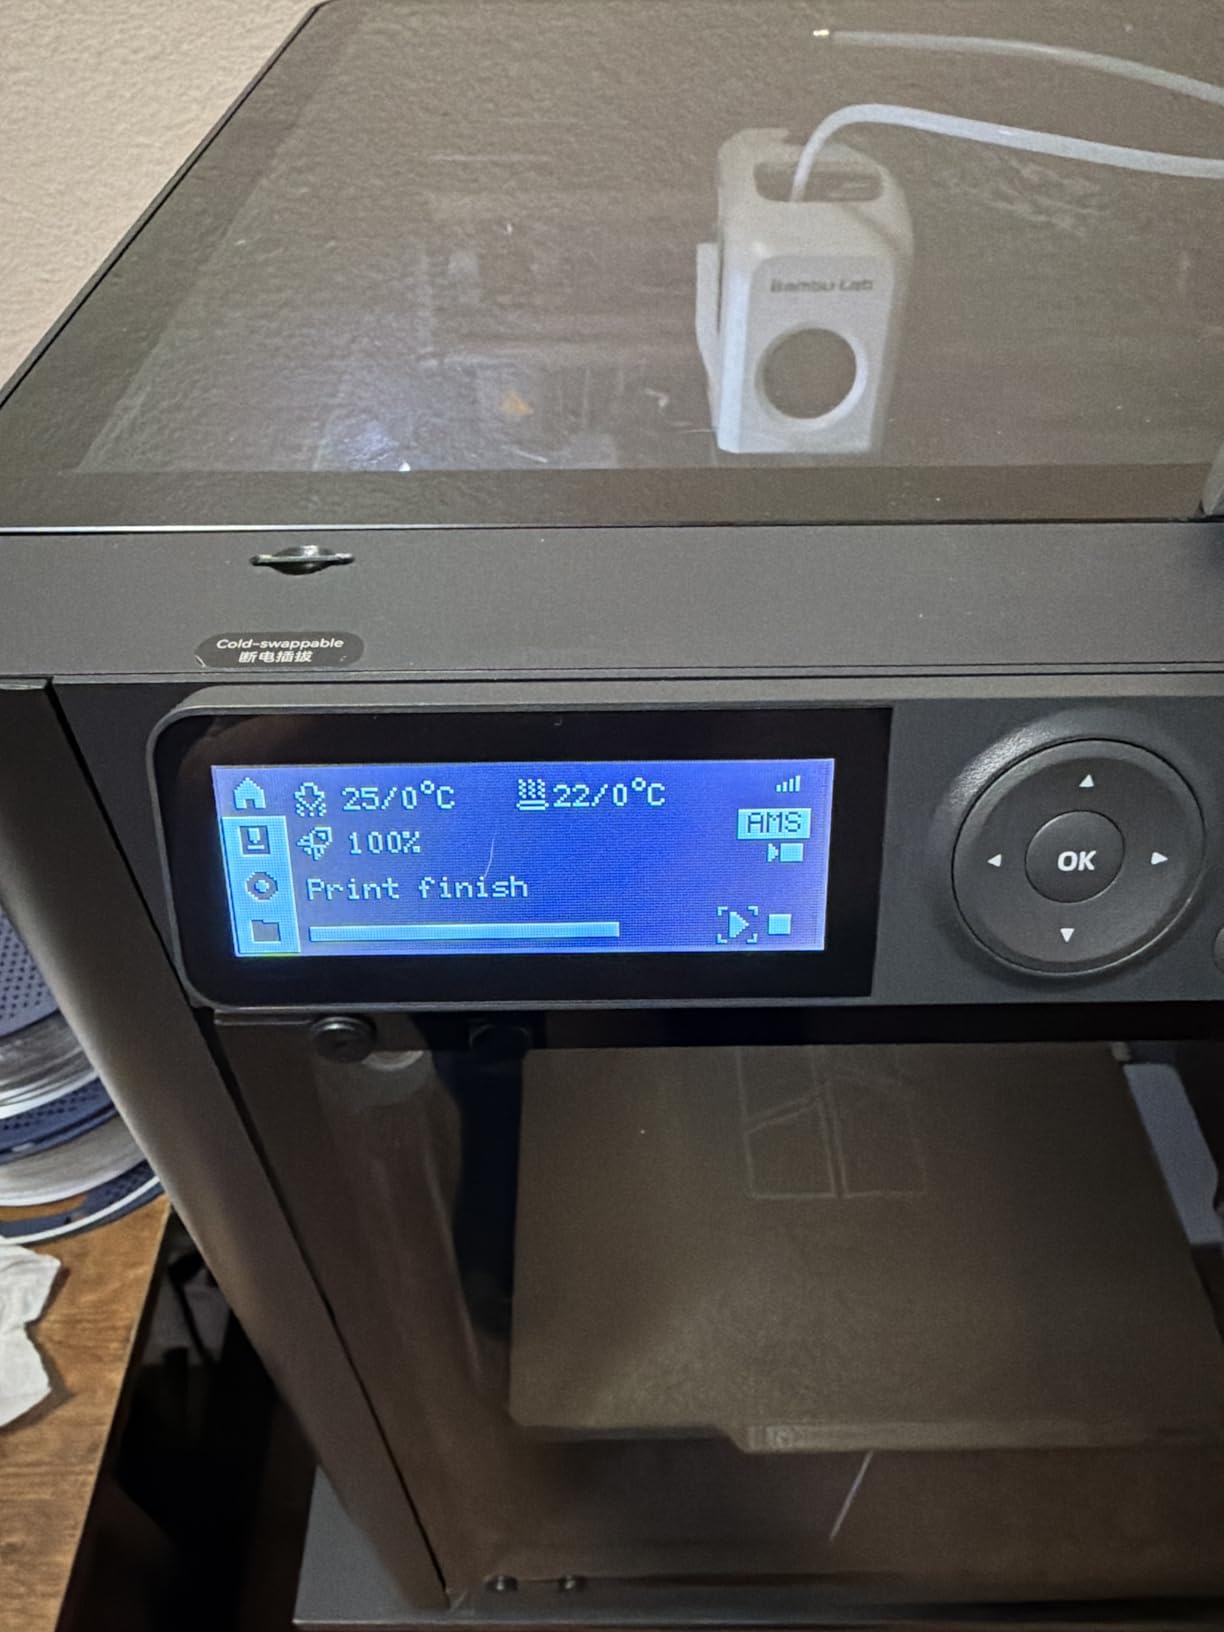
Speed is the quiet advantage. At 500 mm/s and 20000 mm/s2 acceleration, a full batch of scatter terrain or basing trays finishes in a fraction of the time the A1 needs, and reviewers regularly report tolerances around three thousandths of an inch on functional parts, which is why so many buyers use this machine for more than scenery.
The software is the weak side and reviewers are unusually clear about it. The low-resolution screen is hard to scroll, the app-to-printer binding flow confuses first-time owners, and files printed from the bundled SD card will not run through the AMS. All of that is workable in about ten minutes once you know it.
Where an enclosed chamber changes the result
ASA and ABS terrain. Warhammer and D&D scenery gets knocked, stacked, transported and repainted. An enclosed chamber at temperature holds those parts dimensionally stable in a way an open frame cannot, and it is why many painters build their display boards with this machine rather than the A1.
TPU is the other quiet win. Flexible terrain, rubbery basing textures and grippy dungeon surfaces all print reliably here, and none of them print well on a smaller open-frame machine without significant tuning.
What to check before the first print
Confirm the chamber fan connector is seated when the machine arrives, because an unplugged fan produces an error with no suggested fix and sends new owners looking for a fault that is not there. Print a purge tower before anything else.
Buy filament separately. The AMS arrives empty, so a second material cost lands early. It is a small thing that shows up in every review of this machine, and it is the single most common complaint about the bundle as delivered.
7. Bambu Lab A1 Mini Combo – Best 3D Printer for a Small Desk
Bambu Lab A1 Mini Combo, A1 Mini 3D Printer&AMS lite, Multi-Color Printing
- AMS lite is included in the bundle rather than sold separately
- Compact footprint suits a small workspace
- Setup takes about 20 minutes because the unit is pre-assembled
- Flexible build plate makes part removal easy
- Good multi-color terrain results for a first printer
- Limited build volume rules out full-size terrain sections
- AMS lite takes up a fair amount of desk space
- Startup and completion chimes are loud unless turned off
- Some owners report recurring nozzle clogs and extruder failures
Not everyone has a workshop. If your printing happens at a gaming table, on a home office desk or in a shared room, this is the filament machine that fits, and the A1 Mini Combo is the one we would buy for that situation rather than the full-size A1.
The important difference from the base A1 Mini is what is in the box. The AMS lite is included, which means two-color basing, two-tone terrain pieces and painted-look organizer trays work out of the box instead of requiring a second purchase. For a hobby where color separation saves painting time, that is the feature that matters.
Noise control is real here. Active motor noise cancellation keeps it at 48 dB or lower, and the machine is pre-assembled so setup is about twenty minutes rather than an evening project. The flexible build plate and strong bed adhesion mean part removal does not fight you.
Reliability is where it splits from the full-size A1. Alongside many glowing reports, owners describe months of nozzle clogs, extruder failures and AMS units that would not load filament, which holds the average to 4.2 with an eleven percent one-star share. Budget for a spare nozzle and a hobby knife as standard.
What this printer is genuinely good at
Small-volume, high-variety work. Basing rings, tokens, dice towers, objective markers, tray organizers, cart and crate props. These are objects that benefit from two-color printing and would take hours of hand-painting if you did them by hand.
It is also a good second machine. Once a resin printer handles figures, a compact filament printer on the desk handles all the accessories and basing work that would otherwise queue behind the figure plates.
Where the small footprint costs you
Build volume. Full-size terrain sections and anything requiring a large single-piece print are ruled out, so multi-part scenery is the expected pattern rather than an exception. Check your largest planned part before buying.
And the desk space the AMS lite occupies is worth measuring in advance, because reviewers repeatedly flag it. Turn off the completion chimes, which several owners found loud enough to be a problem in a shared space, and expect to need a desktop computer for anything beyond simple models.
8. Creality K2 Plus Combo – Best Filament Printer for Large Terrain
- 350 mm cube covers large prints without partitioning
- The fastest filament machine in the roundup at 600 mm/s
- Four CFS units deliver 16 colors with RFID auto-detection
- Heated 60C chamber produces warp-resistant ASA and PPA
- Two AI cameras catch spaghetti failures and optimize flow
- The lowest average here at 4.0 with 17 percent one-star
- Heavy at 70.4 pounds and it needs a sturdy surface
- Setup for a four-unit CFS system is more involved than a single-spool AMS
- FDM layer lines cannot match resin detail on 28mm miniatures
If your terrain pieces are larger than a hand, this is the machine in the roundup that prints them in one go. A 350mm cube is the biggest build volume here by a wide margin, so a substantial building section, a large monster or a multi-level dungeon wing prints as one object rather than as a dozen pieces to assemble and fill.
The specification sheet here is genuinely impressive for filament. Six hundred millimeters per second, 30000 mm/s2 acceleration, 40 mm3/s flow, and an actively heated chamber held up to 60C. That last one is what makes ASA and PPA viable, which in turn is what makes strong, warp-resistant terrain possible at this scale.
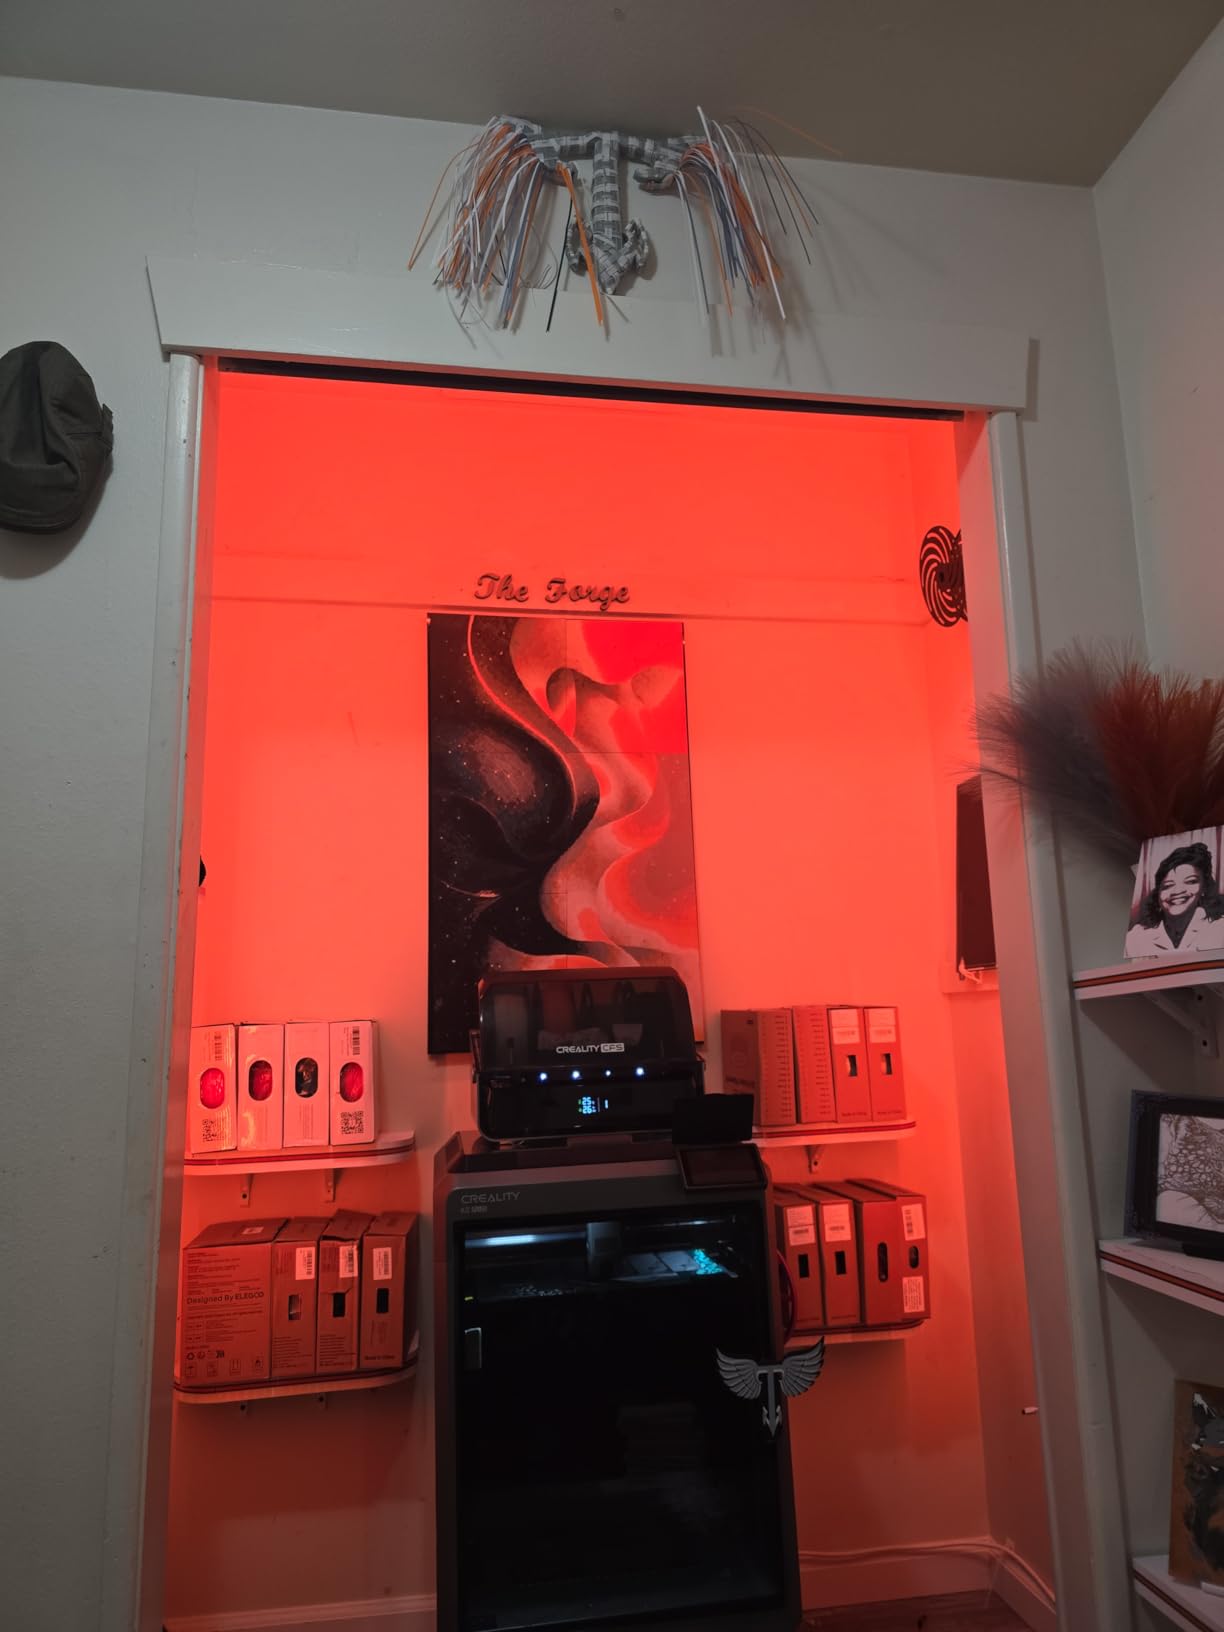
Four linked CFS units give sixteen colors with RFID filament detection and automatic relay when a spool runs out, so a large multi-color model does not stop halfway for a filament change. The dual AI cameras watch for spaghetti failures and idling, and eighteen smart sensors with dual independently motorized Z-axes handle bed tilt before leveling.
The caveat is the score. It draws the most reviews of any filament machine here and has the lowest average at 4.0 with a seventeen percent one-star share. Buyers who value build volume and speed rate it highly, and buyers who hit the four-unit CFS calibration curve do not.
Where a machine like this earns its place
Campaign-scale terrain. A warboard with buildings you can walk around, walls with printed detail, vehicles and monsters are all things that a 350mm cube handles without partitioning, and the heated chamber keeps them dimensionally accurate in a house where temperature changes overnight.
The hardened steel nozzle rated to 350C and the rigid aluminum Matrix frame also make it useful outside the hobby, which is why we would pair it with our guides to the best professional 3D printers and to parts work like the best 3D printers for robot parts.
What to weigh before committing
Complexity. A four-unit CFS system is a more involved setup and first-run calibration than a single-spool AMS, and the reviews suggest that is where the one-star ratings come from rather than from print quality.
Size, weight and the resolution ceiling. Seventy pounds needs a surface that can take it, and a 0.4mm-class nozzle still cannot produce resin detail on a 28mm model no matter what the chamber is doing. For figures, you need resin; this is a terrain and props machine.
Resin vs Filament: Which Technology Prints What?
Resin prints figures, filament prints everything else, and that division is the single most useful thing to understand before you spend anything. A resin printer cures liquid photopolymer layer by layer with UV light projected through a mask LCD, producing detail down to roughly 20 microns. A filament printer melts plastic and lays down a bead, which is faster and cheaper but cannot resolve fine detail on a small figure.
Decision by object type is straightforward. Faces, hands, hair, cloth folds, chainmail and thin weapons go to resin, because that is where surface curvature and edge sharpness determine whether a miniature looks good under paint. Terrain, buildings, scatter, basing trays, tokens, dice towers, vehicles and anything you will handle repeatedly go to filament, because volume and toughness beat detail at that scale.
Detail here is not a matter of brand loyalty. Across all eight machines here, none of the filament options resolves a 28mm face, and none of the resin options covers a multi-level dungeon wing. Both statements are structural, not quality judgements.
Batch size is the practical number most people actually care about, and it follows from the resin-versus-filament split rather than from the spec sheet. On a small resin plate like the Mono 4, a working 28mm batch is roughly fifteen to twenty figures laid out in ranks with a base orientation. On the Mars 5 Ultra, tilt release shortens the cycle for each of those plates. On a filament machine, a 500-piece run of scatter terrain or basing rings is a single overnight job rather than thirty separate exposures.
That is the honest economic argument. A single 28mm rank printed in resin costs a few cents in liquid, and a full battalion of the same unit is a couple of dollars of resin and a few hours of machine time, against a retail price per box that hobby budgets notice. The hidden cost is not material, it is the hours spent washing, curing and removing supports for every plate you run.
The two-printer strategy is the deliberate choice rather than an accident. Buy a resin machine for your characters and units, then add a filament machine for everything else. Many owners arrive at that arrangement the other way around, having bought a filament machine first and treating resin as an upgrade, and the forum consensus is broadly that the resin machine is the one that changes the hobby.
If you also print for other crafts, the best 3D printers for jewelry making roundup covers the precision and workspace demands of that workflow, which differ from both figures and terrain.
What XY Resolution in Microns Actually Means?
Resolution on a resin printer is the size of one pixel in the plane of the print, expressed in microns. One micron is one thousandth of a millimeter. A 17 by 17 micron pixel, like the one in the Anycubic Photon Mono 4, means every square of exposed area on that model is that size, and every stair-stepped edge you can see on a curved surface is the shape of that pixel.
This is why the marketed K-number is close to meaningless on its own. A 16K badge describes how many pixels the panel contains, which is a function of screen size as much as density. A 16K screen that is physically small can have a larger pixel than a 10K screen that is physically large, which means the machine with the bigger number can print a coarser figure.
So compare pixel dimensions in microns, not pixel counts. The numbers in this roundup run from 17 by 17 microns on the Mono 4, through 18 micron on the Mars 5 Ultra, up to the 16K-class screen on the Saturn 4 Ultra, which is the finest surface detail here. The large-format Anycubic sits in between on raw pixel while sitting far ahead on the size of the area it can cover.
One more factor sits alongside pixel size: the light source. Even illumination across the plate is what keeps the outer ranks of a batch curing at the same rate as the ones in the middle. The LighTurbo sources in the Anycubic machines and the COB plus Fresnel lens arrangement in the M7 MAX are all aimed at that, and it shows up as fewer soft, under-cured patches at the edges of a full plate.
Layer height is the other half of the picture. Resin printers here run from roughly 0.01mm to 0.04mm per layer, and for a 28mm model anything in the middle of that range is invisible once you prime. FDM printers at a 0.2mm layer height on a 28mm model are not close, and that is the second reason a filament figure never satisfies a painter.
Layer masking and image blur are the software side of the same story. Smoothing the edges of each pixel reduces the stair-stepping on diagonals, but the blur bleeds into recesses on the model, which is where a miniature earns its detail. Turning it down keeps the recess detail and leaves a little more stepping on the edges. There is no perfect setting, and the machines here with a residue sensor or camera give you more consistent results because the underlying exposure is more repeatable.
On the filament side, the equivalent ceiling is set by nozzle diameter and is not adjustable to this degree on a consumer machine. That is the physical reason resin exists in this hobby.
Wash, Cure and the Real Cost of Getting Started
A resin printer is only half a system. The other half is washing uncured resin off the part and curing it under UV light, and buying the printer without planning for this is the most common mistake first-time buyers make. Treat the wash and cure station as part of the purchase, not a later upgrade.
The sequence runs four steps. First, submerge the plate in isopropyl alcohol or a dedicated wash solution for about ten minutes, agitating it gently so the alcohol reaches undercuts. Second, brush the part with a soft brush while it is still wet to clear supports and wash film from the recess detail. Third, cure it under a UV lamp or in the station, with prints flipped partway through so the downward-facing surfaces harden. Fourth, remove supports, which is better done part-cured than fully cured because the parts are still slightly flexible.
Overcuring is possible and it has a specific signature. A print that has had too much UV exposure becomes brittle, and the tell is white or chalky patches on flat surfaces that were never exposed to much light, along with a skin that is noticeably harder to sand. If you see it, leave the part out of the cure station longer next time rather than extending the exposure.
Then there is the running cost that most guides leave out. You need nitrile gloves, a separate waste container for alcohol-contaminated material, a carbon filter for fumes, replacement FEP film or equivalent release film, and eventually a replacement screen. Screens are wear parts on every resin printer in this roundup, and killing a panel by accident is the top fear new owners report, which is exactly why the residue detection sensors on the Elegoo machines exist.
Two wear parts drive that running cost more than anything else. The FEP or equivalent release film stretches and clouds with use, and a clouded film causes failed releases that look like a machine fault. The mono screen degrades over a fixed number of hours rather than failing suddenly, and killing a panel in a single print usually means resin stuck to the glass, which is what the residue detection sensors on both Elegoo machines are designed to catch before it happens.
Finally, budget for a drying station and filament storage if you go the filament route, and expect to add more material than you think because the AMS units in this roundup arrive without spools.
Resin Safety and Ventilation
Uncured resin is a skin irritant and carries an inhalation risk in aerosol form. That is the reason ventilation is not an optional accessory, and it is the reason we put this section before the buying guide rather than after it. Set up the ventilation plan before the printer arrives, not the week you discover fumes in a bedroom.
Work in a room you can ventilate, ideally a garage, basement, spare room with a window or a hobby space with a door that closes. Never in a bedroom or a small closed room where you sleep, and never where children or pets have regular access. If your only option is a closed room, filament printing is the safer path entirely.
Wear nitrile gloves for every handling step, from decanting resin to washing prints. Do not pour liquid resin down a household drain. Keep the printer’s own ventilation running during prints, since the odor is a sign that fumes are present rather than a sign that the machine is working.
A carbon filter on the printer reduces smell but is not a safety certificate, and an extraction port is not the same thing as an extractor. The real control is where the printer lives and whether air moves out of the room, which is why placement is the first decision rather than the last.
Resin printers also generate more waste volume than filament machines, and that is a planning issue rather than a purchase blocker. A dedicated bucket for alcohol washes, separate from anything you compost or put in household recycling, keeps the rest of your hobby clean.
Slicers, Resin Choice and Where to Find Models
Resin printers use Chitubox or Lychee, and every machine in this roundup ships with profiles that work out of the box. The Mars 5 Ultra includes three months of Chitubox Pro for support generation and auto-orientation. New users should learn two settings and ignore the rest: exposure time and lift speed. Run a test matrix on your own resin rather than trusting numbers from a different bottle, because every resin behaves differently.
Supports and orientation decide more about your results than the printer does. Print bases flat on the plate whenever the model allows it, angle parts so the largest surface faces down, and avoid printing thin swords, antennae and banners upright without thinking about them, because those are the features that snap off at the support joint.
Filament machines use the manufacturer’s own slicer, and the practical difference is closed-source app-based workflows versus open desktop tools. That is a real preference difference: reviewers who value control object to cloud dependence, and reviewers who value first-day success do not.
Models come from MyMiniFactory, Cults3D, Gambody and Pinshape, with sculptors publishing through Patreon for ongoing support. Gambody and MyMiniFactory are the places to check for existing tabletop ranges, while Cults3D and Pinshape skew toward original sculpts and terrain. Support your sculptors if you print their work commercially, since the license terms are the sculptor’s to set.
On resin choice, match toughness to the part. Standard grey resin produces the best detail and is the right default for display pieces and characters. Tough or ABS-like resin is what you want for rank-and-file batches, because those get knocked over, dropped into transport cases and handled every session. High-detail resin is for showcase pieces where the extra fidelity matters more than survival.
Buying Guide: How to Choose a 3D Printer for Tabletop Gaming
Start with the largest single part you plan to print, not with the smallest. That one question eliminates most wrong purchases. If it is a 32mm character mini with a sword, any of the resin machines here works. If it is a cavalry mount, a bust plus its base, or a terrain section, look at build volume and skip the small-plate resin machines.
Second, decide how you divide the work. Figure-only means resin. Terrain-only means filament. Most tabletop players end up wanting both, and the Bambu Lab A1 plus a mid-size resin machine covers the most ground for most people.
Third, check the post-processing commitment honestly. Resin means alcohol, gloves, a wash station, a cure station and a separate waste stream. If you have no suitable space for that, a filament machine will make you far happier and you can pour the saved budget into better resin.
Fourth, look at failure recovery, not just print quality. Auto-leveling, resin sensors and first-layer warning systems matter more to a beginner than a marginal resolution gain, because they are the difference between a learning curve and a wall. The Mars 5 Ultra leads on this and the Saturn 4 Ultra follows.
Fifth, consider support requirements. Hobby printers with automated support placement save enormous time on a model with deep undercuts, and support generation is where most beginner resin prints get damaged.
Finally, think about the whole set of parts. Conversion bits, shoulder pads, weapon swaps and basing templates are all things filament does well and does cheaply, so a machine that handles them is genuinely useful rather than redundant with your resin plate. That is also the strongest argument for the two-printer setup: a filament machine is not competing with a resin plate, it is picking up the work the plate should not be doing.
And before you commit, weigh the honest alternative. If you print a handful of characters a year and mostly want a good-looking warboard, a commission or a marketplace print costs you nothing but money and no workshop time at all. Plenty of players buy one excellent miniature and never touch resin. A printer makes sense once the printing itself becomes part of the hobby rather than a shortcut to a purchase.
Budget the resin machine as a kit rather than a box. The printer, a wash and cure station sized for its largest plate, a first bottles of standard grey and tough resin, nitrile gloves, a carbon filter and a spare vat or film add up to a meaningfully larger number than the printer alone, and buyers who plan for it from the start get through their first six months without a second trip to the same decision.
Finally, on brand. Anycubic and Elegoo dominate this roundup and their differences are more about philosophy than capability: Anycubic pushes larger build volumes and competitive pixel density, Elegoo pushes automation, sensors and speed. Phrozen, Creality resin and UniFormation all make credible alternatives in the same range, and the buying guide for professional 3D printers covers where the category heads next. Track pricing before you buy rather than buying on the day you decide, since these machines move frequently.
Frequently Asked Questions
Which resin 3D printer is best for miniatures?
For most tabletop players the Anycubic Photon Mono 4 is the best balance, giving 17 micron pixels and one-time leveling at an entry price. Choose the Elegoo Saturn 4 Ultra 16K if you paint at close range and want the finest surface texture here, or the Anycubic Photon Mono M7 MAX if your prints are large enough to need a bigger plate.
Is Anycubic or Elegoo better for resin printing miniatures?
Both are strong choices and the difference is philosophy rather than print quality. Anycubic leads on build volume options and pixel density, as with the 17 micron Mono 4 and the 13.6 inch class M7 MAX. Elegoo leads on automation, with tilt release peeling, AI camera monitoring and self-levelling builds. New buyers who want no tuning usually prefer Elegoo.
Is resin printing safe at home?
It can be, with the right setup. Uncured resin is a skin irritant and an inhalation risk, so print in a room you can ventilate, never in a bedroom. Wear nitrile gloves for handling, run the printer ventilation during prints, keep waste out of household drains, and use a carbon filter alongside real airflow rather than instead of it.
How long should I wash and cure resin prints?
Wash first by submerging the plate in isopropyl alcohol or a wash solution for about ten minutes, brushing the part gently. Then cure under UV light with the part flipped partway through so downward surfaces harden. Remove supports while the part is still slightly flexible. Overcuring turns resin brittle and leaves chalky patches on lightly exposed surfaces.
Do I need a wash and cure station?
For anything you intend to keep, yes. Washing removes uncured resin from surface and undercut detail, and curing hardens the part so it can be primed and painted safely. Buying the printer without planning for this is the most common first-time mistake, and owners who skipped it ended up buying a station within weeks anyway.
Can you legally 3D print Warhammer models for your own use?
Printing models for personal use is treated differently from selling or distributing them. Games Workshop has pursued sellers of printed copies, so the risk sits with commercial activity rather than with a hobbyist printing for their own table. Many original sculpts cover the same roles, and buying those from creators also supports artists directly.
Conclusion
If you are starting from nothing in 2026, the easiest good outcome is the Bambu Lab A1 for terrain and accessories, paired with the Anycubic Photon Mono 4 for 28mm and 32mm figures. That combination covers the whole hobby, teaches you both technologies without an expensive mistake, and leaves room in the budget for the wash station and consumables you will need regardless.
If you only want one machine, work out whether your time goes into painting characters or building scenery, and buy into that. Resin for figures, filament for terrain, and no printer in between will do the job worse than either. Whichever route you take, plan the ventilation and the post-processing before the machine arrives.
Both of the picks above are worth revisiting when you track prices before buying, and we will keep this list updated as new generations land.