
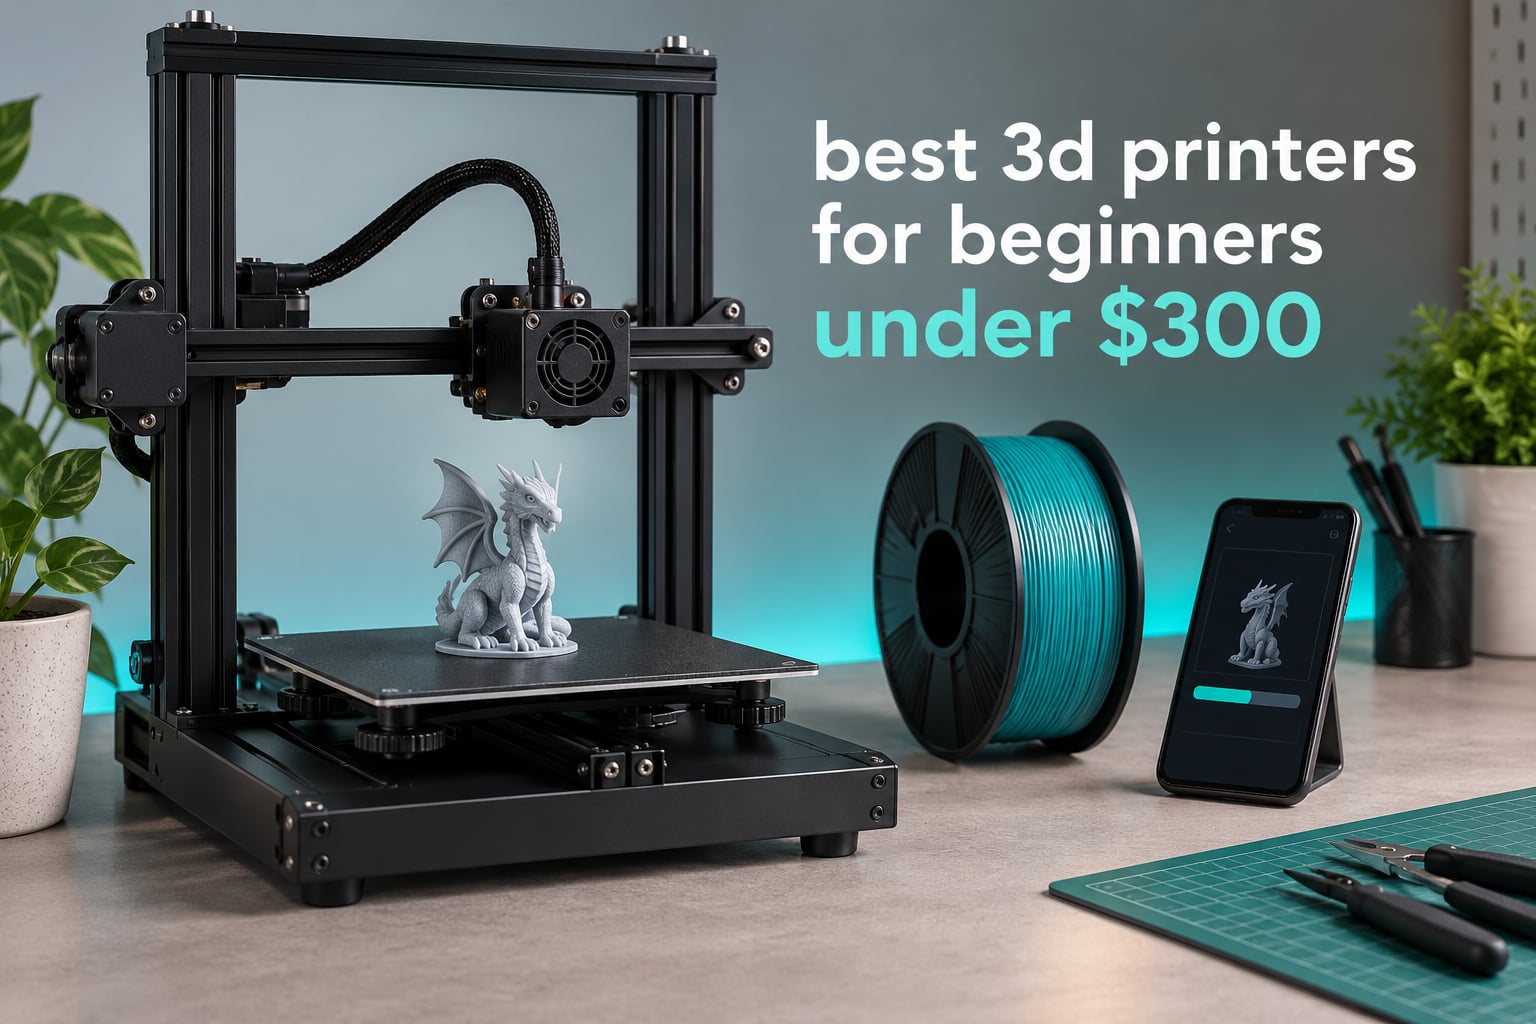
The best 3D printers for beginners under $300 in 2026 are the Bambu Lab A1 for overall ease, the FlashForge Adventurer 5M for speed, and the Creality Ender-3 V3 SE for value. All three level their own beds, ship as complete machines rather than kits, and print reliably in PLA on day one.
That matters more than any spec on the box. The failure mode for first-time buyers is almost never the printer being too slow or too small; it is bed leveling, Z-offset calibration, and a first layer that will not stick. Every machine below handles those tasks automatically, so you spend your time choosing what to print instead of fighting hardware.
We compared ten sub-$300 printers across build volume, motion system, calibration, filament support, noise, and the real complaints owners report after months of use. Six are filament (FDM) machines, three are enclosed or high-speed desktop models, and one is a resin printer that beats every filament printer here on surface detail.
If you already own a machine and want a different class of machine, our guides to higher-tier desktop printers and to resin printers for miniatures cover the tiers beyond this budget.
Table of Contents
Top 3 Picks: Best 3D Printers for Beginners on a 300-Dollar Budget (October 2026)
These three cover the three most common starting situations: a general-purpose first machine, a fast machine for people who want results quickly, and the cheapest credible way into the hobby.

Bambu Lab A1
- Full-auto calibration
- 10000 mm/s2 acceleration
- Quiet motor noise canceling
- App-based print control

FlashForge Adventurer 5M
- CoreXY 600 mm/s
- One-click auto leveling
- Print-ready in about 10 minutes

All 10 Printers at a Glance
Every printer in the table sits at or under the 300-dollar ceiling. The fastest machines here reach 500 to 600 mm/s, the largest build volume is a 260mm cube class, and the cheapest entry point costs less than half the most expensive.
| Product | Specifications | Action |
|---|---|---|
| Bambu Lab A1 |
|
Check Latest Price |
 Asani TINA2S Asani TINA2S |
|
Check Latest Price |
 Bambu Lab A1 mini LED Kit Bambu Lab A1 mini LED Kit |
|
Check Latest Price |
 ELEGOO Mars 5 Ultra ELEGOO Mars 5 Ultra |
|
Check Latest Price |
| FlashForge Adventurer 5M |
|
Check Latest Price |
 Entina Tina2C Entina Tina2C |
|
Check Latest Price |
 FlashForge AD5M FlashForge AD5M |
|
Check Latest Price |
| Creality Ender 3 V3 SE |
|
Check Latest Price |
 ELEGOO Centauri 2 ELEGOO Centauri 2 |
|
Check Latest Price |
 Creality SPARKX i7 Creality SPARKX i7 |
|
Check Latest Price |
1. Bambu Lab A1 – Best Overall for Beginners
Bambu Lab A1 3D Printer, Ready-to-Use FDM 3D Printer for Beginners and Kids
- Automatic calibration removes manual setup
- Active motor noise canceling for quiet running
- App based remote monitoring
- Consistent quality over months of daily use
- Proprietary software ecosystem
- Multi-color needs a separately sold AMS lite
- Early Z-axis fault possible if the USB-C module is not seated
The A1 is the machine we recommend to someone buying their first printer with real money behind the decision. Owners describe the setup as unbox, power on, load PLA, print. Bed leveling and Z-offset calibration happen on their own, and the nozzle swaps with a single clip rather than tools.
At 10,000 mm/s2 acceleration it is fast enough that most test prints finish while you are still finding something to make. The machine weighs 22 pounds and occupies a 21.76 by 20.83 by 12.87 inch footprint, so it needs a real desk, not a shelf.
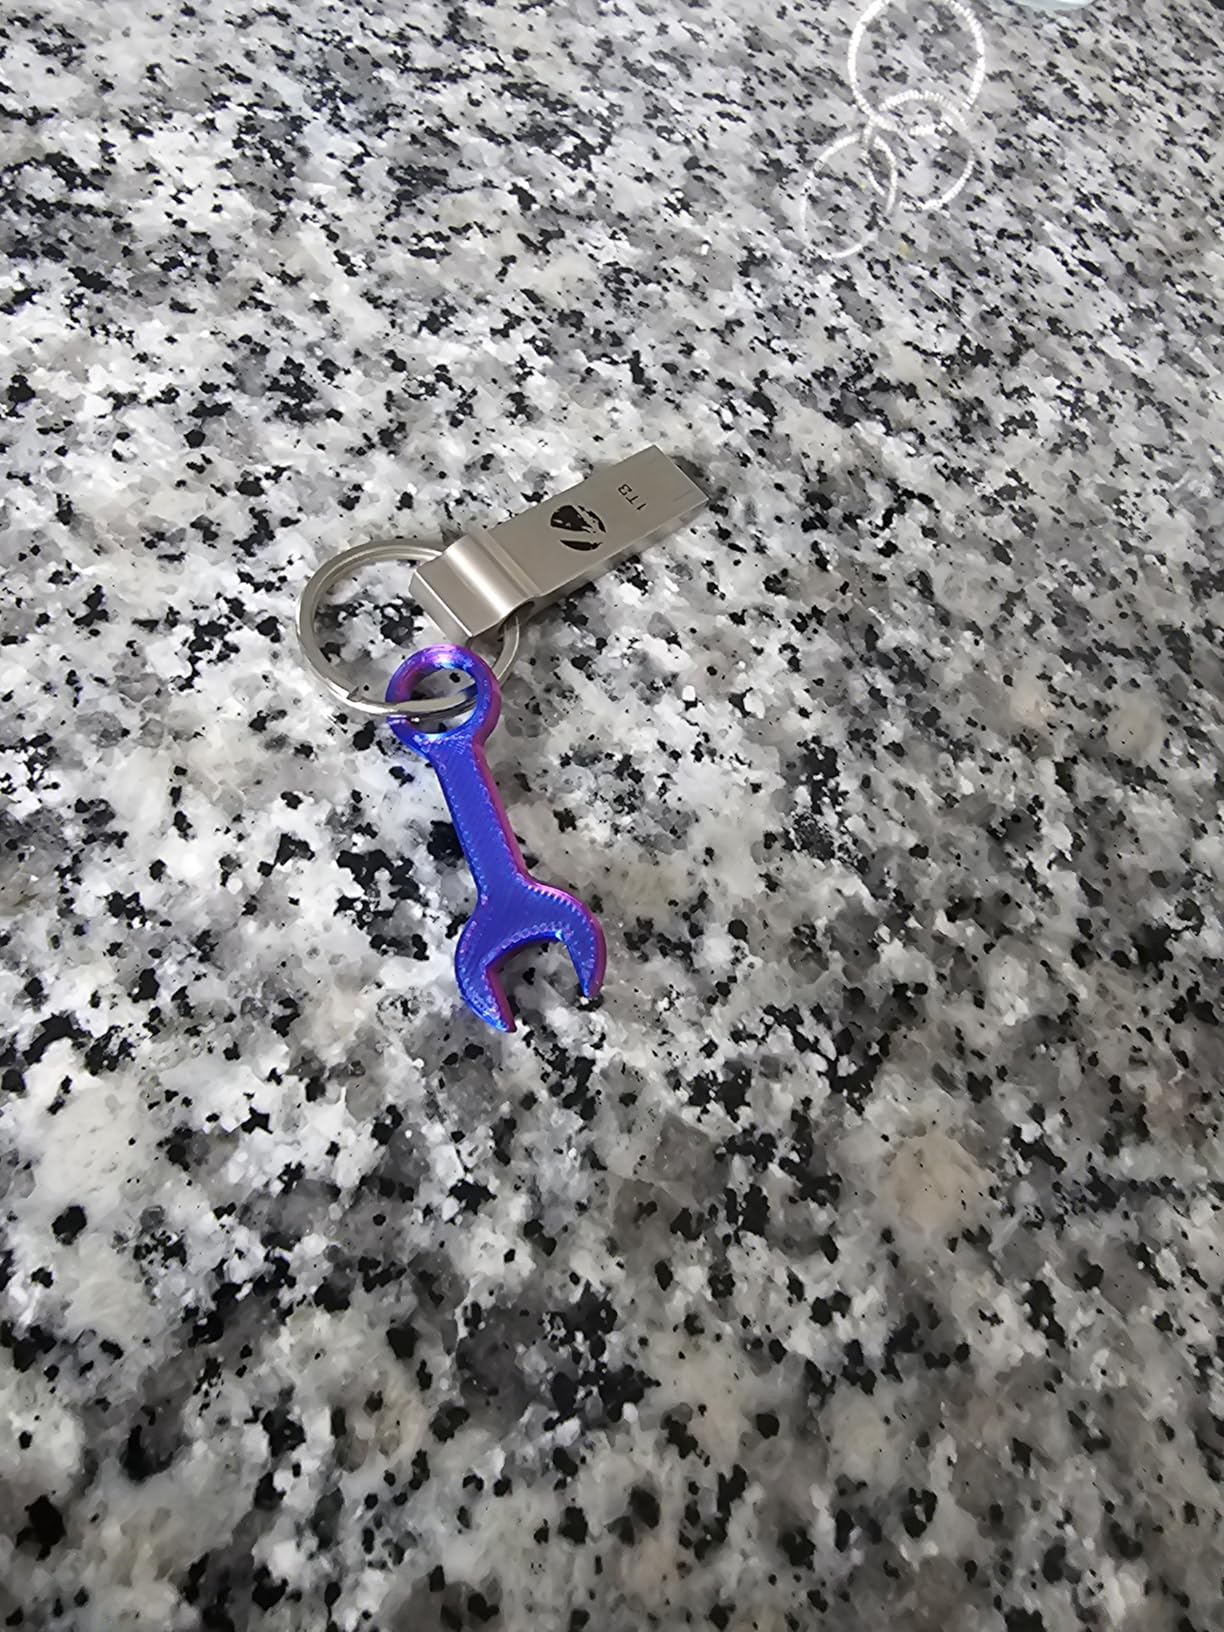
Two details set it apart from the CoreXY machines on this list. Active motor noise canceling keeps it quiet enough for a bedroom or a shared apartment wall, and active flow rate compensation measures extrusion so thin features come out consistently rather than occasionally thin.
The honest drawback is the ecosystem. Bambu Studio and the app are closed, and enthusiasts who like to modify firmware treat that as a limitation. If you plan to run custom firmware or mod the electronics heavily, this is the wrong machine.
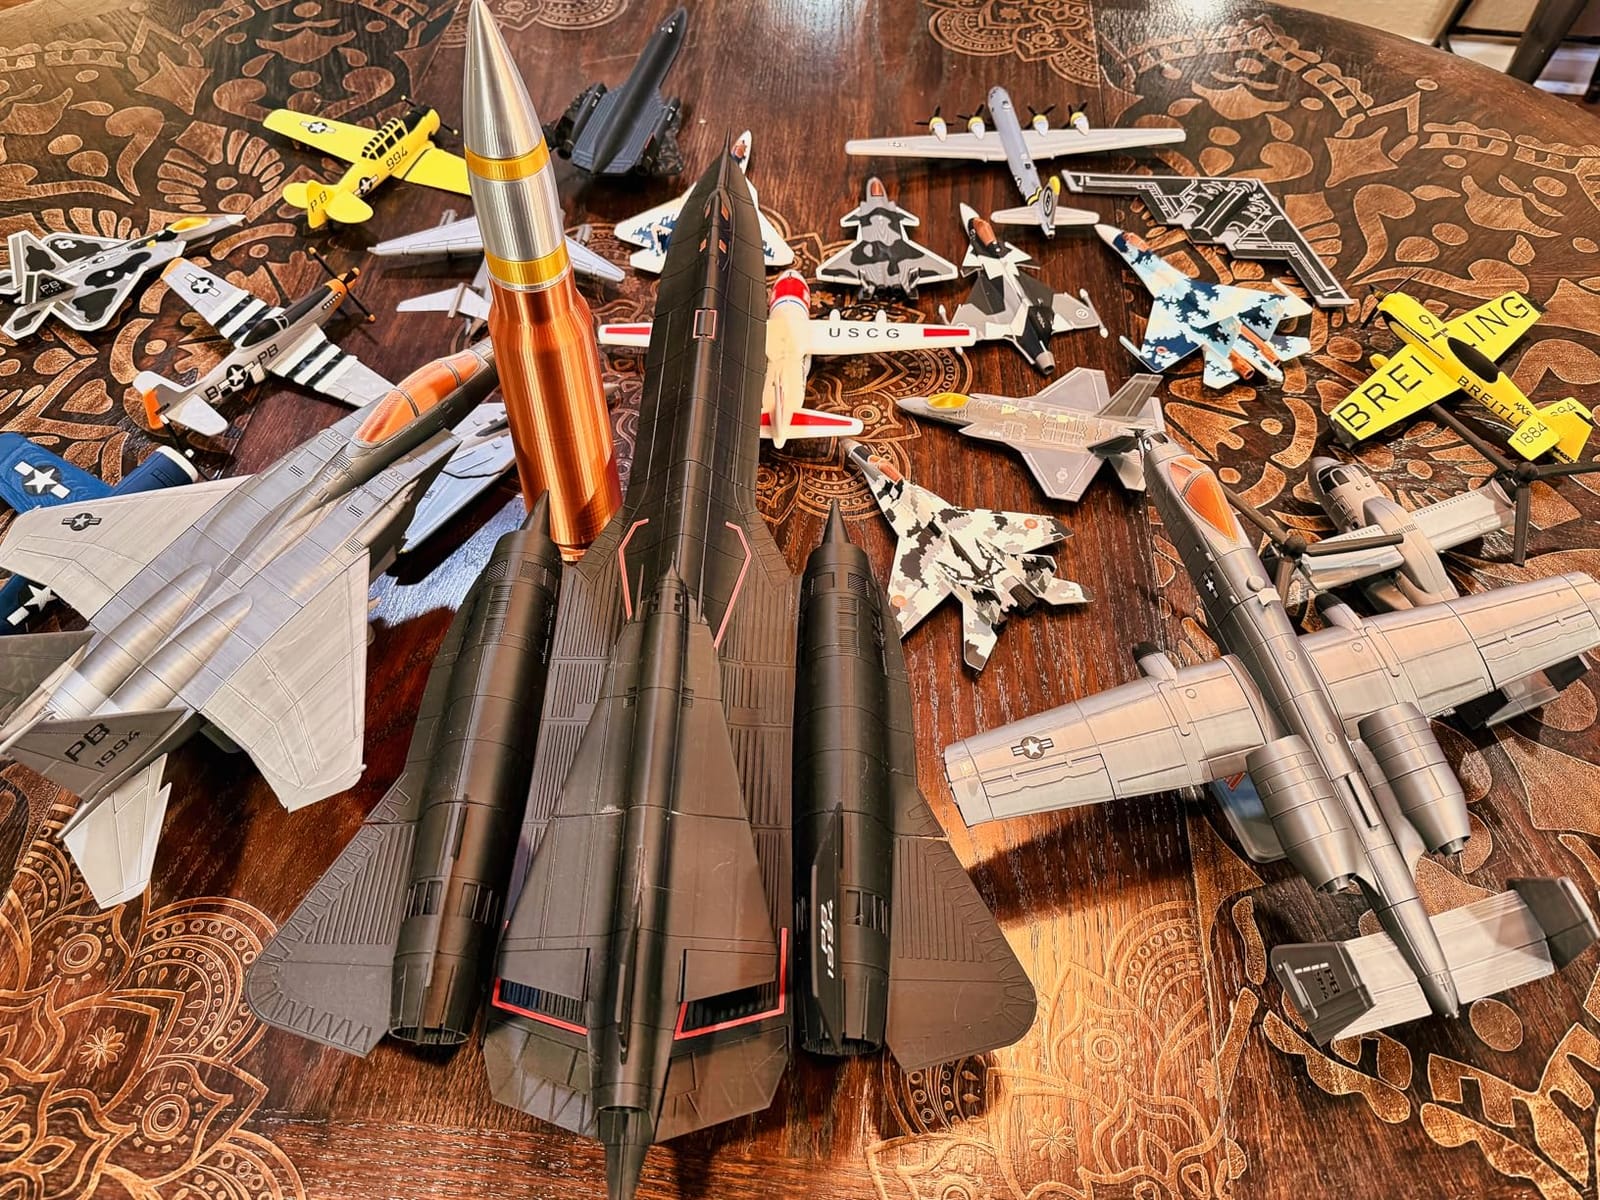
What the A1 gets right that cheaper machines do not
Multi-color is the feature owners most often regret not buying with the printer. The A1 accepts an AMS lite unit that feeds four spools automatically, which turns one color into real two-color prints without manual swapping. Buy the Combo variant if color matters to you, because adding the unit later costs more.
The touchscreen is simplified to almost nothing: load, start, stop. Combined with full-auto calibration, there is very little between a new owner and a finished part.
Who should skip the A1
Skip it if you want open-source firmware control, if you need ABS or ASA in an enclosed chamber, or if your workspace cannot hold a 22-pound machine with a full 256mm cube volume. It is also not the machine for smooth figurine surfaces, where resin wins outright.
2. Asani TINA2S – Best for Classrooms and Shared Desks
TINA2S Fully Assembled Mini 3D Printer for Kids and Beginners, Starter Kit
- Arrives fully assembled with nothing to build
- Filament SD card and slicer software bundled
- Dual Z-axis rails aid print precision
- One-touch filament load and pause resume
- Small build volume limits model size
- Requires the metal magnetic plate for the sensor
- Only 1.75mm filament supported
The TINA2S solves a specific problem: a group of people who have never touched a 3D printer and need to be printing today. It ships fully assembled, and the box includes 10 meters of PLA, a pre-loaded microSD card with models and slicing software, and the accessories needed to start.
At 8.3 by 8.3 by 11.4 inches and 6.4 pounds, it is small enough for a dorm room, a classroom desk, or a shared workshop shelf. Auto leveling plus dual Z-axis rails do the accuracy work that usually requires a hand and a lot of patience.
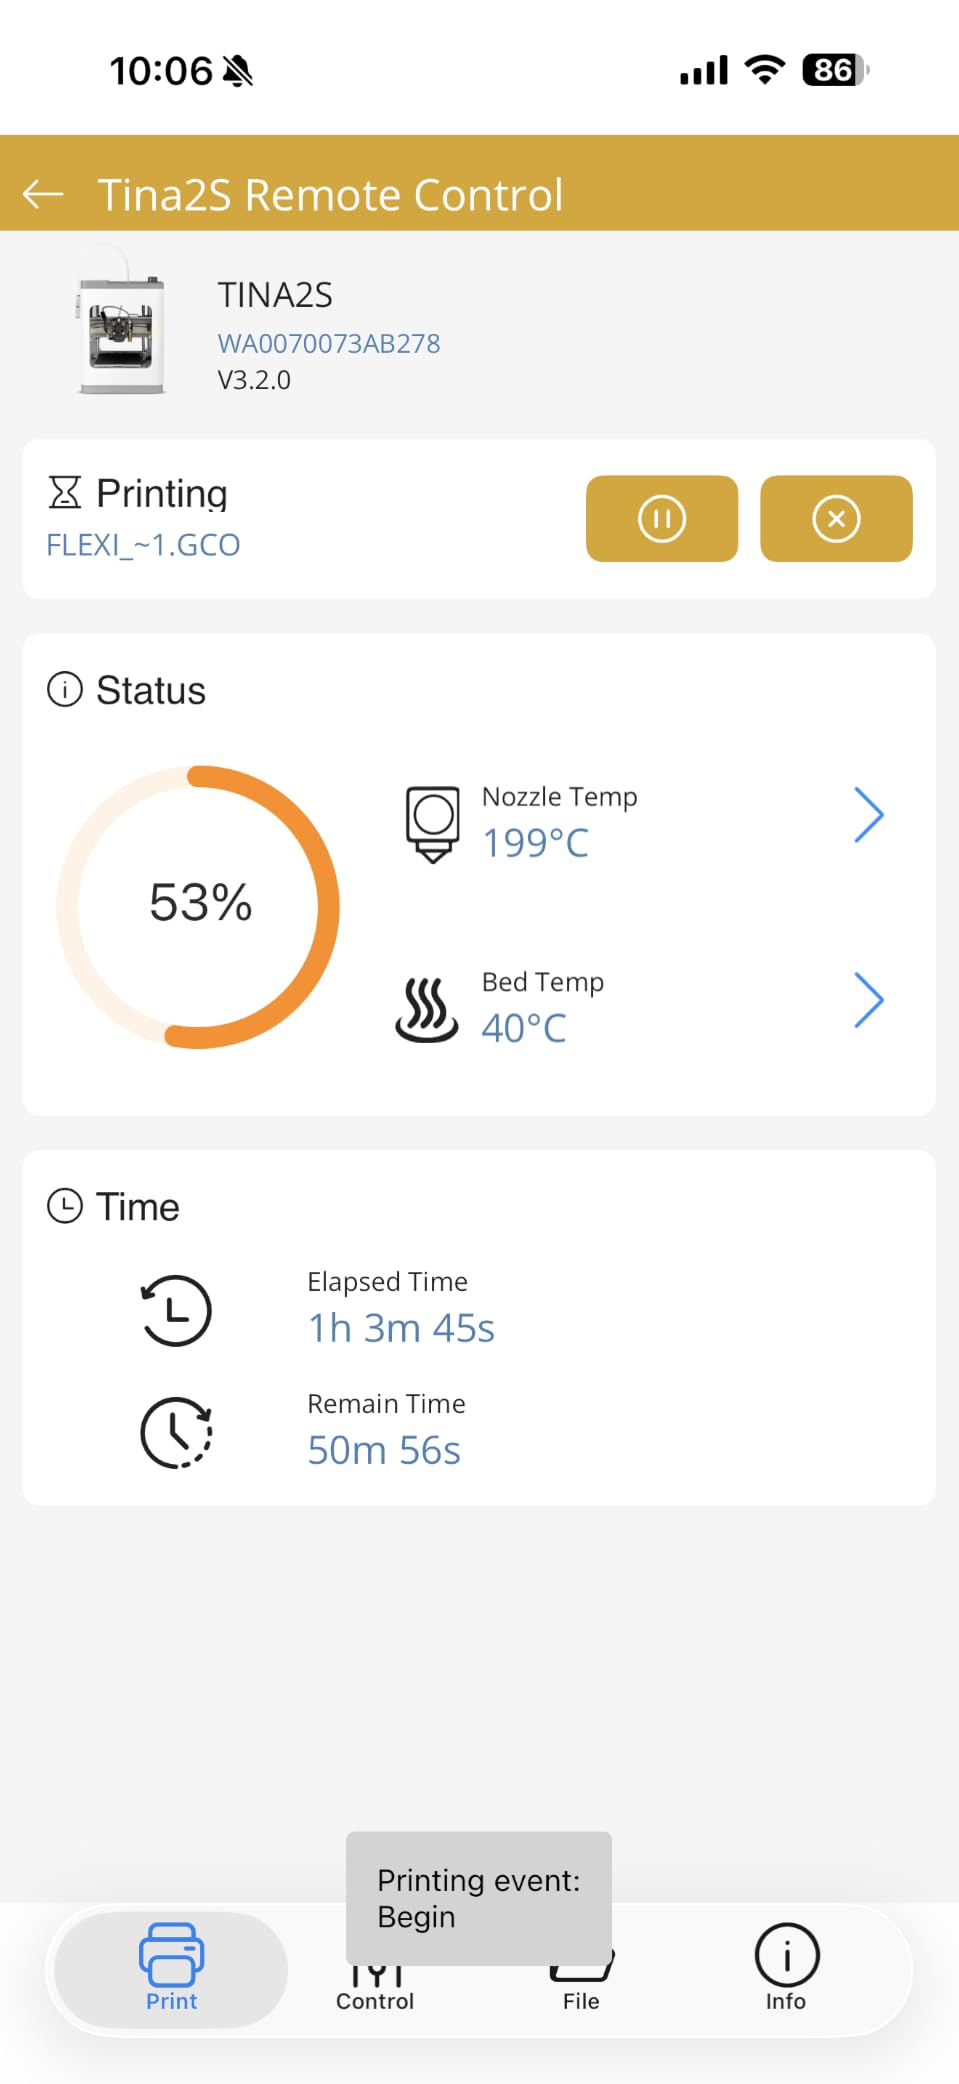
The 2.4-inch LCD gives basic status, and one-touch filament load with retract removes the most fiddly part of loading material. Pause and resume means a failed print does not mean restarting from zero. It works with Mac, Windows, Linux, WiiBuilder, Cura, Simplify3D, and Slicr3d, so your existing workflow will carry over.
Reviewers consistently rate it as approachable and classroom-friendly, which matches what we saw in use. The parts that will frustrate you later are size, not function.
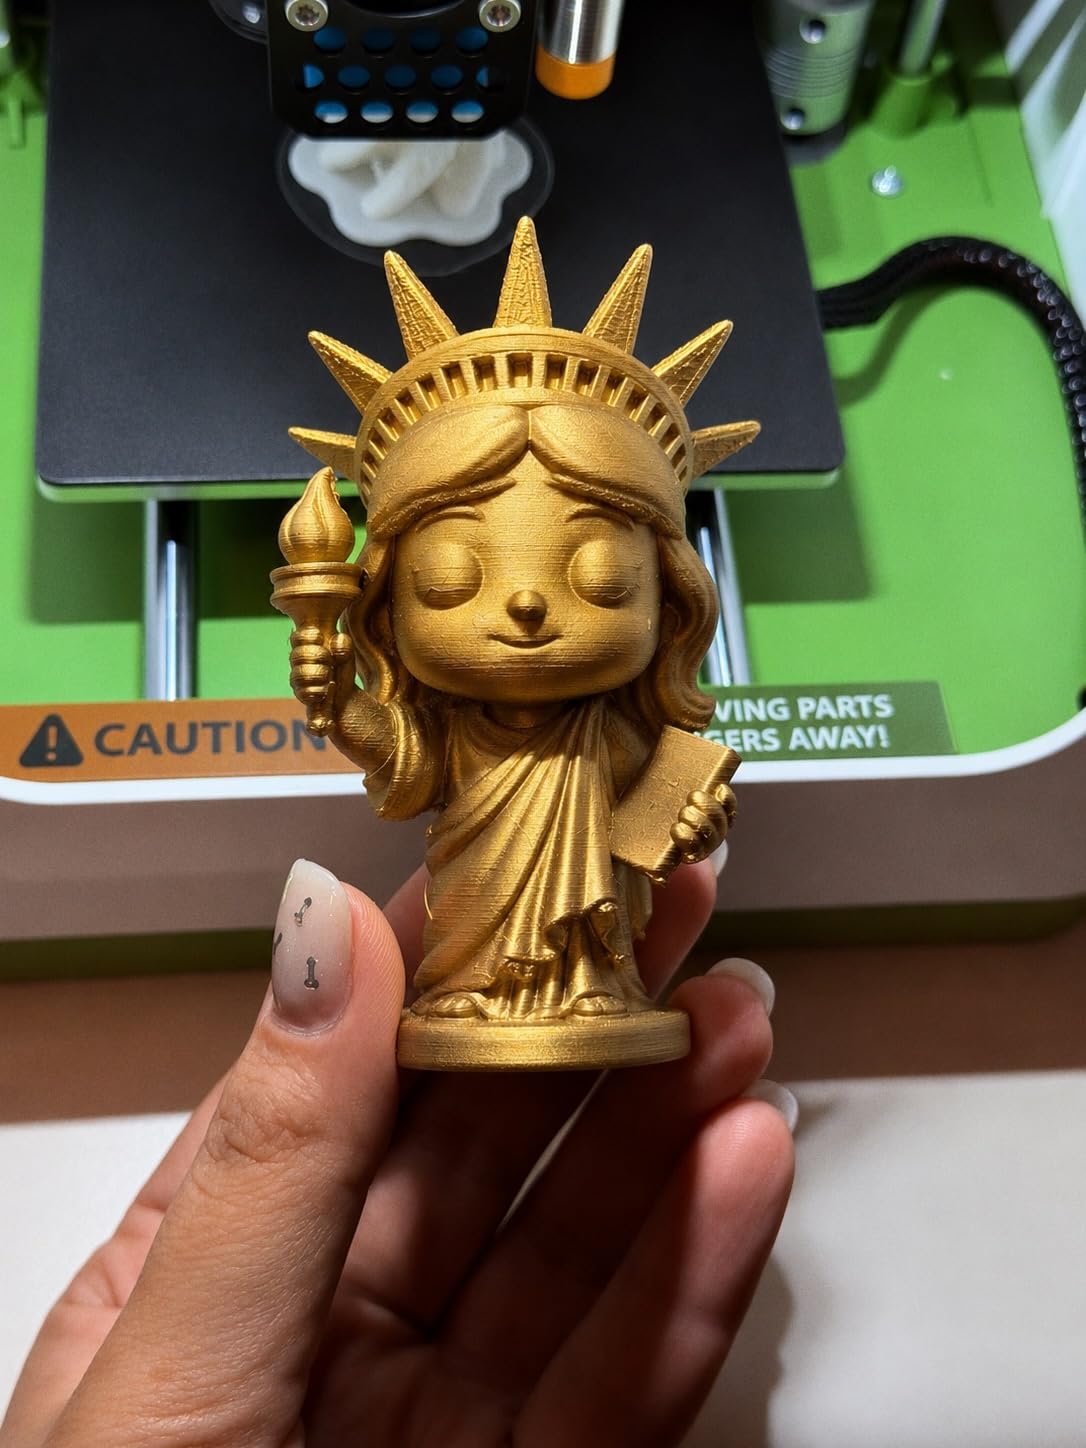
Where the starter kit actually saves money
Bundling filament and a loaded card removes two decisions that stall beginners for days. The included card means a working profile and sample models are already on the machine, so the first print needs no computer at all if you want it that way.
For a school or a family with several kids, buying two or three of these costs less than one premium machine and puts a working printer in front of each student.
When it is too small
The build volume suits desk toys, organizers, small brackets, and class projects. It will not print a cosplay helmet, a large planter, or anything you would want to use as a functional enclosure part. If your project list contains one item over roughly 10cm, this is not the machine.
3. Bambu Lab A1 mini – Best for Small Spaces
Bambu Lab A1 mini 3D Printer + LED Lamp Kit, Ready-to-Use for Beginners
- Compact footprint for home or studio
- Automatic calibration keeps setup simple
- Quiet fast operation
- LED kit gives a ready first project
- Mini build volume restricts larger work
- Multi-color needs the AMS lite from the Combo variant
This listing bundles the A1 mini with a LED Lamp Kit, which turns a printer purchase into a finished project. You print the lamp parts, assemble the lamp, and you have printed something useful on your first evening rather than a calibration cube.
The machine itself keeps the A1 family’s selling points: automatic calibration, simple setup, and app-based print management through the Bambu Handy app with model access from the MakerWorld library. It is quiet and fast for its size.
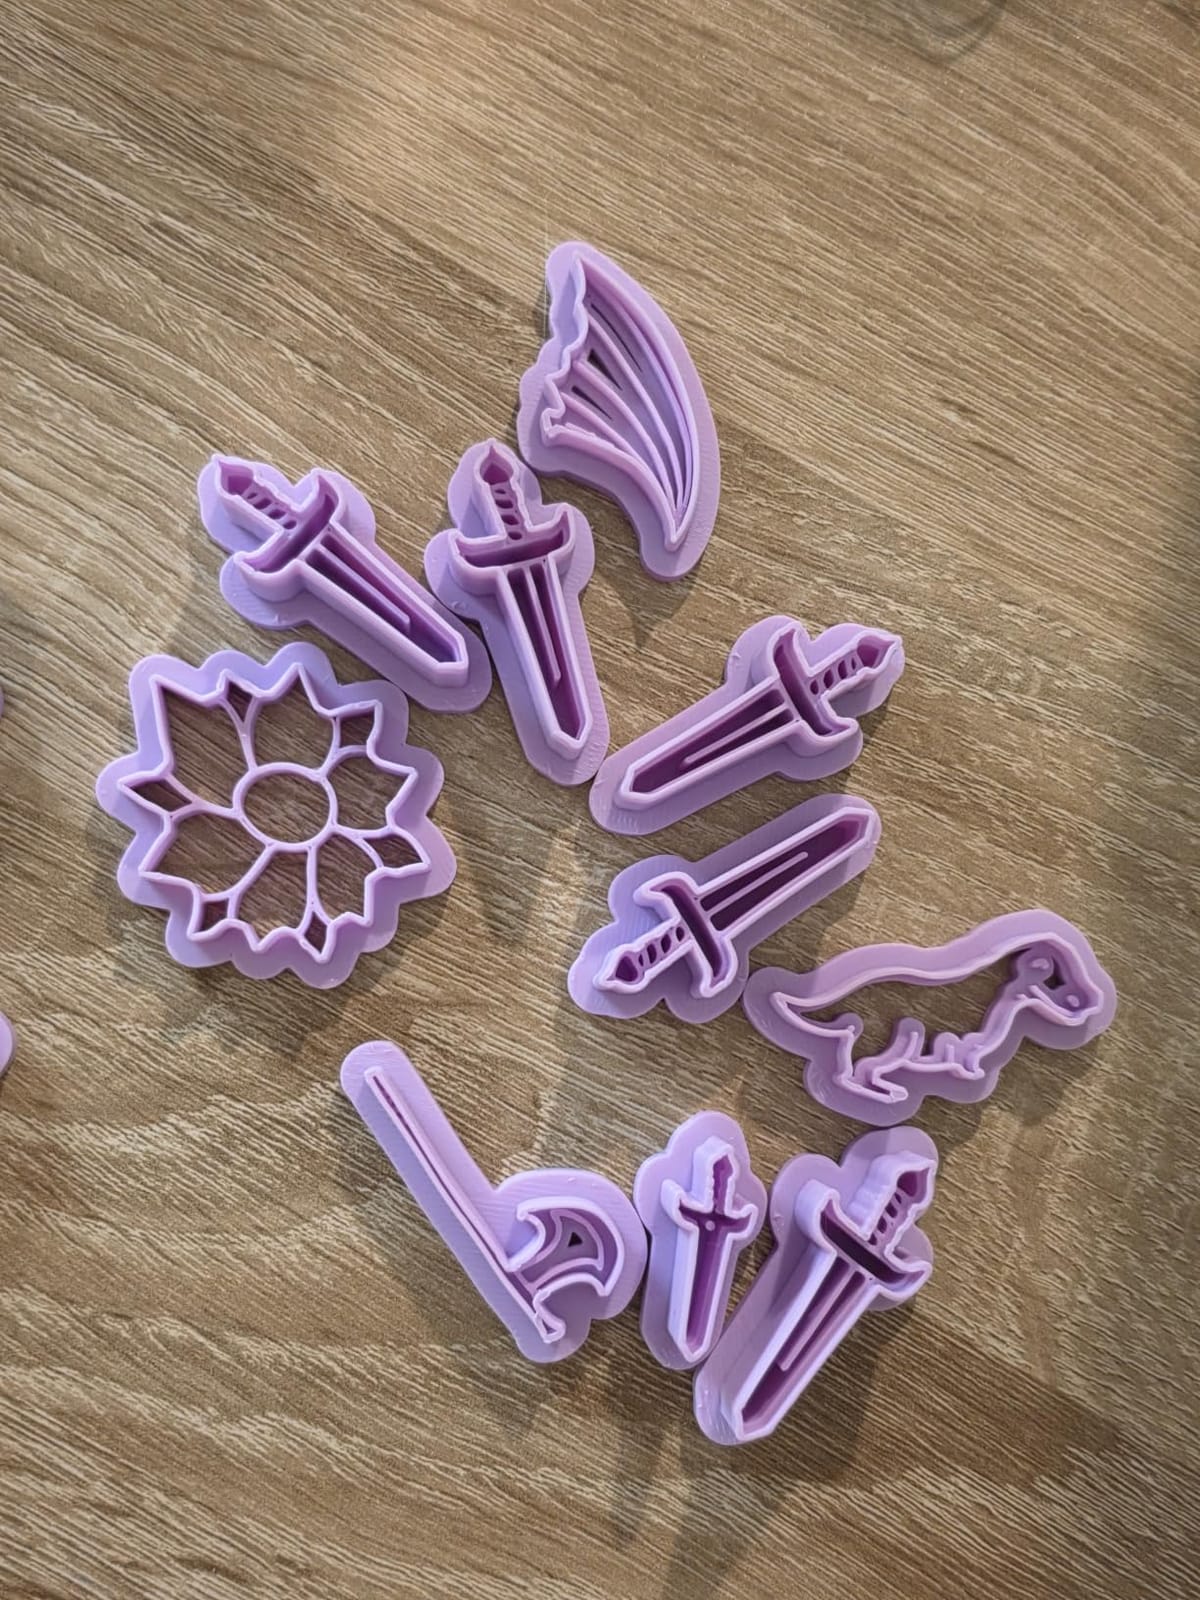
At 12.1 pounds and 15.21 by 16.77 by 17.94 inches, it fits on a desk against a wall in a way the full-size A1 cannot. Buyers consistently mention the small footprint as the deciding factor, along with the LED kit’s value as a creative entry point.
The trade-off is the same one every mini printer carries. Anything large is out of reach, and you will outgrow it faster than you expect if you discover you enjoy the hobby.
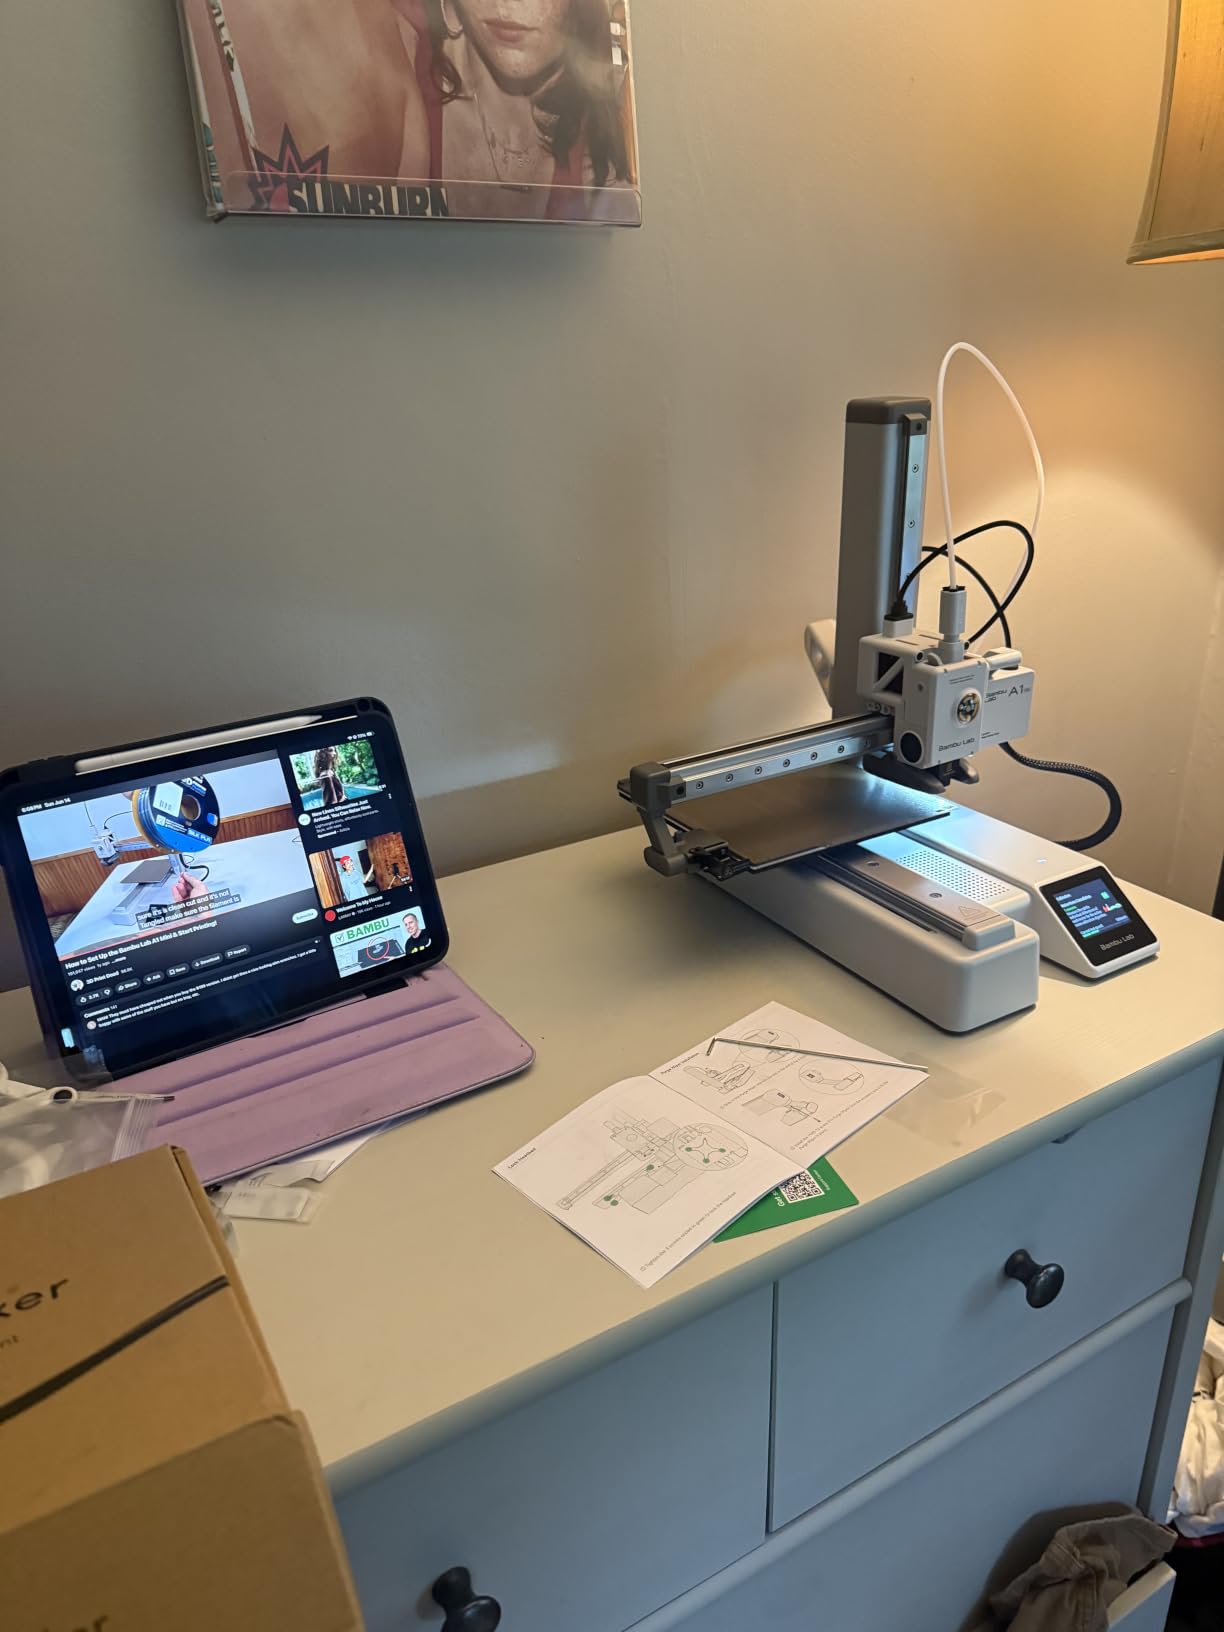
How much room does a mini printer actually give you
The mini class typically caps out around a 180mm cube. That covers phone stands, cable organizers, drawer dividers, dice, and small figures. It does not cover the middle ground of 200 to 250mm parts that fill the gap between mini and full-size machines.
If you are undecided, ask what you want to print in six months rather than what you want to print this week. Many owners of compact machines move up within a year.
Who this suits best
A student in a dorm, a parent buying a first machine for a child, or anyone who lives in a small apartment where a 22-pound printer on the dining table is not going to happen. It is also a sensible second printer once you understand what you like printing.
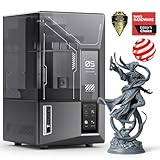
4. ELEGOO Mars 5 Ultra – Best for Miniatures and Resin Detail
- Surface detail far beyond any filament printer
- Self-leveling build plate removes the hardest resin step
- Tilt release roughly halves print times
- AI camera catches failed prints and resin shortages
- Liquid resin handling and post-processing
- Unhinged lid must be removed to open
- Rounded spout makes pouring messy
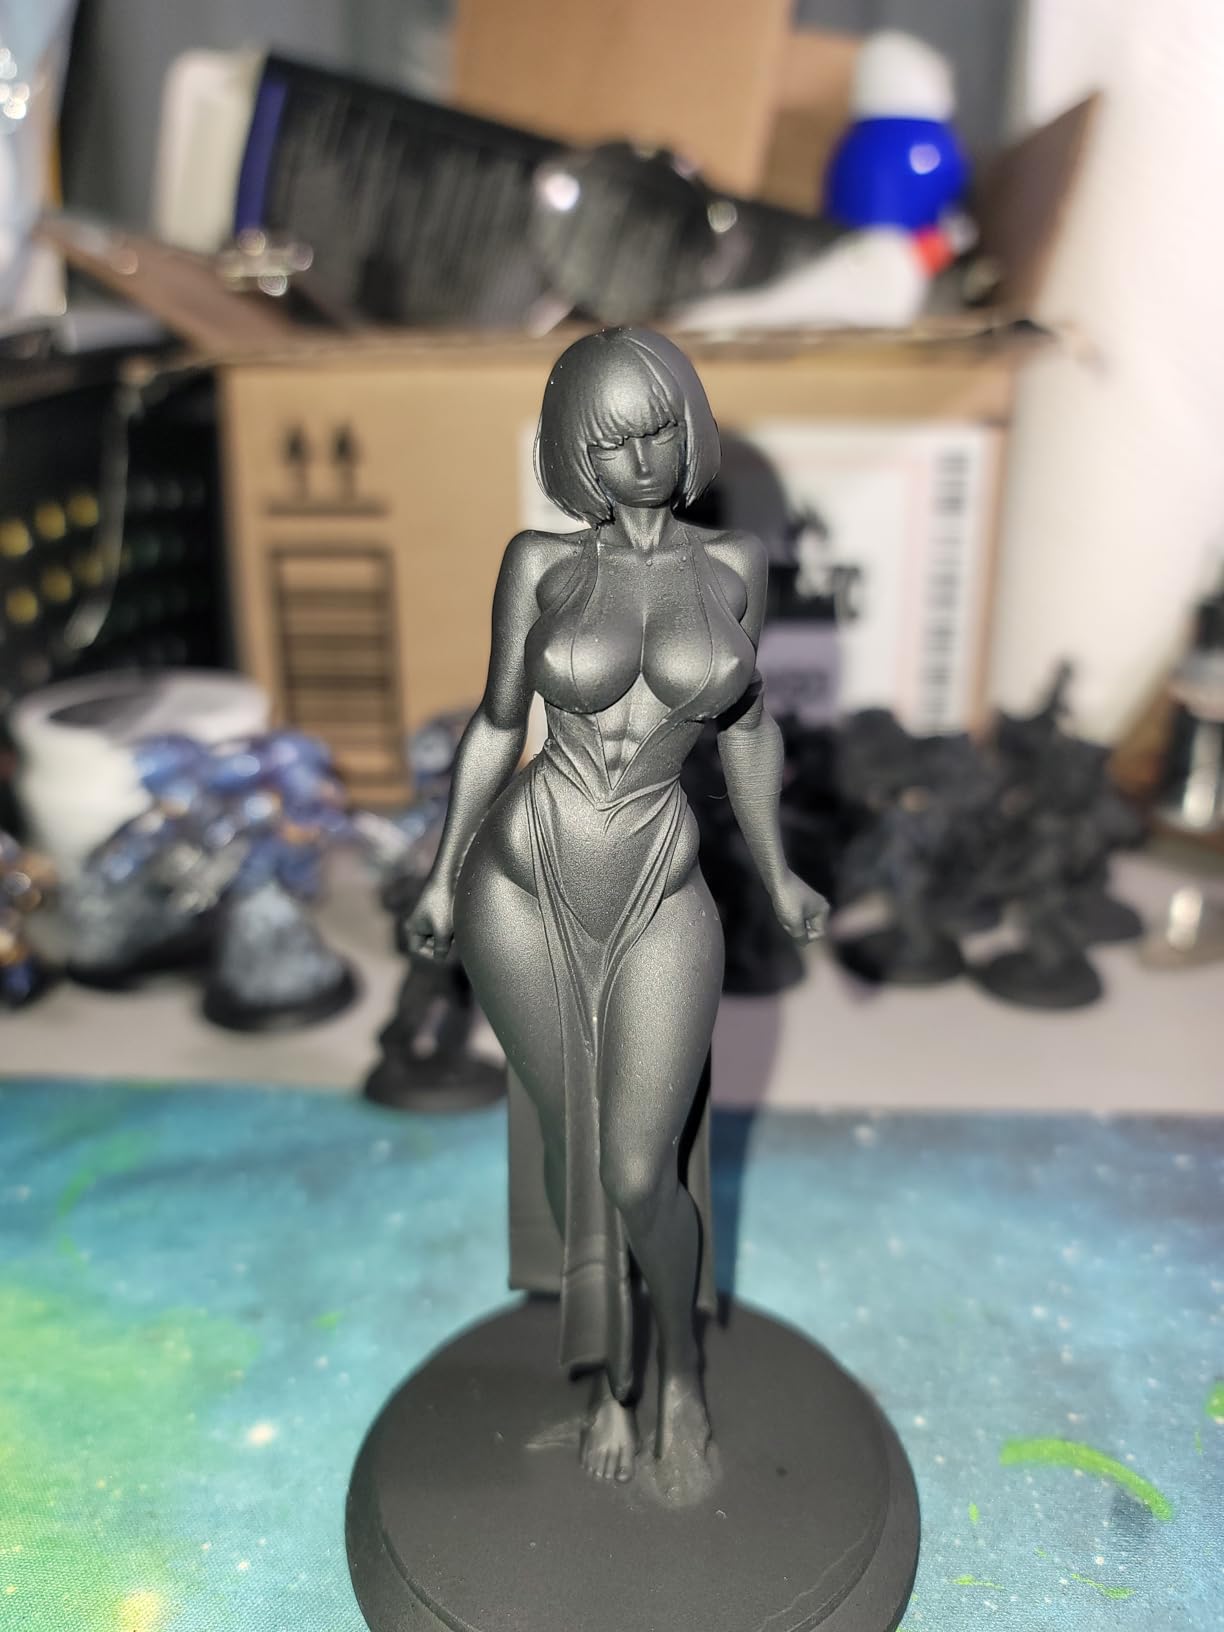
If your goal is smooth figures, miniatures, or statues with no visible layer lines, resin is a different technology and the ELEGOO Mars 5 Ultra is the strongest pick under $300. A 7-inch monochrome LCD at 9K resolution delivers 18 micron XY detail that no filament machine on this list can approach, even at its finest layer height.
Two design choices make it genuinely beginner-friendly for resin. The build plate self-levels, which removes the most tedious part of resin setup, and tilt-release model peeling roughly halves print times compared with earlier Mars models.
The AI camera watches the build in real time and flags problems before a whole plate is wasted, and the smart residue sensor protects the LCD screen from cured resin. Alarms cover resin shortage and leveling failure, and WiFi cluster printing lets one device control several machines if you ever scale up.
Exposure times are easy to adjust, which matters more than it sounds: different resins need different settings, and beginners who cannot change exposure end up guessing.
What resin asks of you that filament does not
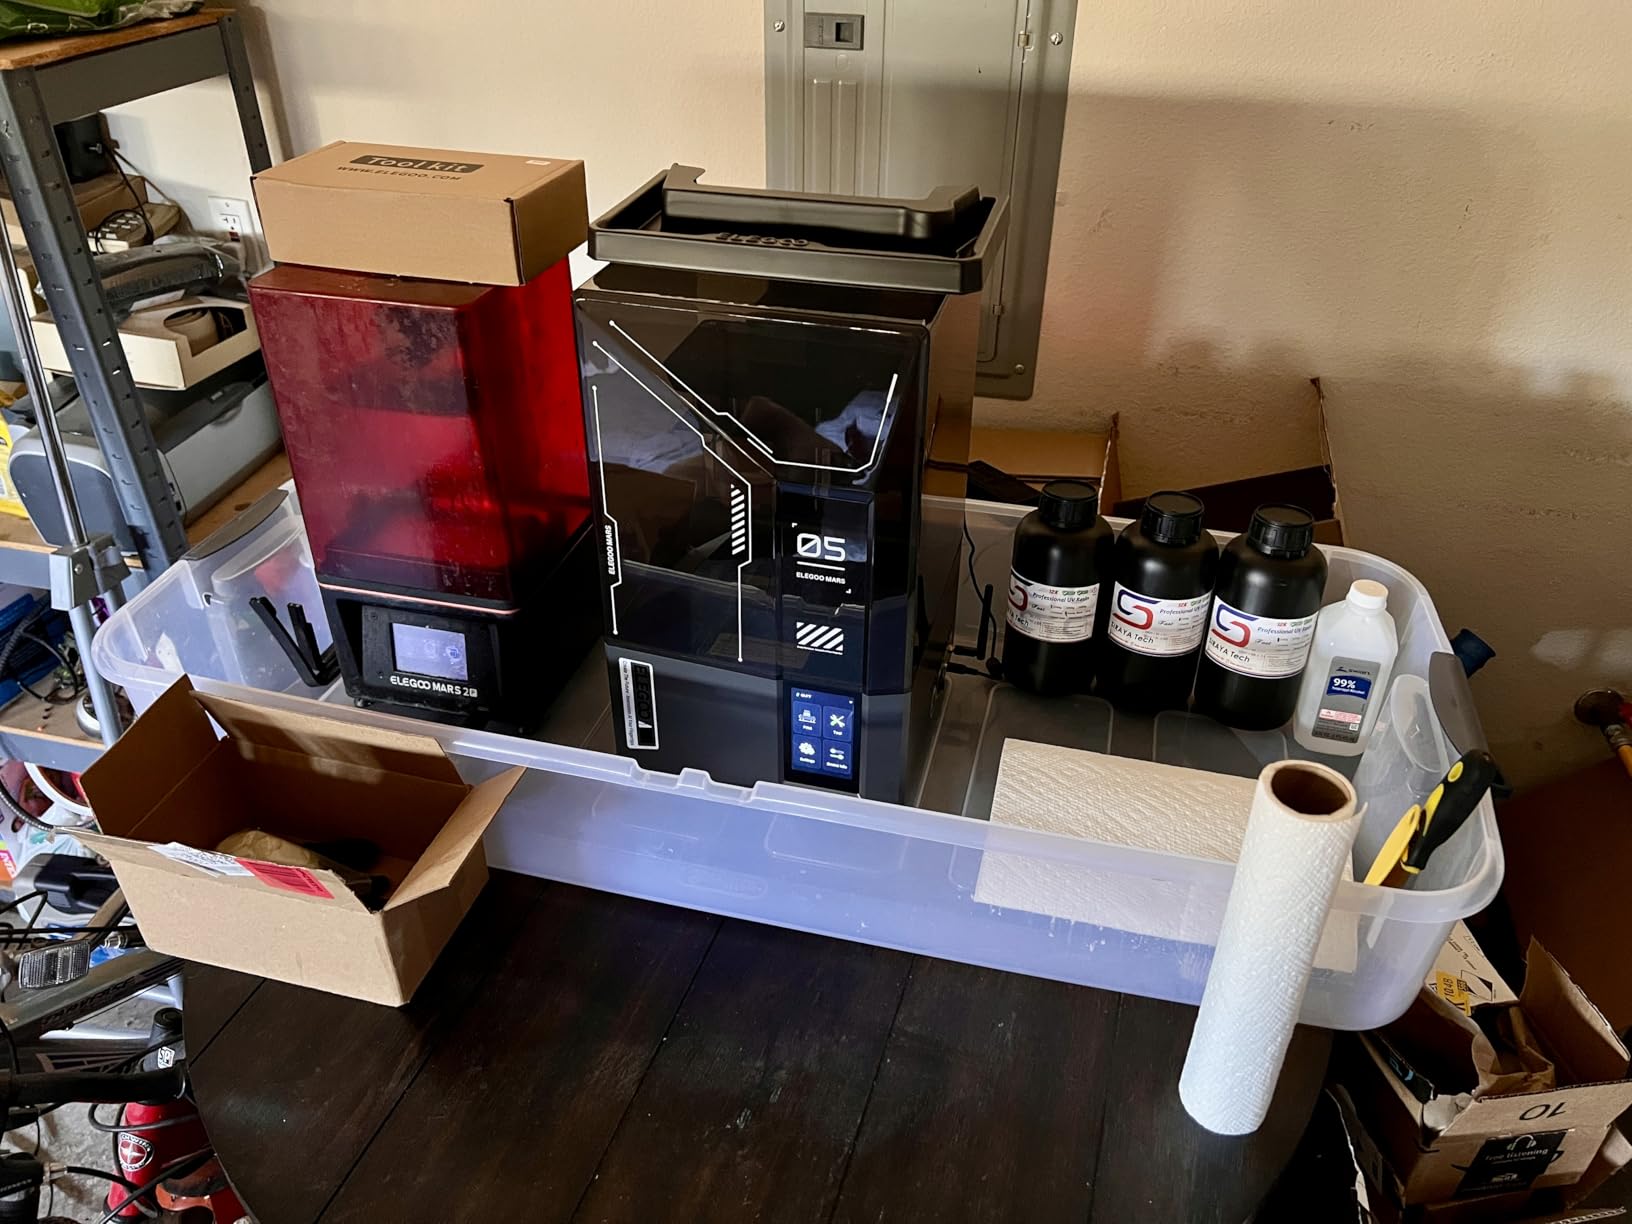
Resin is liquid and it is messy. You handle uncured resin with gloves, wash prints in isopropyl alcohol, cure them under a UV lamp, and paint them to look good. Beginners buying their first resin machine praise the out-of-box setup, then hit the supports-and-painting learning curve.
Safety glasses and nitrile gloves are not optional with this machine. If you have small children in the home, think carefully about where the wash station lives.
Why it cannot replace a filament printer
Resin is not a general-purpose tool. It produces brittle parts that snap under load, it cannot print large objects, and the build plate is small enough that a full-size cup will not fit. Most owners end up with resin for miniatures and an FDM machine for functional parts.
If you want large cosplay props, compare the filament options instead, including our guide to the best large 3D printers for helmets.
5. FlashForge Adventurer 5M – Best for High-Speed Printing
- Print-ready roughly 10 minutes after unboxing
- CoreXY motion holds quality at speed
- One-click leveling with vibration compensation
- PEI plate grips PLA and PETG well
- Occasional firmware freezes and spotty app connectivity
- No built-in work light
- Open frame rules out ABS and ASA
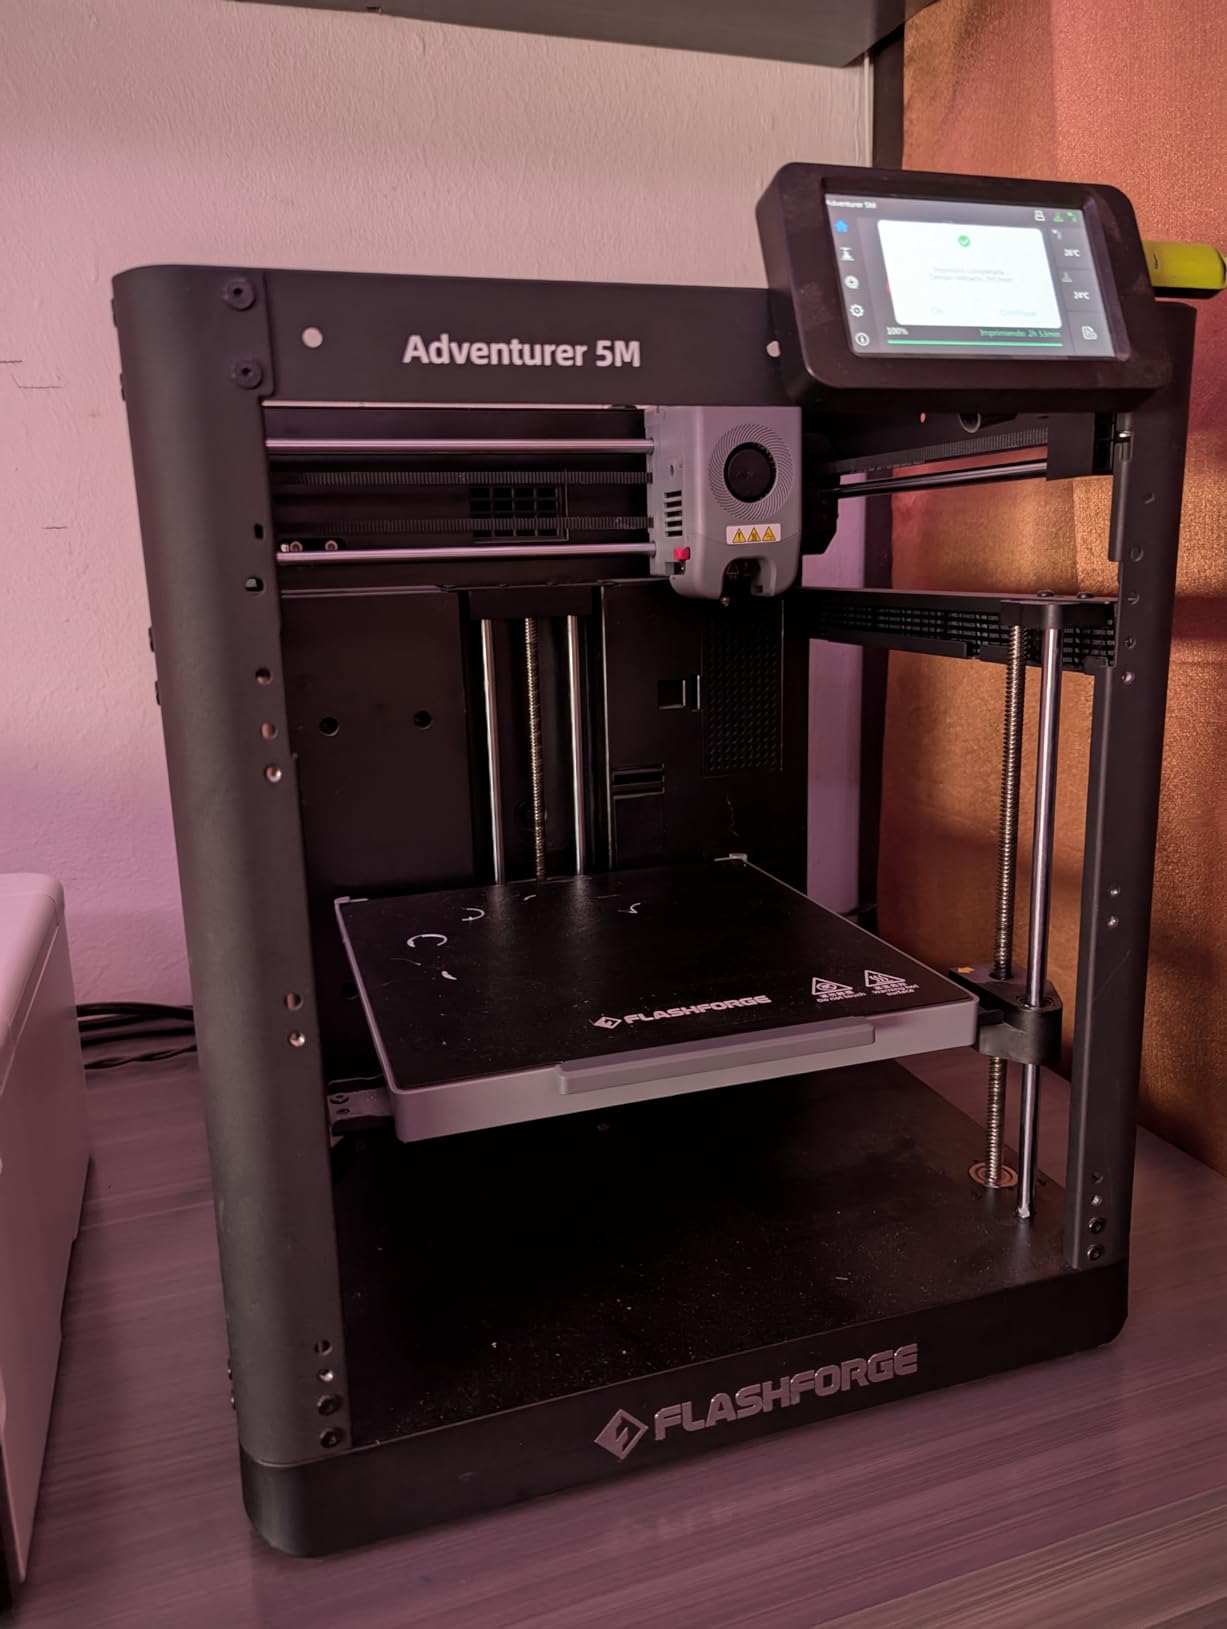
The Adventurer 5M is the fastest machine here in practice, and the reason is its motion system rather than its headline number. CoreXY with 20000 mm/s2 acceleration and input shaping means the print head does not produce the bed-slinger wobble that ruins corners on cheap Cartesian machines at high speed.
It reaches 600 mm/s and goes from zero to full speed in 0.025 seconds. Owners report being print-ready roughly 10 minutes after opening the box, which matters when you are excited and want a result the same evening.
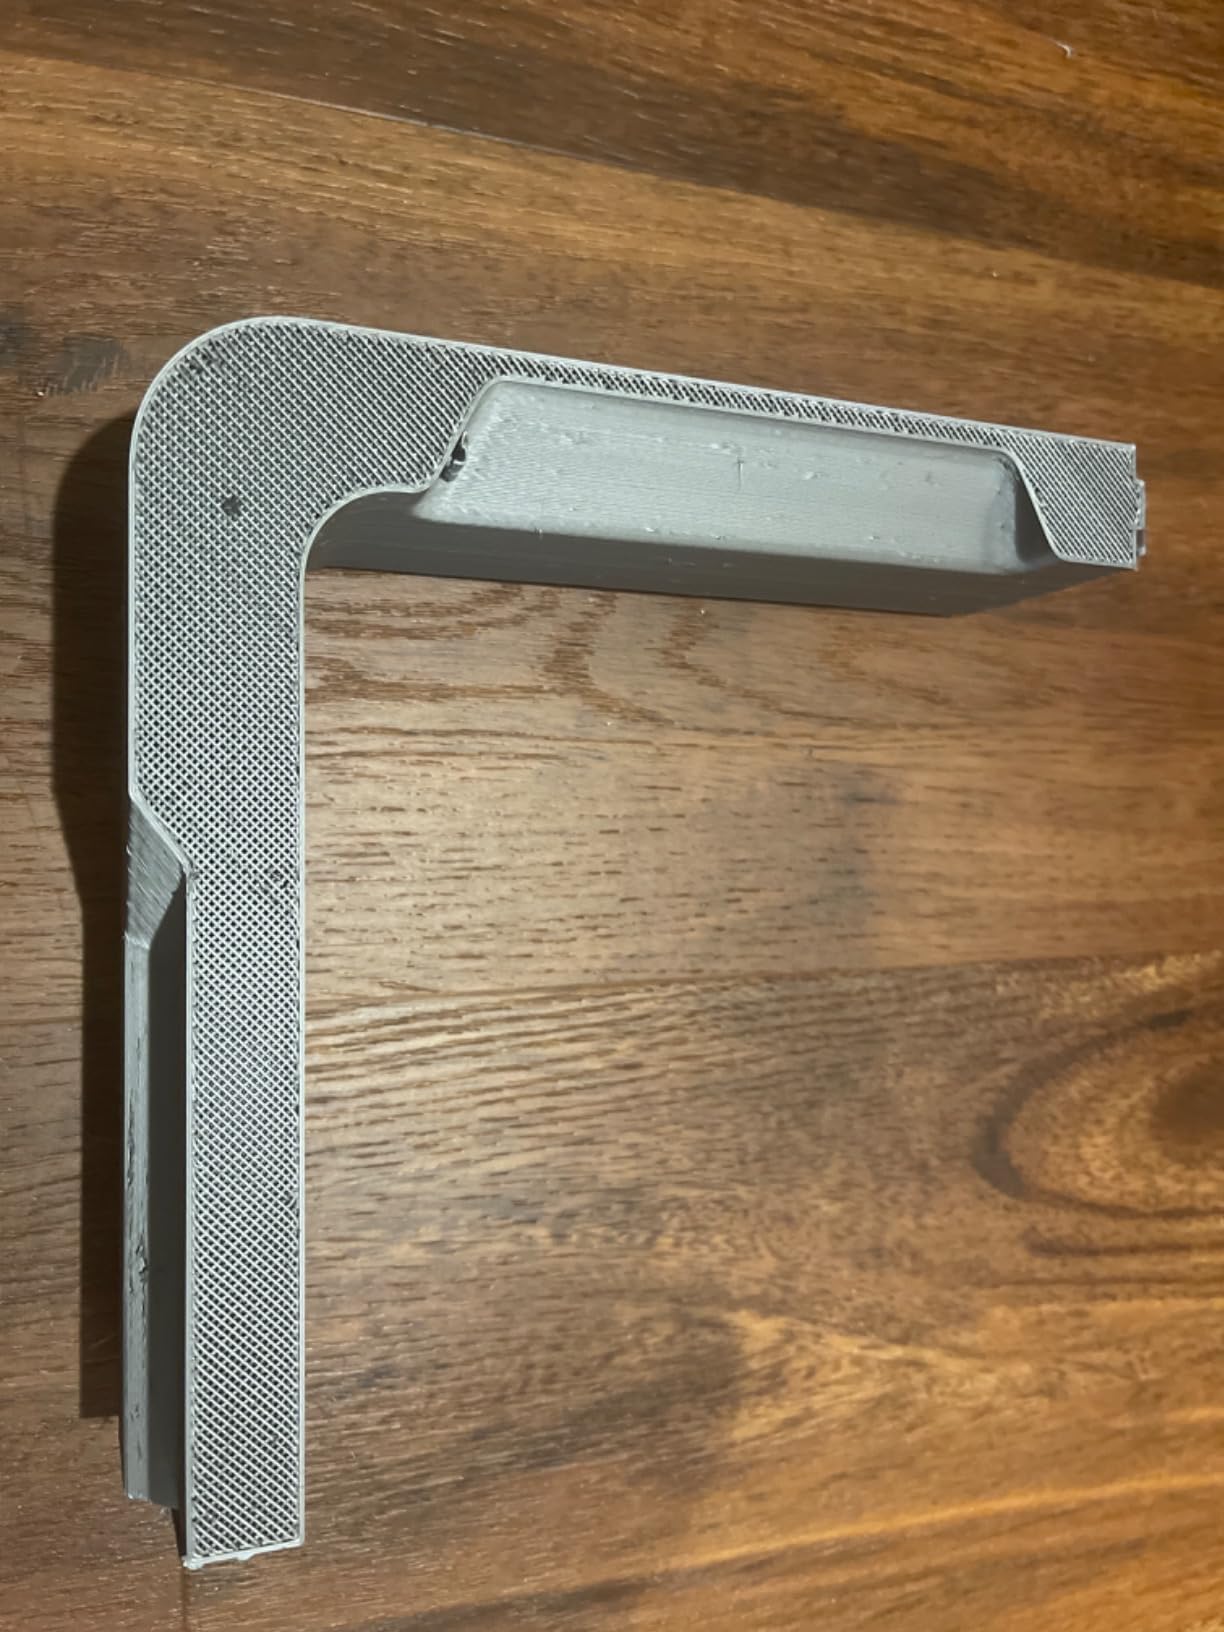
The direct extruder has a quick-detachable nozzle rated to 280C that reaches 200C in 35 seconds. A filament run-out sensor pauses rather than grinds filament, and power loss recovery picks up where it stopped. The dual-sided PEI steel plate releases prints without a scraper.
One owner reported pushing 2.6 km of filament through a single unit with very few failures, which is the kind of durability signal that rarely shows up in short tests.
What the spec sheet leaves out
There is no built-in work light, so the print area is genuinely dark and you will want a desk lamp before your first print. The firmware occasionally freezes, the manual positioning menu is limited, and app connectivity is inconsistent. USB drives must be formatted FAT32.
With a 0.4mm nozzle it handles PLA, PETG, and TPU. Swapping to a 0.6mm nozzle opens PLA-CF and PETG-CF, which is a meaningful upgrade path for functional parts.
Who should buy a different machine
Choose something else if you need ABS or ASA, because the open frame cannot hold chamber temperature. If your workflow depends on the app rather than USB or network, test the connectivity first. And if you need multi-color, there is no path to it here.
6. Entina Tina2C – Best for Kids and STEM Learning
- First print in under a day with no assembly
- Guided app with 3500 plus model library and AI search
- Auto leveling plus power loss recovery
- Compact quiet rounded design
- Very small build volume
- Filament can clog inside the extruder when retraction is on
- Side filament hook does not accept 1kg spools
The Tina2C is built around a claim we can repeat because owners repeat it: children pick it up and print within a day. It arrives fully assembled, guided setup runs through the Poloprint Cloud app, and the first print can take as little as 8 minutes. Parents report roughly nine out of ten prints succeed without help.
The educational layer is real rather than marketing. There are 25+ creative STEM modules and course content, AI-powered search, and a photo-to-print feature. It works with Windows, macOS, Linux, and Chromebook, and with Cura and Simplify3D.
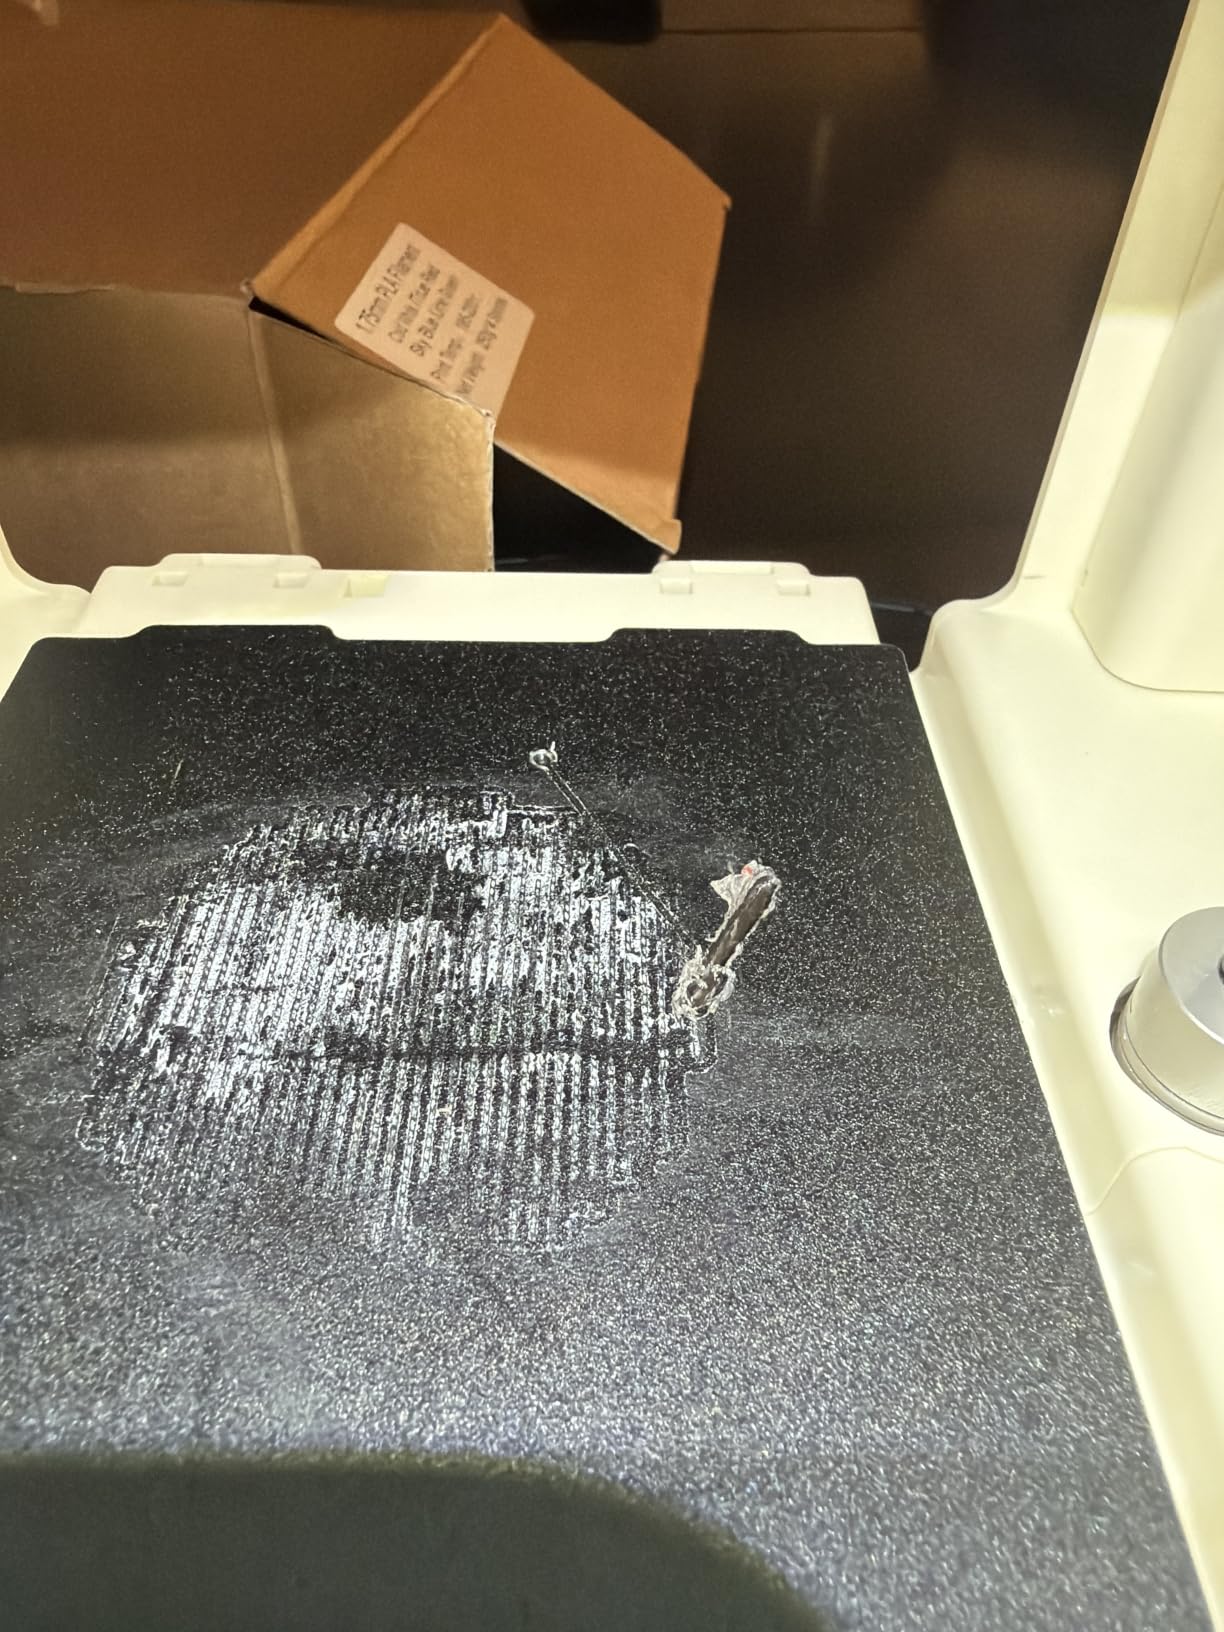
Auto leveling and power-loss recovery are the two features that matter most here, because both cut wasted material and both work without an adult. The 2.4GHz WiFi plus TF card offline mode means it prints from a phone or from a card when the network misbehaves.
At 5.28 pounds with rounded edges and integrated LED lighting, it is designed to live on a family desk, not a workshop bench. Entina customer service is reported as responsive when something goes wrong.
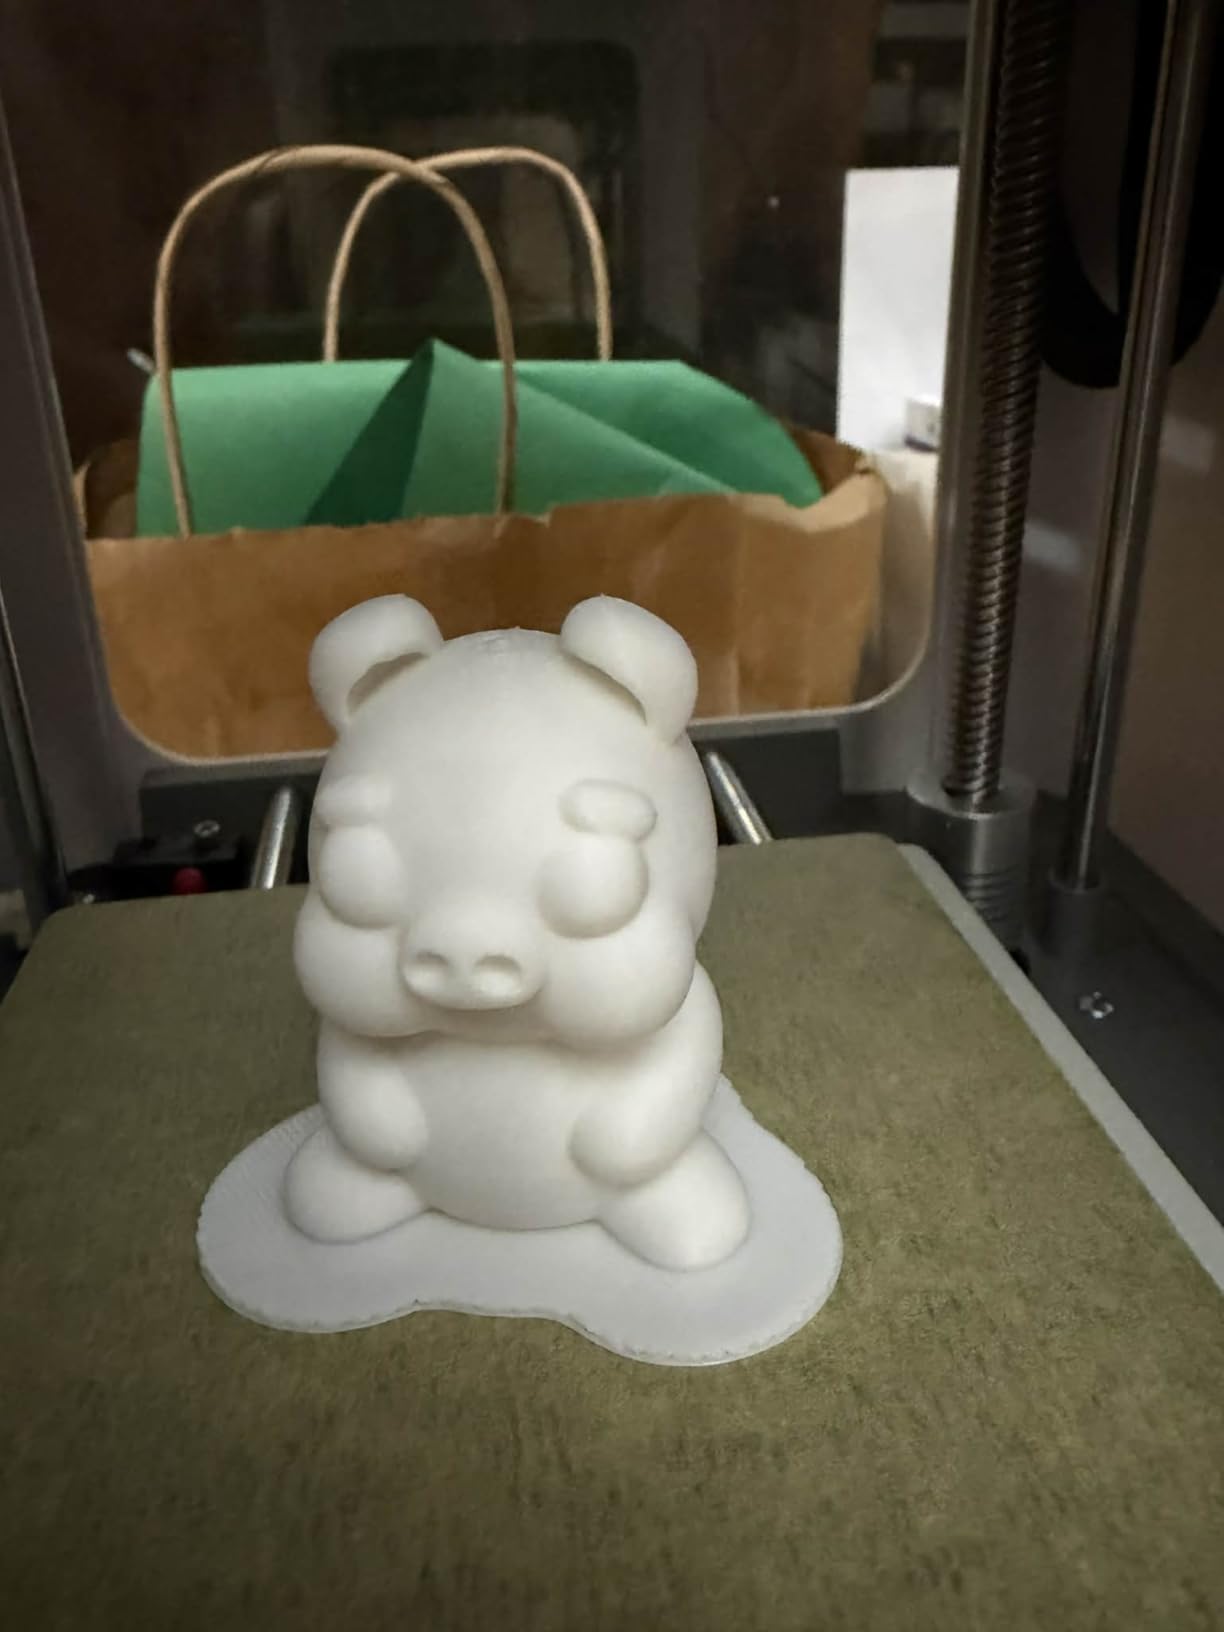
The build volume is the whole trade-off
A 3.9-inch cube handles fidget toys, small figures, keychains, and STEM modules well. It also means you outgrow it fast once the novelty fades. The recurring complaint across reviews is not quality but scale, and a minority of reviews note filament clogs inside the extruder when retraction is enabled and some slightly wobbly prints.
Plan to treat this as a two-year learning machine rather than a workshop printer.
When to buy something bigger instead
If your child wants to print cosplay props, functional brackets, or anything larger than a fist, the Asani TINA2S gives more room for similar money, and a full-size machine gives more again. Choose the size that matches the projects you can already name.
7. FlashForge AD5M – Best for First-Print Confidence
FLASHFORGE AD5M 3D Printer Fully Auto Calibration Print with 1-Click Max 600mm/s Speed, All-Metal CoreXY Structure Precise Printing, Easy-Maintenance Quick-Swap Nozzle, Print Size 220x220x220mm
- Effectively no assembly
- about 15 to 20 minutes total
- One-click leveling measures nozzle-to-plate offset
- Orca-based slicer with a gentle learning curve
- Slicing needs a Windows or Mac PC
- Spotty WiFi and app connectivity
- Noisier than expected with slow heater warm-up
The AD5M arrives close to fully assembled. The only real task is moving the screen to its mount, which takes about 15 to 20 minutes. For a first-time buyer, that removes the single most demoralizing step of buying a kit.
Calibration is fully automatic with one click, and it measures nozzle-to-plate offset precisely rather than relying on a coarse sensor. The result is a first layer that sticks without manual adjustment, which is why owners consistently call it an ideal gateway printer.
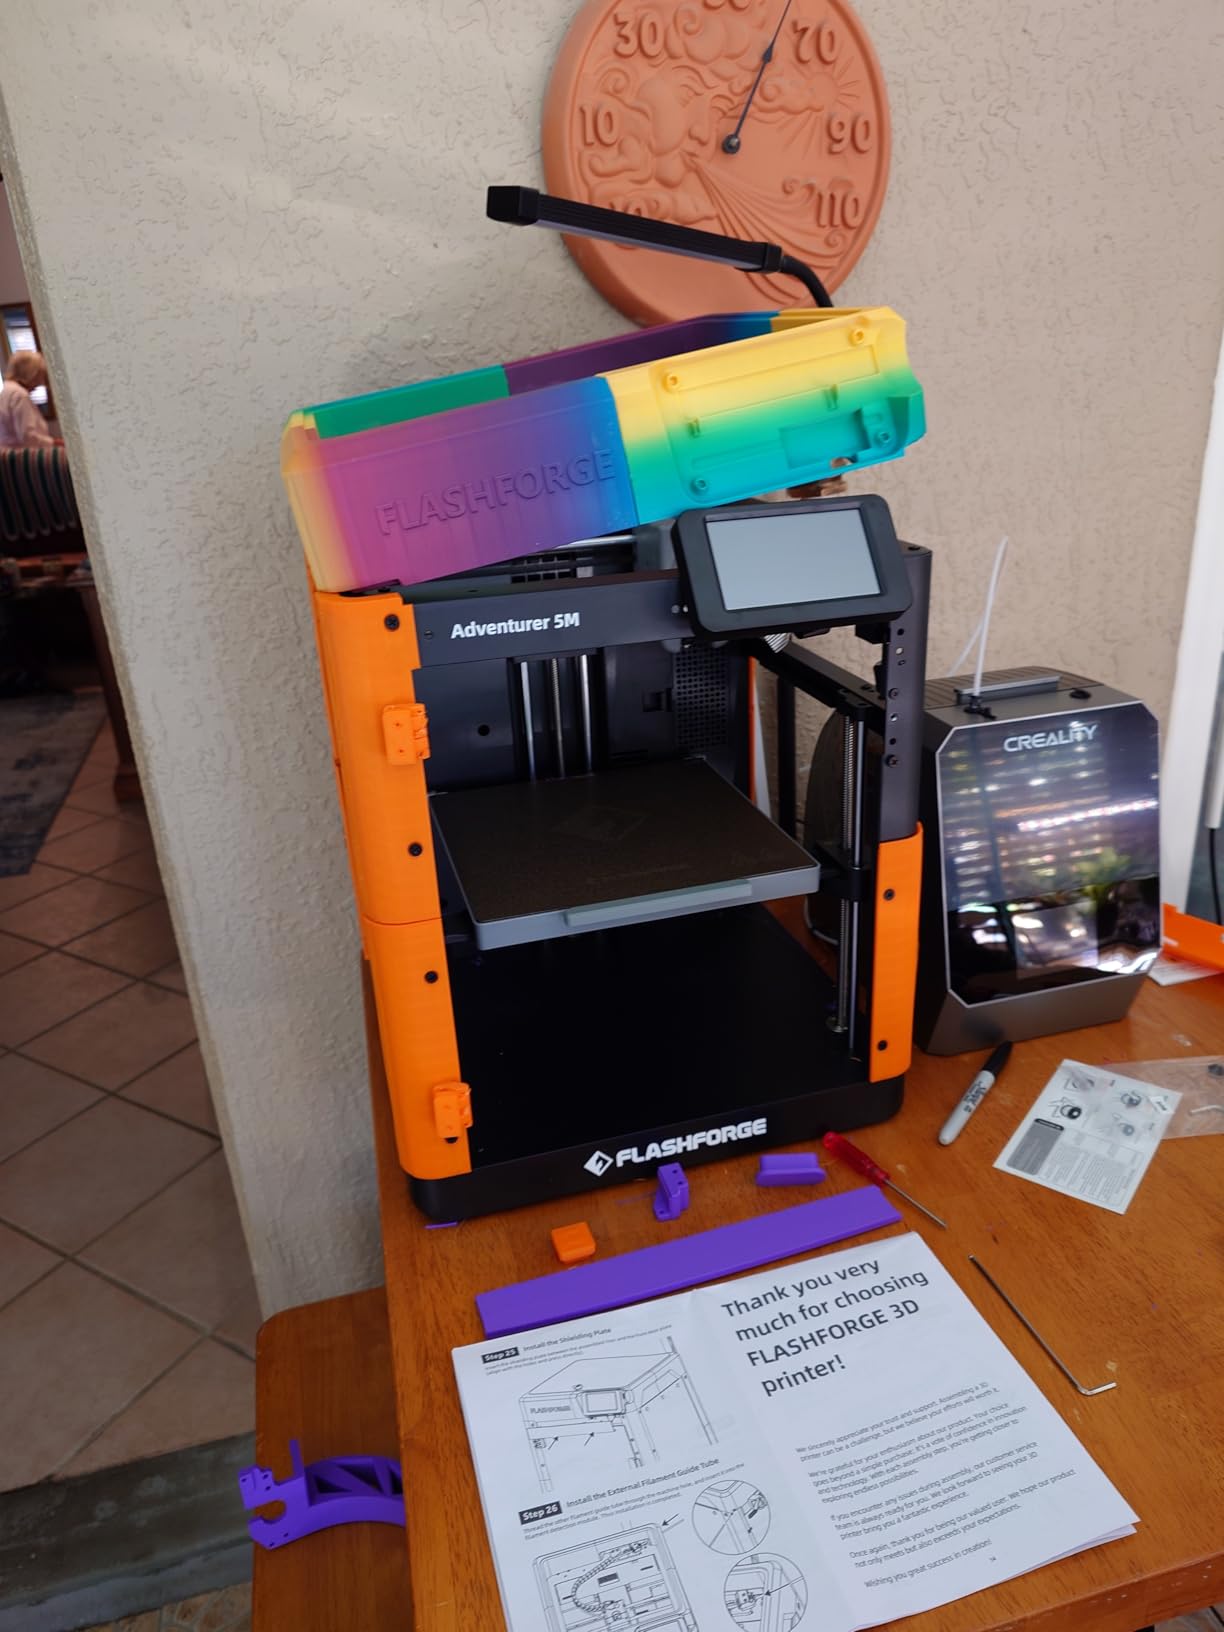
The all-metal CoreXY structure holds stability at 600 mm/s with low noise for its class, and the flexible PEI steel plate makes model removal easy. The reverse side is set up for PETG, so the same plate handles both common materials.
Power outage resume saves the current layer and continues after power returns. The tool-free quick-release nozzle swaps in as little as 3 seconds, and nozzles are available in 0.25, 0.4, 0.6, and 0.8mm.
Plan your computer setup before you buy
Slicing requires a Windows or Mac PC. You can manage prints from an iPad, but you cannot slice on one, which catches people out. The Orca-flashforge slicer has a gentle learning curve and includes one-click batch file transmission and multi-printer monitoring.
Network reliability is the main friction point. Several reviews report spotty WiFi and app connectivity, and recommend Ethernet as the more reliable route.
The filament brand question
A handful of users report adhesion and dispensing problems with non-Flashforge filament. If you are sensitive to that, test a different spool before committing to a large order. It also runs noticeably noisier than expected, with slow heater warm-up, so it suits a workshop more than a bedroom.
8. Creality Ender 3 V3 SE – Best Value
- Lowest entry point of the ten
- CR Touch handles bed leveling and Z-offset
- 250 mm/s on a 32-bit silent mainboard
- Sprite direct drive takes PLA PETG and TPU
- Power selector arrives set to 220V for US buyers
- Fan bearing noise and Y-axis dragging reported on some units
- Short Z height limits taller prints
The Ender-3 V3 SE is the cheapest credible way into the hobby, and at 791 reviews it has one of the largest owner bases of the ten. That matters for a beginner, because a large community means free models, troubleshooting guides, and people who have already made your mistake.
CR Touch handles bed leveling and automatic Z-offset calibration, so the manual leveling that gives the original Ender-3 its reputation does not apply here. Assembly is a handful of steps with an Allen key.
The 32-bit silent mainboard runs the cooling fans more quietly than older budget boards, and dual synchronized Z-axis lead screws with Y-axis linear shafts reduce Z wobble. The Sprite direct drive extruder feeds PLA, PETG, and clear TPU, plus wood and nylon-infused filament.
Top speed is 250 mm/s with 2500 mm/s2 acceleration, which is plenty for everyday parts. The flexible PC spring steel plate releases prints without tools.
The one thing to do before first power-on
Check the power selector on the back of the machine before you turn it on. It arrives set to 220V, and US buyers need to switch it to 125V or the screen stays dark. It is a five-second fix that has generated a share of one-star reviews that have nothing to do with print quality.
While you are there, re-tighten the frame bolts and check that the Y-axis carriage rolls freely by hand. Forum reports of loose screws and shipping damage are common across this category, not just this printer.
What you give up at this price
You lose enclosure, multi-color, camera monitoring, and app reliability. Some units develop fan bearing noise or Y-axis dragging within weeks or months, and the bed can warp between leveling screws on larger prints. Treat it as a machine to learn on, and Creality’s parts availability means repairs are straightforward.
9. ELEGOO Centauri 2 – Best for Set-and-Forget Printing
ELEGOO Centauri 2 3D Printer, Full Auto Calibration, Beginner-Friendly
- Automatic calibration plus smart pre-print checks each job
- 500 mm/s on a rigid aluminum CoreXY frame
- Vibration compensation and precise extrusion control
- Magnetic printhead cover and semi-automatic belt tensioner
- Heaviest machine here at over 30 pounds
- Lowest average rating in the roundup with a 17 percent one-star share
- Belts still need occasional manual tensioning
With 2572 reviews, the Centauri 2 has the largest owner base of any machine here. It runs up to 500 mm/s on a CoreXY system built on a rigid aluminum frame, with 20000 mm/s2 acceleration and vibration compensation, so high-speed prints stay dimensionally accurate.
Automation is the pitch. Automatic calibration plus smart pre-print checks run before every job, which means the machine diagnoses itself before you commit two hours of filament to a print.
The 5-inch touchscreen is the largest in this roundup, the printhead cover is magnetic, and a semi-automatic belt tensioner and nozzle wiper simplify upkeep. Nexprint provides the model library, ElegooSlicer handles preparation, and the ELEGOO Matrix app covers remote monitoring.
At 30.1 pounds and 15.91 by 15.67 by 19.29 inches, this needs a sturdy surface and a permanent spot. Plan where it will live before it arrives.
Read the rating before you fall for the speed
This is the lowest average rating in the roundup, and the reason is a 17% one-star share. A large owner base cuts both ways: it means the failures are well documented. Owners who have dialed in settings rate it as excellent, but you should expect some setup attention if you are impatient.
Belts still require occasional manual tensioning despite the semi-automatic tensioner, which is the part most likely to be overlooked.
How it compares to the A1
Both are CoreXY machines with automatic calibration and app-based control. The Centauri 2 is faster on paper and has the bigger touchscreen. The A1 is quieter and has a higher average rating, which is why it takes the top spot here. If you already own an ELEGOO slicer or filament, the Centauri 2 workflow will feel familiar.
10. Creality SPARKX i7 – Best for Camera Monitoring
- Arrives prebuilt so setup is essentially connecting tubes
- Built-in camera with remote view time-lapse and status detection
- CFS Lite adds four-spool multi-color printing
- Works with common ELEGOO and eSUN filament
- Highest one-star share here at 15 percent
- Some units report warped beds and loose hardware from the factory
- In-box QR code leads to an app page that does not work for US buyers
The SPARKX i7 is the only machine here with a camera built in as standard. Remote viewing, time-lapse recording, and print status detection all work over WiFi, and setup needs only a passcode. For a long print started while you are out, that is worth more than it sounds.
It arrives prebuilt. Setup is essentially removing brackets and connecting filament tubes, and first-time users report printing within minutes. The build volume of 260 by 260 by 255mm is among the largest in this roundup.
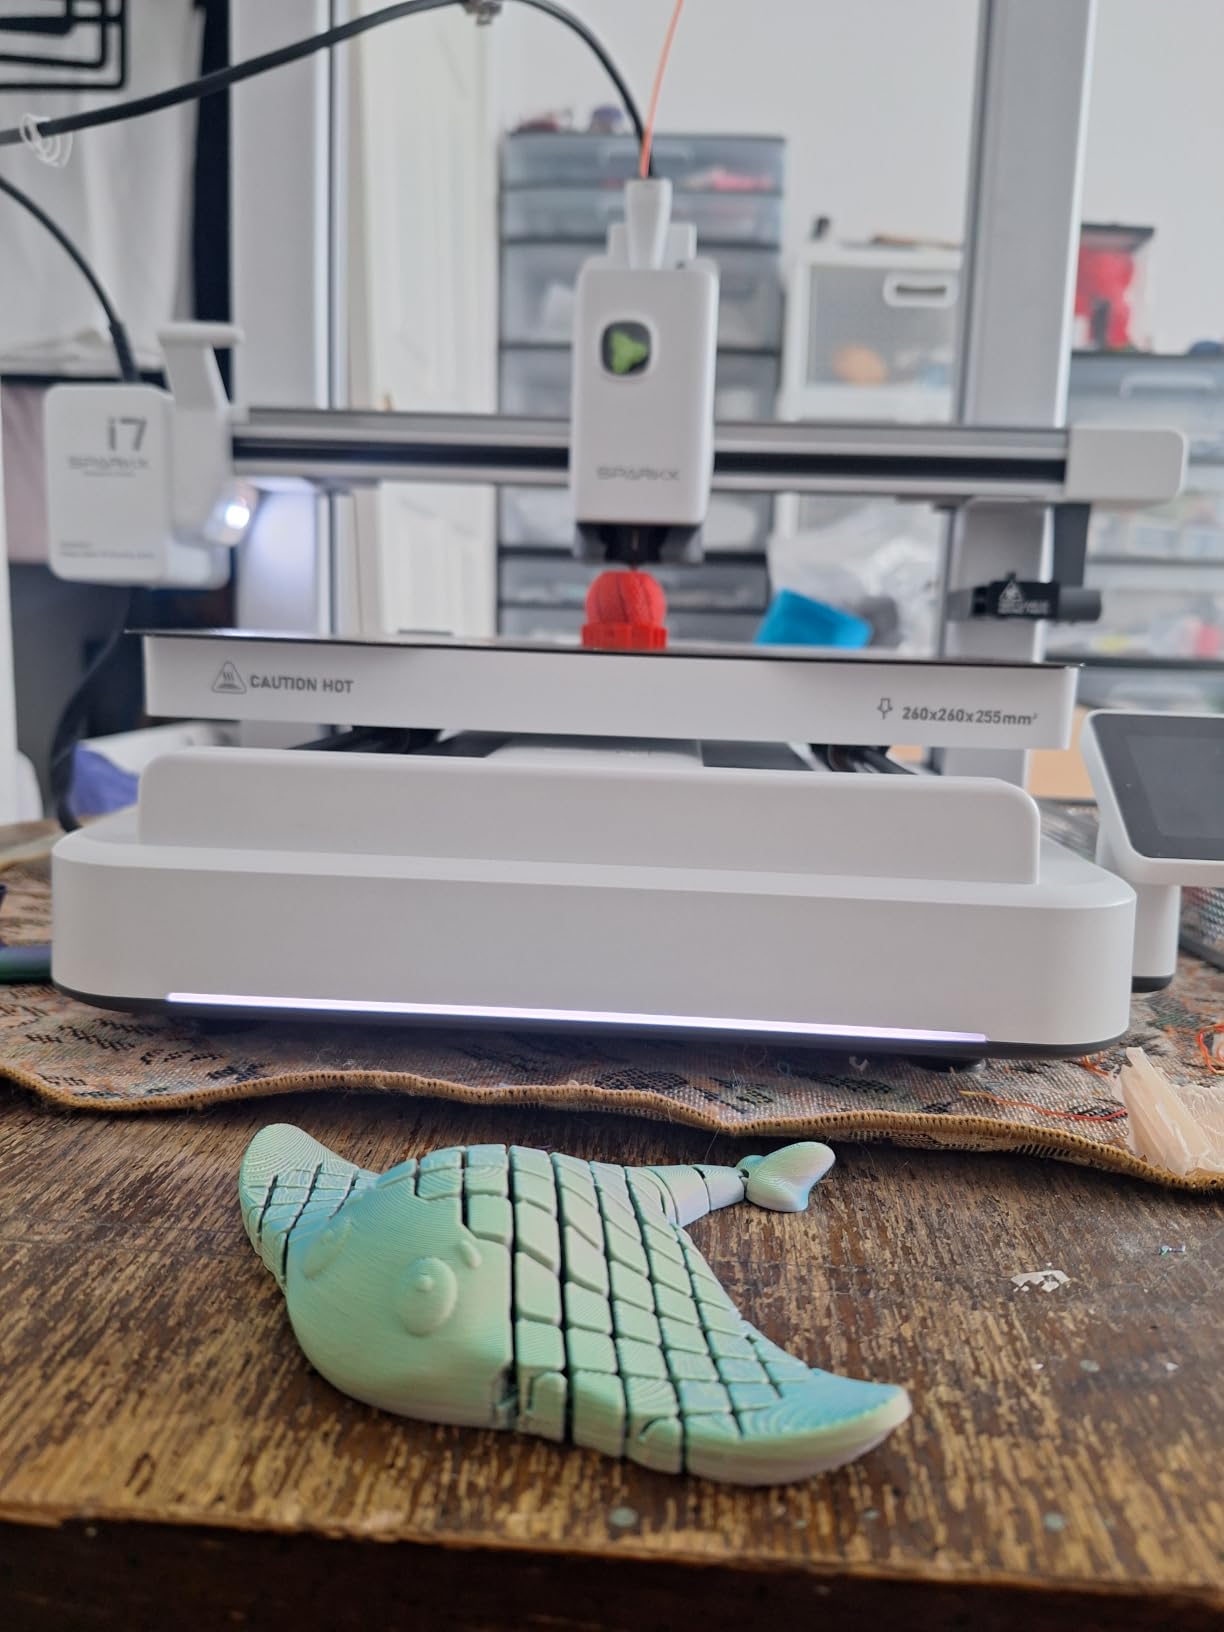
Automatic bed leveling, a direct drive extruder, and a tool-free 5-second quick-swap hotend cover the fundamentals. Add the optional CFS Lite and it handles four-spool multi-color printing, and power outage resume works reliably.
At 29.7 pounds and 16.6 by 17.9 by 18.5 inches, it is heavy and it is loud at high advertised speeds, particularly from the linear bearings.
Quality control is the deciding factor
Reviews split into two camps. Long-term owners who have dialed in settings rate it as an excellent set-and-forget machine and good value against the Bambu A1. The critical camp documents warped beds, loose factory hardware, crooked nozzles, and bed wobble that leads to nozzle contact with infill mid-print.
Check the bed for wobble before your first print and re-tighten anything loose. If the first layer looks wrong on one side, that is the cause.
What US buyers need to know
The QR code in the box points to an overseas app page that does not work for US buyers, so download the app manually from the Apple or Android store before you start. An enclosure and a filament dryer are close to required add-ons for best results, which pushes this purchase past a strict sub-$300 budget once you factor them in.
First Print in 30 Minutes: Setting Up Any Printer on This List
Every printer on this list shares the same core process, so the setup path is the same. Follow this order and most first-layer failures disappear before they happen.
1. Unbox and inspect. Open the accessories, check the frame for movement, and re-tighten any bolts that loosened in transit. Nothing else matters if the frame is not square.
2. Check the power setting. On machines with a voltage selector, set it for your region before first power-on. The Ender-3 V3 SE is the notable case here.
3. Level and calibrate. Start the printer and run auto leveling. If it has a Z-offset or flow calibration step, run that too. On the Mars 5 Ultra, confirm the build plate leveled before pouring resin.
4. Load filament. Insert to the correct depth and run the extruder until filament appears at the nozzle. Wipe the tip. A first print with an ooze-covered nozzle is the most common cause of a failed first layer.
5. Clean the bed. Wipe the plate with isopropyl alcohol and wash your hands. Skin oil is the number one cause of prints releasing mid-job, and it is invisible.
6. Print a small test. Run a calibration cube or a small model before anything you care about. Check that the first line sticks when you touch it with a finger, gently.
7. Set Z-offset if the layer looks wrong. If the first layer looks squashed, raise the nozzle slightly. If the lines are separate and the nozzle drags, lower it. Most slicers offer a Z-offset wizard that walks you through it.
8. Replace cheap filament before blaming the printer. Old or poorly wound filament causes most failures that get blamed on hardware. Buy one good spool of PLA before a second.
Once those steps are done, most beginners move from setup to a working part in a single evening. For tabletop minis and terrain, see our best 3D printers for tabletop gaming picks.
What to Look for in a 300-Dollar 3D Printer: Buying Guide
Automatic bed leveling. This is the single most cited beginner requirement across forum threads. Look for named sensor technology such as CR Touch or a one-click calibration routine, and treat manual-only leveling as a deal breaker.
FDM versus resin. FDM machines melt 1.75mm filament and handle functional parts, enclosures, and large objects. Resin machines produce far smoother surfaces for miniatures but involve liquid handling, washing, curing, and painting. Buy one, not both, on a first budget.
Enclosed versus open frame. Open frame machines like the Ender-3 V3 SE and Adventurer 5M handle PLA, PETG, and TPU well and are cheaper and quieter to run. An enclosure is what you need for ABS and ASA, because those materials need a stable chamber temperature. At this budget, enclosed options are limited, so treat material choice as part of the purchase decision.
Build volume. Mini printers cover small parts and toys. A 220mm cube class covers most household and hobby projects. Anything over 250mm covers cosplay props and larger functional parts. Bigger is not automatically better, because a larger bed is heavier and easier to warp.
Motion system. CoreXY machines hold accuracy at high speed because the print head moves on a constrained path. Cartesian bed-slingers are cheaper and slower, and they show ringing on curves at speed.
Noise. Fans and stepper motors dominate noise, and motor noise canceling on the Bambu A1 is the standout feature for bedrooms and shared walls. Budget machines in open frames are noticeably louder.
Slicer software. Bambu Studio and the Bambu Handy app are the most streamlined. Orca-flashforge has a gentle learning curve. Cura, PrusaSlicer, and Simplify3D are free and support nearly every machine. Plan on a PC or Mac for slicing even when the printer can be controlled from a phone.
Filament. Start with 1.75mm PLA in two or three colors. Add PETG for stronger, heat-resistant parts, and TPU for flexible items like phone cases. Cheap filament causes more failures than cheap printers do, so spend a little more on your first spool.
Total first-year cost. The printer is only part of it. Budget for three or four spools of PLA, a filament dryer if you live somewhere humid, a spare nozzle, and a spare build plate. That adds up, which is the honest reason many buyers choose the cheapest machine on the list as their first printer rather than the most capable one.
When to Stretch Your Budget Past This Price Ceiling
Stay inside this budget if your projects are PLA parts, small figures, organizers, cosplay props under 200mm, and classroom or hobby prints. That is most beginners, and every machine here will serve those needs for years.
Stretch higher when one of three things applies. You need ABS or ASA for outdoor or automotive parts, which requires a genuine enclosure. You want multi-color as a core feature rather than an occasional experiment. Or you print large objects regularly and want a bigger build volume than any machine on this list offers.
Do not stretch to buy speed you will not use. Every machine here already prints faster than most beginners can slice models.
Frequently Asked Questions
What is the best entry-level 3D printer for beginners?
The Bambu Lab A1 is the strongest entry-level choice under $300 in 2026. It calibrates bed leveling and Z-offset automatically, has a tool-free nozzle swap, and prints quietly enough for a bedroom. For resin detail work, the ELEGOO Mars 5 Ultra is the alternative entry point.
What is the best printer under $300?
For general use the Bambu Lab A1 leads our list, followed by the FlashForge Adventurer 5M for speed and the Creality Ender 3 V3 SE for lowest entry cost. All three auto-level their beds, accept 1.75mm PLA, and require no assembly beyond mounting a screen or a few bolts.
What is the best and most affordable 3D printer?
The Creality Ender 3 V3 SE is the most affordable pick here, combining CR Touch auto leveling, a Sprite direct drive extruder, and 250 mm/s printing at the lowest entry point of the ten. The Asani TINA2S is comparable in cost for a fully assembled mini machine that includes filament and a loaded SD card.
What are common problems beginners encounter with a 3D printer?
The most common problems are a first layer that will not stick, an incorrect Z-offset, stringing, and mid-print detachment. Nearly all of them trace back to an unclean or unleveled bed, a nozzle too close or too far from the plate, or cheap filament. Clean the bed with isopropyl alcohol, run the auto calibration, and test with a new spool before changing hardware.
How do I set up a 3D printer for beginners?
Unbox and tighten any loose frame bolts, confirm the voltage selector matches your region, run auto bed leveling and Z-offset calibration, load filament until it reaches the nozzle, wipe the bed with isopropyl alcohol, and print a small calibration model. On every printer in our roundup this takes under an hour from opening the box.
Is resin or FDM better for beginners?
FDM is easier for beginners overall because filament is clean to handle and parts come off the plate ready to use. Resin produces dramatically smoother surfaces and is the right choice for miniatures, but it involves liquid resin, washing, curing, painting, and safety gear. Start with an FDM machine unless your goal is detailed figures.
Which 3D Printer Should You Buy?
Buy the Bambu Lab A1 if you want the least friction between opening the box and holding a finished part. It has the highest average rating of the ten, the quietest operation, and full-auto calibration that handles bed leveling and Z-offset without you.
Buy the FlashForge Adventurer 5M if you are impatient and want results tonight, or the FlashForge AD5M if you want the most guided setup with the friendliest slicer. Buy the Creality Ender 3 V3 SE if the lowest entry cost and the largest support community matter more to you than features.
Buy a compact machine like the Asani TINA2S or Entina Tina2C if space is the constraint or the printer is for a child. Buy the ELEGOO Mars 5 Ultra only if miniatures are the goal, because resin fills the same role and does not replace filament for functional parts.
Whichever you choose, start with PLA, keep the bed clean, and print something small first. That is where nearly every beginner’s trouble actually begins and ends.