
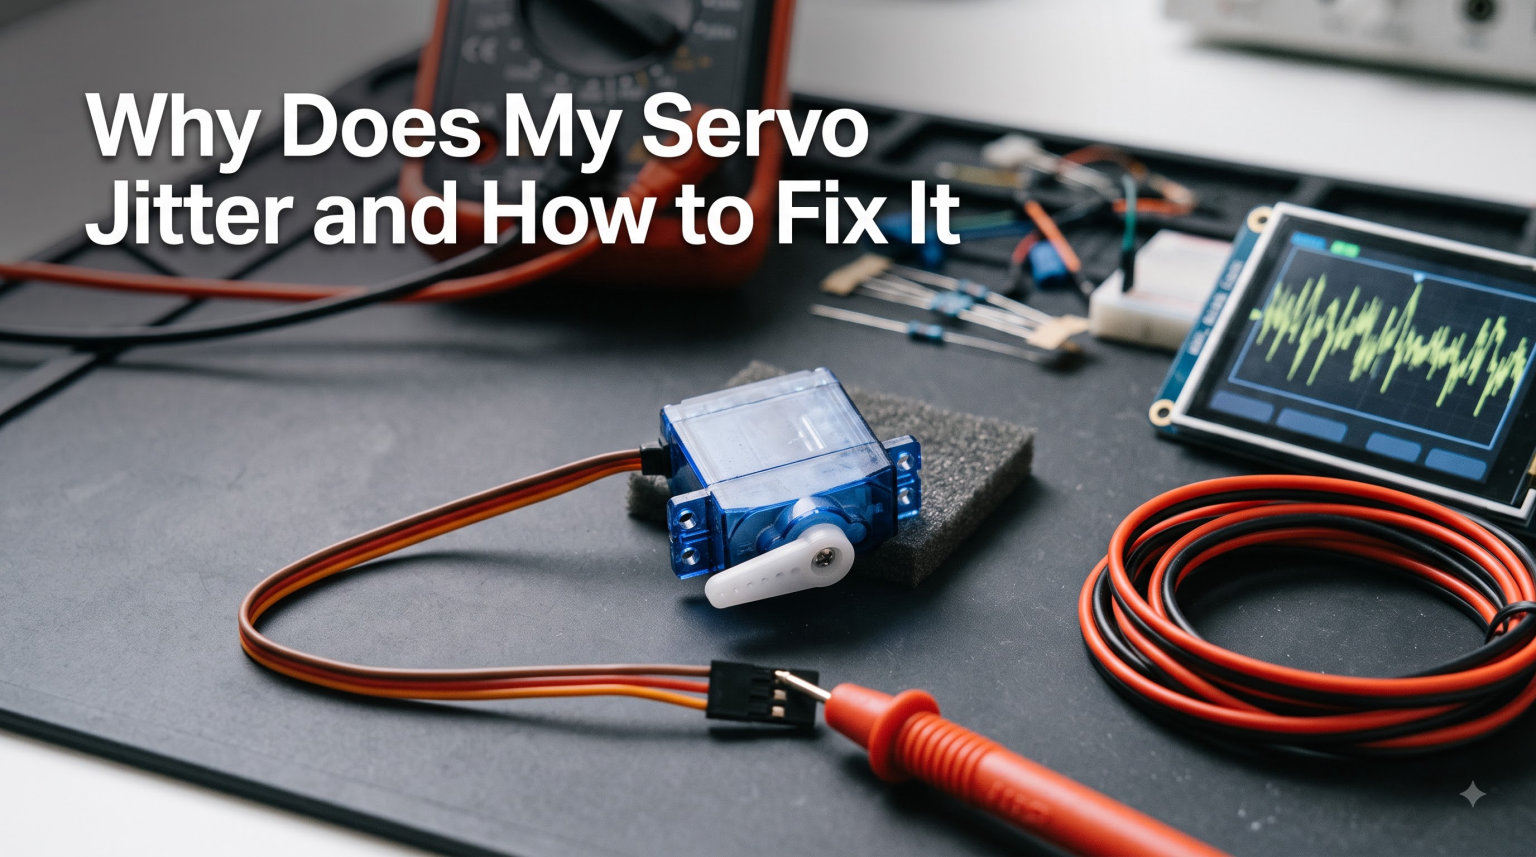
You power up your robot arm, quadcopter, or RC car, and the servo starts vibrating like it has a mind of its own. That rapid, nervous twitching is called servo jitter, and it is one of the most common problems hobbyists and engineers face with servo motors.
I have spent years building Arduino and Raspberry Pi projects, and I have fought servo jitter more times than I can count. The good news is that almost every case traces back to a handful of identifiable causes, and each one has a proven fix.
This guide breaks down why your servo jitters, how to diagnose the exact cause, and how to fix it for good. Whether you are running a $3 SG90 micro servo on a breadboard or a high-torque MG996R on a bipedal robot, you will find a solution here. We will cover power supply problems, PWM signal issues, electromagnetic interference, loose connections, and mechanical overload, with specific part values and troubleshooting steps you can follow right now.
Table of Contents
What Is Servo Jitter?
Servo jitter is the rapid, uncontrolled vibration or twitching of a servo motor when it should be holding a steady position. Instead of staying still, the output shaft oscillates back and forth by small amounts, often accompanied by a buzzing or humming sound.
To understand why this happens, it helps to know how a servo works. A servo motor uses a PWM (Pulse Width Modulation) signal from your controller to know what angle to hold. The servo has an internal feedback system that compares its actual position to the commanded position and corrects any difference. When that PWM signal arrives cleanly and the power supply holds steady, the servo locks into place.
Jitter occurs when something disrupts that closed-loop control. The signal may arrive late, the voltage may sag under load, or electrical noise may corrupt the pulse timing. The servo gets confused about where it should be and constantly overcorrects, producing the vibration you see and hear.
In my experience, servo jitter is rarely a sign of a broken motor. It is almost always a wiring, power, or signal problem that you can solve with the right approach.
Common Symptoms of Servo Jitter
Before jumping into fixes, confirm that what you are seeing is actually jitter. Here are the symptoms I look for when diagnosing the problem:
- Constant vibration when holding position — The servo never settles and vibrates even with no load.
- Buzzing or humming sound — You hear a continuous whine or chatter from the motor body.
- Sporadic twitching — The servo jerks to random positions or makes small unexpected jumps.
- Inaccurate positioning — The servo overshoots or undershoots the target angle and oscillates around it.
- Jitter that worsens under load — The vibration intensifies when the servo is holding something heavy.
- Multiple servos jittering together — Several servos twitch at the same time, pointing to a shared power or signal issue.
If you notice any of these, the causes and fixes in the next sections will apply to your situation.
Why Does My Servo Jitter? The Main Causes
Servo jitter almost always comes from one of five root causes. I have ordered these from most common to least common based on what forum members and my own testing repeatedly confirm.
1. Power Supply Problems
This is the number one cause of servo jitter. Servos draw significant current, especially the moment they start moving or fight against a load. A standard SG90 micro servo can spike to 500mA or more, while an MG996R under load can demand 2.5A at stall.
If your power supply cannot deliver that burst of current, the voltage drops momentarily. The servo loses torque, the feedback loop gets disrupted, and the result is jitter. This problem gets worse when you power servos from the same source as your microcontroller, because the voltage dip can reset or glitch the Arduino or Pi too.
Forum users on Arduino.cc and Reddit consistently report that upgrading to a dedicated, high-current power supply eliminates jitter in most cases. The classic symptom is jitter that appears under load but disappears when the servo moves freely.
2. PWM Signal Issues
The second most common cause, especially on the Raspberry Pi, is the quality of the PWM signal itself. Servos expect a clean 50Hz signal with pulses between 1 and 2 milliseconds.
The problem is that many microcontrollers generate PWM in software rather than hardware. Software PWM relies on the CPU to time each pulse, and any other task the CPU is running can delay that timing. On the Raspberry Pi, users on the Raspberry Pi Stack Exchange repeatedly report that the default gpiozero library uses software PWM, which produces noticeable jitter because Linux schedules other processes between pulses.
Arduino users face a related issue. If your code uses serial output, sensor polling, or interrupt-heavy routines, those operations can interfere with servo pulse timing and cause jitter. One Arduino forum member found that simply printing debug data to Serial was enough to disrupt servo timing.
Hardware PWM, by contrast, is generated by a dedicated timer circuit that runs independently of the CPU. It produces rock-steady pulses no matter what else the microcontroller is doing.
3. Electromagnetic Interference (EMI)
Electromagnetic interference corrupts the PWM signal as it travels from your controller to the servo. Long, unshielded signal wires act like antennas, picking up noise from nearby motors, switching regulators, and high-current traces.
EMI is especially common in robots with multiple motors, drones with ESCs running at high frequency, and projects where signal wires run parallel to power wires over long distances. Ground loops, where multiple ground paths create circulating currents, add another layer of noise.
The symptom of EMI-related jitter is that it gets worse when motors are running and better when they are idle. Forum users report that ferrite beads and shielded or twisted-pair wiring dramatically reduce this type of interference.
4. Loose Connections and Wiring
Breadboards are convenient for prototyping, but their spring contacts were never designed for the current a servo draws. A loose breadboard connection creates resistance, and resistance causes voltage drop and signal degradation.
Cold solder joints, frayed Dupont wires, and corroded connector pins produce the same effect. I have seen cases where simply wiggling a jumper wire changed the jitter pattern, which instantly confirmed a connection problem.
This cause is easy to overlook because the wiring looks fine visually. But even a fraction of an ohm of resistance in a high-current path can cause the voltage to sag enough to trigger jitter.
5. Mechanical Load and Gear Issues
Sometimes the servo itself is fine, but it simply does not have enough torque for the job. When a servo is overloaded, it constantly fights to hold position against a force it cannot overcome, producing jitter that looks electrical but is actually mechanical.
Worn or damaged gears create play in the output shaft, which the feedback loop tries to compensate for and ends up oscillating. If you hear grinding or feel looseness when you manually move the servo horn, the gears may be the problem.
One builder on a bipedal robot project solved persistent jitter simply by swapping an underpowered SG90 for a higher-torque SG92R, without changing anything in the electronics.
Step-by-Step Troubleshooting Process
The key to fixing servo jitter is a methodical approach. I always work from the most likely cause to the least likely, and I change only one thing at a time so I know what actually fixed it.
Here is the diagnostic process I follow:
- Disconnect the load. Remove the servo horn or linkage so the servo moves freely. If the jitter stops, the problem is mechanical overload. If it continues, move to step 2.
- Check your power supply. Measure the voltage at the servo power pins with a multimeter while the servo is running. If the voltage drops below the rated minimum (typically 4.8V for most servos) under load, your power supply is the culprit.
- Isolate the power. Power the servo from a separate supply that shares only a common ground with your microcontroller. If jitter disappears, you had a shared-power problem.
- Test the signal quality. If you are on a Raspberry Pi, switch from software PWM to hardware PWM using the pigpio library. On Arduino, check whether removing serial prints or delay-heavy code reduces jitter.
- Inspect every connection. Swap breadboard connections for soldered joints. Replace suspect Dupont wires one at a time. Look for bent pins and loose connectors.
- Check for EMI. Move signal wires away from power wires and motors. Shorten long signal runs. Add a ferrite bead to the servo line and see if jitter improves.
- Add filtering. Place a 1000uF electrolytic capacitor across the servo power rails, as close to the servo as possible. This smooths out current spikes that cause voltage drops.
- Test with a different servo. If nothing above works, swap in a known-good servo. If the new one also jitters, the problem is in your setup. If it runs smooth, the original servo may be damaged.
This process takes about 20 minutes and will identify the cause in nearly every case I have encountered.
How to Fix Servo Jitter: Solutions for Every Cause
Once you have identified the cause, apply the matching fix below. These solutions are drawn from forum-tested recommendations and my own bench testing.
Power Supply Fixes
Give each servo its own dedicated power rail rated for at least the stall current. For a single MG996R, that means a supply capable of 2.5A continuous. For multiple servos, add the stall currents together and add a 30 percent margin.
Add a 1000uF electrolytic capacitor across the positive and negative power rails, mounted physically close to the servo. This capacitor acts as an energy reservoir, supplying burst current during movement and preventing the voltage from sagging. Forum users on Adafruit and Arduino consistently recommend this single fix as the highest-impact change.
For battery-powered projects, consider a step-down DC-DC converter fed from a higher-voltage pack. One builder powering a bipedal robot used a 14500 lithium-ion cell with a buck converter to deliver clean, regulated 5V to the servos, which eliminated jitter entirely.
Signal and PWM Fixes
If you are on a Raspberry Pi, switch to the pigpio library, which uses hardware PWM and produces stable 50Hz signals regardless of CPU load. Many Pi users report that this single change transforms a jittering servo into a smooth one. Another option is to add a PCA9685 PWM controller breakout board, which generates 16 channels of hardware PWM over I2C and offloads all timing from the Pi entirely.
On Arduino, the built-in Servo library uses hardware timers on most pins and is generally stable. But if you are running multiple servos or CPU-intensive code, consider using a timer-optimized library. Also, the Arduino detach() command is your friend. When a servo does not need to hold position, detaching it stops the PWM signal and instantly stops jitter on that channel.
For any platform, avoid long delays, heavy serial output, and interrupt-heavy routines while servos are active. These all compete with PWM timing and can introduce jitter even on hardware-timer platforms.
EMI and Connection Fixes
Snap a ferrite bead onto each servo’s signal and power wires, close to the servo end. Ferrite beads absorb high-frequency noise and are one of the cheapest, most effective EMI fixes available.
Use twisted-pair wiring for power and ground lines. Twisting the two conductors together cancels out electromagnetic pickup along the run. Keep signal wires as short as possible and route them away from motors, ESCs, and high-current power traces.
Replace breadboard connections with proper soldered joints on a perfboard or PCB. Soldered connections have a fraction of the resistance and will not work loose over time. Use quality crimped connectors instead of cheap Dupont jumpers for any permanent build.
Finally, make sure all components share a single, solid common ground. Ground loops are a sneaky source of noise, and tying all grounds to one point eliminates circulating currents.
Quick Reference Troubleshooting Checklist
Here is a compact checklist you can scan in seconds to pinpoint your jitter problem. Start at the top and work down.
- Does the jitter stop when you remove the mechanical load? Your servo is overloaded or gears are worn.
- Does the voltage at the servo drop below 4.8V under load? Upgrade your power supply.
- Are servos and microcontroller sharing the same power rail? Separate them and share only ground.
- Is there a 1000uF capacitor across the servo power rails? Add one if not.
- Are you using software PWM on a Raspberry Pi? Switch to pigpio or add a PCA9685 board.
- Are you running serial prints or heavy code on Arduino? Remove or reduce them during servo operation.
- Are signal wires routed near motors or power lines? Reroute them and add ferrite beads.
- Are connections on a breadboard? Move to soldered joints on a perfboard.
- Are wires long and unshielded? Shorten them and twist power and ground pairs.
- Does the jitter persist after all of the above? Test with a replacement servo to rule out internal damage.
If you answer yes to any of these, apply the corresponding fix from the solutions section above and retest before moving on.
When to Repair vs Replace a Jittering Servo
Most jittering servos can be saved, but sometimes the motor itself is the problem. Here is how I decide whether to repair or replace.
Try to repair first if the jitter started after a wiring or code change, if the servo works fine on a test rig with clean power, or if the servo is relatively new. These cases almost always come down to power, signal, or connection issues that the fixes above will resolve.
Replace the servo if you notice any of these failure signs:
- The servo makes grinding or clicking noises even with no load attached.
- The output shaft feels loose or wobbly when you turn it by hand, indicating stripped gears.
- The servo only moves in one direction or stops responding entirely.
- The motor body gets hot to the touch within seconds of powering on.
- The jitter persists after trying a separate power supply, hardware PWM, new wiring, and a capacitor.
In those cases, internal components are damaged and a replacement is more reliable than a repair attempt.
Frequently Asked Questions
What causes servo flutter?
Servo flutter is caused by unstable power, poor PWM signal quality, electromagnetic interference, loose connections, or mechanical overload. The most common cause is an inadequate power supply that cannot deliver enough current when the servo moves, causing voltage drops that disrupt the internal feedback loop.
Why is my servo twitching when stationary?
A servo that twitches while holding position usually has a noisy or unstable PWM signal. On Raspberry Pi, software PWM from the gpiozero library is a frequent culprit. Switching to hardware PWM with pigpio or a PCA9685 controller board typically eliminates the twitching. Electrical noise from shared power rails or nearby motors can also cause stationary twitching.
How to tell if a servo is bad?
A servo is likely bad if it grinds or clicks with no load, has a loose or wobbly output shaft from stripped gears, only moves in one direction, overheats within seconds, or still jitters after you have tried a separate power supply, hardware PWM, new wiring, and a smoothing capacitor. In those cases the internal components are damaged and replacement is the best option.
How do I slow down servo movement?
To slow down a servo, move it in small incremental steps with short delays between each step rather than commanding the full angle at once. On Arduino, write a loop that increases the target angle by 1 degree every 15 to 30 milliseconds. Libraries like VarSpeedServo automate this. You can also use the detach() command between moves to prevent jitter during pauses.
Can a cheap servo cause jitter issues?
Yes, inexpensive servos with lower-quality potentiometers, noisier motors, and looser tolerances are more prone to jitter. Budget servos may also have poorly shielded internal electronics that pick up interference more easily. Upgrading to a servo with better build quality, or adding a capacitor and ferrite bead to a cheap servo, can reduce jitter significantly.
Conclusion
Servo jitter is frustrating, but it is one of the most fixable problems in electronics and robotics. In nearly every case I have dealt with, the cause comes down to one of five things: an inadequate power supply, a noisy PWM signal, electromagnetic interference, loose wiring, or mechanical overload.
The fastest way to solve it is to follow the troubleshooting process in order. Check your power first with a multimeter, separate your servo power from your microcontroller, add a 1000uF capacitor, switch to hardware PWM if you are on a Raspberry Pi, and clean up your wiring with soldered joints and ferrite beads. Work through the checklist one step at a time, and you will isolate the cause quickly.
If you are still stuck after trying every fix, test with a replacement servo to rule out internal damage. And if you want to avoid servo jitter from the start on your next project, design in a dedicated power rail, use hardware PWM, and skip the breadboard for anything permanent.
Fixing servo jitter is really about giving your motor clean power and a clean signal. Do those two things, and your servos will hold steady every time.