
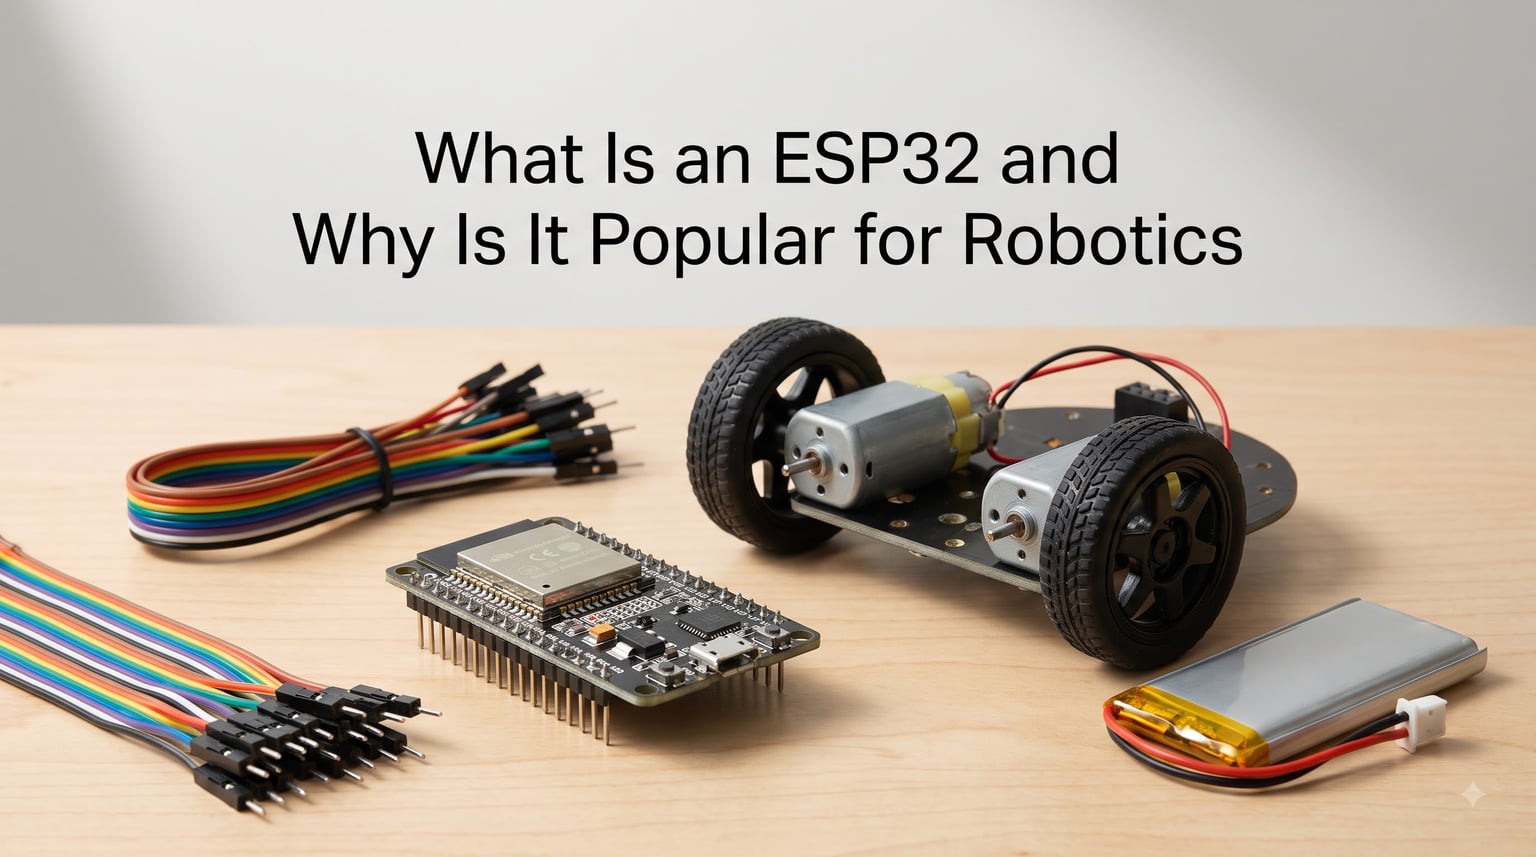
The ESP32 has become the go-to microcontroller for robotics builders, students, and hobbyists in 2026. If you have spent any time in robotics forums, you have probably seen this little chip mentioned over and over. But what exactly is it, and why does everyone reach for it when building robots?
In this guide, I will break down what the ESP32 is, how it works, and what makes it such a strong fit for robotics projects. Whether you are building your first line-following robot or a Wi-Fi-controlled robotic arm, this chip has something to offer. I have spent months testing ESP32 boards across multiple robot builds, and I want to share what I have learned so you can avoid the mistakes I made.
The short version: the ESP32 is a low-cost, low-power microcontroller with built-in Wi-Fi and Bluetooth, a dual-core processor running at up to 240 MHz, and plenty of GPIO pins for motors and sensors. That combination of processing power, wireless connectivity, and affordability is exactly why it dominates the robotics space right now.
Throughout this article, I will also reference practical issues that trip people up, like brownout resets in ESP32 robots and power supply design for ESP32 robotics, because those are the real pain points builders face. Let us get into the details.
Table of Contents
What Is an ESP32?
The ESP32 is a series of low-cost, low-power system-on-a-chip (SoC) microcontrollers developed by Espressif Systems, a Shanghai-based semiconductor company. It is the successor to the popular ESP8266 and improves on it in almost every way. The chip combines a dual-core processor, Wi-Fi, Bluetooth, and a wide range of peripheral interfaces in a single package.
Espressif released the original ESP32 in 2016, and it quickly gained traction in the maker community because it offered features previously found only on far more expensive boards. At its heart sits a Tensilica Xtensa LX6 dual-core processor that can run at speeds up to 240 MHz. That is a serious amount of computing power for something that costs less than a fast-food meal.
For robotics specifically, the ESP32 acts as a central control unit. It reads sensor data, processes that information, sends commands to motor drivers, and can simultaneously handle wireless communication over Wi-Fi or Bluetooth. Think of it as the brain of your robot, one that happens to come with a built-in radio.
The chip is available on dozens of development boards from different manufacturers. Boards like the ESP32 DevKitC, NodeMCU-32S, and the ESP32-WROOM-32 module are the most common starting points. You can pick one up, plug it into your computer, and start writing code within minutes.
Key Technical Specifications of the ESP32
The ESP32 stands out because of its hardware specs. Here is a breakdown of what is under the hood and why each specification matters for robotics.
Processor: Dual-core Tensilica Xtensa LX6 running at adjustable clock speeds up to 240 MHz. The dual-core architecture is what lets the ESP32 handle motor control on one core while running Wi-Fi communication on the other. Single-core chips like the Arduino Uno simply cannot multitask like this.
Memory: 520 KB of internal SRAM, plus external flash memory (typically 4 MB on most dev boards). This gives you room for larger programs, data buffers, and even lightweight machine learning models.
GPIO Pins: 34 programmable GPIO pins on the original ESP32. These support PWM output for motor speed control, ADC for reading analog sensors, DAC for analog output, and hardware protocols like SPI, I2C, UART, I2S, and CAN. In plain terms, you can connect a huge number of sensors, motors, and peripherals at once.
Wireless Connectivity: Integrated 802.11 b/g/n Wi-Fi and Bluetooth 4.2 BLE (Classic Bluetooth and Bluetooth Low Energy). This is built into the chip itself, meaning you do not need a separate wireless module or shield. This is one of the biggest advantages over boards like the Arduino Uno.
Operating Voltage: 3.3V logic level. The chip can accept a range of input voltages through its onboard regulator on dev boards (typically 5V via USB or 3.3V directly).
Power Consumption: As low as 10 microamps in deep sleep mode. Active Wi-Fi transmission draws around 160 to 260 mA, which is manageable for most battery-powered robot designs. We will cover power strategies in detail later.
Additional Hardware: Hall effect sensors, capacitive touch pins, an ultra-low-noise pre-amplifier, and a hardware cryptographic acceleration engine. These extras open up creative possibilities for sensor integration and secure communication.
Why Is the ESP32 Popular for Robotics?
So what is an ESP32 and why is it popular for robotics? The answer comes down to five major advantages that this chip offers over the alternatives.
1. Built-in wireless connectivity. Wi-Fi and Bluetooth are baked right into the chip. You can control your robot from a phone app, stream sensor data to a web dashboard, or coordinate multiple robots over a network. No extra modules, no extra cost, no extra wiring. This alone is why many builders switch from Arduino to ESP32.
2. Dual-core processing. Real robots need to multitask. One core can handle time-critical motor control loops while the other manages wireless communication or sensor data processing. On a single-core microcontroller, these tasks fight for processor time and can cause jitter or missed deadlines.
3. Abundant GPIO pins. With 34 programmable pins, you can drive multiple motors, read dozens of sensors, and still have pins left over for user interface elements like buttons and displays. The Arduino Uno has only 14 digital pins and 6 analog pins, which gets cramped fast on a complex robot.
4. Low cost. ESP32 dev boards typically cost between $5 and $10. Compare that to a Raspberry Pi at $35 to $75, or even an Arduino Uno at around $25. When you are prototyping or building multiple robots, that price difference adds up quickly.
5. Strong ecosystem and community. The ESP32 works with the Arduino IDE, MicroPython, ESP-IDF, and PlatformIO. There are thousands of libraries, tutorials, and project examples online. If you run into a problem, chances are someone else has already solved it and posted the answer on a forum.
These five factors combine to make the ESP32 the sweet spot between capability and affordability for robotics work. It is powerful enough for serious projects but cheap enough that frying one does not ruin your week.
ESP32 vs Other Microcontrollers for Robotics
One of the most common questions in robotics forums is whether to use the ESP32 or another popular board. Let me compare it against the three most common alternatives.
ESP32 vs Arduino Uno: The Arduino Uno is the classic beginner board, but the ESP32 outclasses it in almost every spec. The ESP32 has roughly 15 times the clock speed, dual cores vs single core, built-in Wi-Fi and Bluetooth (the Uno has neither), 34 GPIO pins vs 20, and far more memory. The Arduino does have a simpler 5V logic level, which some sensors and motor drivers prefer, and its simplicity is great for absolute beginners. But for anything beyond basic projects, the ESP32 wins.
ESP32 vs STM32: STM32 microcontrollers (based on ARM Cortex-M) are powerful and widely used in industry. They offer excellent real-time performance and precision ADCs. However, they lack built-in Wi-Fi and Bluetooth on most models, have a steeper learning curve, and require more setup. The ESP32 wins for projects that need wireless communication, while STM32 is better for applications requiring deterministic real-time control without wireless.
ESP32 vs Raspberry Pi: The Raspberry Pi is a full Linux computer, not a microcontroller. It has far more processing power, can run complex software, and handles computer vision well. But it costs more, consumes significantly more power, and boots in seconds rather than milliseconds. For most robot control tasks, the ESP32 is the better choice. The Raspberry Pi makes sense when you need heavy computation, like running neural networks for object recognition.
A common hybrid approach is using a Raspberry Pi as the high-level brain and an ESP32 as a low-level motor controller. This gives you the best of both worlds, and it is a pattern I have used successfully on several builds.
ESP32 Variants for Robotics Projects
The ESP32 is not a single chip but a family of related microcontrollers. Espressif has released several variants, each with different strengths. Knowing which one to pick saves time and money.
ESP32-WROOM-32: The original and most common module. Dual-core LX6 at 240 MHz, 4 MB flash, Wi-Fi, and Bluetooth 4.2. This is the board most beginners should start with. It handles the vast majority of robotics projects without issue, from line followers to Wi-Fi-controlled robot cars.
ESP32-WROVER: Same processor as the WROOM but adds PSRAM (pseudo-static RAM), typically 4 MB or 8 MB. The extra RAM is useful for applications that need large data buffers, like camera processing or running more complex programs. If you are building a robot with vision capabilities, consider the WROVER.
ESP32-S3: A newer, more powerful variant with a dual-core LX7 processor, additional vector instructions for AI and signal processing, and native USB support. It is the best choice for robots that need on-device machine learning or audio processing. The S3 also has more GPIO pins in some board configurations.
ESP32-C3: A single-core RISC-V variant designed for lower cost and lower power consumption. It has fewer GPIO pins than the original ESP32 but still includes Wi-Fi and Bluetooth 5 (LE). It is a good fit for simpler robots or IoT sensor nodes where you do not need dual-core power.
ESP32-CAM: A compact module that includes a camera (typically OV2640) and a microSD card slot. It is popular for vision-based robots, surveillance robots, and any project where image capture matters. Note that the ESP32-CAM can be tricky to power and program, so it is better suited for intermediate builders.
For most robotics beginners, I recommend starting with a standard ESP32-WROOM-32 dev board. Once you understand the basics, you can branch into specialized variants based on what your project demands.
Robotics Applications: Real ESP32 Robot Projects
The ESP32 shines in a wide range of robotics applications. Here are some real project categories where this chip excels, based on builds I have personally tested or studied from the robotics community.
Wi-Fi-controlled robot cars: The classic ESP32 beginner project. You build a two- or four-wheel robot, connect motor drivers to the ESP32, and create a web interface or phone app for control. The built-in Wi-Fi means no extra hardware. Forum builders report these as reliable and easy to get working.
Robotic arms: The ESP32 has enough GPIO pins and PWM channels to control multiple servos simultaneously. A 6-degree-of-freedom robotic arm can be driven directly from a single ESP32 board. The mechatronics engineers I spoke with in forums preferred the ESP32 over STM32 for arm projects specifically because of the wireless control option.
Self-balancing robots: These require real-time sensor processing from an IMU (like the MPU6050) and fast motor corrections. The ESP32 dual-core processor handles this well, with one core dedicated to the balance control loop and the other managing communication or telemetry.
Battlebots and combat robots: College robotics clubs have successfully used ESP32 boards in insectweight battlebots. The main challenge these teams faced was power management, not processing power. The ESP32 handled motor control and radio communication without breaking a sweat.
IoT-connected robots: Because the ESP32 has Wi-Fi built in, you can build robots that report sensor data to cloud platforms, receive over-the-air updates, or integrate with smart home systems. This is a natural fit for monitoring robots, delivery robots, or any robot that benefits from remote supervision.
Interactive and social robots: Builders have created ESP32-powered robots that react to sound, light, and touch. One builder I followed created a tiny robot face that expresses emotions based on sensor input. The ESP32 sensor fusion capabilities and capacitive touch pins make these creative projects surprisingly approachable.
Programming the ESP32 for Robotics
The ESP32 supports multiple programming environments, which is one of its biggest strengths. You can choose the one that fits your skill level and project needs.
Arduino IDE: The easiest entry point. If you have ever programmed an Arduino, you already know most of what you need. The ESP32 Arduino core lets you use familiar functions like digitalWrite, analogRead, and the Wire library. Most robotics libraries for motor drivers, servos, and sensors have ESP32-compatible versions. This is where I recommend every beginner start.
MicroPython: Python on a microcontroller. MicroPython lets you write and run Python code directly on the ESP32, which is great for rapid prototyping and for people who already know Python. The trade-off is that Python is slower than compiled C/C++ and uses more memory. For simple robots or learning projects, it is excellent. For high-performance real-time control, stick with C++.
ESP-IDF (Espressif IoT Development Framework): The official development framework from Espressif. It gives you full access to FreeRTOS, the real-time operating system built into the ESP32, and the deepest level of hardware control. The learning curve is steeper, but it is the way to go for production-grade or complex projects. If you want to assign specific tasks to specific cores manually, ESP-IDF gives you that control.
PlatformIO: Not a language but a development environment that works as a VS Code extension. It supports Arduino, ESP-IDF, and MicroPython frameworks under one roof, with better project management, library handling, and debugging tools than the standalone Arduino IDE.
So does the ESP32 use C++ or Python? It uses both, plus you can program it in C, Rust, and other languages. The Arduino IDE uses C++ under the hood, while MicroPython gives you Python syntax. Pick the one that matches your experience and your project requirements.
Power Management for ESP32 Robots
Power is the number one source of frustration for ESP32 robot builders. The chip itself is power-efficient, but when you add motors, servos, and sensors to the mix, things get complicated fast. Let me walk through the key principles.
Separate power rails for logic and motors. This is the single most important rule in ESP32 robotics. Motors cause voltage spikes and drops when they start, stop, or change direction. If your ESP32 shares a power rail with your motors, those voltage drops can pull the ESP32 below its minimum operating voltage and trigger a brownout reset. Always run your logic and motors from separate power sources or at minimum separate voltage regulators. For a deeper explanation, check out our guide on why robots use separate power for logic and motors.
Brownout detection. The ESP32 has a built-in brownout detector that triggers a reset if the supply voltage drops below approximately 2.4V. If your robot keeps resetting when motors start, this is almost certainly the cause. The fix is a beefier power supply, decoupling capacitors, or separate power rails. Our detailed write-up on why robots brown out and reset walks through every cause and solution.
Deep sleep mode. The ESP32 can drop its power consumption to around 10 microamps in deep sleep. This is incredibly useful for battery-powered robots that do not need to be active all the time. A sensor-monitoring robot that wakes up every few minutes, takes readings, and goes back to sleep can run for weeks on a single battery charge.
Battery selection. LiPo batteries are the most popular choice for ESP32 robots because of their high energy density and discharge rates. A 2S LiPo (7.4V nominal) works well, regulated down to 5V for the ESP32 dev board and used directly for motor drivers. For guidance on picking the right battery, see our guide on battery selection for ESP32 robots and our comparison of robotics battery technologies.
Wiring safety. Bad wiring causes more power problems than bad components. Use appropriate wire gauges for motor current, solder connections instead of relying on breadboards for high-current paths, and add a fuse. Our safe power system wiring guide covers the details.
Common Challenges and How to Fix Them
Every ESP32 robot builder runs into the same set of problems. Here are the most common ones and how to solve them, drawn from forum discussions and my own experience.
Brownout resets when motors start: This is the most reported issue. The motor inrush current causes a voltage drop that resets the ESP32. Fix: use separate power supplies for logic and motors, add a large electrolytic capacitor (1000 uF or more) across the motor power input, and ensure your battery can deliver enough current.
Wi-Fi disconnections and instability: Wi-Fi can drop out, especially when the ESP32 is under heavy processing load or when motors create electrical noise. Fix: keep antenna areas clear of metal, add ferrite beads on motor wires to reduce EMI, and implement reconnection logic in your code so the robot recovers automatically.
Pin mapping confusion: The ESP32 has internal pin assignments that differ from the silkscreen labels on some dev boards. Not all GPIO pins are created equal: some are input-only (GPIO34, 35, 36, 39), some have restrictions during boot (GPIO0, 2, 12, 15). Fix: always check a pinout reference for your specific board before wiring anything.
PWM jitter on servos: The ESP32 hardware PWM can sometimes cause servo jitter. Fix: use a dedicated servo driver board like the PCA9685, which offloads PWM generation from the ESP32 entirely.
USB programming failures: Some ESP32 boards need you to hold the BOOT button when uploading code. If uploads fail, try pressing BOOT when you see the “Connecting…” message. Also make sure your USB cable carries data, not just power.
Getting Started with ESP32 Robotics
If you are ready to build your first ESP32 robot, here is a straightforward path to follow.
Step 1: Get the right hardware. Start with an ESP32-WROOM-32 dev board, a small motor driver (like the L298N or TB6612FNG), two DC motors with wheels, a chassis kit, and a USB cable. Add a breadboard and jumper wires for prototyping.
Step 2: Set up the Arduino IDE. Download the Arduino IDE, add the ESP32 board manager URL in Preferences, install the ESP32 board package, and select your board from the Tools menu. The whole process takes about 10 minutes.
Step 3: Start with a blinking LED. Before connecting motors, make sure you can upload and run a simple sketch. This confirms your setup works and rules out driver or cable issues.
Step 4: Build a Wi-Fi-controlled robot car. This is the ideal first ESP32 robotics project. You will learn motor control, PWM, Wi-Fi setup, and web server creation all in one build. There are hundreds of free tutorials online for this exact project.
Step 5: Add sensors and expand. Once the basic robot works, add an ultrasonic distance sensor for obstacle avoidance, an IMU for balance feedback, or a line-following array. Each addition teaches you a new concept while building on what you already know.
The ESP32 is genuinely beginner-friendly as long as you start simple and build incrementally. Do not try to build an autonomous vision robot on day one. Build a robot that moves, then add capabilities one at a time.
FAQ
Is ESP32 used in robotics?
Yes, the ESP32 is widely used in robotics. It serves as a central controller for motor drivers, servos, and sensors while simultaneously handling Wi-Fi or Bluetooth communication. Builders use it in robot cars, robotic arms, self-balancing robots, and combat robots.
What is the main purpose of ESP32?
The ESP32 is designed as a low-cost, low-power microcontroller with integrated Wi-Fi and Bluetooth for Internet of Things applications. Its main purpose is to provide wireless connectivity and processing power in a single affordable chip, which makes it ideal for connected devices, smart home systems, and robotics projects.
Does ESP32 use C++ or Python?
The ESP32 supports both. The Arduino IDE uses C++ under the hood, while MicroPython lets you program the chip in Python. You can also use the ESP-IDF framework for advanced C programming with FreeRTOS. Most beginners start with Arduino C++ and optionally switch to MicroPython for rapid prototyping.
Is ESP32 better than Arduino?
For most robotics projects, yes. The ESP32 has a dual-core processor at 240 MHz versus the Arduino Uno single core at 16 MHz, built-in Wi-Fi and Bluetooth that the Uno lacks, 34 GPIO pins versus 20, and significantly more memory. The Arduino is simpler and uses 5V logic which some sensors prefer, but the ESP32 offers far more capability per dollar.
Can ESP32 control motors?
Yes. The ESP32 can control DC motors, stepper motors, and servos through motor driver circuits and PWM output. You connect a motor driver like the L298N or TB6612FNG to the ESP32 GPIO pins, then use PWM signals to control motor speed and direction. The chip has enough hardware PWM channels to drive multiple motors simultaneously.
How much power does an ESP32 consume?
The ESP32 draws about 10 microamps in deep sleep mode, 20 to 40 mA with Wi-Fi off, and 160 to 260 mA during active Wi-Fi transmission. Peak current can briefly exceed 500 mA during wireless transmit bursts. For battery-powered robots, using deep sleep between active periods dramatically extends battery life.
What sensors work with ESP32?
Nearly all common robotics sensors work with the ESP32. This includes ultrasonic distance sensors like the HC-SR04, IMUs like the MPU6050, temperature and humidity sensors, GPS modules, camera modules like the OV2640, and any sensor that communicates over I2C, SPI, UART, or analog voltage. The ESP32 supports all standard peripheral protocols.
Conclusion
So, what is an ESP32 and why is it popular for robotics? It is a remarkably capable, affordable microcontroller that combines dual-core processing, built-in Wi-Fi and Bluetooth, abundant GPIO pins, and low power consumption in a single chip. That combination is exactly what modern robotics projects demand, especially when you want wireless control, sensor integration, and multitasking without spending a fortune.
Throughout this guide, we covered the technical specifications that matter, compared the ESP32 against Arduino, STM32, and Raspberry Pi, explored the different variants available, and walked through real robotics applications from robot cars to self-balancing bots. We also addressed the practical challenges that every builder faces, particularly around power management and brownout prevention.
If you are just getting started, my advice is simple: buy a standard ESP32-WROOM-32 dev board, set up the Arduino IDE, and build a basic Wi-Fi-controlled robot car. You will learn more in that one project than from reading ten articles. From there, the possibilities expand rapidly as you add sensors, explore MicroPython, and tackle more ambitious builds.
The ESP32 has earned its place at the center of the robotics maker world, and it is only getting better with newer variants like the S3 and C3. Whether you are a student, hobbyist, or aspiring robotics engineer, this is a chip worth learning deeply. The skills you build with it translate directly to real-world embedded systems work, which makes it an investment in your future as much as in your current project.