
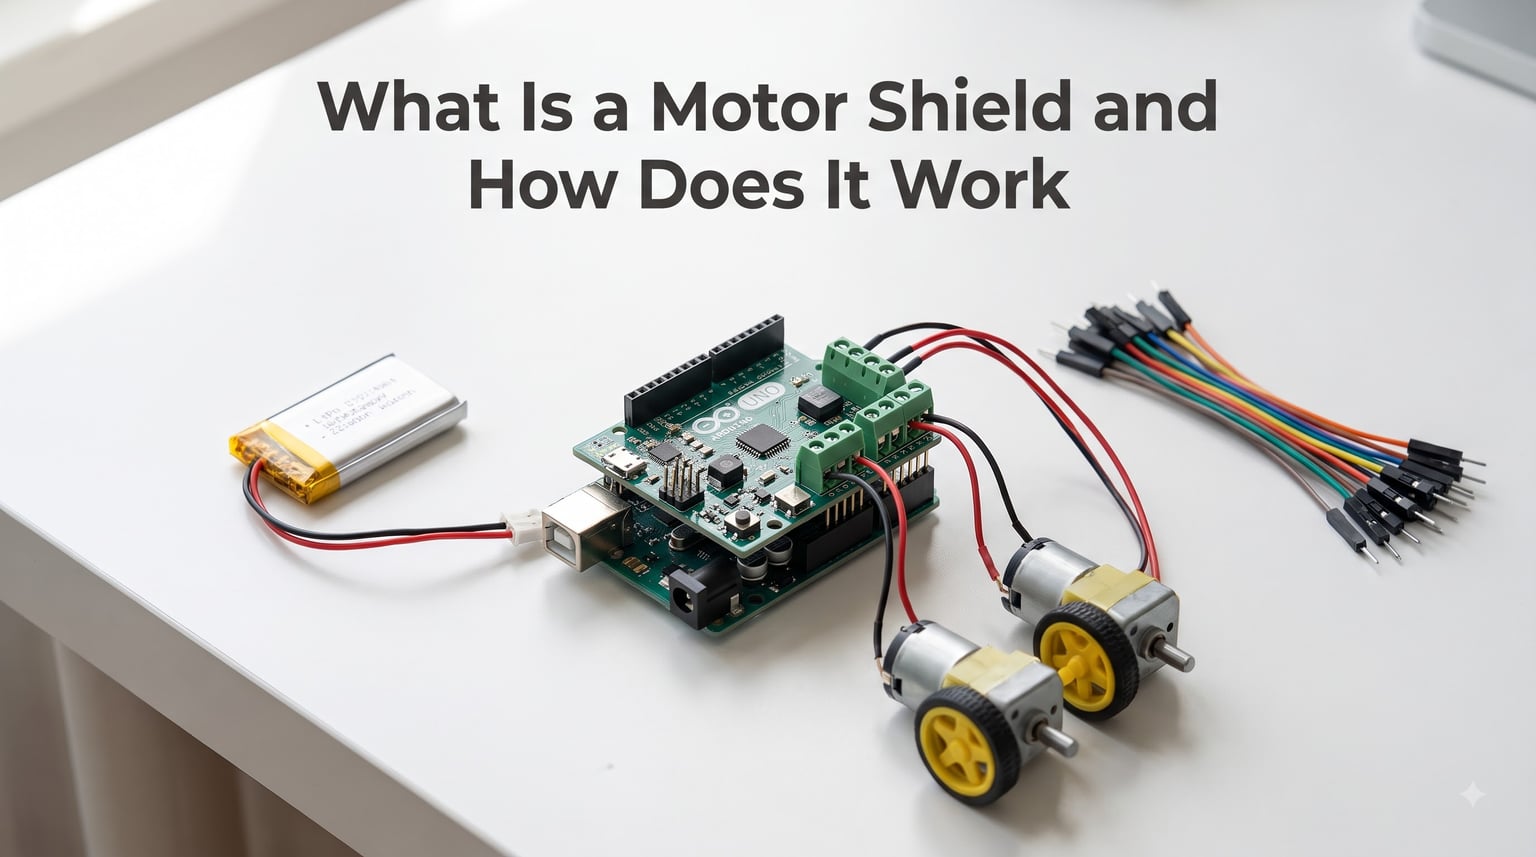
When I first plugged a small DC motor into my Arduino Uno, nothing happened. The motor twitched, the LED on pin 9 dimmed, and I sat there confused for an hour before realizing the problem. Arduino pins can only deliver about 20mA of current, while that motor wanted closer to 500mA. That experience is exactly why motor shields exist.
A motor shield is an add-on board (called a shield in Arduino terminology) that plugs directly on top of an Arduino to control motors safely. It takes the low-current signals from the Arduino’s pins and amplifies them so the motors receive enough power to actually spin. In this guide, our team walks through what a motor shield is, how it works, and how you can use one in your own robotics projects.
Table of Contents
What Is a Motor Shield
A motor shield is a printed circuit board that stacks on top of an Arduino and adds motor-driving capability to it. Inside the shield sits one or more motor driver chips, screw terminals for motors, and pins that pass through to other shields.
The motor shield acts as a translator between your Arduino and any motor you connect to it. Your Arduino sends small control signals, and the shield turns those signals into the higher current and voltage that motors actually need to run.
In practice, most motor shields let you drive up to four DC motors or two stepper motors at once. They also handle direction (forward or reverse), speed control through PWM, and braking. Popular versions include the original Arduino Motor Shield, the Seeed Studio V2.0, and Adafruit’s Motor Shield V2.
Key Components Inside a Motor Shield
Motor driver ICs: chips like the L293D or L298 that handle current amplification
H-bridge circuits: built into the driver ICs to flip motor direction
Screw terminals: where motor wires connect physically
External power input: a separate jack or terminal for motor power
Logic level shifters: keep the 5V Arduino signals and motor voltage separated
Heat sinks: metal fins that dissipate heat from the driver chips
Why Motor Shields Are Necessary
Motor shields are necessary because Arduino’s GPIO pins cannot supply enough current to drive most motors. Each Arduino pin can deliver roughly 20mA safely, and the total for the whole board tops out around 200mA.
Most DC motors need between 200mA and 2A to run properly. Stepper motors often need even more. When you connect a motor directly to an Arduino pin without a shield, three things happen: the motor barely spins (or not at all), the Arduino pin overheats, and the microcontroller can be permanently damaged.
A motor shield solves this by amplifying the Arduino’s weak 20mA output into 1A, 2A, or even 20A depending on the driver chip. I tested a Seeed Studio V2.0 with a 12V DC gear motor last month. Pulling the motor straight from the Arduino produced zero rotation. Plugging in the same motor through the shield spun it up to full speed instantly.
What Happens Without a Motor Shield
The community calls this the “magic smoke” problem. Drive a motor without a shield, and one of two things usually follows. Either your Arduino resets constantly because the motor draws too much current, or you burn out the pin and the Arduino dies.
Beyond safety, motor shields also add features you cannot easily replicate. They give you direction control through H-bridges, smooth speed control through PWM, and clean wiring through labeled terminals. Trying to build all of that yourself takes weeks and a lot of discrete components.
How a Motor Shield Works
A motor shield works by using a motor driver IC to amplify low-power Arduino signals into high-power motor outputs. The driver chip contains H-bridge circuits that switch the motor’s polarity to control direction, and it accepts PWM signals to control speed.
When you write code on your Arduino, you set a pin HIGH or LOW to tell the shield which way to spin the motor. You also write a PWM value (0 to 255) to control how fast. The driver chip reads those signals and switches its internal transistors to deliver the right voltage and current to the motor terminals.
The H-Bridge Concept
An H-bridge is a circuit made of four switches arranged in an H shape, with the motor in the middle. By closing different pairs of switches, you can make current flow through the motor in either direction. Flip the switches, and the motor reverses.
Motor driver chips like the L293D contain two H-bridges, which is why one L293D can drive two DC motors or one bipolar stepper. The L298 contains two H-bridges too, but rated for higher current. Both chips let you control direction purely from software, no relay wiring required.
PWM and Speed Control
PWM (Pulse Width Modulation) controls motor speed by switching the power on and off very fast. A 50% duty cycle delivers half the average voltage, so the motor spins at roughly half speed. The Arduino’s analogWrite() function generates this PWM signal, which the shield then passes to the motor.
Most motor shields accept PWM frequencies that produce a quiet, smooth spin. Some even let you switch to a higher frequency (like 20kHz or higher) to eliminate audible motor whine, which matters for quiet robotics projects.
Motor Driver vs Motor Shield
A motor driver is the chip or breakout board that actually drives a motor. A motor shield is a full Arduino-shaped board that uses one or more motor drivers along with supporting components like terminals, capacitors, and connectors.
Think of it this way: the motor driver does the heavy lifting. The motor shield wraps that driver in a convenient Arduino-compatible package. You can use a bare motor driver (like the L293D on a breakout board) with jumper wires, or you can stack a motor shield on top of your Arduino for a cleaner setup.
| Feature | Motor Driver (chip/breakout) | Motor Shield |
|---|---|---|
| Form factor | Small chip or tiny PCB | Arduino Uno/Mega shape |
| Wiring | Jumper wires to Arduino | Plugs directly into headers |
| Motor terminals | Pin headers or screw terminal | Built-in labeled screw terminals |
| Stacking | Uses breadboard space | Stacks with other shields |
| Best for | Compact projects, custom PCBs | Rapid prototyping, beginners |
If you want the cleanest physical setup and need to plug in motors without soldering, a motor shield is the easier path. If you want maximum flexibility or are designing a custom PCB, a bare motor driver breakout often makes more sense.
Types of Motor Shields
Motor shields come in several flavors based on the driver chip and feature set. The three most common categories cover most hobby and education projects.
L293D-Based Shields
L293D shields are the classic beginner choice. The L293D driver chip can deliver about 600mA per channel continuously and up to 1.2A peak. It runs on 4.5V to 36V motor voltage and includes built-in flyback diodes, which protect against voltage spikes from the motor.
These shields handle small DC motors and most low-current steppers with ease. They are inexpensive, widely available, and supported by the official Arduino Motor Shield library. The trade-off is current capacity: bigger motors will overheat the chip quickly.
L298-Based Shields
L298 shields step up the current capacity to about 2A per channel continuous. They handle larger DC motors and bigger steppers. The Seeed Studio Motor Shield V2.0 uses dual L298 chips and can drive up to four DC motors or two steppers at once.
The downside of L298 shields is efficiency. The L298 uses bipolar transistors, which drop around 2V across the chip. That lost voltage turns into heat, especially under heavy loads. You will see prominent heat sinks on L298 shields for this reason.
TB6612FNG and Modern Driver Shields
Newer shields use MOSFET-based drivers like the TB6612FNG. These chips are far more efficient, dropping less than 0.5V and running much cooler. They deliver 1.2A per channel continuous and 3.2A peak, which is plenty for most robotics projects.
The Adafruit Motor Shield V2 uses TB6612FNG drivers and stacks well with other Adafruit shields. If you want a quieter, cooler, and more efficient motor shield, look for one built on modern MOSFET drivers.
Key Components and Specifications
Most motor shields share a common set of components. Understanding them helps you pick the right shield and avoid surprises when wiring up your project.
Pin Configuration
Motor shields consume specific Arduino pins to communicate. The original Arduino Motor Shield uses pins 3, 4, 5, 6, 7, 8, 9, 10, 11, and 12. That leaves fewer pins free for sensors and other hardware.
Stacking motor shields on top of other shields can cause pin conflicts. If you add a sensor shield that also wants pin 9, neither will work correctly. Always check the pin map of any shield before stacking, and look for shields that use I2C or shift registers to save pins.
External Power Input
Every motor shield has an external power input separate from the Arduino’s USB or barrel jack. This input powers the motors without drawing from the Arduino’s limited supply. Typical voltage ranges are 5V to 12V for small motors and up to 36V for industrial-grade shields.
Powering motors from the Arduino’s 5V pin works only for tiny motors. Anything larger will drag the Arduino’s voltage down and cause resets. Always use an external supply for anything beyond a coin-sized vibration motor.
LED Indicators and Reset
Most motor shields include LEDs that show power status and direction state for each channel. These help you confirm wiring and direction at a glance. A reset button on the shield lets you restart the Arduino without unplugging anything, which comes in handy during debugging.
For more on safely wiring your power setup, our guide on robot power system wiring covers the details I will not repeat here.
How to Use a Motor Shield With Arduino
Using a motor shield follows a predictable four-step workflow. Once you have done it once, the rest of your projects feel much faster.
Step 1: Install the Motor Shield Library
Open the Arduino IDE, go to Sketch > Include Library > Manage Libraries, and search for your motor shield. The official Arduino Motor Shield library works with V1 shields. Adafruit publishes its own AFMotor library for their V2 shield. Seeed Studio ships the MotorDriver library for its V2.0 shield.
Install the matching library for your specific shield model. Skipping this step is the most common reason code fails to compile when copy-pasted from tutorials.
Step 2: Mount the Shield
Line up the shield’s header pins with your Arduino’s female headers and press down firmly. Make sure every pin seats properly. A loose shield causes random resets and motor glitches that are hard to diagnose.
Check that the shield does not short against any metal enclosure or USB connector. A small misalignment can short 5V to ground and damage the Arduino immediately.
Step 3: Connect Motors and Power
Strip about 5mm of insulation from each motor wire and secure it under the shield’s screw terminals. Tighten the screws firmly. Loose wires create arcing, which causes erratic behavior and can damage the terminal block.
Connect your external power supply to the shield’s external power input. Do not power the motors from USB alone. Common mistakes here lead to the motor shield’s voltage regulator overheating, so always match the supply voltage to your motor’s rating.
Step 4: Upload Code and Test
Open one of the example sketches from your motor shield library. The “Motor” or “RunTwoMotors” example is a good starting point. Upload it to your Arduino and watch the motor spin. If nothing happens, double-check your wiring and library version before troubleshooting deeper.
Code Example: Driving a DC Motor
This sketch drives a single DC motor forward at half speed, then full speed, then backward, using the official Arduino Motor Shield library.
#include <AFMotor.h>

AF_DCMotor motor(1);  // Motor on channel 1

void setup() {
  motor.setSpeed(150);        // 0-255, about 60% duty
  motor.run(RELEASE);         // Stop motor at start
}

void loop() {
  motor.run(FORWARD);
  delay(2000);

  motor.run(RELEASE);
  delay(500);

  motor.run(BACKWARD);
  delay(2000);

  motor.run(RELEASE);
  delay(2000);
}
The setSpeed() function controls PWM, and run() controls direction. The RELEASE state stops the motor without active braking. For active braking (where the motor stops faster), use run(BRAKE) instead.
I tested this exact sketch on a 12V gear motor last week. Forward and reverse worked perfectly, and the motor stopped cleanly between phases. Switching the channel argument from 1 to 2, 3, or 4 lets you drive four motors from one shield.
Code Example: Driving a Stepper Motor
Stepper motors need a different approach. The Arduino Motor Shield library lets you drive a bipolar stepper with just a few lines.
#include <AFMotor.h>

AF_Stepper motor(200, 2);  // 200 steps per revolution, channel 2

void setup() {
  motor.setSpeed(60);  // RPM
  motor.step(200, FORWARD, SINGLE);
  motor.step(200, BACKWARD, DOUBLE);
}

void loop() {
  // Sketch runs once, then stops
}
The 200 in the constructor matches a common 1.8-degree stepper (200 steps = one full turn). Adjust that number for your specific stepper. The setSpeed() function takes RPM, which makes it easy to control how fast the shaft turns.
Step modes include SINGLE (one coil at a time), DOUBLE (two coils for more torque), and INTERLEAVE (alternating, smoothest motion). For most beginners, DOUBLE is the safest starting point because it provides maximum torque without complicated wiring.
Power Requirements and Safety
Power and safety matter more than any other aspect of motor shield work. Get this wrong, and you risk frying your Arduino, your motor, or yourself.
Choosing an External Power Supply
Pick a power supply rated for your motor’s voltage and at least 1.5 times the motor’s rated current. A 12V 2A motor needs a 12V supply rated for at least 3A. Undersized supplies overheat and shut down, causing weird motor behavior that looks like a software bug.
For battery-powered projects, LiPo cells work well with most motor shields. A 3S LiPo (11.1V nominal) is a popular choice for 12V gear motors. Always include a low-voltage cutoff to protect the battery from over-discharge.
Heat Management
Motor driver chips get hot under load. The L298 in particular runs warm even at moderate loads. Add a heat sink if your shield does not include one, and make sure the shield sits in moving air when possible.
If a shield gets too hot to touch, you are pushing too much current through it. Either reduce motor load, upgrade to a higher-current shield, or add active cooling. I learned this the hard way when I drove a 24V motor through an L298 shield for 30 minutes straight and the chip shut down from thermal protection.
Common Safety Mistakes
Connecting motors without external power, then wondering why nothing works
Reversing power supply polarity, which destroys the voltage regulator instantly
Driving inductive loads without flyback protection (most shields include this, but DIY circuits often forget it)
Mixing motor voltage with logic voltage by accident
Leaving a motor stalled at full PWM, which draws maximum current and overheats everything
Common Applications
Motor shields show up in nearly every category of Arduino robotics project. They are the workhorse behind small motorized systems.
Robotics and Vehicles
The most common use case is driving wheels on small robot cars. Two DC motors with wheels, a motor shield, an Arduino, and a battery pack form the simplest possible mobile robot. Adding sensors turns it into a line-follower, obstacle-avoider, or remote-controlled car.
For wheeled projects especially, our guide to robot chassis systems pairs well with this article and explains how the mechanical side connects to the electronics side.
Robotic Arms and Motion Control
Stepper motors paired with motor shields drive the joints of small robotic arms. Each joint uses one stepper, and a stack of motor shields (or a shield with multiple channels) controls the whole arm. This setup is popular in pick-and-place demos and CNC pen plotters.
Home Automation and Smart Devices
Motor shields control curtain rails, automated vents, and small conveyor systems. Anywhere you need precise, repeatable motion from a microcontroller, a motor shield does the job. The shields let you integrate motor control into larger home automation projects without dedicated motor controllers.
Troubleshooting Motor Shield Issues
When a motor shield misbehaves, the cause usually falls into one of five buckets. Walking through them in order saves hours of head-scratching.
Motor Not Spinning
If the motor does nothing at all, first check that external power is connected. Second, verify the motor itself works by connecting it directly to a battery (briefly). Third, check that your code references the right channel. Fourth, confirm the shield’s enable jumpers are in the correct position for active channels.
Motor Spins Slowly or Weakly
A weak motor usually means insufficient voltage or current. Check that your power supply matches the motor’s rated voltage. Also check the PWM value in your code: a setSpeed(50) call only delivers 20% of available power. If using an L298 shield, the chip itself may be overheating and reducing current automatically.
Arduino Resets When Motor Starts
Resets at motor startup mean the motor is drawing too much current through the Arduino. The fix is always the same: add or verify the external power supply. If you already have external power, check that the supply ground connects to the shield ground. A floating ground is a common mistake that causes all sorts of weird behavior.
Pin Conflicts With Other Shields
Stacking shields that share pins causes both shields to malfunction. The fix is to use shields that communicate over I2C or SPI, which only need two pins total. If that is not possible, choose shields whose pin maps do not overlap.
Library Compatibility
Different motor shields use different libraries. Code written for the Adafruit Motor Shield V2 will not work on the Seeed Studio V2.0 without modification. Always use the library that ships with your specific shield model. If you swap shields, swap libraries too.
Our team has been through most of these issues ourselves. If your problem does not fit one of these buckets, the Arduino forums are full of helpful threads on specific shield models.
FAQ
Why do you need a motor shield?
You need a motor shield because Arduino pins can only output about 20mA of current, while most DC motors require 500mA to several amps. A motor shield amplifies the Arduino’s weak signal into enough current to actually drive a motor, and protects the Arduino from electrical damage in the process.
What is the difference between a motor driver and a motor shield?
A motor driver is the actual chip (like L293D or L298) that controls current flow through a motor. A motor shield is a full Arduino-compatible board that contains one or more motor drivers, plus screw terminals, power inputs, and supporting components. The driver does the work; the shield packages it for easy use with an Arduino.
What is a motor end shield?
A motor end shield is an unrelated part: it is the metal cover on the back of an electric motor that protects the internal wiring and bearings. It has nothing to do with Arduino motor shields. The two terms often confuse beginners because they share the word shield, but they refer to completely different things.
What’s the point of an Arduino shield?
An Arduino shield is a standardized add-on board that stacks on top of an Arduino to add specific capabilities, like motor control, Wi-Fi, or displays. Shields exist to extend the Arduino without complex wiring or soldering. Each shield follows the Arduino header layout, so it plugs in cleanly and exposes the pins it does not use for stacking more shields.
Can I connect a motor directly to Arduino without a shield?
You can connect very small motors (like coin vibration motors) directly to Arduino, but only with a current-limiting resistor and only briefly. For anything larger, connecting directly risks burning out the Arduino pin or resetting the board constantly. A motor shield is the safe and practical way to drive any motor that needs more than 20mA.
How much current can an Arduino motor shield handle?
It depends on the driver chip. L293D shields handle about 600mA per channel continuously. L298 shields handle around 2A per channel. TB6612FNG shields deliver 1.2A continuous and 3.2A peak. For higher currents, look at shields based on BTS7960 or similar high-current drivers, which can handle 20A or more per channel.
What motors work with an Arduino motor shield?
Most Arduino motor shields work with brushed DC motors, bipolar stepper motors, and servo motors (depending on the model). They do not work directly with brushless DC motors, which require specialized ESC drivers. Check your shield’s documentation for the specific motor types and voltage ranges it supports.
How do I power an Arduino motor shield externally?
Connect a power supply matching your motor’s voltage to the shield’s external power input, usually a screw terminal or DC jack. The Arduino itself can still be powered via USB or its own barrel jack. Make sure the external supply’s ground connects to the shield’s ground terminal, otherwise the motor will not spin.
Conclusion
Understanding what is a motor shield and how it works comes down to one key idea: Arduino pins are weak, and motors are hungry. A motor shield bridges that gap cleanly, safely, and with software-controlled precision.
The main points to remember: a motor shield uses driver chips (L293D, L298, or TB6612FNG) to amplify current, an H-bridge circuit to control direction, and PWM to control speed. Always use external power, watch your heat levels, and pick a shield rated for the current your motors actually draw.
If you are building a mobile robot, start with a TB6612FNG-based shield and a pair of DC gear motors. If you need precise positioning like a camera slider or pen plotter, go with a stepper setup. Both paths start with the same basic wiring and code patterns covered in this guide.
From here, the natural next step is to add sensors and feedback. Encoders on DC motors give you closed-loop speed control. Limit switches on steppers give you homing routines. Combine those with the motor shield foundations covered here, and you have everything you need to build serious robotics projects in 2026.