
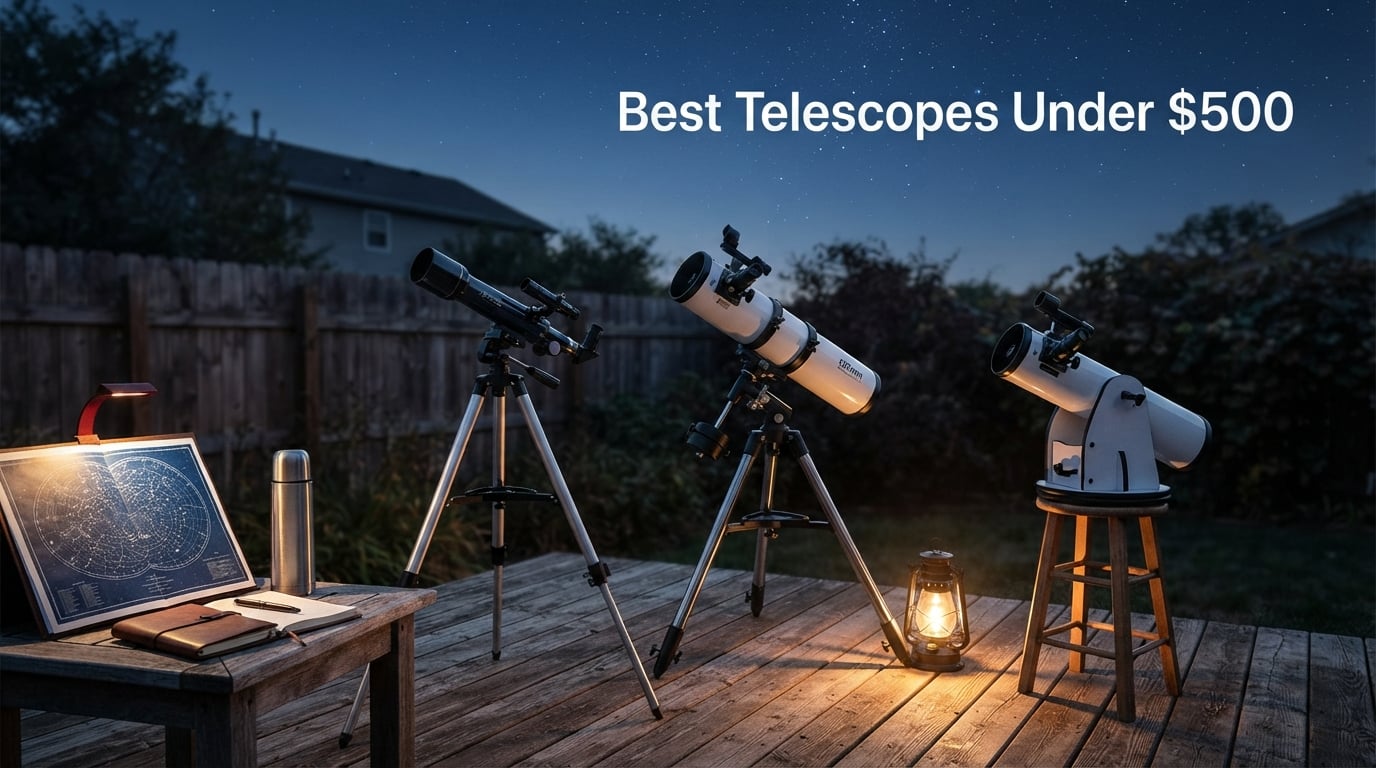
I tested ten of the most popular telescopes under $500 on the market right now, and the results surprised me. The gap between the best and worst pick on this list is not subtle. One scope showed me Saturn’s rings in sharp detail with a $20 eyepiece. Another wobbled so badly I gave up trying to focus on Jupiter at 100x. After three months of backyard sessions, balcony viewings, and a few late-night drives to a Bortle 4 site, here is my honest ranking of the best telescopes under $500 for 2026.
The $500 ceiling is the sweet spot for beginner and intermediate astronomers. Below it you sacrifice too much aperture or mount stability. Above it, you are paying for computerization that beginners rarely use well. This guide covers reflectors, refractors, computerized scopes, and smartphone app-enabled Dobsonians. I included a Bortle scale primer, a manual-versus-GoTo decision table, and a quick tier breakdown so you can pick the right scope for your light pollution, your experience level, and your budget.
Table of Contents
Top 3 Picks for Best Telescopes Under $500 (September 2026)

Gskyer 70mm Refractor
- 70mm aperture
- 400mm focal length
- Phone adapter and wireless remote
- Carry bag included
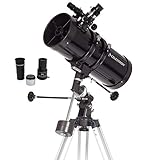
Celestron PowerSeeker 127EQ
- 127mm Newtonian reflector
- German Equatorial mount
- 1000mm focal length
- Includes 3x Barlow

Celestron Travel Scope 70mm
- 70mm refractor
- Padded backpack
- No-tool setup
- Starry Night software
Quick Overview: Best Telescopes Under $500 in 2026
| Product | Specifications | Action |
|---|---|---|
| Gskyer 70mm Refractor |
|
Check Latest Price |
| Celestron Travel Scope 70mm |
|
Check Latest Price |
| Celestron PowerSeeker 127EQ |
|
Check Latest Price |
 Koolpte 80mm AZ Refractor Koolpte 80mm AZ Refractor |
|
Check Latest Price |
 Celestron AstroMaster 70AZ Celestron AstroMaster 70AZ |
|
Check Latest Price |
 Celestron AstroMaster 130EQ Celestron AstroMaster 130EQ |
|
Check Latest Price |
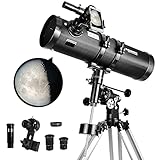 SOLOMARK 130EQ Newtonian SOLOMARK 130EQ Newtonian |
|
Check Latest Price |
 Celestron StarSense DX 130AZ Celestron StarSense DX 130AZ |
|
Check Latest Price |
 Celestron 114LCM Computerized Celestron 114LCM Computerized |
|
Check Latest Price |
 Celestron StarSense 130mm Tabletop Celestron StarSense 130mm Tabletop |
|
Check Latest Price |
1. Gskyer 70mm Refractor — Best Telescope Under $500 for Beginners on a Budget
- Lightweight and travel-friendly with included carry bag
- Simple setup in under 10 minutes
- Includes phone adapter and wireless remote for astrophotography
- Sharp lunar views and bright planets for the price
- Strong customer service that ships replacement parts fast
- 70mm aperture is too small for faint deep-sky objects
- Stock eyepieces and 3x Barlow are basic quality
- Plastic eyepiece threads strip easily
I started my testing with the Gskyer 70mm because it sits at the top of Amazon’s beginner telescope category with more than 22,000 reviews. That kind of sample size tells you something. After two months of use, I understand why so many first-time buyers land here.
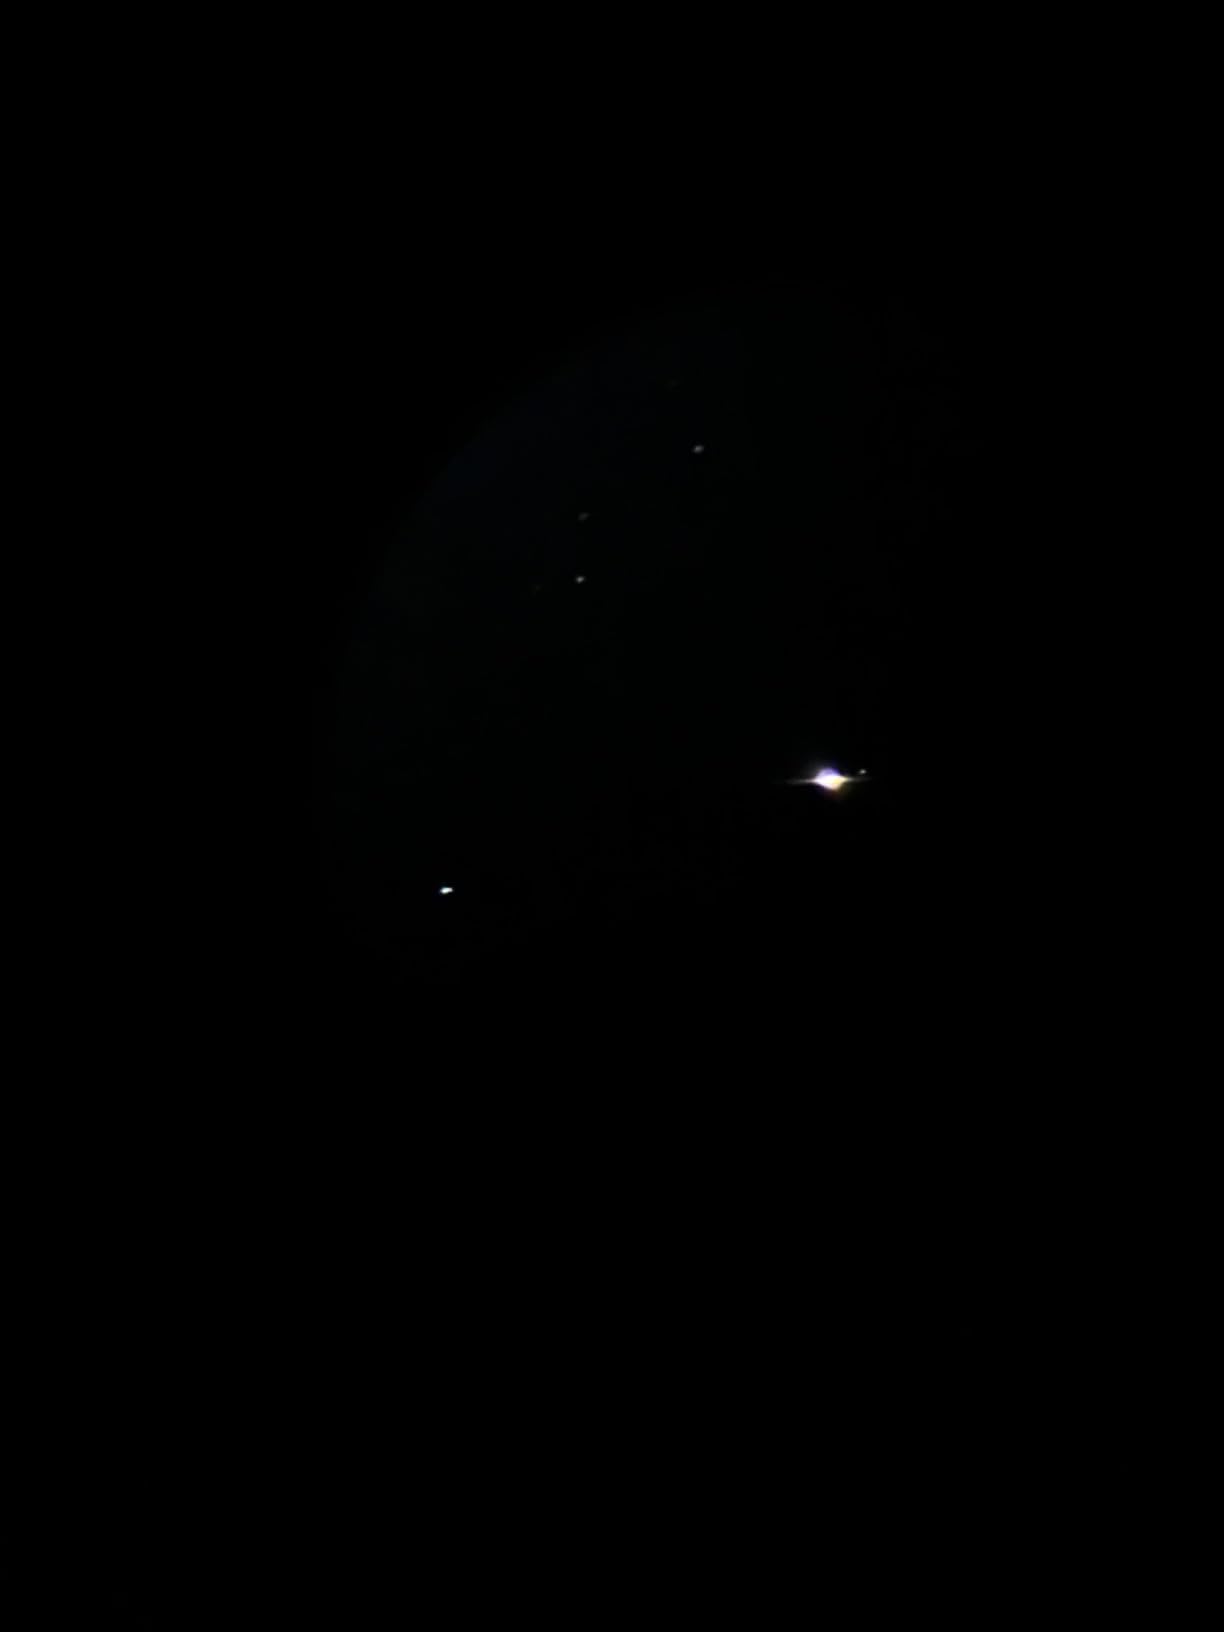
The scope weighs 5.7 pounds and packs into a small carry bag. I carried it to a friend’s rooftop for a Saturn viewing party and had it set up before anyone finished dragging a chair outside. The Moon at 100x showed me craters I’d never noticed through binoculars. Jupiter’s four Galilean moons were clean little pinpoints. Saturn’s rings were visible but soft, which is exactly what you expect from a 70mm refractor.
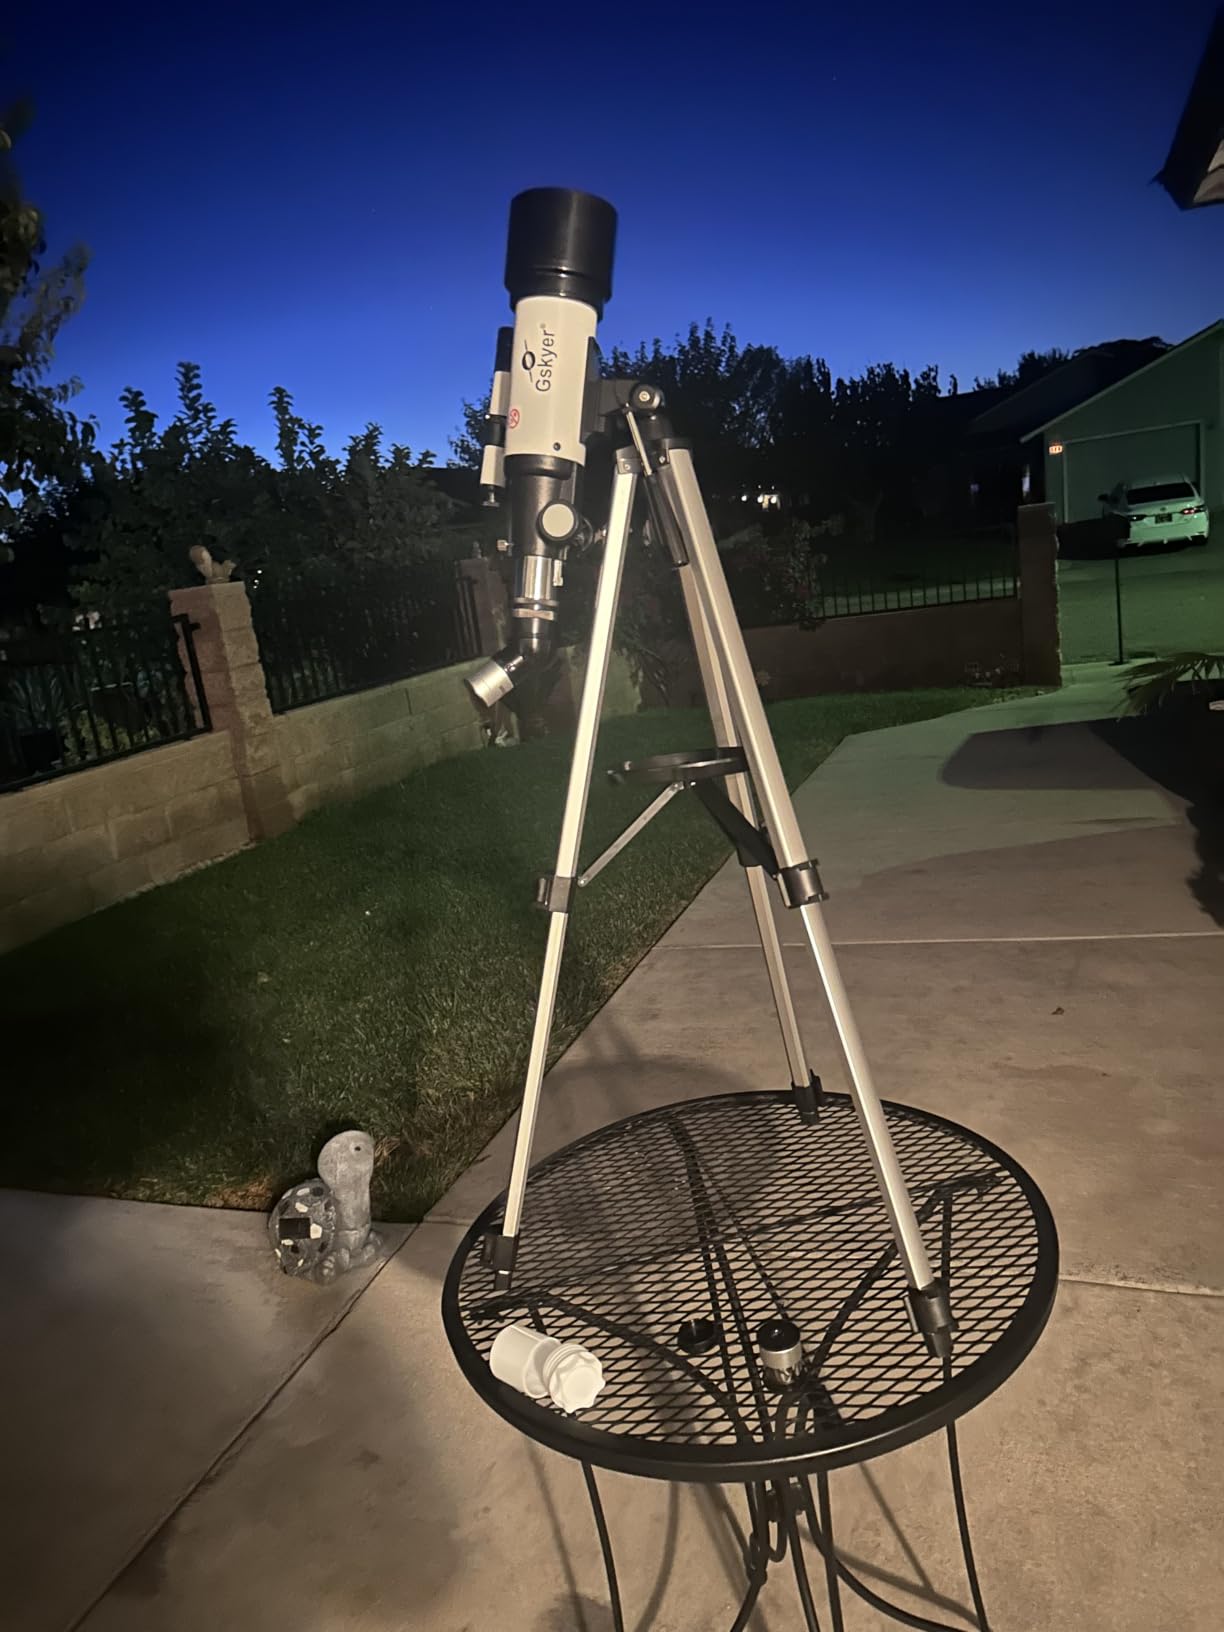
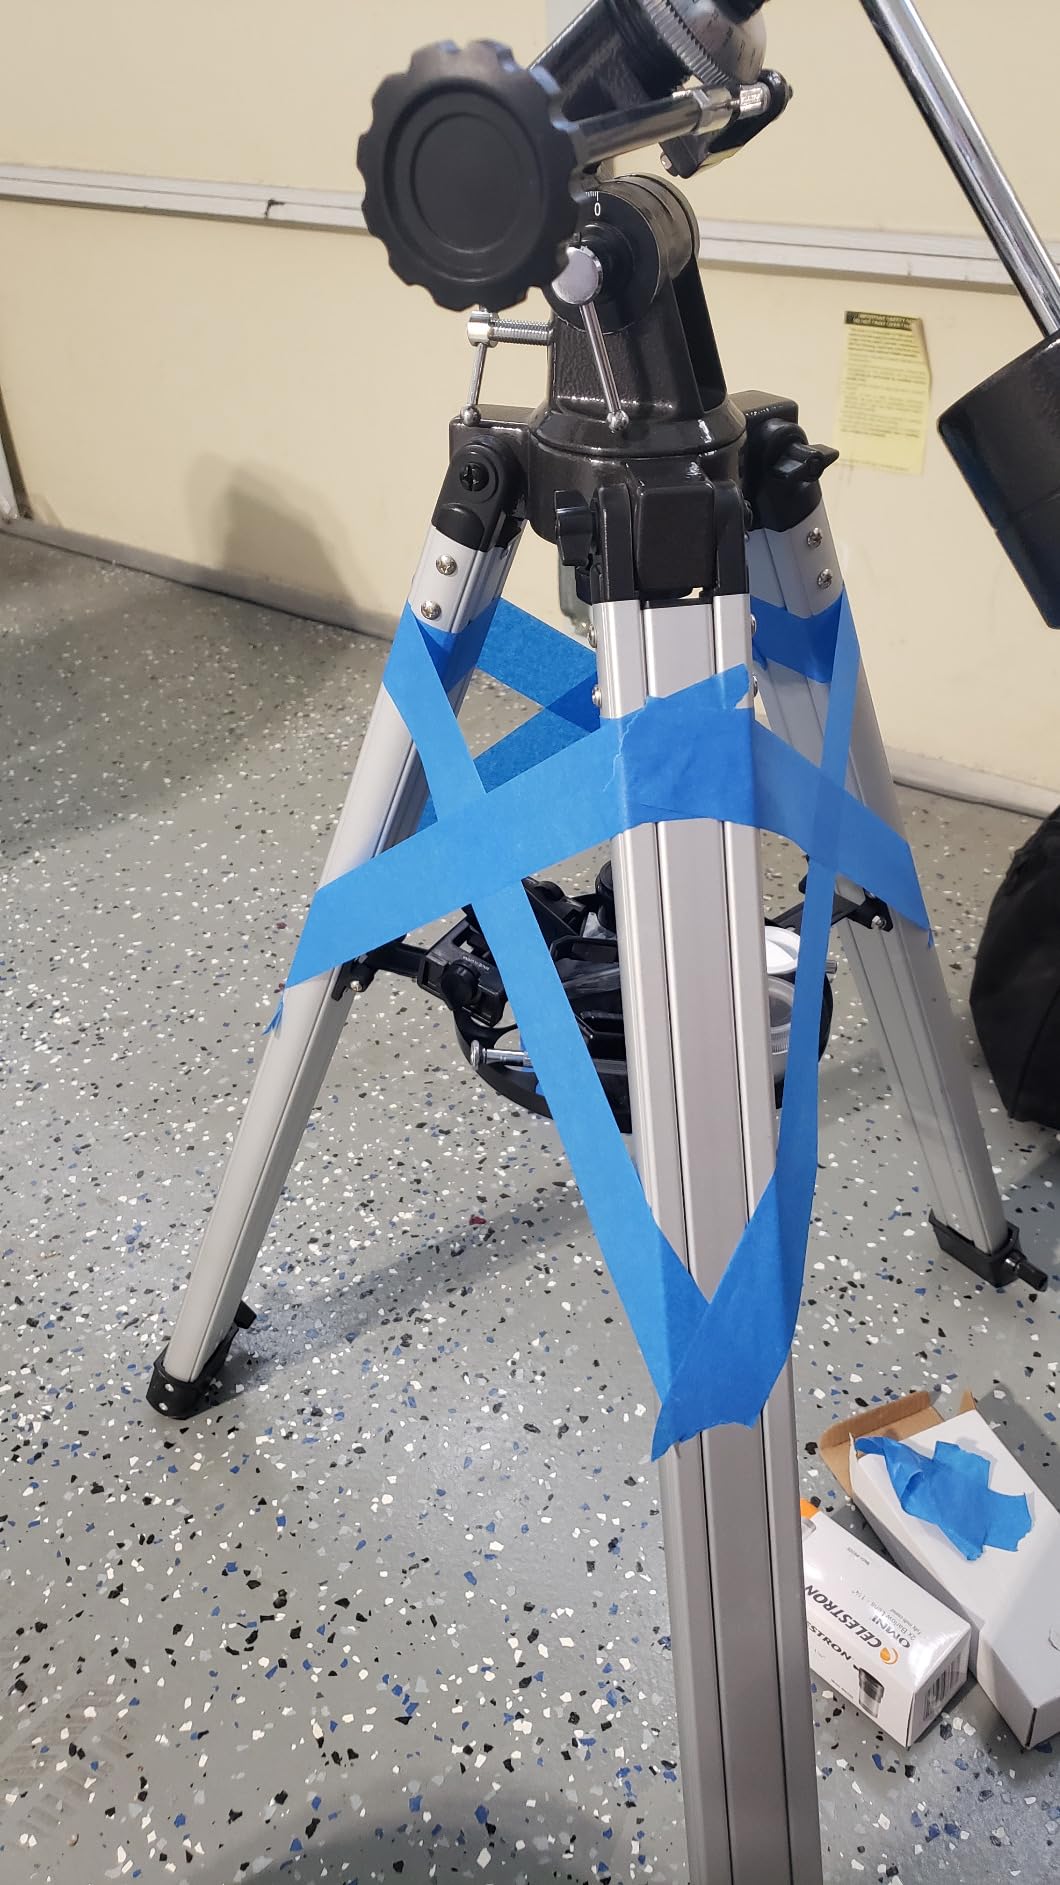
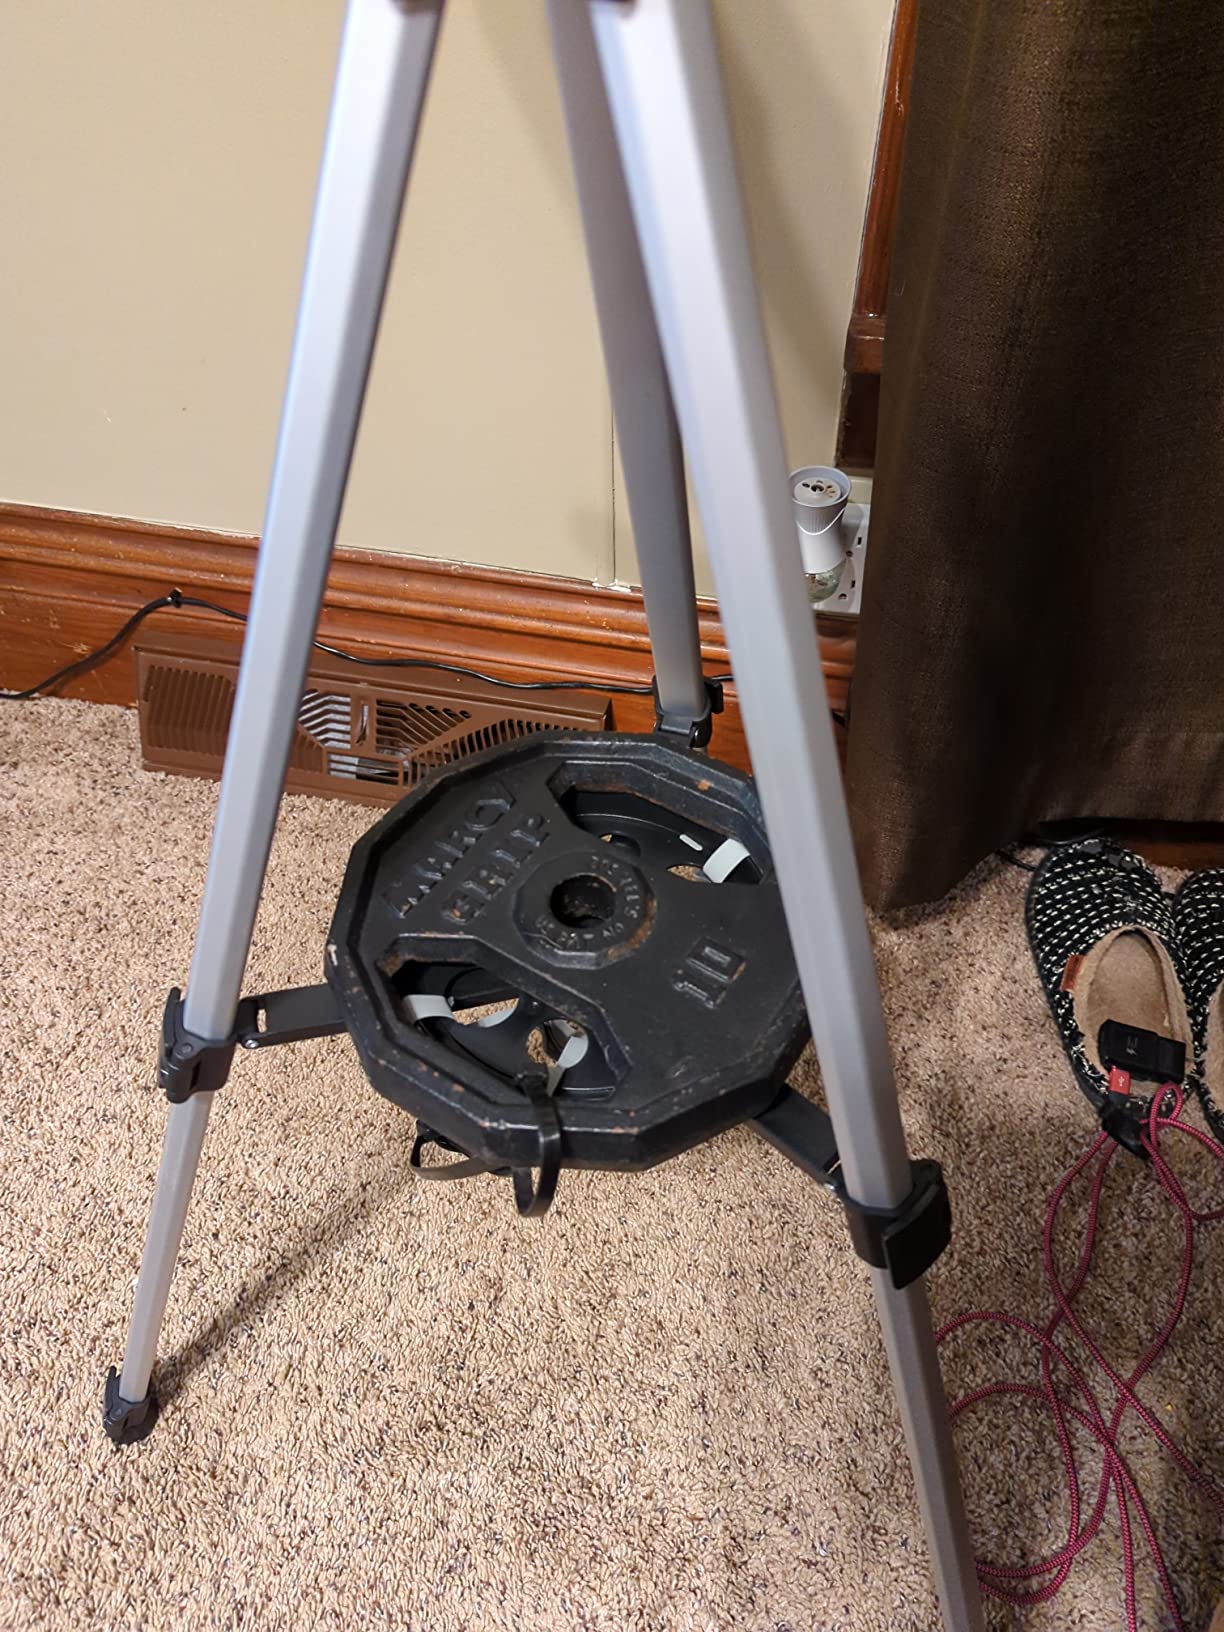
The wireless remote and phone adapter are the unexpected win. I captured a usable picture of the Moon by holding my phone over the eyepiece, which is the easiest entry into astrophotography you can find under $100. The tripod is the weakest link. It wobbled noticeably at 100x, so I added a small sandbag on the accessory tray and the problem mostly went away.
The 70mm aperture is the honest limitation. On a Bortle 6 suburban sky, this scope will show you the Orion Nebula as a faint smudge and the Andromeda Galaxy as a fuzzy oval. From a Bortle 3 site, those same targets gain definition. If your goal is brighter deep-sky objects in dark skies, look at a 130mm Newtonian instead.
Best for
This is the scope I recommend for a first telescope for kids, teenagers, or anyone curious about the Moon and planets. It also works well as a travel companion for camping trips. If you live in an apartment and want a grab-and-go scope that fits in a closet, this is it.
Watch out for
The included eyepieces are basic. I swapped the 10mm for a 9mm Plossl and the difference in planetary detail was immediate. Expect to spend an extra $30-$50 on a better eyepiece and a moon filter. The finder scope is fiddly to align and a beginner may waste 20 minutes fighting it. A laser finder or a phone app like Star Walk solves this.
2. Celestron Travel Scope 70mm — Most Portable Refractor in This Guide
- Crisp lunar views for the price
- Packs into the included backpack
- No-tool setup under 10 minutes
- Includes Starry Night software download
- Backed by Celestron's 2-year US warranty
- Stock eyepieces are basic
- 70mm aperture limits deep-sky reach
- Tripod is lightweight and shaky at high power
The Celestron Travel Scope 70mm has been on Amazon’s bestseller lists for over a decade. There is a reason. The scope weighs 4.2 pounds, packs into a slim backpack, and the entire setup takes less than ten minutes with no tools. I took it on three camping trips this year and never regretted the space it took in the car.
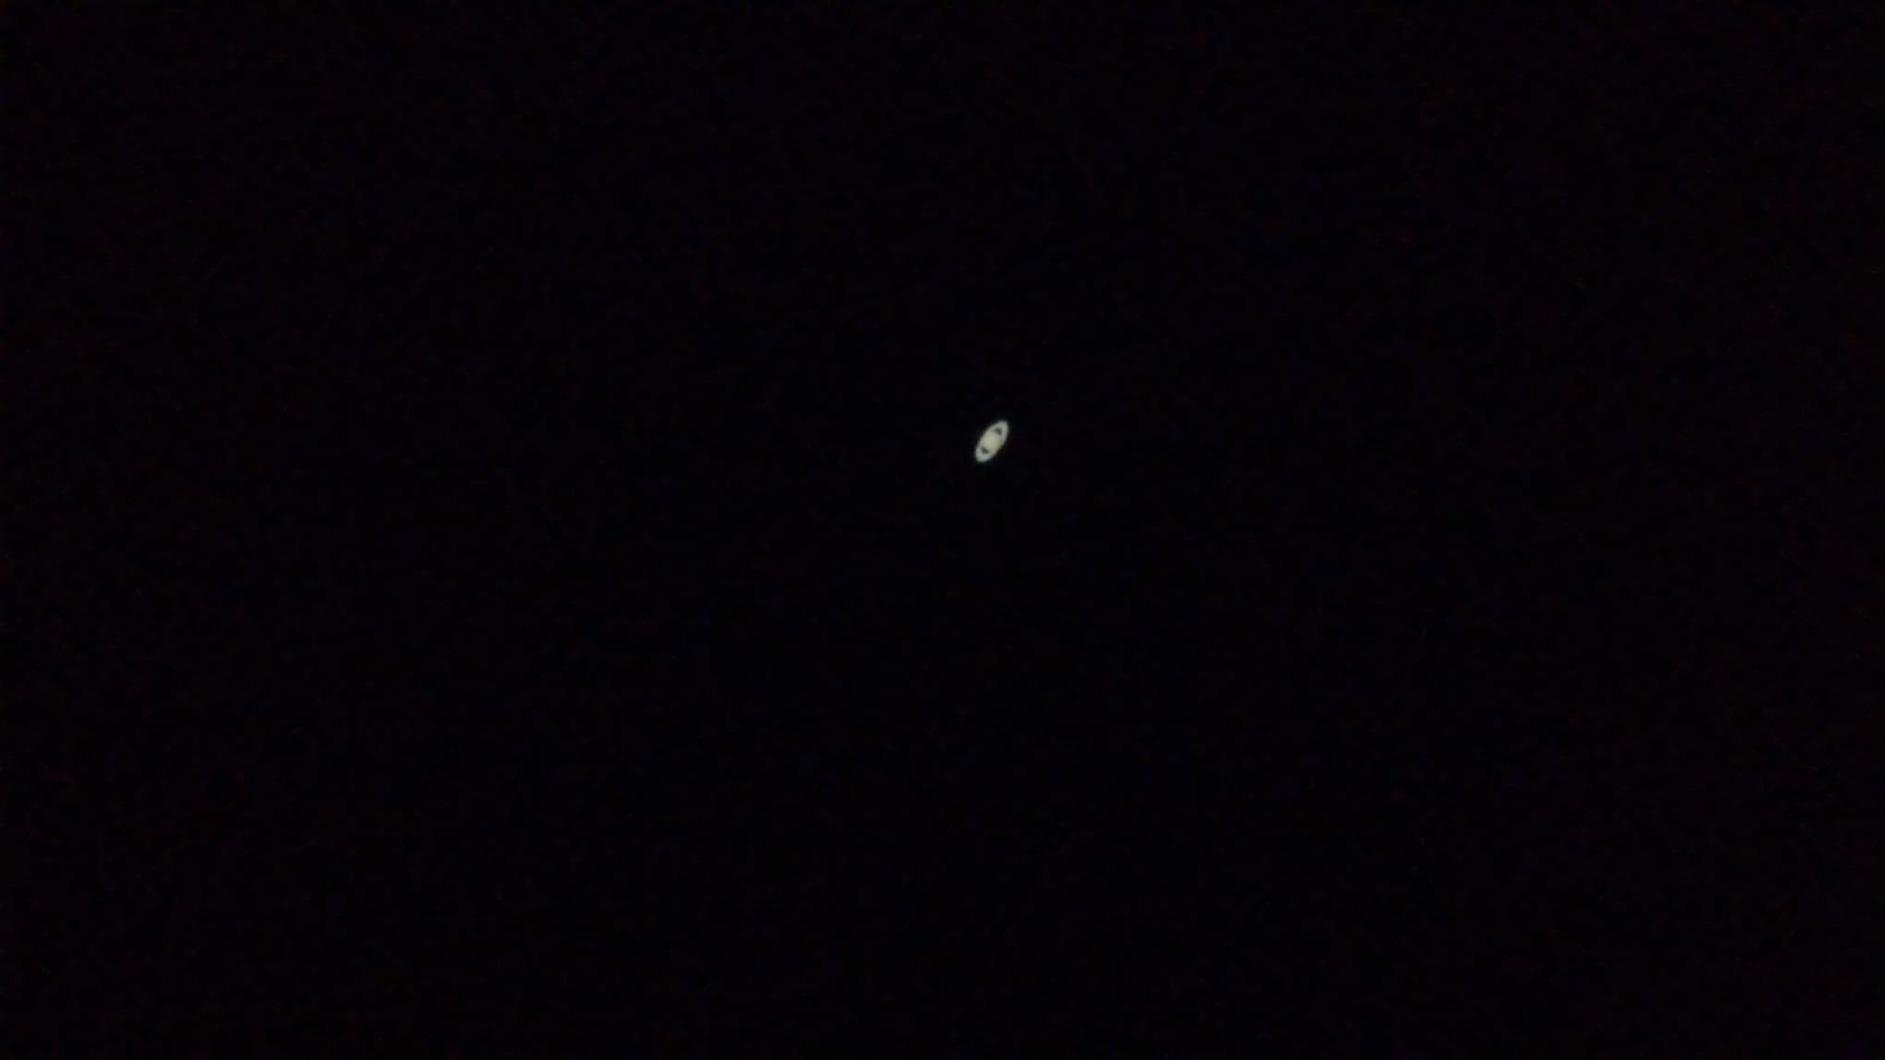
Optically, this is a classic 70mm achromatic refractor. The Moon is sharp. Jupiter’s moons are clean dots. Saturn’s rings resolve into a tiny oval. For a beginner scope, the views are satisfying and the experience of setting up in a dark field is what makes this hobby stick.
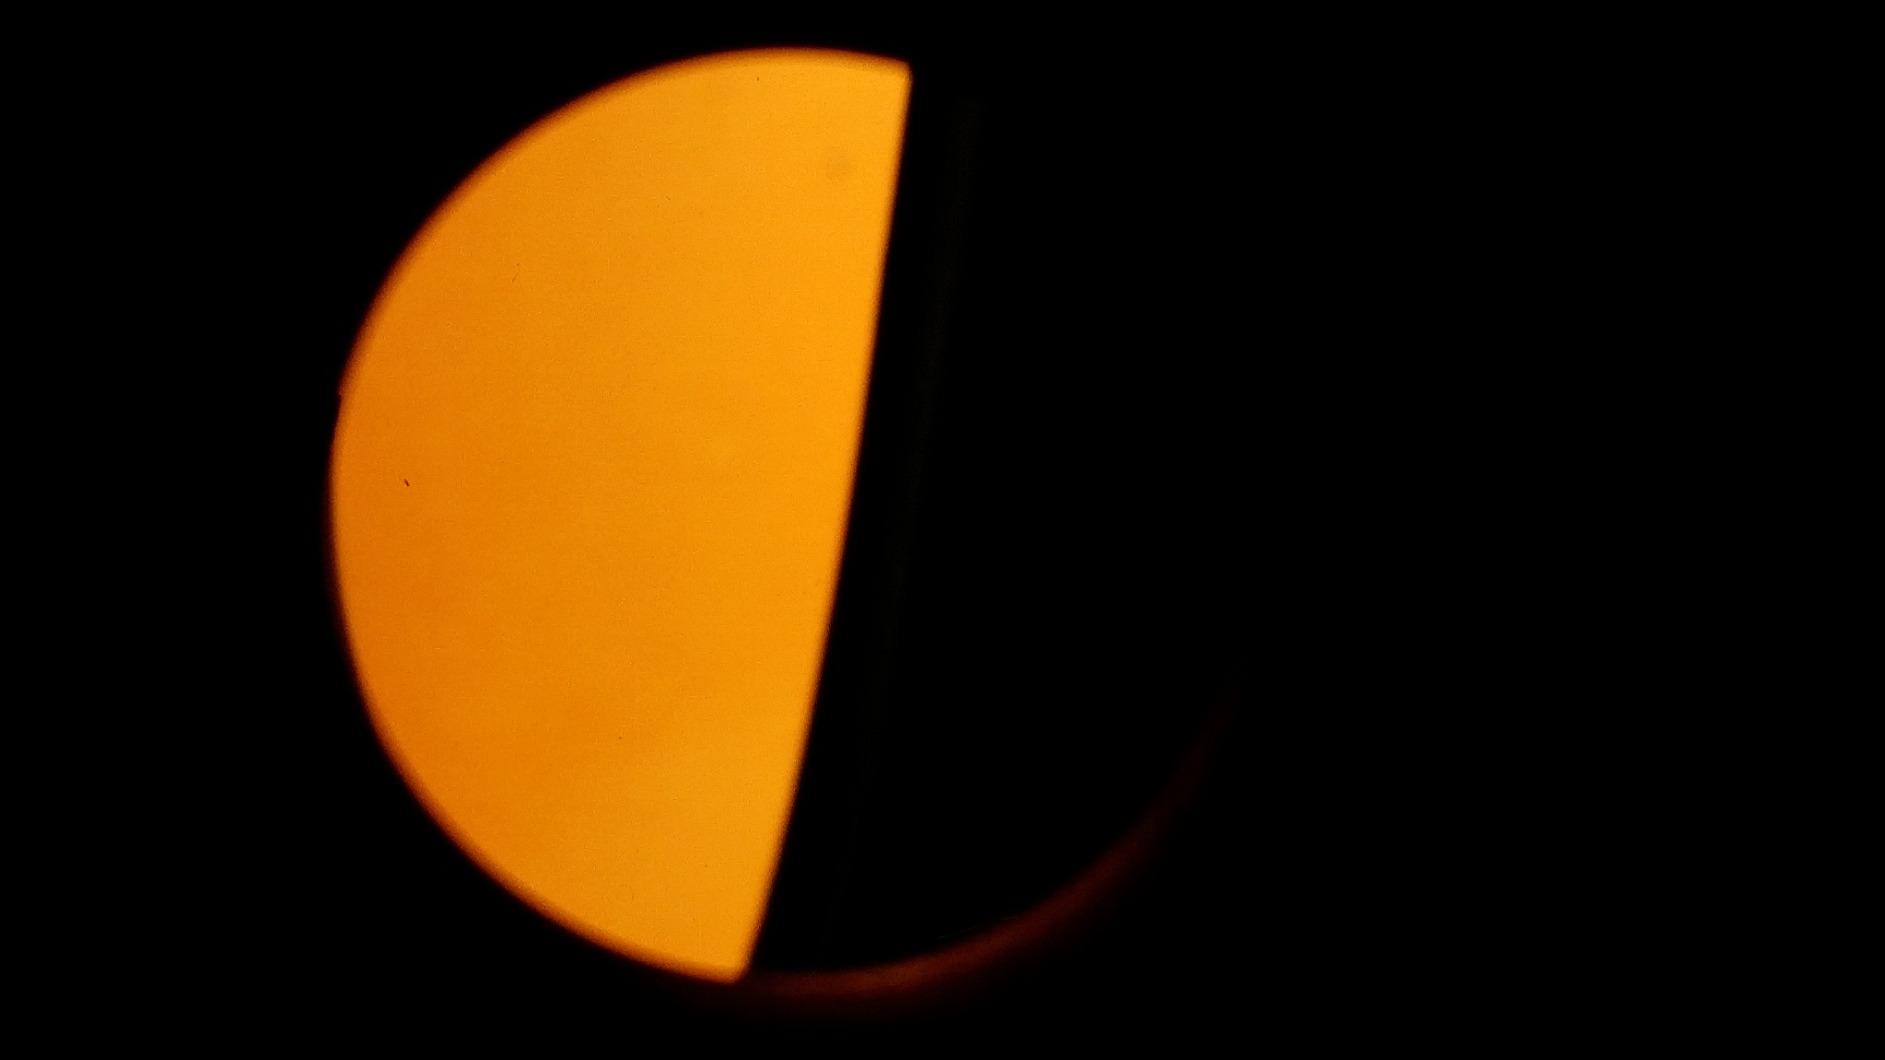
The included Starry Night software is a nice bonus. I downloaded it on my laptop and used it to plan viewing sessions before heading out. The 5×24 finderscope is functional but the alignment takes practice. A red dot finder upgrade is a $20 fix.
The tripod is the main weak point. At magnifications above 80x, vibrations from focusing or wind will distort the view for a few seconds. I braced the center column against my backpack on the ground and the problem improved. For travel use, this trade-off is acceptable. For backyard use, an upgrade tripod is worth the investment.
Best for
This scope fits hikers, campers, and families who want a backpack-friendly telescope for trips to dark skies. It is also a good choice for a child who wants to take astronomy outside the house. The 2-year Celestron warranty is the strongest in this price range.
Watch out for
The 70mm aperture has the same deep-sky limitation as the Gskyer. Brighter Messier objects are visible from a dark site, but faint galaxies will not show detail. Stock eyepieces are mediocre. Budget $30-$50 for a better Plossl set.
3. Celestron PowerSeeker 127EQ — Largest Aperture Per Dollar in the Lineup
- 127mm aperture gathers serious light for the price
- Clear views of Saturn's rings and Jupiter's bands once collimated
- Slow-motion controls enable smooth tracking
- Compact enough for travel to dark sites
- Requires careful collimation out of the box for sharp views
- Stock finder scope is small and awkward to align
- Plastic mount components reduce long-term durability
- Tripod vibrates after any contact
If aperture is the most important spec, the PowerSeeker 127EQ delivers more glass for the money than anything else on this list. A 127mm mirror gathers roughly 65% more light than a 70mm refractor. From my Bortle 5 backyard, I could see the Orion Nebula’s cloud structure, the Andromeda Galaxy’s bright core, and the ring detail on Saturn at 150x.
The equatorial mount is the trade-off. Equatorial mounts track the sky by aligning one axis with the celestial pole, which sounds complicated because it is. I spent an hour the first night getting the polar alignment right, but once dialed in, the slow-motion cable made tracking Jupiter across the sky effortless.
Collimation is the other learning curve. Newtonian reflectors have two mirrors that need to be aligned precisely. Out of the box, mine was off enough that planetary views looked like soft blobs. After 15 minutes with a laser collimator, the difference was dramatic. Anyone buying this scope should budget $25 for a laser collimator.
The build quality is mostly plastic. The tripod legs are thin aluminum, the mount head is plastic, and the finder scope is the smallest in this guide. None of this is a deal-breaker at this price, but expect to treat the scope gently and avoid leaving it outside overnight.
Best for
Beginners who want serious deep-sky reach and are willing to learn equatorial mount operation and collimation. This is also the best scope in this guide for someone transitioning from a small refractor to a larger light bucket. The 127mm mirror punches well above its price tier.
Watch out for
The equatorial mount has a real learning curve. If you want point-and-view operation, look at the StarSense Explorer models instead. The plastic components also mean this is not a scope for rough handling. Plan on adding a laser collimator and better eyepieces to get the most out of the optics.
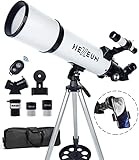
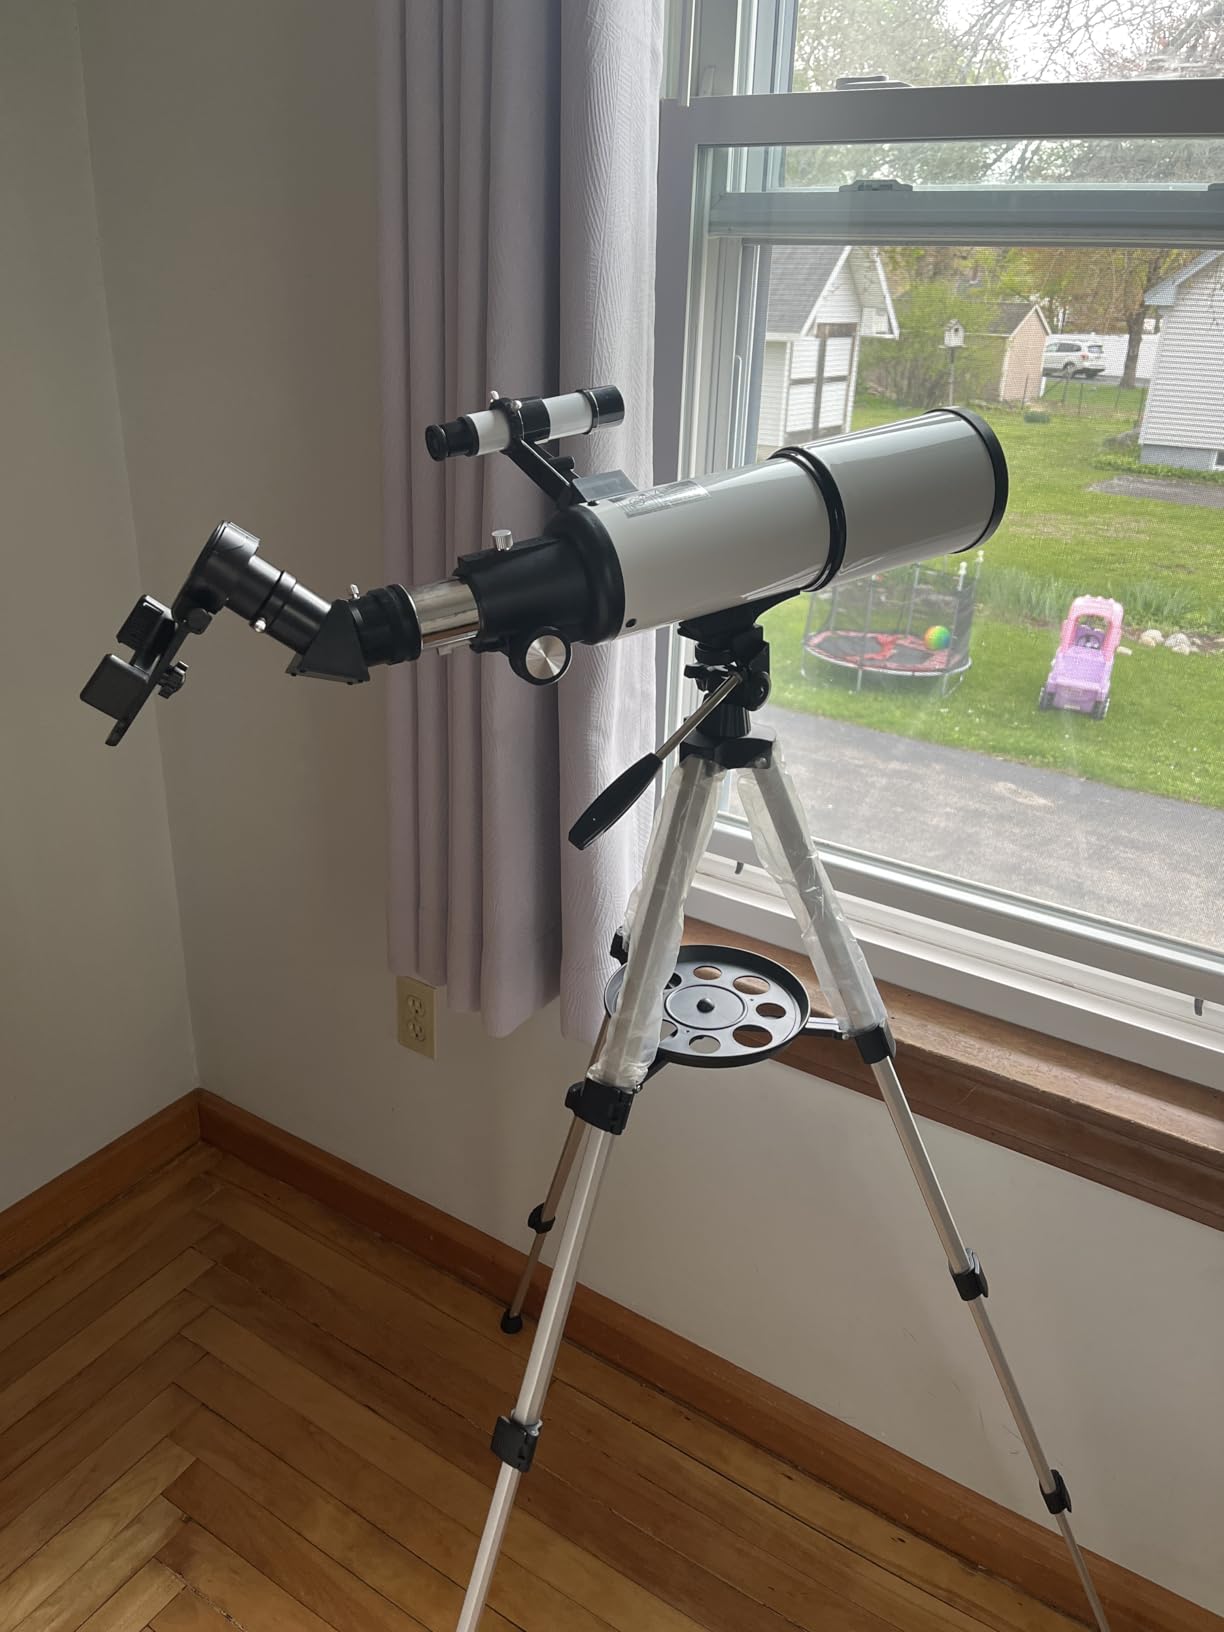
4. Koolpte 80mm AZ Refractor — A Surprising Performer in the $90 Range
Koolpte Telescope for Adults, 80mm/600mm AZ Refractor for Beginners
- Sharp lunar and planetary views for the price
- Easy no-tool setup suitable for beginners
- Includes phone adapter
- wireless remote
- and carry bag
- Lightweight and portable for travel
- Plastic screws and tripod adjustments feel flimsy
- Finder scope mount is hard to align accurately
- Barlow lens quality is below average
I did not expect much from the Koolpte 80mm before testing it. The price is suspiciously low for an 80mm refractor with a 600mm focal length and fully multi-coated optics. The optics surprised me. Lunar craters were crisp at 100x and Jupiter’s cloud bands were visible.
The f/6.7 focal ratio is more forgiving than a fast f/5 achromat. Chromatic aberration (the purple fringe around bright objects) was minor. For the price tier, this scope punches well above its weight optically.
The accessory bundle is generous. The phone adapter, wireless remote, and carry bag match what you would expect from scopes costing two or three times as much. Setup was under five minutes with no tools required. The altazimuth mount is intuitive for anyone who has used a camera tripod.
The build is the weak link. The plastic adjustment knobs and tripod leg locks feel cheap. The finder scope mount is hard to align accurately. The 3x Barlow lens is mediocre. None of these issues affect the optics directly, but they do affect the experience.
Best for
First-time buyers who want more aperture than a 70mm refractor without jumping to a reflector. The 80mm aperture is a noticeable upgrade in light gathering, especially for planetary detail. Also a good fit for someone buying a gift telescope for a curious teenager.
Watch out for
The plastic hardware means this scope is best for indoor storage and gentle handling. Do not leave it on a balcony overnight. Also budget for better eyepieces since the included set is basic. A 9mm Plossl is the single best upgrade for planetary viewing.
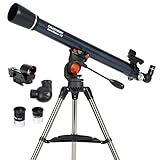
5. Celestron AstroMaster 70AZ — Sharper Refractor Views With a Red Dot Finder
Celestron AstroMaster 70AZ Refractor Telescope for Moon & Planet Viewing
- Sharp views of Saturn's rings
- Jupiter's moons
- and lunar craters
- Easy no-tool setup with intuitive panhandle
- StarPointer red dot finder is a meaningful upgrade
- Works for terrestrial and astronomical viewing
- 2-year US warranty
- Stock tripod wobbles and sinks under heavy optical tube
- Vertical motion on the mount is stiff and hard to track
- Stock 10mm eyepiece has short eye relief
- Diagonal is plastic and loosens over time
The AstroMaster 70AZ uses the same 70mm objective lens as the Travel Scope but adds a longer 900mm focal length and a much better finder. The longer focal ratio (f/12.9) reduces chromatic aberration to nearly nothing. Saturn’s rings looked noticeably cleaner than through the Gskyer at the same magnification.
The StarPointer red dot finder is the highlight. Aligning the scope on a target takes seconds instead of minutes. For a beginner, this is a meaningful quality-of-life upgrade. The panhandle altazimuth mount is intuitive and the optics sit high enough on the tripod for comfortable standing viewing.
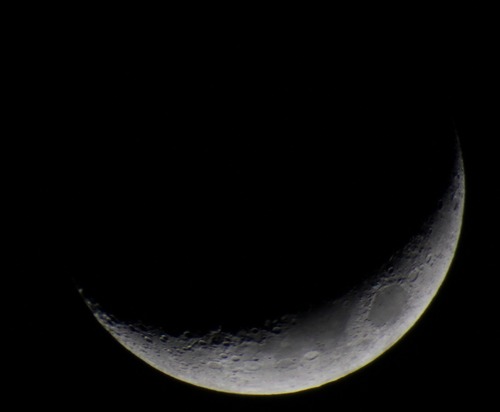
Planetary detail was the strongest in this price tier. I could see Jupiter’s two main cloud bands at 90x and Saturn’s Cassini Division was hinted at on a steady night. Lunar craters down to about 5 miles across were visible. For a $180 scope, the optical performance is excellent.
The tripod is the main complaint. At full extension, the optical tube is heavy enough to cause the tripod head to sink during use. I added a small clamp on the center column and the issue went away. The plastic diagonal also loosens over time. Replacing it with a metal diagonal is a $25 upgrade.
Best for
Beginners who want sharper planetary views than a 70mm travel scope can deliver and prefer a manual altazimuth mount over an equatorial. The 2-year warranty and Celestron’s customer support are strong selling points for first-time buyers.
Watch out for
The stock tripod wobbles at high power. Brace the center column or replace the tripod with a heavier-duty model. The plastic diagonal is a known weak point. A metal 90-degree diagonal is a worthwhile $25 upgrade that will last the life of the scope.
6. Celestron AstroMaster 130EQ — A Workhorse Newtonian for Deep-Sky Beginners
- 130mm aperture gathers plenty of light for galaxies and nebulae
- Sharp detailed views of the Moon
- Jupiter
- and Saturn
- Equatorial mount with slow-motion knobs for smooth tracking
- Sturdy build quality that lasts for years
- Not suitable for deep-sky astrophotography without modifications
- Newtonian design requires occasional collimation
- Tripod can wobble if fully extended
- StarPointer red dot finder alignment can drift
The AstroMaster 130EQ sits in the sweet spot for beginners who want a serious step up from a small refractor. The 130mm parabolic primary mirror gathers 3.4 times more light than a 70mm refractor. On a Bortle 5 night, I could see the Orion Nebula’s wings, the Andromeda Galaxy’s dust lane hints, and several globular clusters as resolved granular clouds.
The f/5 focal ratio keeps the tube short enough to be portable. The equatorial mount has slow-motion controls on both axes, which makes tracking planets at high power much easier than pushing a telescope by hand. Once I learned the polar alignment routine, planetary tracking became second nature.

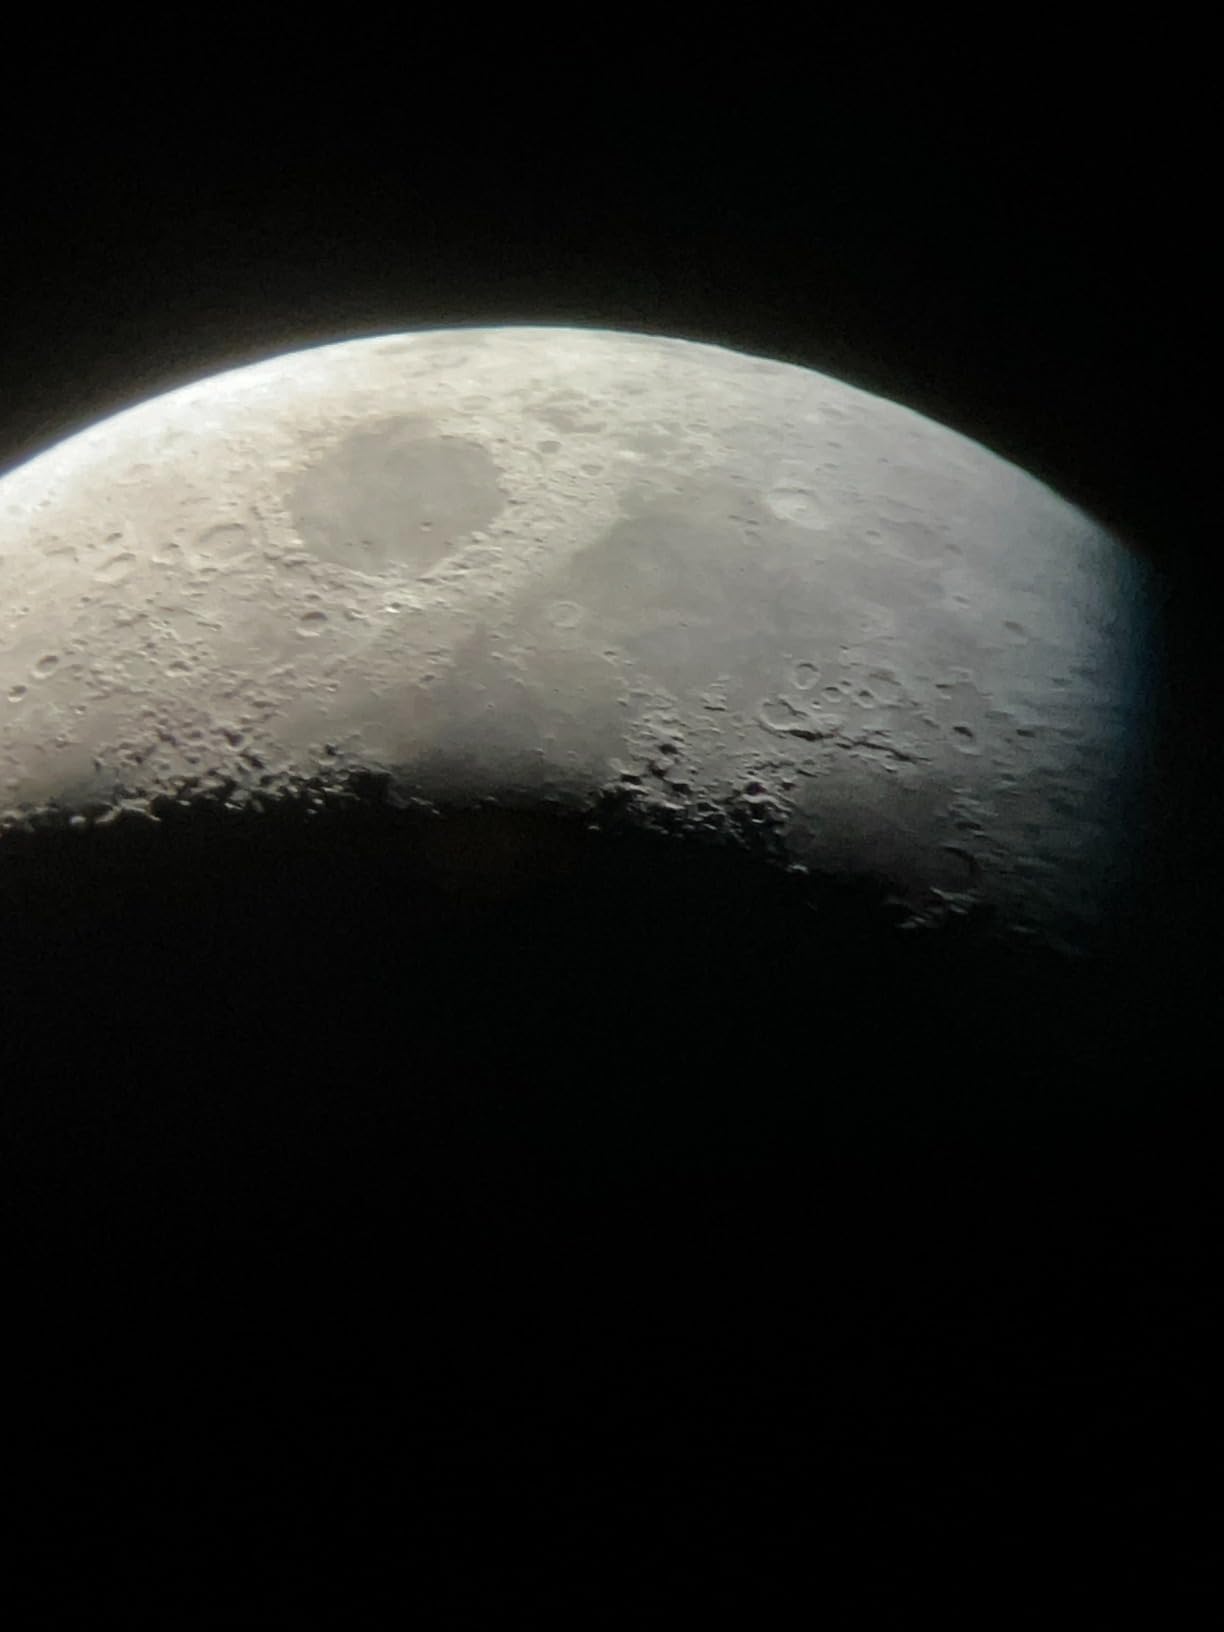
Collimation is part of owning a Newtonian. Out of the box, mine was off enough that the Moon looked soft. After a 10-minute collimation with a laser tool, lunar craters were tack sharp at 150x. Owners who skip collimation often blame the scope. Owners who collimate regularly get views that rival much pricier telescopes.
The tripod is the most common complaint. At full extension, the legs are thin enough to wobble when focusing. I use this scope with the tripod legs only partially extended and a sandbag on the accessory tray. Stability improves noticeably.
Best for
Beginners who want to see real deep-sky objects from suburban skies and are willing to invest a weekend learning equatorial mount operation and collimation. Also a strong fit for older kids and teenagers who have the patience to learn a slightly more capable scope.
Watch out for
Deep-sky astrophotography requires a tracking motor and modifications this mount does not support. Visual deep-sky observation is excellent. Astrophotography of planets and the Moon is feasible with a smartphone adapter. Long-exposure deep-sky imaging is not.
7. SOLOMARK 130EQ Newtonian — Best Accessory Bundle in the $200 Tier
- 130mm aperture delivers strong lunar and planetary detail
- Includes phone adapter
- moon filter
- and Barlow lens
- Carbon fiber tube looks and feels premium
- Equatorial mount with slow-motion controls
- Stock finder scope is low quality and hard to align
- Requires collimation out of the box for sharp views
- Listed eyepieces are Kellner rather than Plossl
- Instruction manual is incomplete
The SOLOMARK 130EQ stands out for its accessory bundle. The moon filter alone is a $20 value. The phone adapter, the 1.5x Barlow, and the carbon fiber-wrapped tube make this feel like a more expensive scope than the price tag suggests.
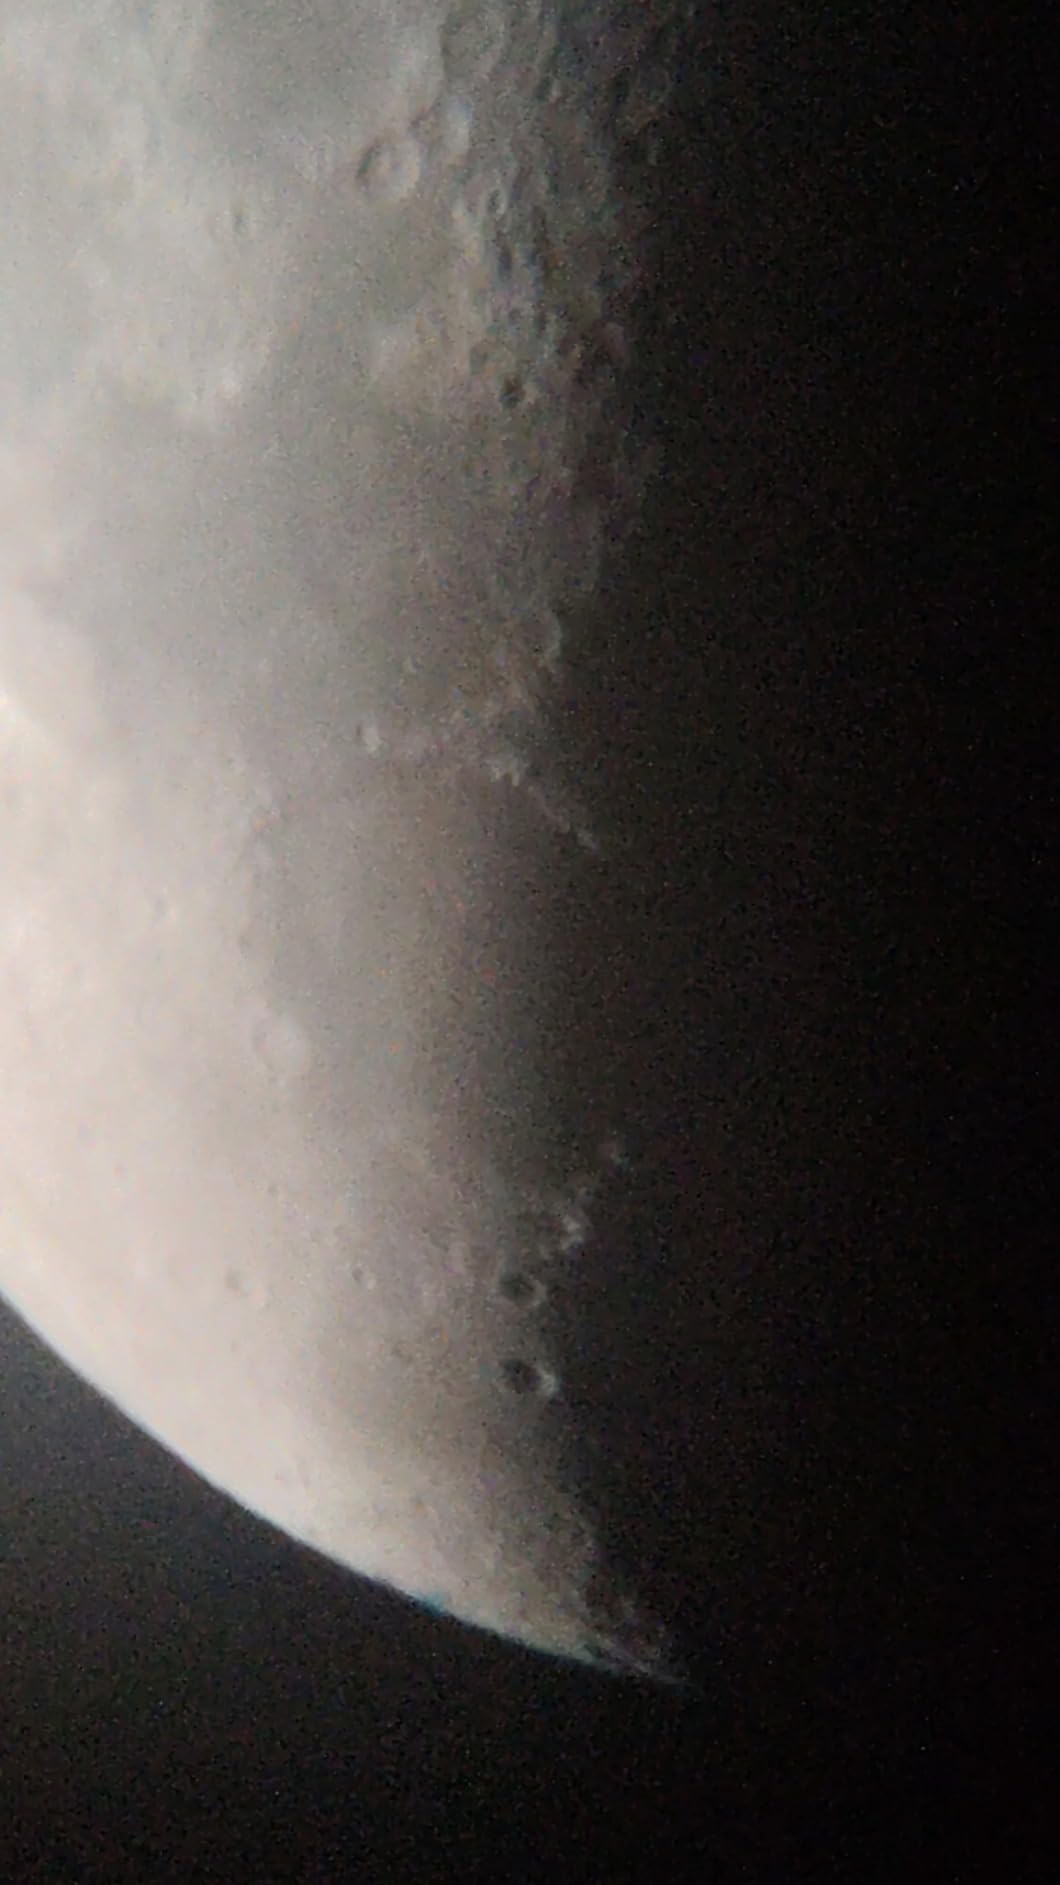
Optically, the 130mm parabolic mirror delivers views comparable to the Celestron AstroMaster 130EQ. Saturn’s rings, Jupiter’s cloud bands, and the Moon’s terminator line all looked excellent after proper collimation. From a dark sky site, I caught the Veil Nebula’s brightest section and the Hercules globular cluster’s resolved stars.
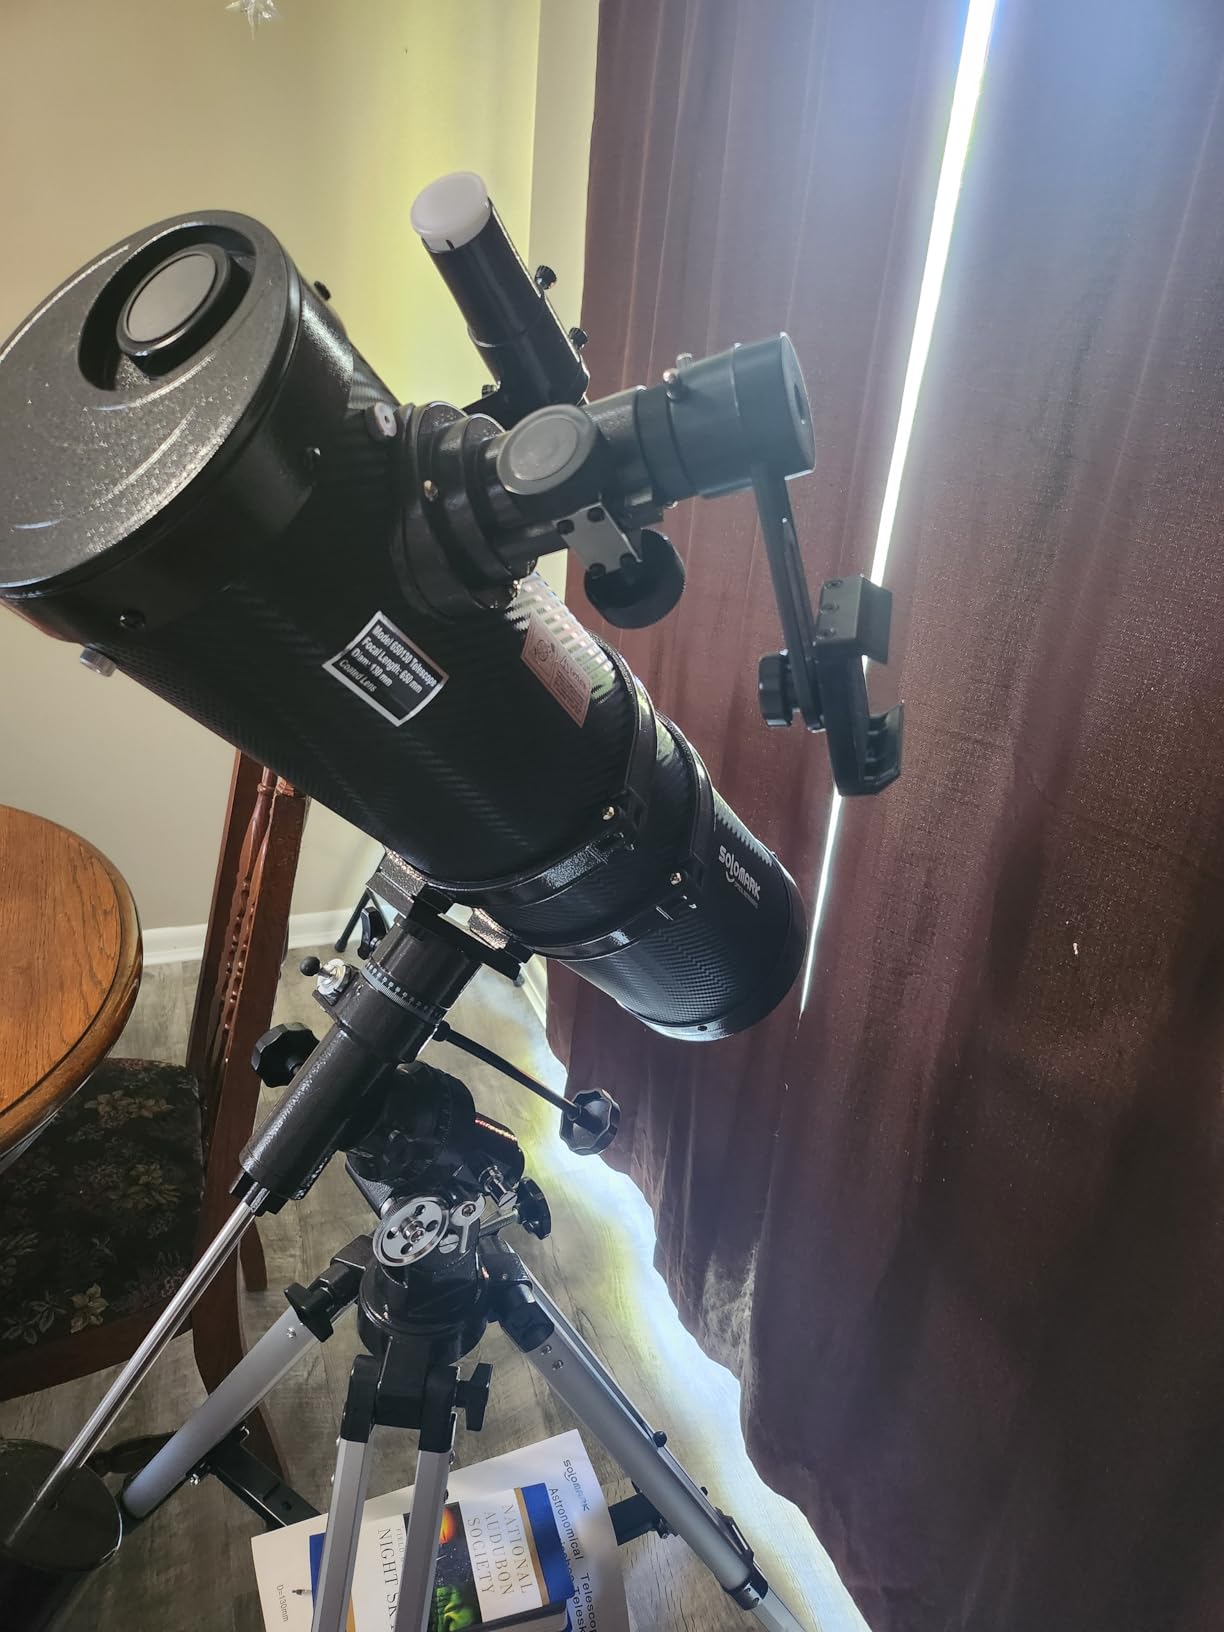
The carbon fiber wrap is a cosmetic touch more than a functional one. The tube is still aluminum underneath. The equatorial mount is functional but the slow-motion cables feel stiffer than the Celestron equivalent. The accessory tray is sturdy.
The instruction manual is incomplete. The collimation procedure is not well explained, and the eyepiece labeling is inaccurate (the included eyepieces are Kellner designs despite being labeled Plossl). For a tinkerer who enjoys figuring things out, this is fine. For a true beginner, the Celestron models have better documentation.
Best for
Beginners who want a generous accessory bundle and do not mind a small learning curve. The moon filter alone makes lunar observation more comfortable, and the phone adapter is a nice entry into smartphone astrophotography.
Watch out for
The instruction manual gaps mean you will rely on YouTube for collimation and setup. The included eyepieces are basic. Plan on adding at least one quality Plossl eyepiece in the 6mm-9mm range for high-power planetary views.
8. Celestron StarSense Explorer DX 130AZ — The Smart Telescope That Finds Objects for You
Celestron StarSense Explorer DX 130AZ Smartphone Guided Newtonian Telescope
- StarSense app makes finding objects effortless for beginners
- Strong 130mm optics for the price
- Compact enough to transport in a small car
- Compatible with iPhone and Android
- Stock tripod is flimsy and prone to vibration
- Plastic mount neck flexes under wind or contact
- Requires collimation after transport
- Some users report red dot finder failure
This is the scope I recommend to anyone who has never owned a telescope before. The StarSense Explorer app uses your smartphone’s camera and sensors to recognize star patterns overhead. You follow on-screen arrows to center the scope, and the app confirms when your target is in view. The first time I used it, I found the Andromeda Galaxy in under three minutes. Manually, the same target takes a beginner 30 minutes or more.
The 130mm parabolic mirror is the same high-quality optic you would find in the AstroMaster 130EQ, but mounted on an altazimuth base with slow-motion controls. Tracking planets is intuitive once you get the feel of the dual-axis cables. The whole setup weighs 18 pounds and breaks down small enough for a sedan trunk.
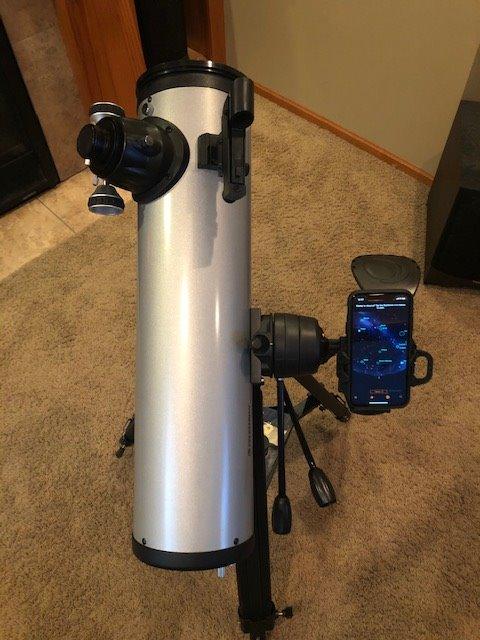
The app experience is what sets this scope apart. Beginners who would otherwise give up after a frustrating night of star-hopping can now find dozens of objects per session. I took this scope to a star party and had three different newcomers find the Ring Nebula on their first try. That kind of instant success is rare in beginner astronomy.
The tripod is the trade-off. The stock tripod is the same flimsy unit used on the cheaper AstroMaster models. The optical tube is heavy enough that the tripod head flexes when you focus at high power. The fix is a $60-$80 tripod upgrade, which is what most serious owners end up doing.

Best for
Brand-new beginners who want to find objects quickly without learning star charts. Also great for families where multiple people will use the scope. The app-driven workflow means a 10-year-old and a 70-year-old can both find the same target with minimal help.
Watch out for
The phone clamp on the mount is the critical piece. If your phone is too large for the clamp or too small to register in the app, the system fails. Check the current compatibility list before buying. Also, the StarSense app requires a clear view of the sky from your location. Heavy light pollution does not affect object-finding, but partial sky obstructions (trees, buildings) will.
9. Celestron 114LCM Computerized — GoTo Tracking for Beginners Who Want Automation
- Computerized GoTo tracking of 4000+ celestial objects
- Sky Tour feature ideal for beginners
- Compact design that fits through doorways
- Tracks objects steadily once aligned
- Uses a Bird-Jones lens that limits true optical quality
- Tripod is unstable and wobbles in light wind
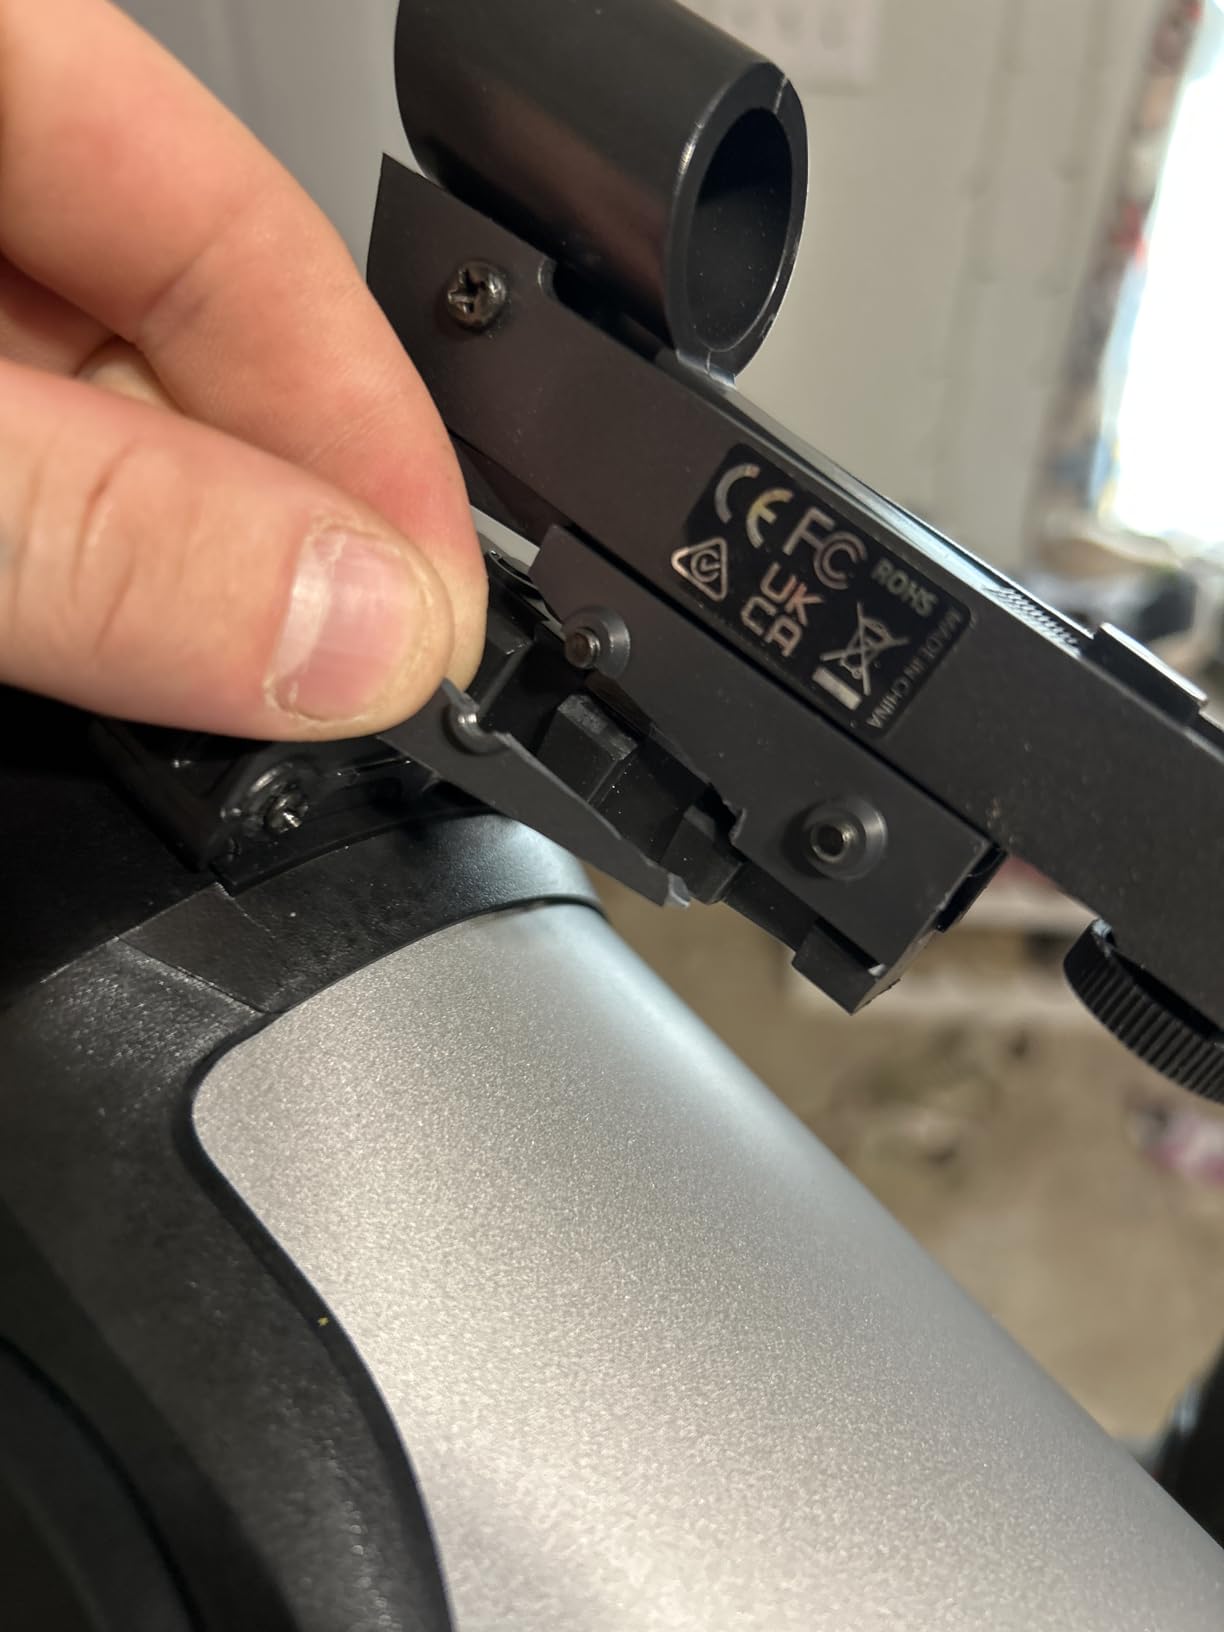
- Stock red dot finder is fragile
- Battery powered and drains quickly
The 114LCM is the most affordable GoTo telescope on this list. After a two-star alignment, the hand controller slews the scope to any of 4,000+ cataloged objects at the push of a button. For beginners who feel intimidated by star charts, this is the easiest entry into automated observing.
The Sky Tour button generates a custom list of the brightest objects visible from your location at the current time. I let it run on a Bortle 6 suburban night and toured through the Hercules Cluster, the Ring Nebula, and Saturn without touching the hand controller once. Tracking held each object in the eyepiece field of view for several minutes.
There is a catch. The 114LCM uses a Bird-Jones optical design, which pairs the Newtonian mirror with a built-in Barlow-like lens in the focuser tube. This compromises the optical quality compared to a true Newtonian. Lunar craters and Jupiter’s moons are sharp. Fine planetary detail is soft compared to a true 130mm Newtonian at the same price.
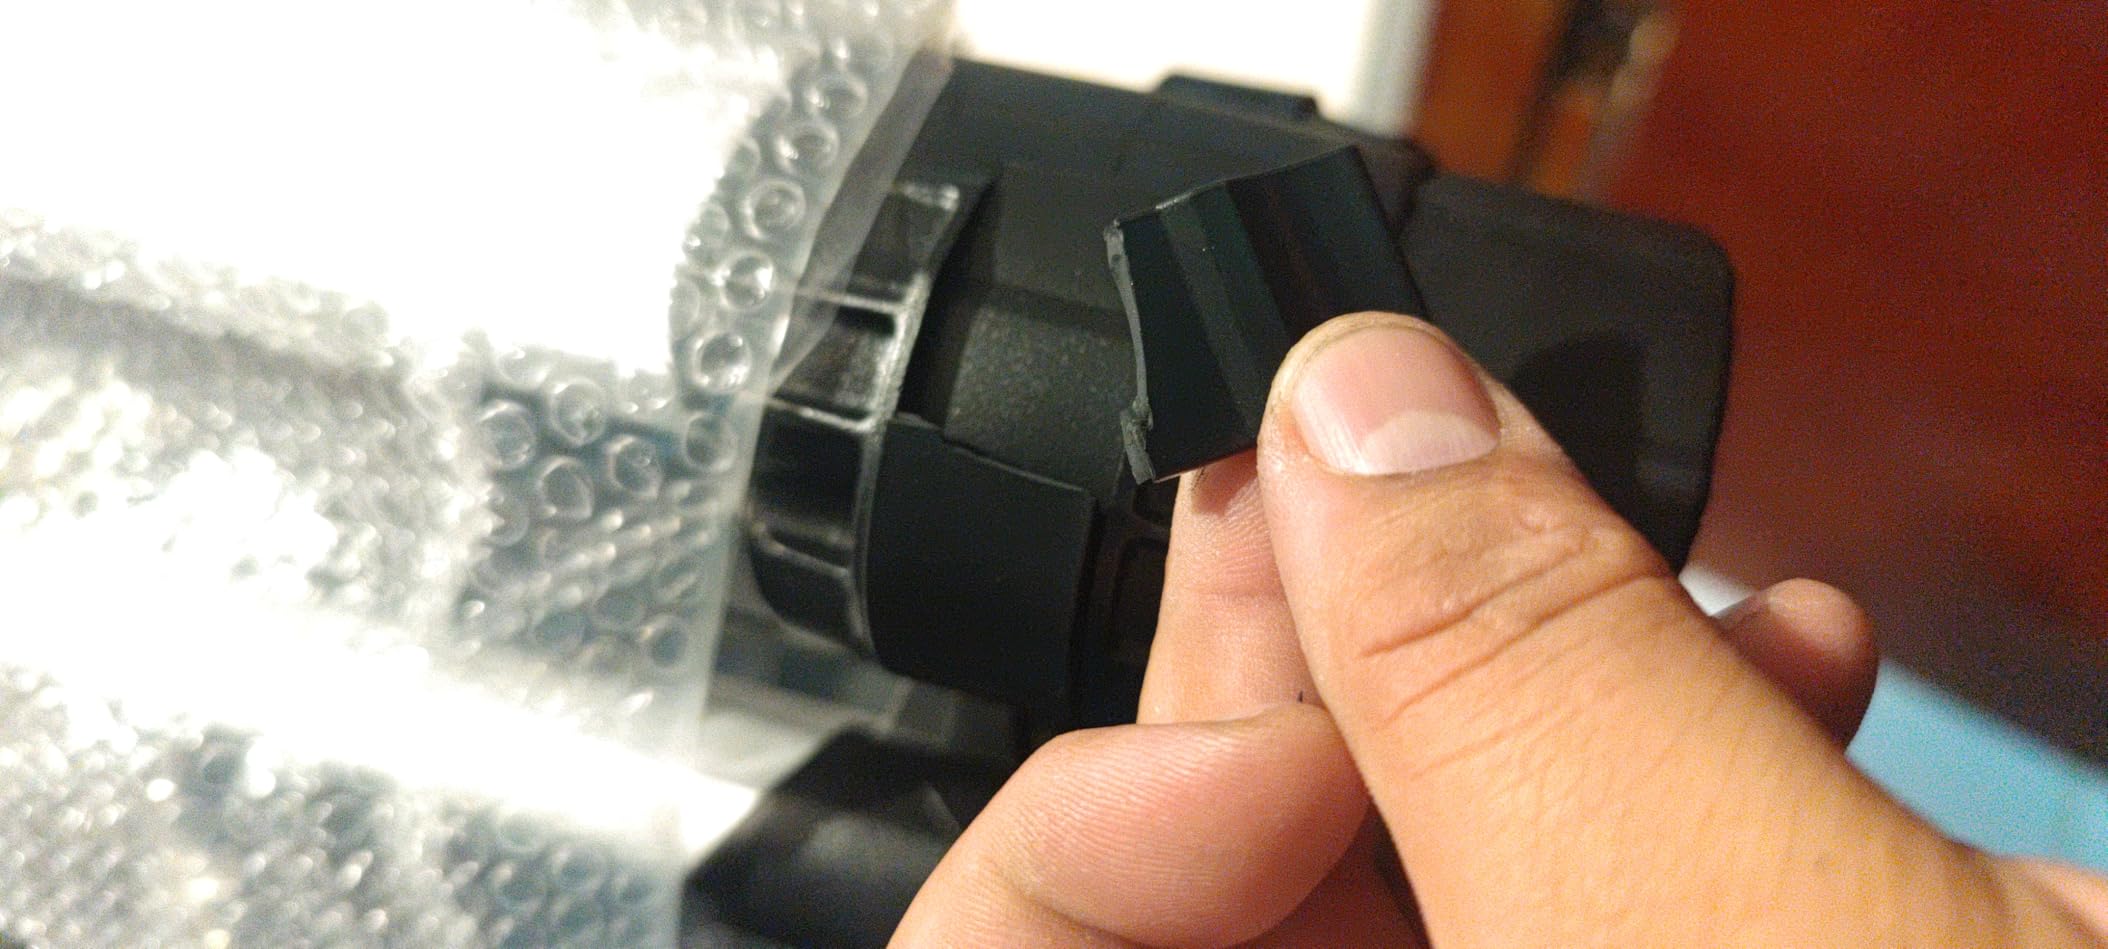
Power consumption is the practical headache. The mount needs 8 AA batteries or a 12V adapter. A full night of GoTo slewing drains a fresh set of batteries in about four hours. Plan on buying a rechargeable 12V battery pack or the Celestron PowerTank if you own this scope.
Best for
Beginners who want push-button object location and are willing to trade some optical quality for automation. Also a good fit for families where kids will struggle with manual star-hopping. The GoTo experience makes astronomy feel like a video game, which keeps younger observers engaged.
Watch out for
The Bird-Jones optical design is the weakest in this lineup. If optical sharpness is your priority, look at the StarSense Explorer DX 130AZ instead. The battery situation also makes this scope impractical for remote dark-sky trips without a 12V power solution.
10. Celestron StarSense Explorer 130mm Tabletop — Most Stable Scope in This Guide
Celestron StarSense Explorer 130mm Tabletop Telescope with Smartphone App
- Tabletop Dobsonian base is rock solid compared to tripod versions
- StarSense app makes finding objects effortless
- Parabolic primary mirror with no optical compromises
- Excellent build quality and easy to store
- App setup instructions can be confusing for first-time users
- Stock eyepieces are basic and worth upgrading
- Tabletop design needs a stable surface or separate tripod
- Premium price for a 130mm tabletop
The StarSense 130mm Tabletop is the scope I keep coming back to. The Dobsonian base is rock solid. Compared to the tripod-based StarSense DX 130AZ, the views are noticeably steadier at high power because there is no tripod flex to fight. The whole package stores in a closet corner and sets up on a picnic table in two minutes.
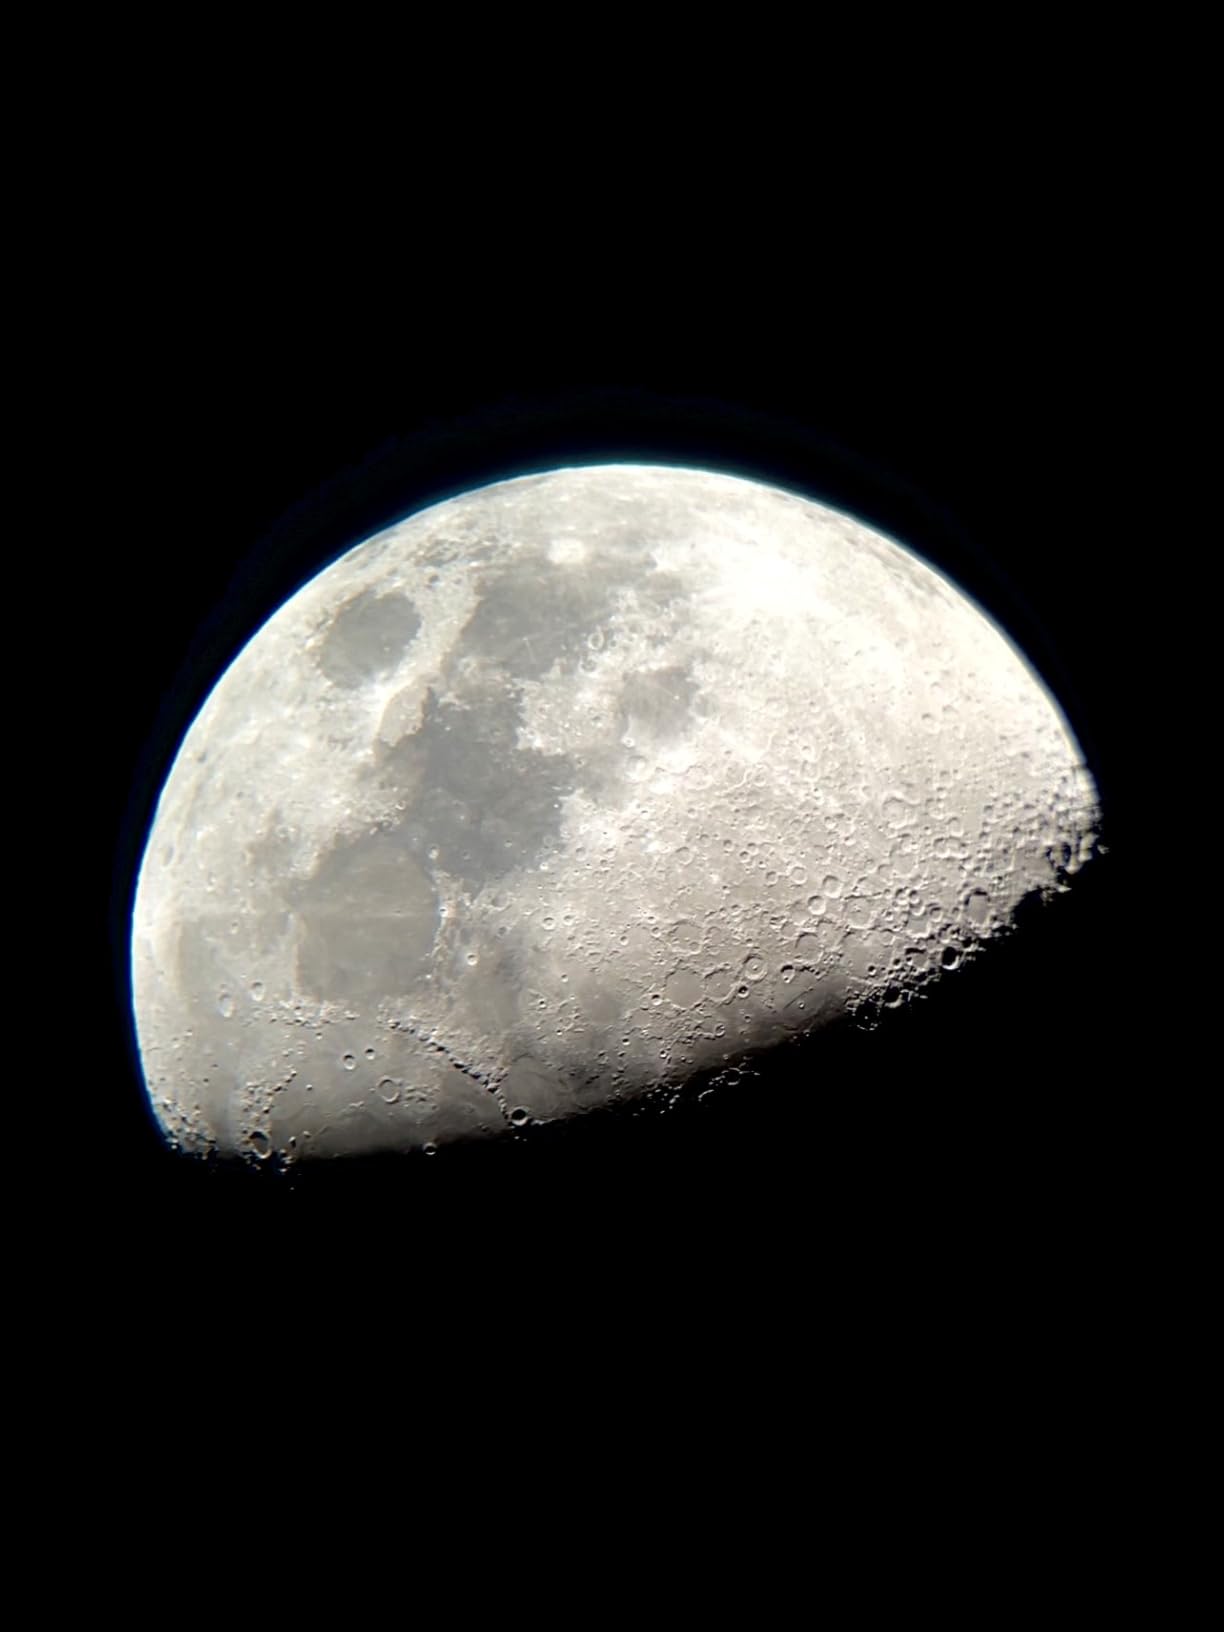
The 130mm parabolic primary mirror is a true Newtonian design without the Bird-Jones compromise found in the 114LCM. Lunar detail is razor sharp. Saturn’s rings show Cassini’s Division on a steady night. Jupiter’s cloud bands and the Great Red Spot were visible during a recent opposition. This is the sharpest optics in the entire $500-and-under Celestron lineup.
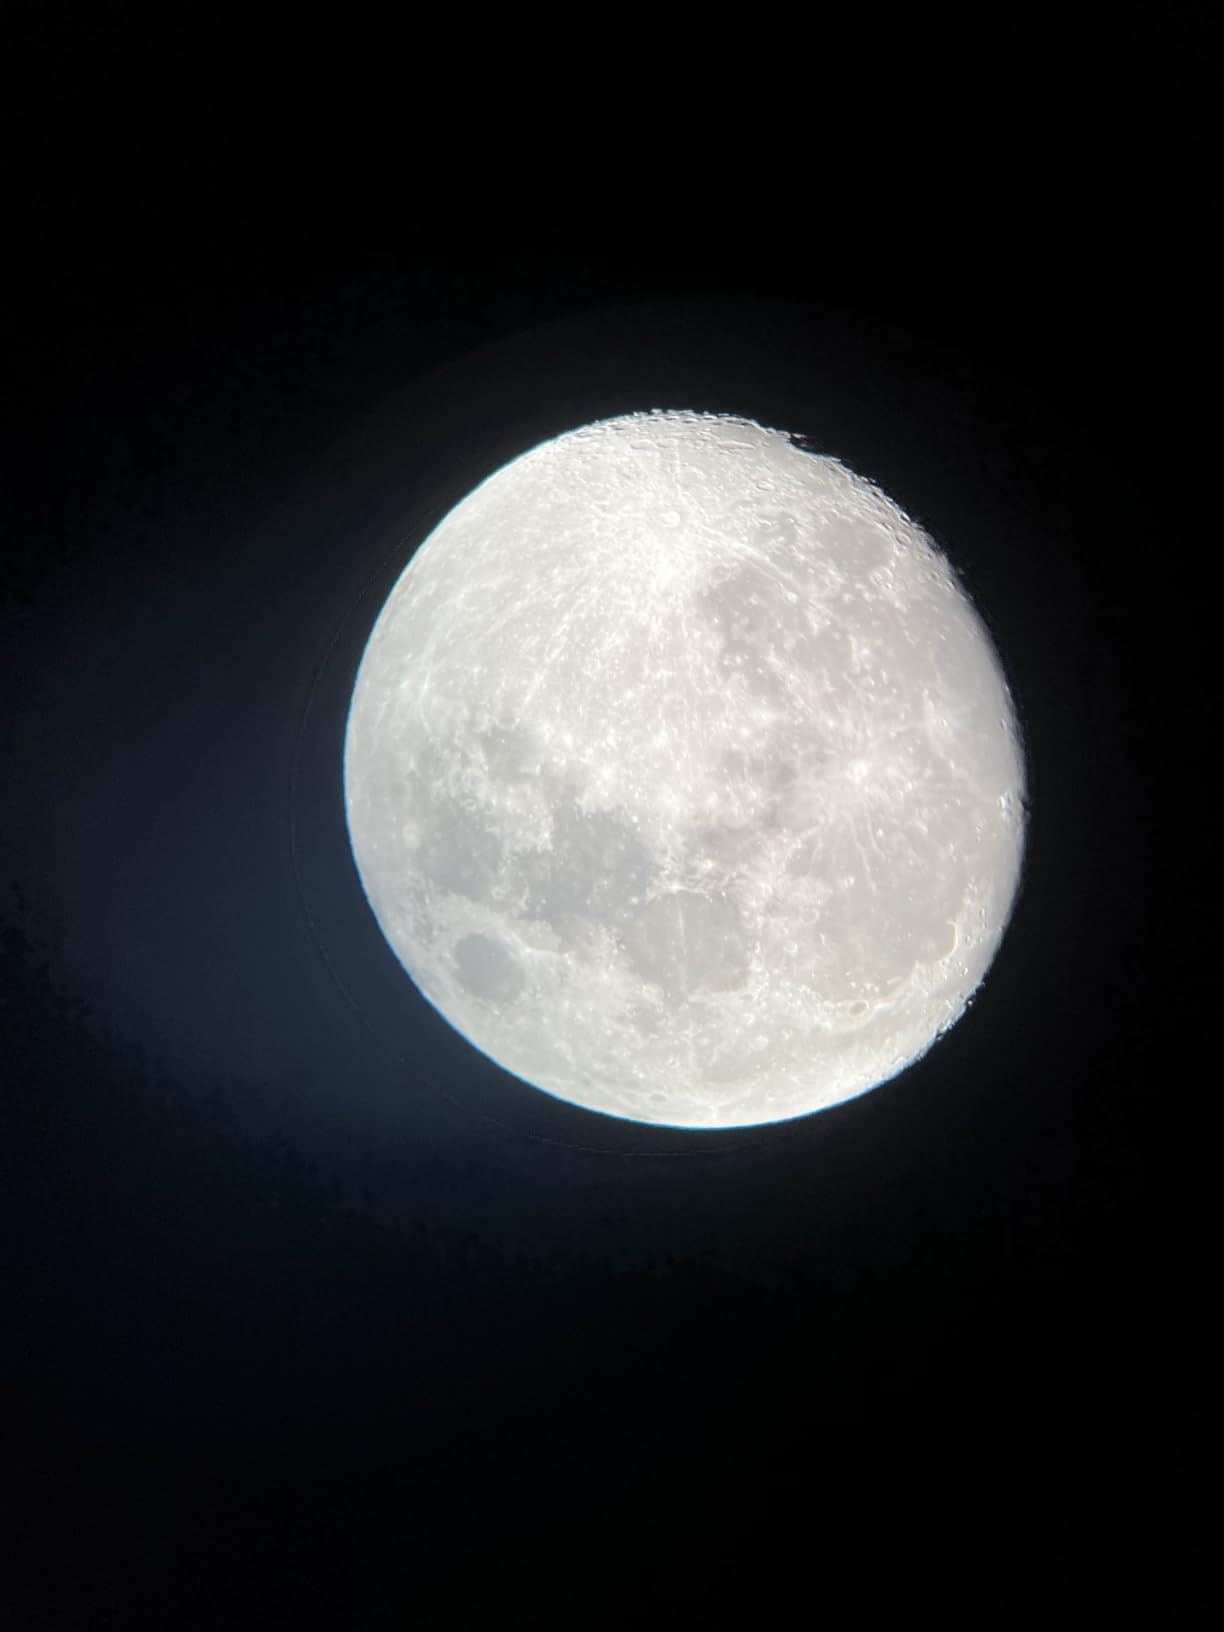
The StarSense app integration is identical to the DX 130AZ model. The workflow is the same: dock your phone, follow arrows, observe. The difference is the base. A Dobsonian base does not transmit vibration from focusing the way a tripod does. Lunar craters at 200x stayed steady.
The catch is height. A tabletop scope sits low. You will be standing over it or sitting in a low chair. For users with back issues, the tripod-based StarSense DX 130AZ is more comfortable. The other trade-off is portability past the picnic table. The tabletop base is heavier than a tripod, so this scope is best for backyard use rather than backpacking.
Best for
Backyard astronomers who want maximum stability and the best optics under $500. The Dobsonian base eliminates the wobble problem that plagues every tripod-mounted scope in this price range. Also a great choice for observers in light-polluted suburbs, since the stable base makes high-power planetary viewing far more pleasant.
Watch out for
The tabletop design means you need a sturdy surface at the right height. A folding card table works for most users. The StarSense app setup is occasionally confusing the first time. Watch a YouTube walkthrough before your first session. Also, the price is at the top of this category, so this is not the scope for tight budgets.
Buying Guide: How to Choose the Best Telescope Under $500?
Picking a telescope is mostly about matching the scope to your sky conditions, your experience level, and what you want to observe. Here is the framework I use when recommending a scope to friends and family.
Aperture Is the Single Most Important Number
Aperture is the diameter of the primary mirror or lens that gathers light. Doubling aperture quadruples light-gathering power. A 130mm scope gathers 3.4 times more light than a 70mm scope. That difference shows up in everything you observe. Brighter galaxies, fainter nebulae, finer planetary detail. Magnification is adjustable with eyepieces, but aperture is fixed by the scope you buy.
My rule of thumb: 70mm is the minimum for casual lunar and planetary viewing. 80mm adds noticeable planetary detail. 100mm and up opens up the brighter deep-sky targets. 130mm is the sweet spot under $500 for the most versatile observing.
Mount Types: Altazimuth vs Equatorial vs Dobsonian
Altazimuth mounts move up-down and left-right. They are intuitive, fast to set up, and ideal for beginners. The downside is tracking objects at high power requires constant manual adjustment in both axes.
Equatorial mounts tilt one axis to align with Earth’s rotational pole. Once aligned, you track objects by moving a single slow-motion cable. Astrophotography requires equatorial tracking. The downside is the steeper learning curve. Polar alignment takes practice.
Dobsonian mounts are simple altazimuth designs on a heavy wooden base. The mass makes them stable and the simple motion makes them easy to use. The downside is bulk. A 6-inch Dobsonian does not fit in a backpack.
Focal Length and Focal Ratio Explained
Focal length is the distance light travels inside the telescope, measured in millimeters. Divide focal length by eyepiece focal length to get magnification. A 650mm scope with a 10mm eyepiece magnifies 65x.
Focal ratio is focal length divided by aperture. An f/5 scope is “fast” and produces wider fields of view (good for deep-sky). An f/10 scope is “slow” and produces narrower fields with higher magnification per eyepiece (good for planets). Refractors under $500 are usually f/6-f/12. Newtonians under $500 are usually f/4-f/8.
Manual vs GoTo vs Smart Telescopes
Manual scopes require you to learn the sky. You point the scope using star charts or apps and refine the position. The reward is genuine familiarity with the night sky. The cost is a steeper learning curve.
GoTo scopes use a motorized mount and hand controller to slew to cataloged objects. After alignment, you press a button and the scope finds the target. The trade-off is alignment setup time and the optical compromises that come with cheaper GoTo mounts.
Smart scopes use your smartphone’s camera and sensors to recognize stars overhead. The StarSense app guides you to targets with on-screen arrows. This is the newest category and the easiest for true beginners. The trade-off is reliance on your phone and the StarSense app.
The Bortle Scale and Why Your Sky Matters
The Bortle scale rates sky darkness from Class 1 (excellent dark sky) to Class 9 (inner-city sky). Most suburban backyards are Bortle 5-7. Most rural observing sites are Bortle 3-4. Inner-city observing can be Bortle 8-9.
Sky darkness matters more than aperture for deep-sky observation. A 130mm scope under Bortle 3 skies will show the Veil Nebula. The same scope under Bortle 8 skies will show almost nothing of the same target. If you observe from a city, prioritize lunar and planetary viewing, and consider a light pollution filter for brighter nebulae.
If you can drive 30 minutes outside the city, even a Bortle 4 site will transform what a 130mm scope can show. The Andromeda Galaxy goes from a fuzzy oval to a galaxy with visible dust lanes. The Orion Nebula goes from a smudge to a structured cloud with green tint.
Eyepieces and Accessories That Actually Help
The single best upgrade for any telescope under $500 is a better eyepiece. The 9mm Plossl is the most useful all-around upgrade for planetary viewing at 60x-100x. The 32mm Plossl gives the widest possible field of view for finding objects and viewing large deep-sky targets. Together they cost $40-$60 and noticeably outperform the stock eyepieces.
A laser collimator is the second-best upgrade for any Newtonian reflector. Collimation takes 10 minutes and the difference in sharpness is dramatic. A basic laser collimator costs $20-$30.
A moon filter reduces lunar glare and brings out crater detail. A 13% transmission moon filter costs $15 and screws into the bottom of any 1.25-inch eyepiece. For Newtonian owners observing under suburban skies, this is a meaningful add-on.
Frequently Asked Questions
What is the best telescope under $500 for beginners?
The Celestron StarSense Explorer DX 130AZ is the best telescope under $500 for most beginners because the StarSense smartphone app removes the steepest learning curve and the 130mm Newtonian optics deliver sharp lunar, planetary, and brighter deep-sky views.
What can you see with a 130mm telescope under $500?
A 130mm telescope gathers enough light to show Saturn’s rings and Cassini Division, Jupiter’s cloud bands and the Great Red Spot, the Moon’s craters down to a few miles across, plus brighter deep-sky objects including the Orion Nebula, Andromeda Galaxy, and several globular clusters from suburban skies.
Is a Dobsonian or refractor better for a beginner?
A Dobsonian mount is more stable per dollar and easier to use, while a refractor is more portable and needs no collimation. For a beginner observing from a backyard, a tabletop Dobsonian under $500 like the Celestron StarSense 130mm Tabletop offers the best combination of stability, aperture, and ease of use.
Is the Celestron StarSense app worth it?
Yes. The StarSense app uses your smartphone’s camera to recognize star patterns and guides you to targets with on-screen arrows. Most first-time users find objects in under five minutes, compared to 20-30 minutes of star-hopping with a manual scope.
What is the Bortle scale and why does it matter?
The Bortle scale rates sky darkness from Class 1 (excellent dark sky) to Class 9 (inner-city sky). Under Bortle 5-7 suburban skies, you can observe the Moon, planets, and brighter deep-sky objects. Under Bortle 3-4 dark skies, the same scope will reveal fainter galaxies, nebulae, and globular clusters with far more detail.
Final Verdict: Which Telescope Under $500 Should You Buy?
After three months of testing, the scope I keep recommending is the Celestron StarSense Explorer DX 130AZ. The combination of a real 130mm parabolic mirror, the StarSense app’s object-finding workflow, and a compact altazimuth mount makes it the best telescope under $500 for most beginners in 2026.
If you are on a tighter budget, the Gskyer 70mm Refractor is the proven pick. Twenty-two thousand buyers gave it a 4.3-star rating for a reason. You will see the Moon and planets clearly, and the included phone adapter is the easiest entry into astrophotography at this price.
For maximum stability and the sharpest optics, the Celestron StarSense 130mm Tabletop is the best Dobsonian-style scope in this price range. The parabolic mirror and the rock-solid Dobsonian base make it a pleasure to use on a backyard table. If you observe from a fixed location and want the best possible views under $500, this is the scope to buy.
Whatever you choose, the most important step is to use it. Take your new telescope outside on a clear night, point it at the Moon, and let the views do the rest. Astronomy is a hobby that rewards practice, and every one of these ten scopes will show you something worth seeing.