
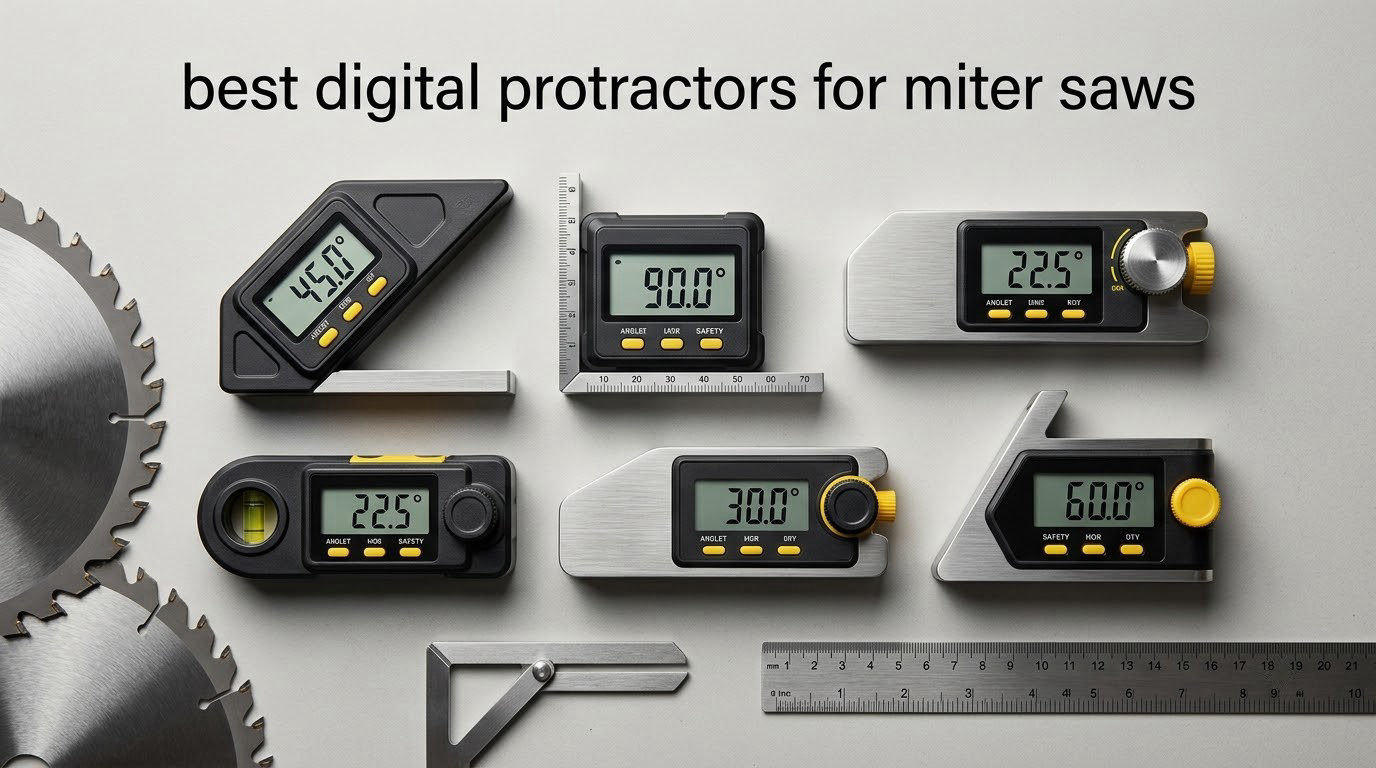
One degree of error on a miter saw does not look like one degree of error. It looks like an open joint at every corner of a room, a baseboard that will not meet the wall, and a return trip with the trim in hand. The best digital protractors for miter saws solve a small problem that costs real money: reading the actual angle of a blade, a fence, or a wall corner instead of trusting a printed scale or a factory stop.
Before we get to the picks, a word on vocabulary, because the naming in this category is a genuine mess. Retailers and manufacturers use four different names for the same family of tools. A digital protractor, a digital angle finder, a digital angle gauge, and a miter saw protractor all describe electronic angle tools in the same broad class. Of those, digital angle finder is the phrasing most woodworkers actually search for, while digital angle gauge tends to mean the small magnetic cube style. If you searched “digital protractor” expecting a maths-class instrument, you are in the wrong place entirely. Lab and school angle measurement is a different product category, and we touch on that in the buying guide.
Over the last six weeks we worked through eight of these tools, checked their stated accuracy against a known reference, and used them on sliding compound saws, chop saws, and a table saw. The shortlist below splits cleanly by job. Magnetic angle gauges stick to a steel blade or fence and tell you the angle the machine is actually sitting at. Pivot-arm finders and digital T-bevels straddle a corner or a workpiece so you can copy the angle, mark it, and carry it to the saw. One tool on the list measures cut length instead of angle, which is a different but complementary job. If you are still choosing a saw itself, start with our guide to the best miter saws and then come back here for the setup tool.
Table of Contents
Top 3 Picks for Miter Saw Angle Finding (October 2026)

Klein Tools 935DAG
- Magnetic angle gauge and level
- 0-90 and 0-180 degree ranges
- Auto-rotating reverse-contrast LCD
- Zero calibration

GemRed 82305 Pivot-Arm Finder
- +/-0.3 degree accuracy
- Stainless steel laser-etched arms
- Locking function
- Inside and outside angles
Quick Overview: 8 Digital Protractors Compared in 2026
The table below is the short version. Every tool listed here reads in tenths of a degree, but they differ sharply in form factor, and that is the decision that matters most.
| Product | Specifications | Action |
|---|---|---|
| Klein Tools 935DAG |
|
Check Latest Price |
| Wixey WR300 Type 2 |
|
Check Latest Price |
 Trend DLB Digital Level Box Trend DLB Digital Level Box |
|
Check Latest Price |
| GemRed 82305 Digital Angle Finder |
|
Check Latest Price |
 Proster PST263 400mm Angle Finder Proster PST263 400mm Angle Finder |
|
Check Latest Price |
 S&F Stead and Fast Angle Cube S&F Stead and Fast Angle Cube |
|
Check Latest Price |
 General Tools 828 Digital T-Bevel General Tools 828 Digital T-Bevel |
|
Check Latest Price |
 REEKON M1 Caliber Tool REEKON M1 Caliber Tool |
|
Check Latest Price |
1. Klein Tools 935DAG – Best Overall Magnetic Angle Gauge for Miter Saws
- Strong magnet holds on saw blades and steel fences
- Reads 0-90 or 0-180 for springback and compound work
- Display flips and inverts when the tool is upside down
- Doubles as a digital level for checking machine and bench level
- Small display is harder to read in poor light
- Zero reference resets close to true zero rather than an arbitrary angle
- Takes batteries so keep spares on hand
The Klein 935DAG is the tool we ended up reaching for most often across six weeks of saw setup, and it is the reason we would build a miter saw toolkit around one device. It is a small magnetic block that sticks to a blade, a steel fence, or a machine table and tells you the angle you are actually sitting at, rather than the angle the printed scale claims.
What sets it apart from the other cubes on this list is the dual range. It reads 0 to 90 degrees or 0 to 180 degrees, which means one purchase covers a blade tilt, a miter stop, and the compound angle arithmetic that a single-range gauge cannot handle. The zero calibration gives you a relative reference when a saw is not sitting on a perfectly level bench, and in practice that function is what turned this from a novelty into a daily tool for us.
The auto-rotating reverse-contrast display is genuinely useful rather than decorative. When the gauge is clamped to a blade pointing downward, the numbers stay upright and readable without you crouching under the saw or rotating your head. Owners consistently describe the magnet as firm, with no slippage during a reading, which is the failure mode that makes cheap cubes useless mid-setup.
The build is compact and rugged, weighing 3.5 ounces in an ABS housing that has survived the drops we put it through, and it still held its reference afterwards. It ships with a soft carrying case, an instruction manual, and batteries, and the whole thing fits in a chest pocket. At 2.36 by 2.2 inches, it is the smallest tool in this roundup by a wide margin.
Check the magnet and V-groove fit before you commit
The V-groove edges are usually sold as a conduit-bending feature, and for a miter saw user they matter for a different reason: a V-groove seats a round blade or a round bar far more securely than a flat face does. If your compound saw uses a cast aluminium throat plate rather than a steel blade, the magnet has less to grab, and you should test the hold on your specific saw before relying on it hands-free.
Also test the zero function against a surface you trust. Zeroing on an unverified reference just moves the error somewhere else, which is why we check every gauge here against a known square before trusting a reading. If you work with calipers or other precision measuring gear, our digital caliper roundup covers the same idea of verifying a tool before you depend on it.
Know the limits before you trust the number
The display is small, and in a dim shop without good side lighting you may find yourself angling a lamp at it. Owners also report that the zero reference resets close to true zero rather than to an arbitrary angle, which is a meaningful limitation if you want to copy a compound angle off a jig in one step.
Long-term durability is good rather than perfect. There is a report of a gauge that stopped powering up after about a year and a half of use, so treat the coin cells as a consumable you replace on a schedule instead of hoping the unit lives forever. With 16508 reviews averaging 4.8 stars, that is a single complaint against a very large body of evidence, but it is the kind of thing that ends a tool.
2. Wixey WR300 – Best Value Digital Angle Gauge for Bevels and Miters
- Tightest stated accuracy in the magnetic gauge group at +/-0.2 degrees
- Large backlit LCD stays readable in a dim shop
- Zero calibration handles saws that are not perfectly level
- Compact enough for a toolbox or a chest pocket
- Needs periodic AA battery changes
- Heavier and bulkier than a plain plastic cube
- Screen is small at arm's length on a large saw
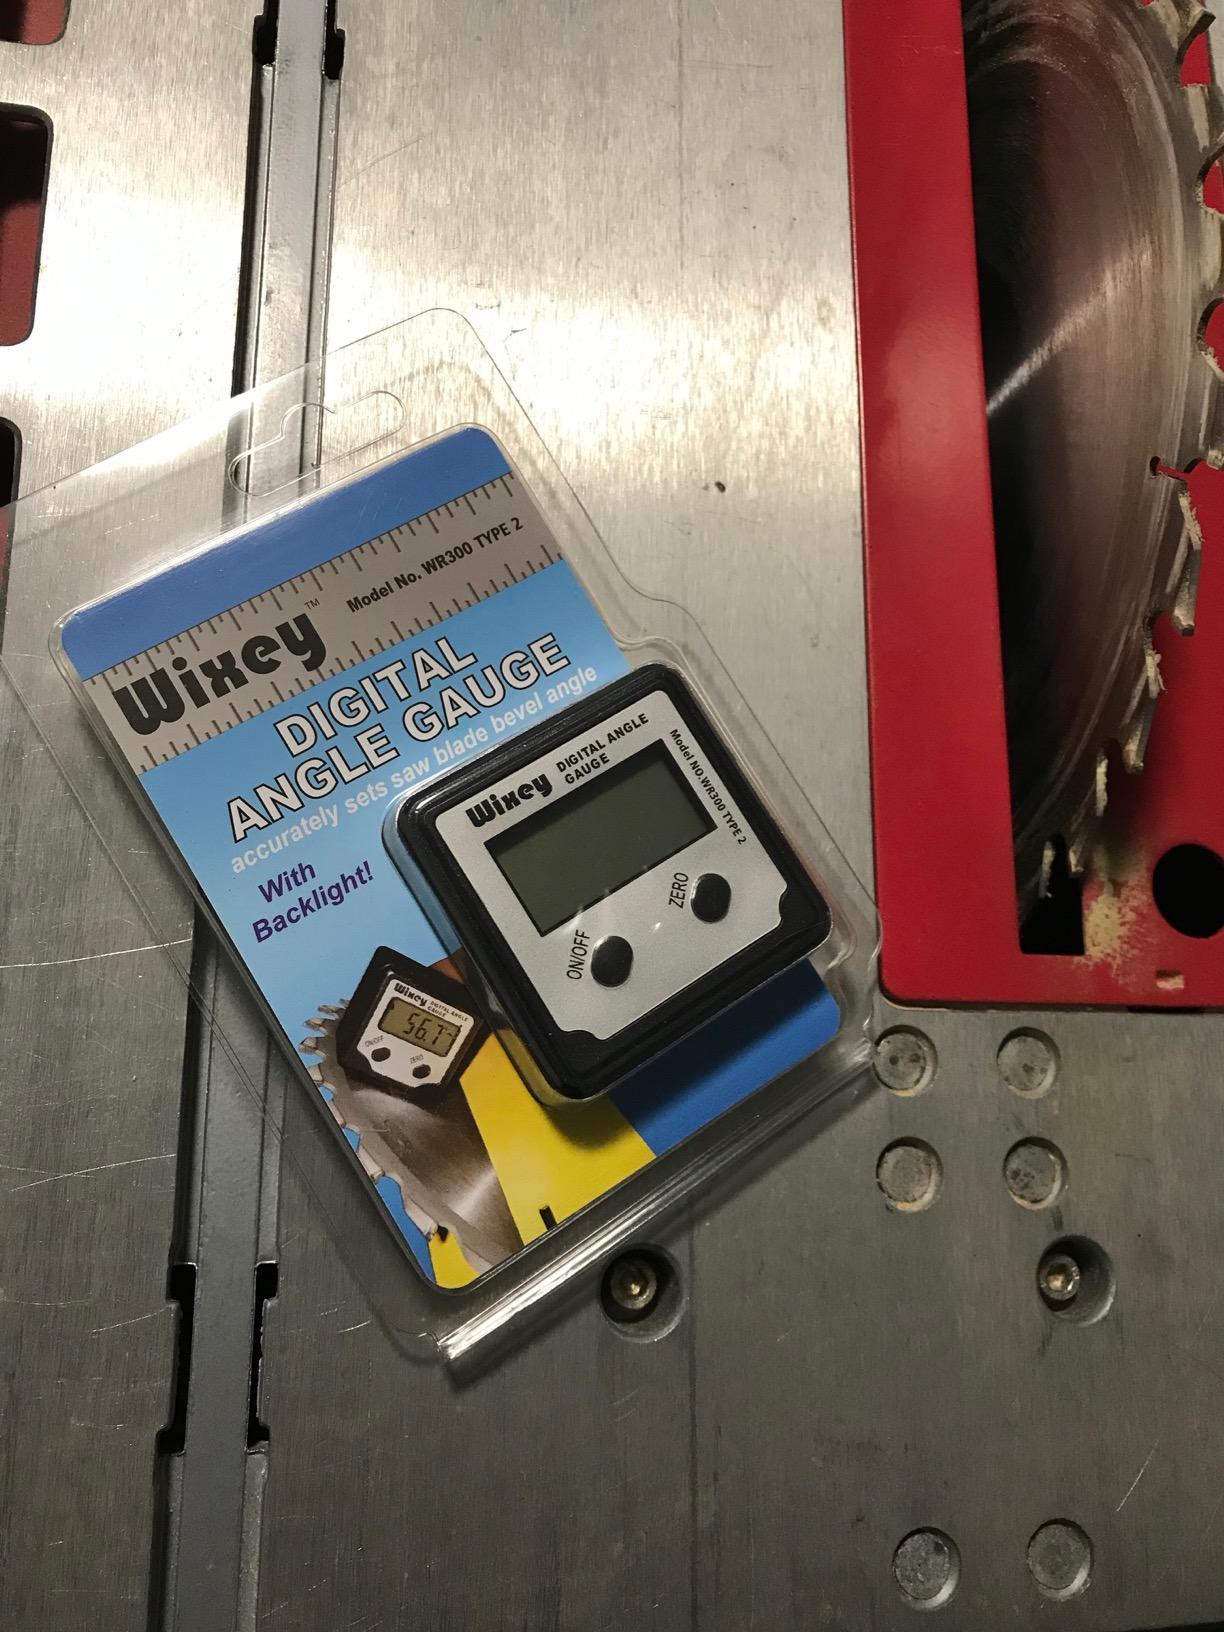
Across woodworking forums, the Wixey WR300 is the name that keeps showing up in the phrase about the angle finder that has lasted for a decade. That reputation is not marketing, it is a function of a simple design: an alloy steel body, a 180 degree range, a magnetic base, and a backlit screen that stays readable in a shop with one fluorescent tube lit.
The specification that matters here is 0.1 degree resolution paired with plus or minus 0.2 degree accuracy. That combination is the tightest stated figure among the magnetic gauges in this roundup, and for a miter saw it is the difference between a joint that closes and a joint you sand. The zero calibration is there to compensate for a saw that is not sitting level, which is closer to the real world than most shop manuals admit.
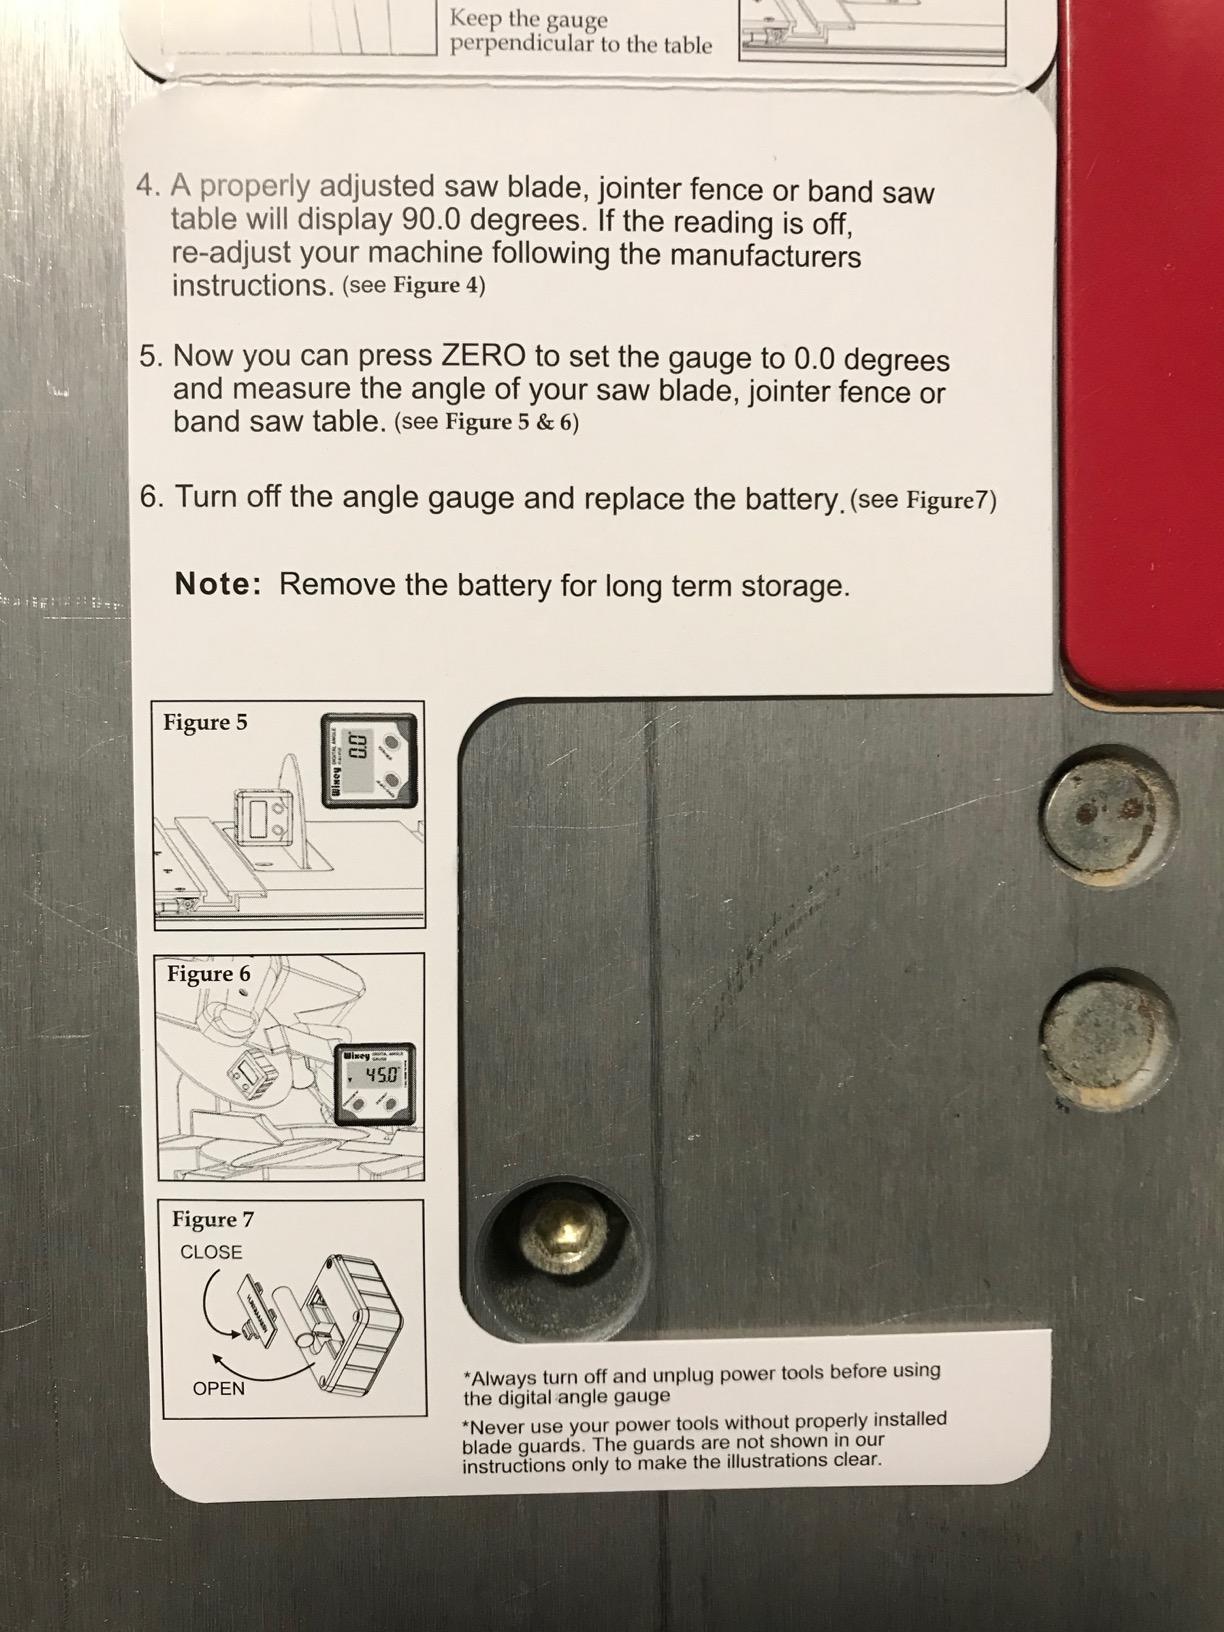
Where it beats plastic-cube competitors is physical. At 91 grams in an alloy steel shell, it is the only tool in the group with real mass behind the magnet, and that mass is why the base stays planted on a blade while you walk to the saw handle. It measures 6 by 4 inches, which is larger than the Klein and noticeably larger than a two-inch cube, so plan a pocket for it.
Owners consistently point to three things: the accuracy, the readable backlit screen, and a magnet that does not drift while the reading is taken. The negative comments are minor and cluster on battery handling, since it takes a single AA cell, and on the physical bulk of adding a backlight and auto shut-off to the body.
When the backlight is the deciding feature
If your miter saw lives in a garage with poor lighting, or you are setting up trim in a basement, the backlit LCD changes how you work. Every unlit tool in this roundup forces you to bring a light to the angle, and flipping a phone flashlight onto a steel blade while holding a gauge is a good way to get a bad reading.
For a miter saw bevel specifically, this gauge handles the 0 to 90 range you need for a blade tilt, and the auto shut-off stops a forgotten gauge from draining the cell. In a workshop where the tool lives in a drawer between uses, that is the difference between picking it up and picking up a spare battery first.
Where it falls short of the leader
Its 6 by 4 inch footprint means it will not seat on a thin blade edge the way a small cube does, so for a compound saw with a narrow blade you may find the body overhangs. Some users also find the screen small when the saw is large and the reading is taken from a normal standing distance.
Battery changes are manual and periodic, and the auto shut-off timer can interrupt a longer setup if you step away. Compared with a tool that runs for years, that is a small recurring irritation, but it is one you will feel every few months. If you want a one-and-done purchase, look for a tool with no user-serviceable battery at all.
3. Trend DLB Digital Level Box – Best for Zeroing a New Saw
Trend Digital Level Box and Angle Finder, Magnetic Base and Backlit LCD Display for Table Saw, Miter Saw and Blade Angle Setup, Black, DLB
- Zero function squares a new saw even on an unlevel platform
- Backlit auto-orienting display is clear and easy to read
- Compact aluminium body saves toolbag space
- Arrow indicators guide blade raising and lowering
- Some users report readings that vary by roughly 0.5 degree
- Magnet strength is debated among owners
- Needs calibration before accurate results
- Light body feels less solid than a machined gauge
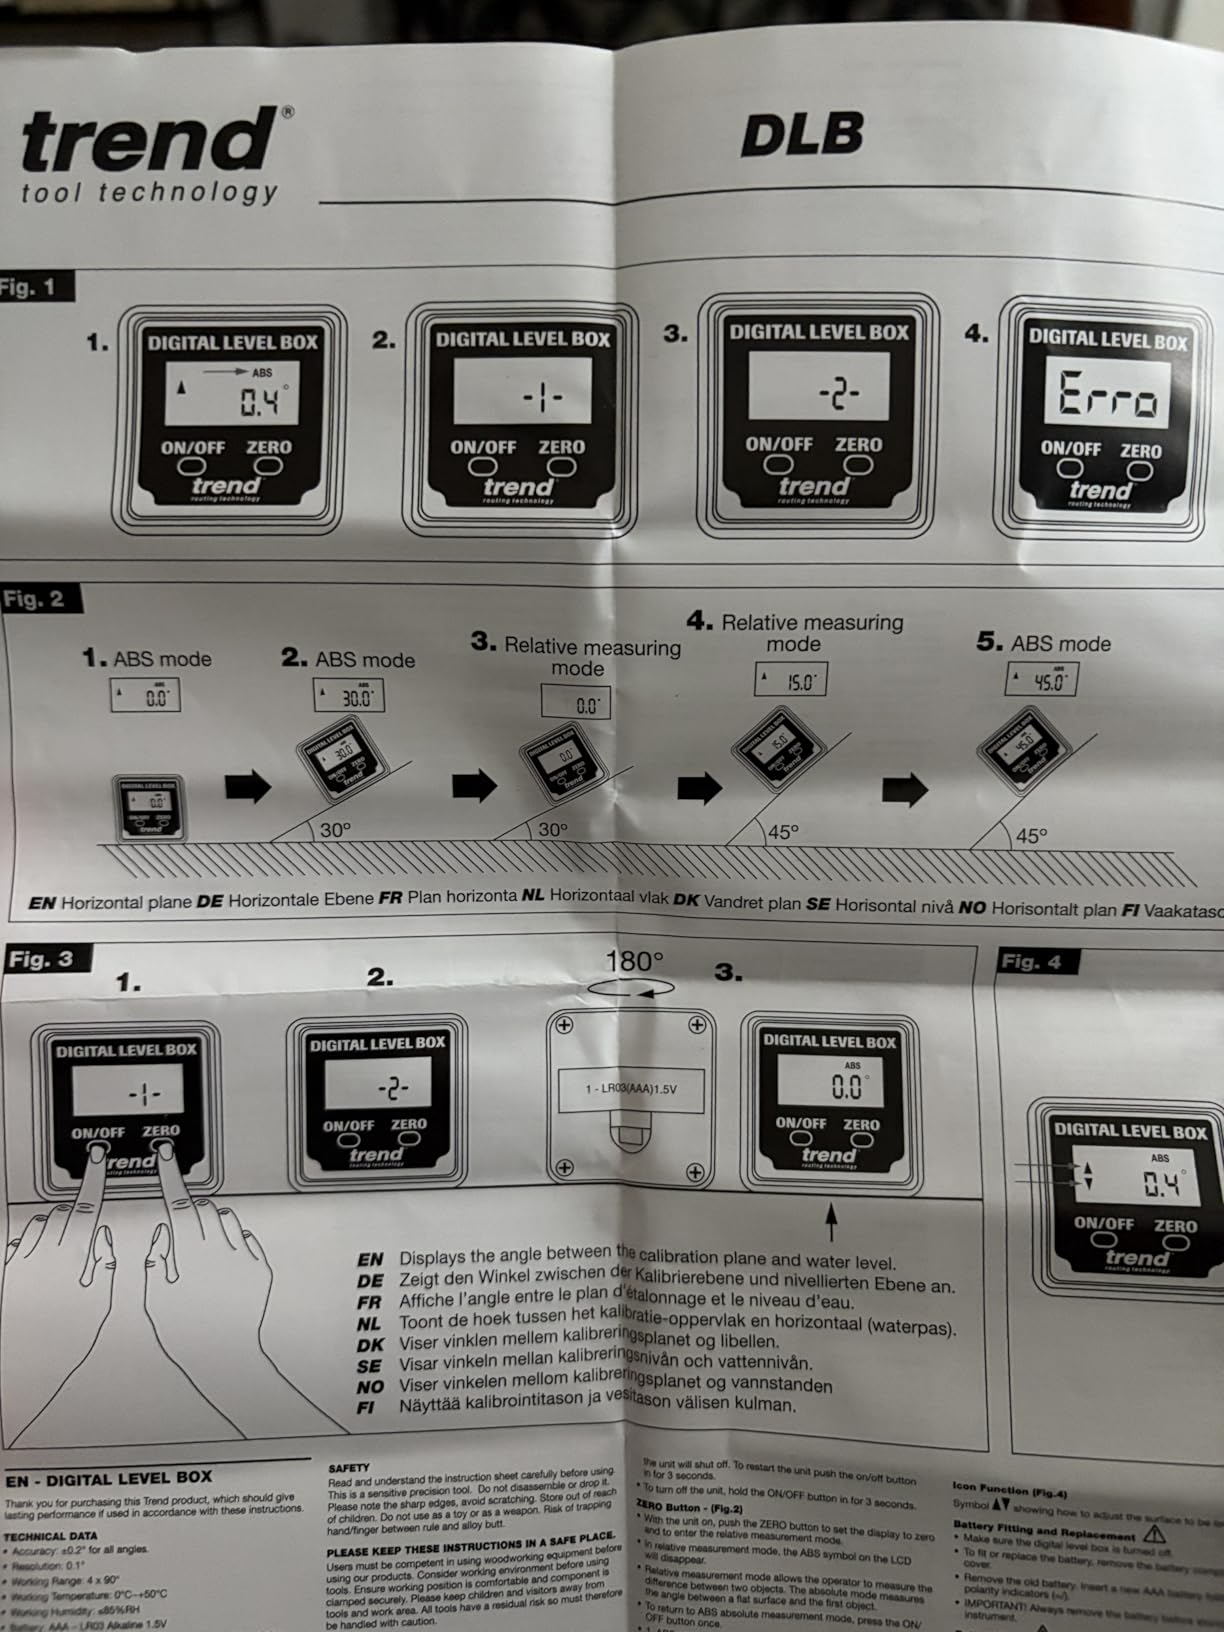
A new miter saw is not square just because the manual says so, and the Trend DLB is built around the opposite assumption. Its zero function sets a true reference on any surface, which means you can treat the saw’s current position as 0 and work from the difference. For anyone who has just set up a saw on an uneven shop floor, that is the single most useful function in the box.
The arrow indicators are a small touch that earns its place. Instead of watching a number change, you can watch arrows telling you which way to raise or lower the blade until it reads true, then mark the stop position. That is a faster loop than reading digits and doing the subtraction yourself, and it is genuinely useful the first time you square a saw you have never touched before.
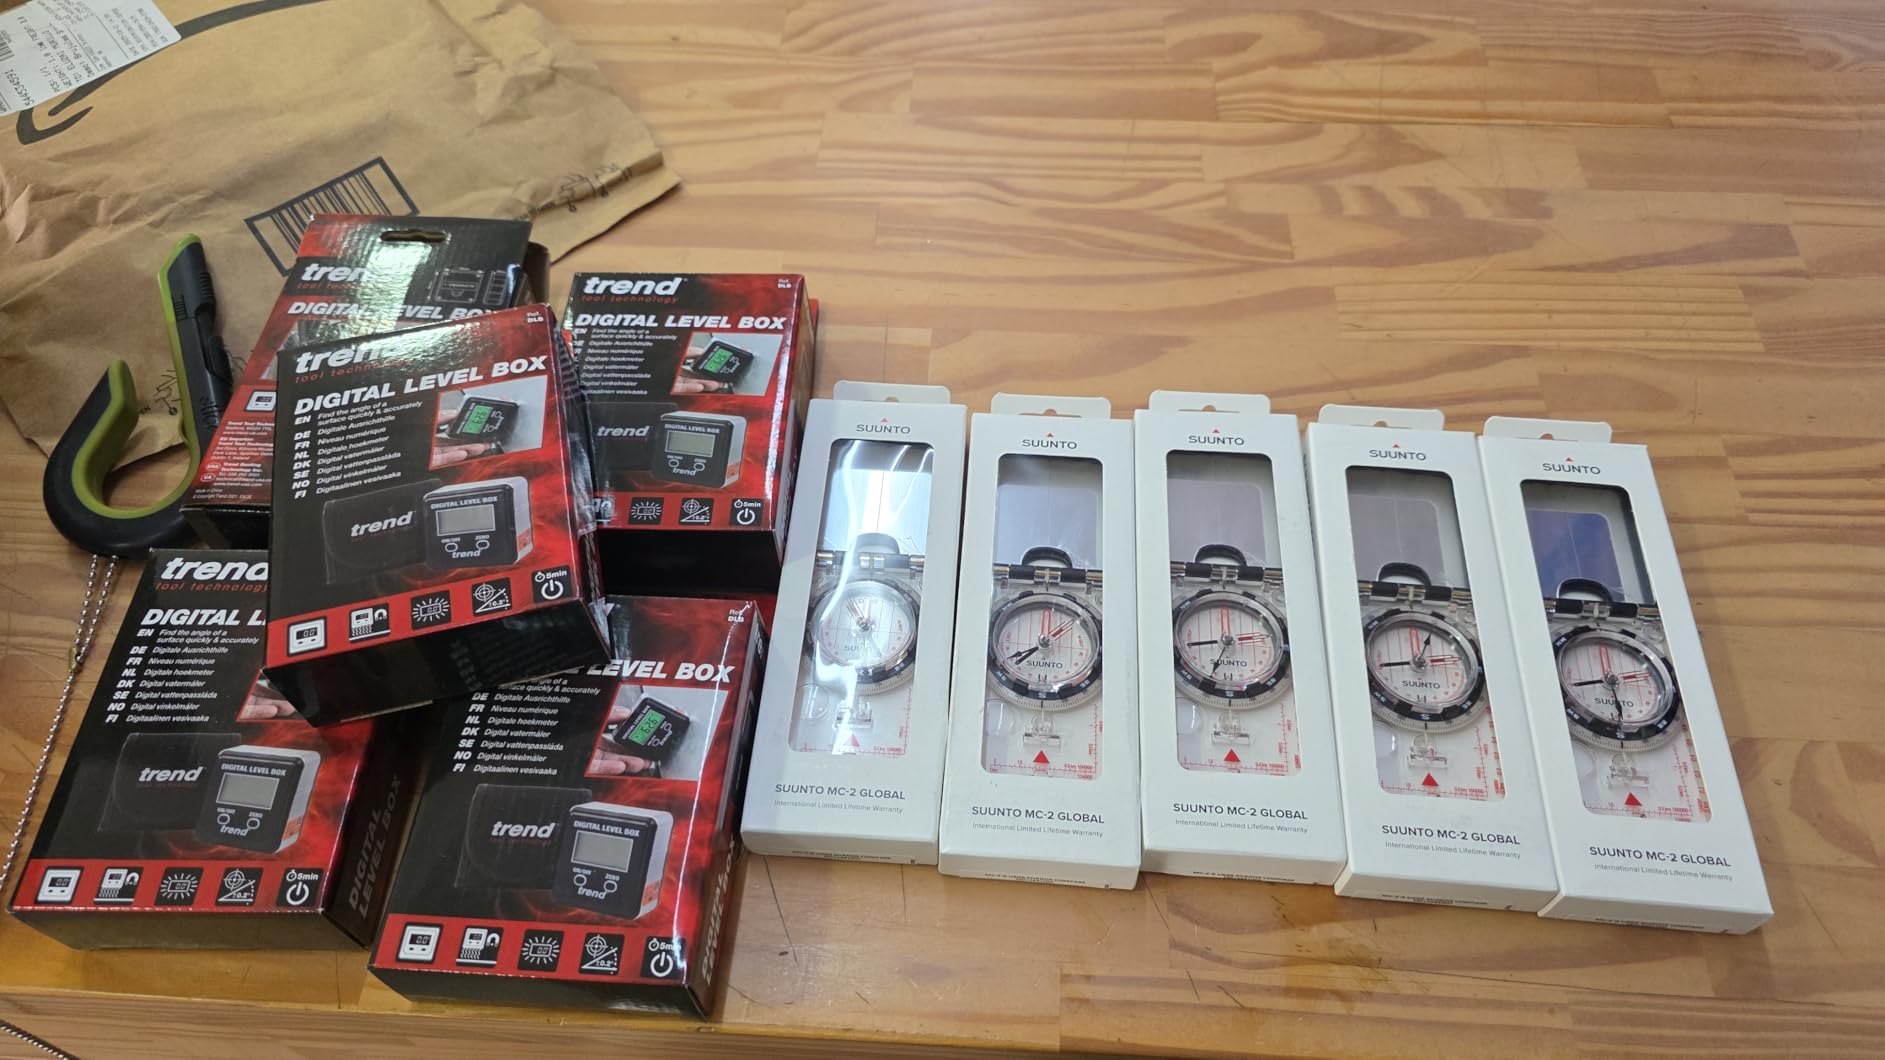
Physically this is a compact aluminium box at 1.1 by 1.1 inches and 170 grams, with a backlit LCD that reorients itself as the tool moves. It carries a one year manufacturer warranty, and owners report that it survives repeated drops and stays calibrated afterwards, which matters more than it sounds for a tool that lives at the top of a cabinet.
Where we would temper expectations is accuracy. Owners do report readings that vary by roughly half a degree under some conditions, and magnet strength draws debate, with at least one reviewer reporting it will not hold on a level surface. If your metal is thin or your saw throat plate is aluminium rather than steel, test the hold before you plan around it.
Best use: verifying a saw after you move it
The zero function is what turns this into a diagnostic tool rather than just a gauge. Zero it on a known flat, then check the fence, the blade tilt, and the miter stop. If a reading comes back off from where you left it, the saw has moved and something in the setup has shifted.
That makes it a good companion to any machine that gets carried between jobs, or a miter saw mounted on a stand that is never quite level. It is also a reasonable second gauge for cross-checking another tool, since two tools zeroed independently should agree once you compare them on the same reference.
Best used as a cross-check, not a sole reference
The half-degree variation reported by owners is the reason we would not hang a finish job off this tool alone. Half a degree across a 12 inch miter is a visible gap, and a gauge that can drift that far without warning is better as a confirmation than as the only number in the process.
It also needs calibrating before accurate results, so budget for a few minutes with a known square on the day it arrives. The lightweight body feels less solid than a machined metal gauge in the hand, though in practice it has held up well to being dropped. If precision is the deciding factor, pair it with a tighter gauge rather than replacing one.
4. GemRed 82305 – Best Premium Pivot-Arm Finder for Corner Transfer
GemRed 82305 Digital Angle Finder Protractor Stainless Steel 7inch 200mm
- Accuracy within 0.1 to 0.2 degrees in independent user testing
- Stainless steel arms feel stiff and the pivot tightness is adjustable
- Locking screw holds the angle for marking and transferring
- Large legible readout replaces a printed scale
- No backlit display for dim shops
- No flip or reverse-angle function
- Loose battery tray lets the coin cell pop out
- Does not retain zero after auto shut-off
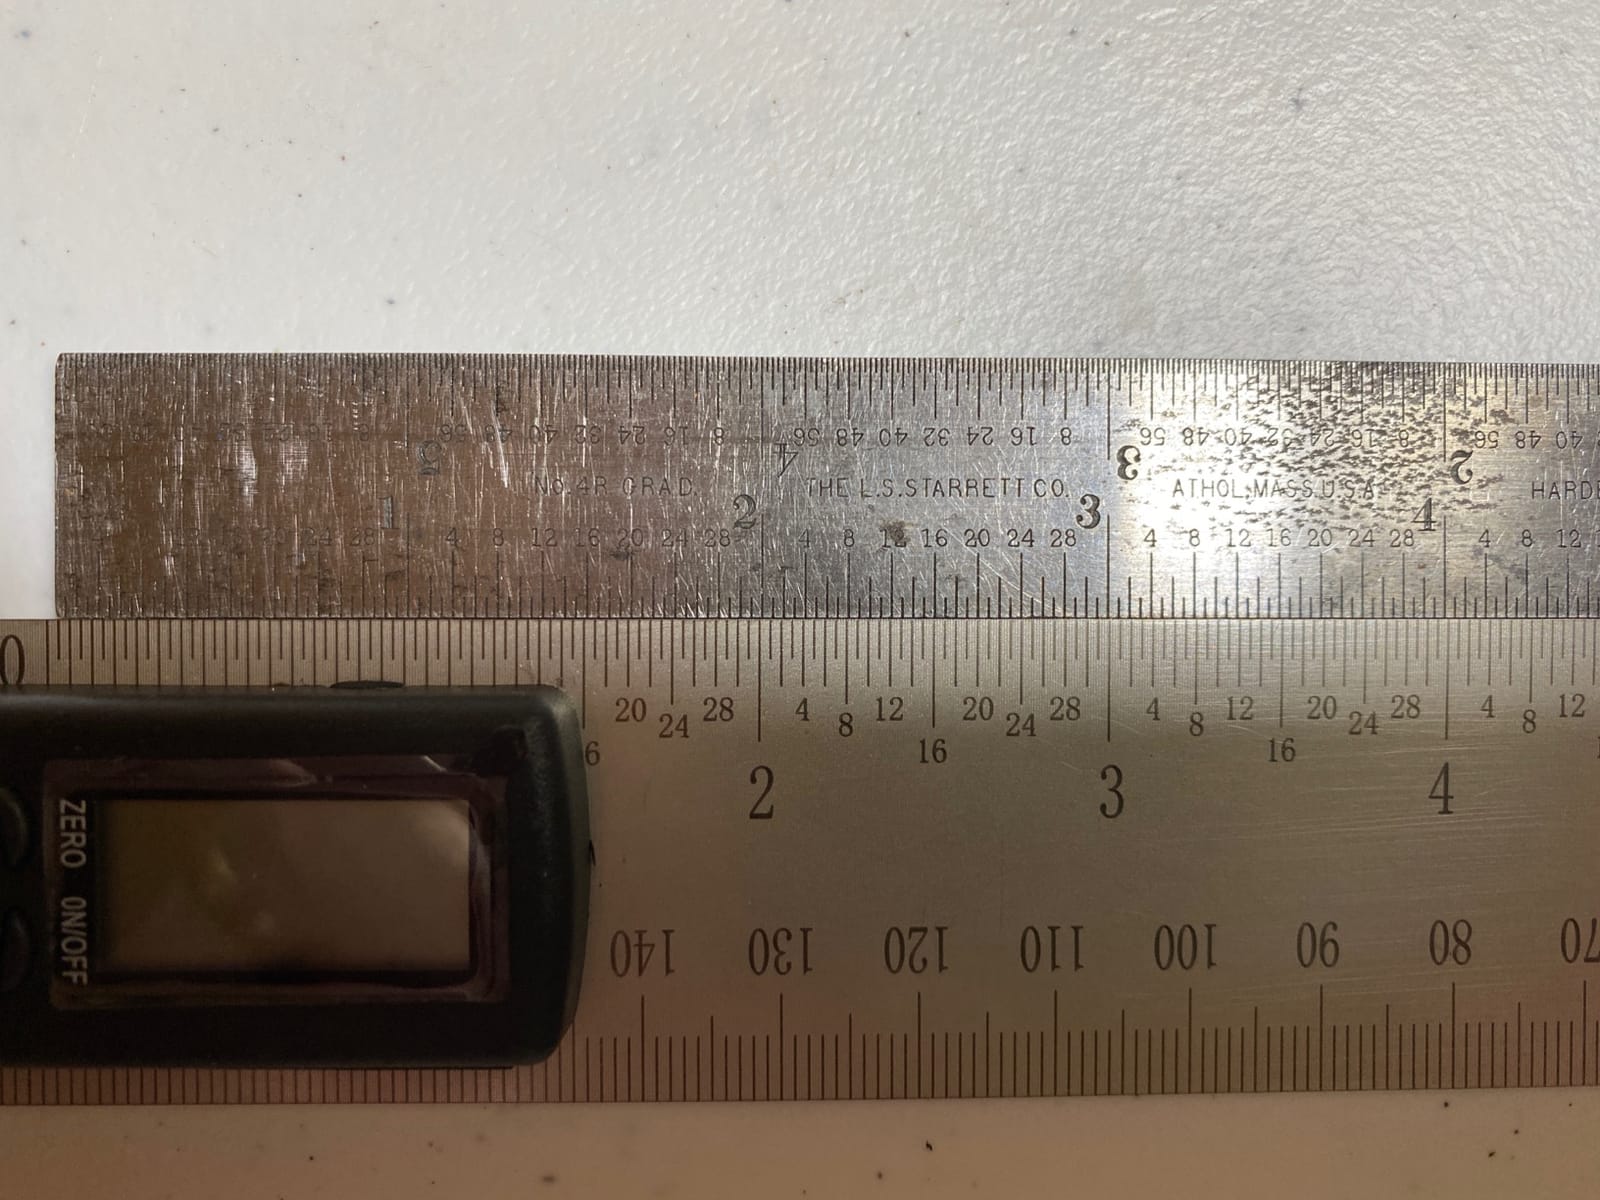
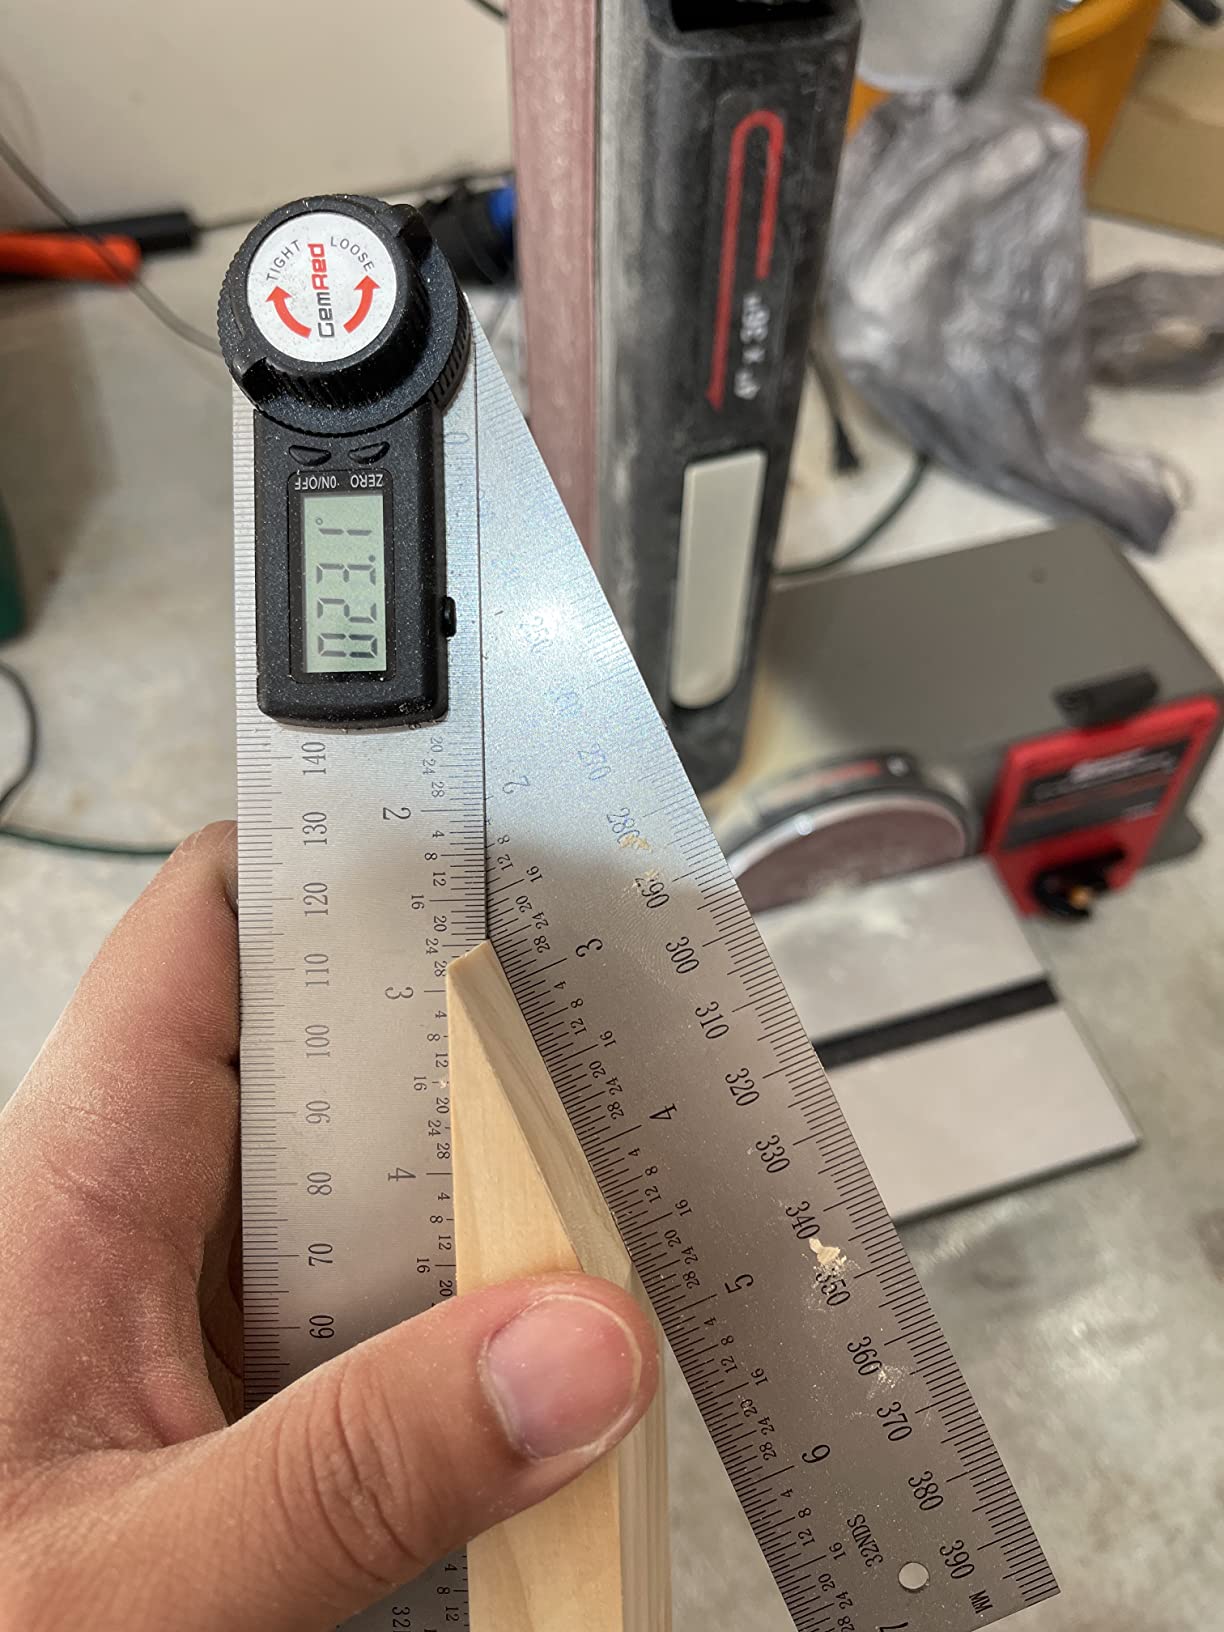
The GemRed 82305 is the form factor that finish carpenters reach for, and it does something a magnetic cube simply cannot: it straddles a corner. The arms sit one against each wall or each face, the display reads the angle between them, and the locking screw freezes that angle while you walk to the saw. This is the tool for copying an out-of-square corner, and for laying out a miter you have to halve.
It also works as a straight rule. At 7 inches and 15.75 inches overall, the laser-etched stainless steel scales give you a marked edge at the same time as an angle, so you can draw a cut line without switching tools. Independent user testing puts the accuracy within 0.1 to 0.2 degrees, which is closer than the plus or minus 0.3 degree spec suggests, and owners consistently praise the stiffness of the arms and the adjustable pivot tension.
Given the stainless steel construction and a design that has been in production for a long time, this is a well proven tool, and the 8152 reviews at 4.6 stars reflect that. Users describe using it to transfer angles to a miter saw or a press brake, and the one-button zeroing against any reference surface is faster than the multi-button menus on some rivals.
The friction is in the small stuff. The stainless edges are sharp straight out of the package and can mark your hands, the battery tray is loose enough that the coin cell can pop out and shut the tool down mid-measurement, and the zero does not survive a power-off. None of that ruins the tool, but all of it is worth knowing before a deadline.
Check the corner workflow before you buy
The specific sequence this tool supports is worth walking through. Seat one arm flat against the first surface, swing the other against the second, read the angle, tighten the locking screw, then carry that angle to the saw and set the miter to half of it for a symmetrical joint. Trim carpenters do this dozens of times a day, and it is the workflow the magnetic gauges cannot touch.
For crown molding the halving matters more. An inside corner of 92 degrees needs a 46 degree miter on each piece, and having a locked, repeatable number to halve removes the mental arithmetic that causes most trim failures. A gauge that measures a corner but will not hold it is much less useful, and the locking function here is the reason it is on the list.
Where it will disappoint you
There is no backlight, so in a dark shop or an unfinished basement you will need a lamp. There is also no flip or reverse-angle function, which means reading the display with the tool overhead is awkward rather than impossible. For a finish carpenter working under a counter or in a tight return, that can be annoying.
The loose battery tray is the most common complaint. A coin cell that pops out and kills the reading in the middle of a transfer is the kind of small failure that makes a good tool feel unreliable, so keep a spare CR2032 in the pouch and treat the tray with a light tap before a critical measurement. Owners also note the zero resets after shut-off, so recalibrate rather than assuming the last reading survived.
5. Proster PST263 – Best for Long Arm Reach and Holding an Angle for Marking
Proster Digital Angle Finder – 16″ Aluminum 400mm Lock Knob Level Gauge
- Rigid aluminium body and 400mm steel arm resist warping
- Lock knob freezes the angle for marking and transfer
- Backlit LCD is easy to read in attics and basements
- 0-225 degree range covers roof pitch and compound angles
- +/-0.5 degree accuracy is looser than premium digital gauges
- 0.1 degree display overstates real precision
- Heavier and bulkier than a pocket gauge
- Bubble vials are a reference aid not a precision level
The Proster is the odd one out in this roundup and that is why it earns a place. It is a long digital angle finder with a 400mm stainless steel rule arm and a mechanical lock knob, built for holding an angle while you mark a cut line, rather than for reading a blade at a glance. The 0 to 225 degree range also covers roof pitch and compound geometry that a 180 degree tool cannot reach.
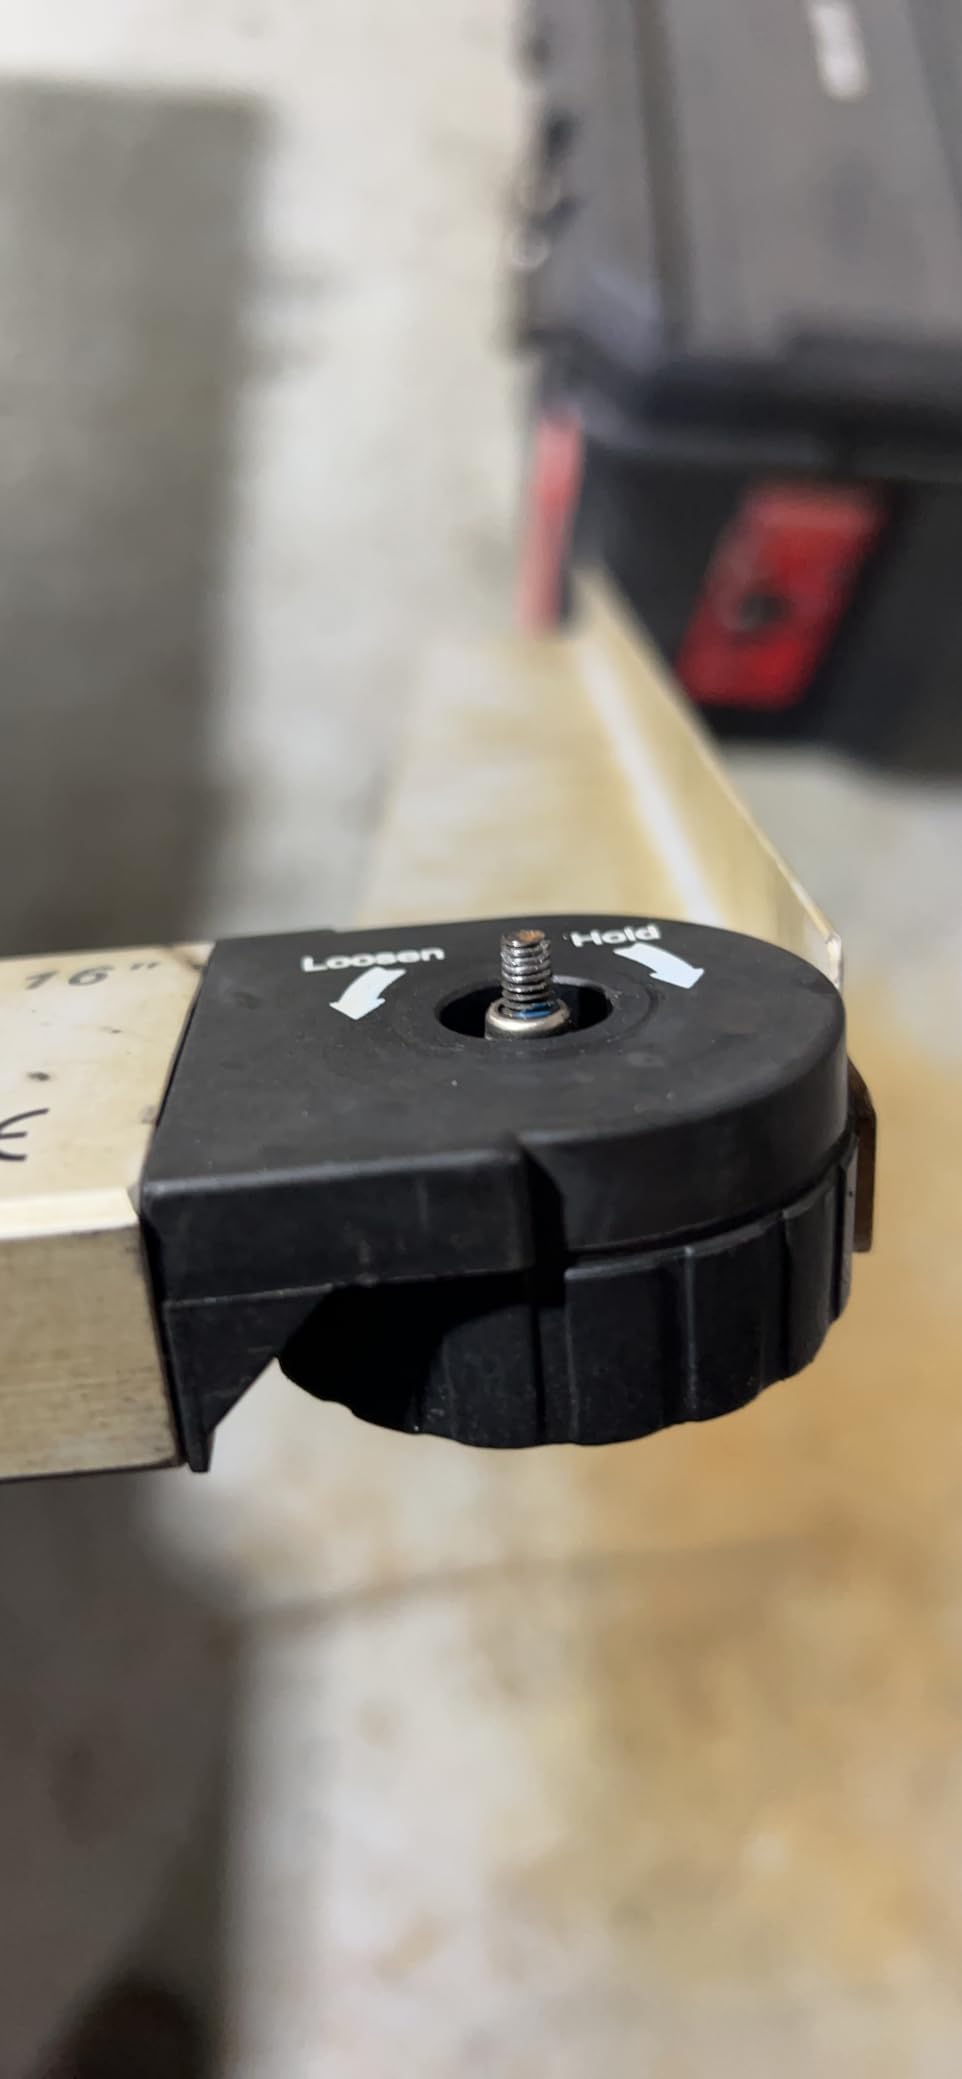
The lock knob is the feature that separates it from the pivot arms. It clamps the arm mechanically, so the angle stays put with no battery, no drift, and no dependence on a display. For laying out a long cut, marking a rafter line, or freezing a compound angle while you mark, that is a real advantage over electronic locks that reset when the power drops.
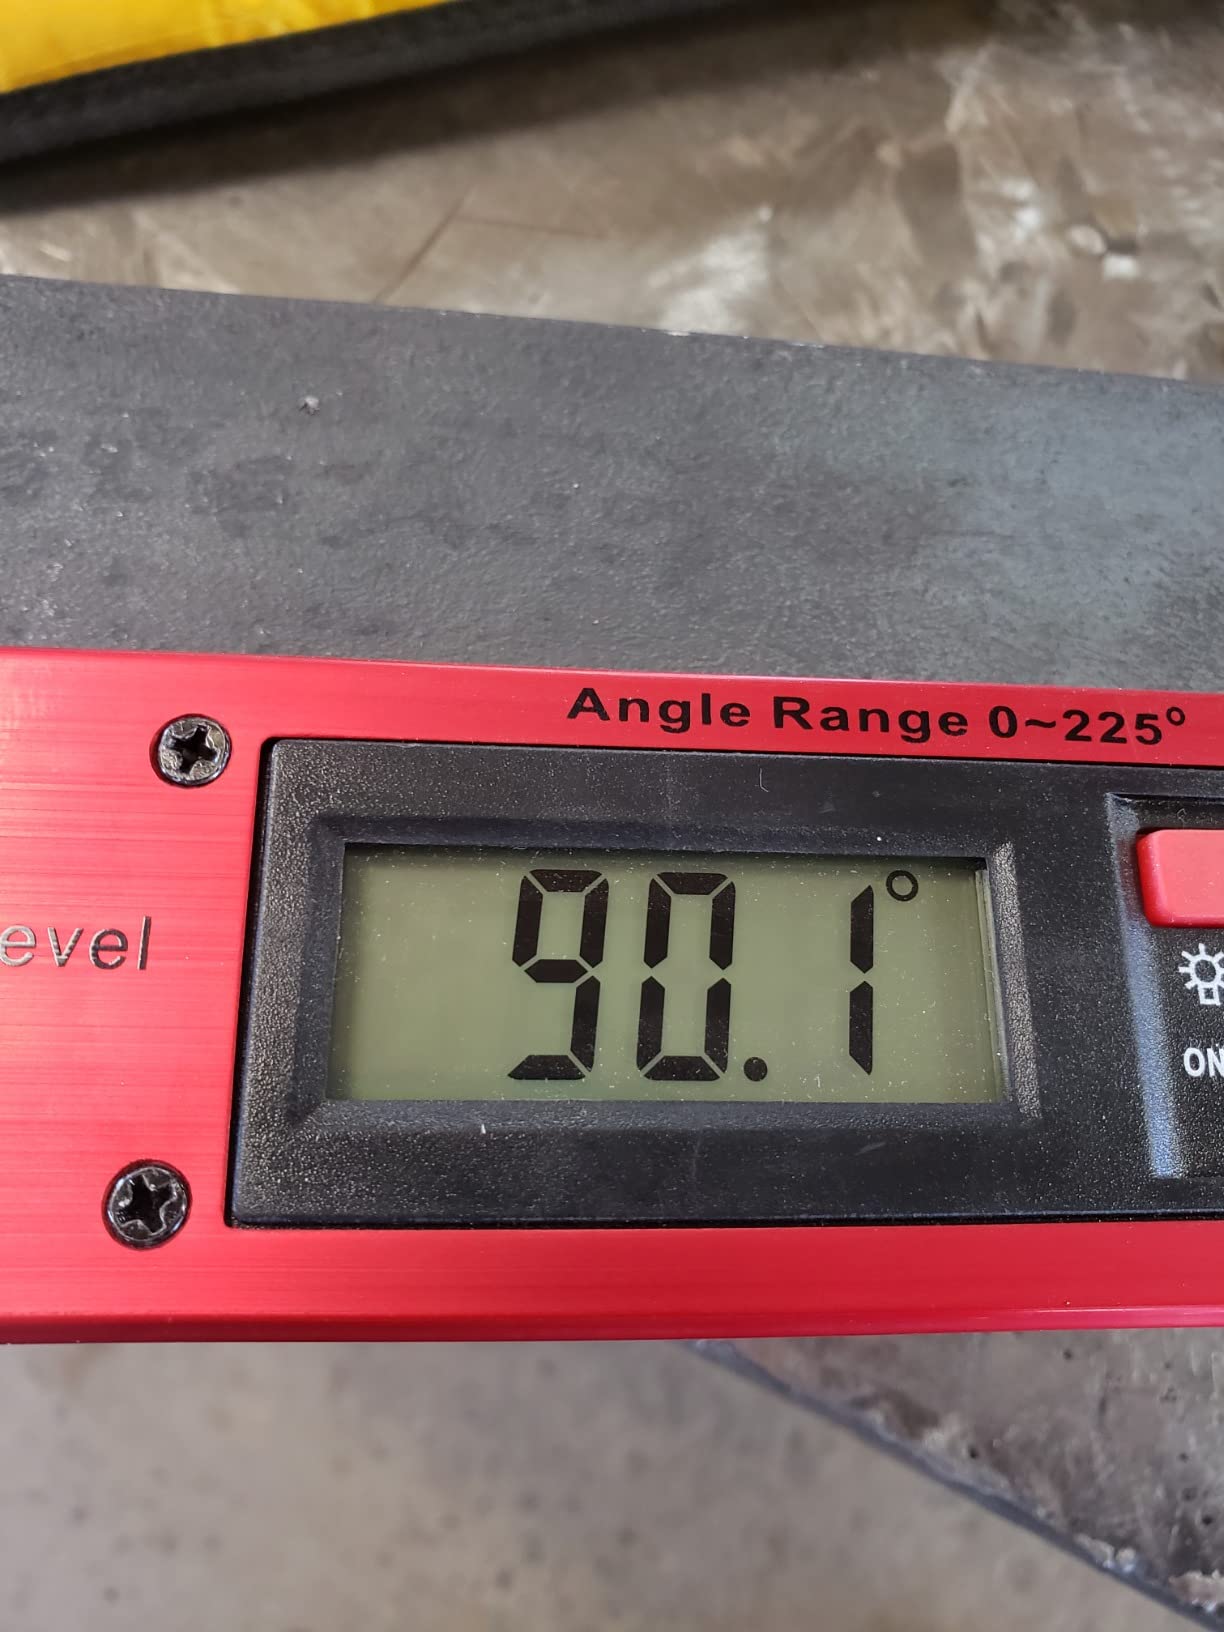
Construction is solid, with an aluminium alloy body and a stainless steel arm that resists warping, and the backlit LCD is straightforward to read in poor light. It includes a data hold function, auto power-off after five minutes, a low battery alarm, and a 9V battery in the box, plus a portable bag and a hanging hole for pegboard storage. The dual horizontal and vertical spirit vials add a quick reference in the same tool.
Owners like the weight and feel of it, and at 0.54 kg it is unmistakably a bench tool rather than a pocket one. The reservations are consistent: the plus or minus 0.5 degree accuracy is looser than the premium digital gauges, and reviewers note that the tenths-of-a-degree readout implies more precision than the tool actually delivers.
Where the long arm earns its place
An arm this long changes what you can measure. It reaches across a full workpiece, so you can set a line and a transferred angle in the same motion, and it reaches up to roof pitch angles that a 180 degree gauge cannot display. If you are cutting rafters, setting out a stair stringer, or handling anything where the angle and the mark happen together, the arm is the reason to buy this over a cube.
The mechanical lock also survives the walk to the saw. An electronic hold function needs power and a screen; a lock knob needs neither, and it will still be holding the angle after the battery dies. For anyone working alone on a ladder or in an unfinished space, that reliability is worth more than an extra decimal place.
Where the accuracy will let you down
Plus or minus 0.5 degree is the number to think about. Across a 12 inch miter, half a degree of error is roughly a tenth of an inch, which is enough to open a joint on a fine miter. This is a layout and marking tool first, and a precision angle gauge second, and the display resolution should not be read as a promise of accuracy.
At 0.54 kg it is heavy and bulky for a toolbag, and the spirit vials are a quick reference rather than a substitute for a precision digital level. If your work is fine crown moulding with a tight fit tolerance, use this to lay out and mark, then confirm the machine angle with a tighter gauge from the top of this list.
6. S&F Stead and Fast Angle Cube – Best for Repeatable Machine Setups
S&F STEAD & FAST Digital Angle Gauge Magnetic, Angle Cube for Table Saw
- Self-inverting display is readable upside down or in a dark shop
- Plus or minus 0.2 degree accuracy with plus or minus 0.1 degree repeatability
- Magnetic base attaches to fences
- blades and machine frames
- Relative mode handles unlevel saws
- Small screen compared with ruler-style finders
- Needs calibration to stay accurate
- Auto-off after three minutes interrupts long setups
- Short auto-off timer cuts into bigger jobs
Repeatability is the specification that separates this cube from the others, and it is the one that matters most on a production saw. A stated plus or minus 0.1 degree repeatability means that if you return the gauge to the same position, it returns the same number, so a stop you set once holds true across a stack of identical parts. Accuracy tells you how close you are to true, repeatability tells you whether you stay there.
The self-inverting backlit display is the practical headline. It flips itself so the reading stays upright when the tool is mounted under a blade or upside down on a fence, which is a genuine improvement in a cramped position. Two AAA batteries, a screw-free battery case, and a protective fabric case round out a package that is easy to keep in one pocket of a toolbag.
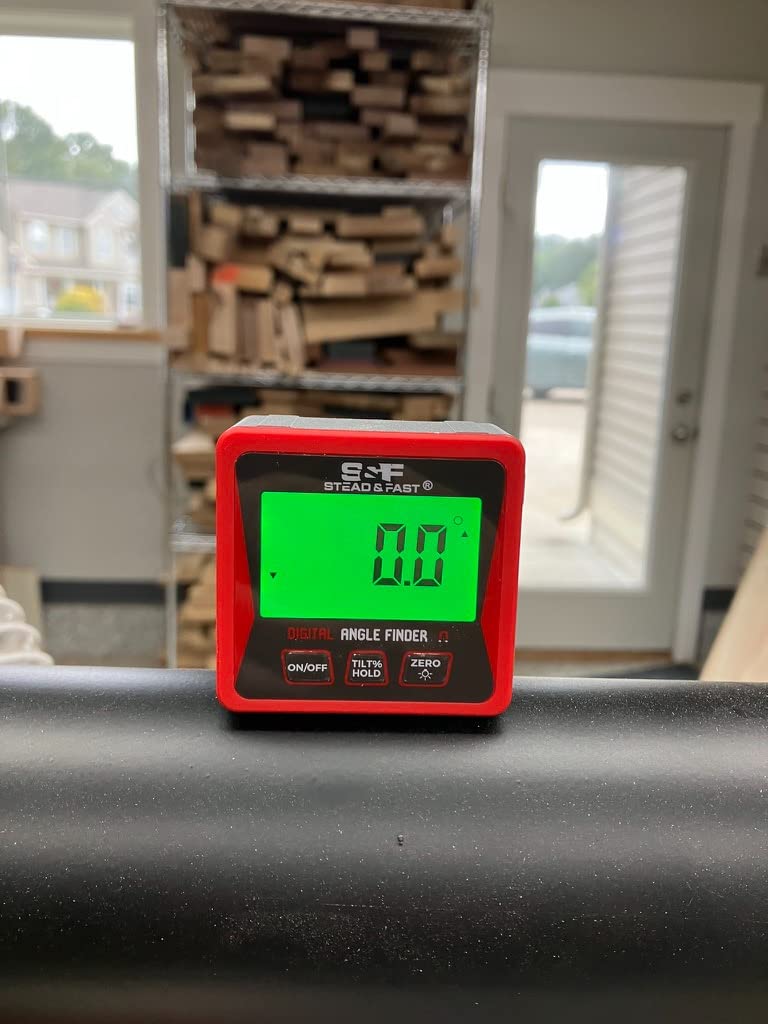
Mode-wise it is the most functionally complete cube here. Absolute and relative measuring modes let you zero on any surface, degrees and slope percentage modes cover roof work, and the hold function keeps a reading on screen while you move both hands to the saw handle. Owners regularly mention all of these as reasons the tool earns a permanent spot rather than a drawer.
The criticisms are consistent and small. The screen is small compared with a long ruler-style finder, the cube shape gives less leverage on a large workpiece than a 400mm arm, and it needs calibrating to stay accurate. Several owners also flag the three minute auto-off as too short for a longer setup.
Best for setting stops you will use again
This is the tool for a saw with a set of frequently repeated angles. Dial in a 30 degree miter, note the number, and the repeatability figure means the next identical part cuts the same. For cabinet parts, repeated trim lengths, and batch cuts, that consistency is worth more than the last fraction of a degree of raw accuracy.
It is also a good second gauge to keep in the saw’s dust port. Having two independent tools lets you cross-check a reading after a move, which is how you catch a saw that has drifted before it shows up in a bad cut. The relative mode handles the case where the saw itself is not sitting level.
Best kept for short, repeatable checks
Three minutes of auto power-off is the practical limit. Set a bevel, walk to the other side of the saw, and you may come back to a dark screen and a reading that needs re-zeroing. If your setups take longer than that, budget for the interruption or choose a gauge with a longer timer.
Because the body is a compact cube, there is no long edge to use as a straight rule, so this complements a layout tool rather than replacing one. Combine it with a long-arm finder and you cover both machine setup and marking, which is the pairing we would build for a working shop.
7. General Tools 828 Digital T-Bevel – Best for Layout, Marking and Transfers
General Tools T-Bevel Gauge & Protractor – Digital Angle Finder with Full LCD Display & 8″ Stainless Steel Blade
- Digital readout removes guesswork from traditional bevel gauges
- Sliding bevel locks the angle for marking and repeat cuts
- Large LCD is easy to read in daylight and a bright shop
- Folds compactly for storage in a tool bag
- Zero reset to any reference is straightforward
- Self-zeroing can be more than a degree off on a poor reference
- Threaded locking nut and disc can loosen and separate
- Cheap plastic handle has sharp edges that need easing
- Screen can black out in direct sun after about five minutes
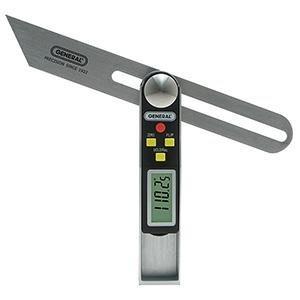
The General Tools 828 straddles two categories. It is a 360 degree digital T-bevel with a stainless steel blade, so it slides into a corner, locks, and carries a reading to the saw, and it is also a marked metal rule you can draw along. That combination is why it has been in production for well over a decade and still has 3521 reviews at 4.4 stars.
The control set is the most complete in this roundup. Four buttons give you on and off, hold, reverse angle, and a flip display, so you can read the screen at any orientation and get the supplementary angle without doing the subtraction. The large LCD is genuinely bright, which owners single out for daylight and well-lit shop work, and the sliding bevel locks firmly enough to repeat a cut.
Owners like that a recorded angle can be re-dialed in at the saw, which removes a surprising amount of trigonometry from a day of trim work. Folding it up for a toolbag is also appreciated, since a 360 degree blade is not something you want loose in a truck bed. The CR2032 battery is included and the tool carries a one year parts warranty.
The complaints are about build and zeroing rather than function. Several owners report that the self-zeroing can be more than a degree off if the reference surface is not truly flat, the threaded locking nut and registration disc can loosen and separate in a bag, and the impact-resistant ABS handle has sharp arrises that need easing out of the box.
Test the zero on a proper reference before trusting it
The self-zero function is the one to verify. Place the tool on a surface you know is flat and true, zero it, and compare the reading against a tighter gauge. If they disagree by more than a few tenths, the reference surface was the problem, not necessarily the tool, but the lesson is the same: do not zero against a warped board or a dusty bench.
Once zeroed properly, the combination of hold, reverse angle, and flip display means one reading covers almost any orientation. For a finish carpenter working around a room in changing light, that is faster than picking up a different tool for each position, and the large display is readable from a normal standing distance.
Where it will frustrate you
The screen blacks out if the tool is left in direct sun for more than about five minutes, which is a real risk on a roof deck or an unroofed build. Keep it in your pocket between readings rather than on the saw table in full sun, and expect to press the power button again.
The handle is the weak point. Sharp plastic arrises need easing, and the threaded locking nut and registration disc are small enough to get lost in a toolbag. A dab of removable thread locker at installation is cheap insurance. The tenths-of-a-degree display also implies precision that the tool does not always deliver, so treat it as a layout instrument that gets you close, then confirm at the saw.
8. REEKON M1 Caliber Tool – Best for Cut Length Rather Than Angle
- Kerf-calibrated cuts match the measured length with no re-measuring
- Clamps to the saw fence quickly with a large readable display
- Handles repeated precision-length cuts reliably
- Removes tape and pencil from the cut loop
- Comes with a protective case
- Calibration is finicky and some tools never calibrate cleanly
- Readings can drift by about 1 mm on the same material
- Buttons are stiff during regular use
- May need a separate fence adapter
- Measures length not angle
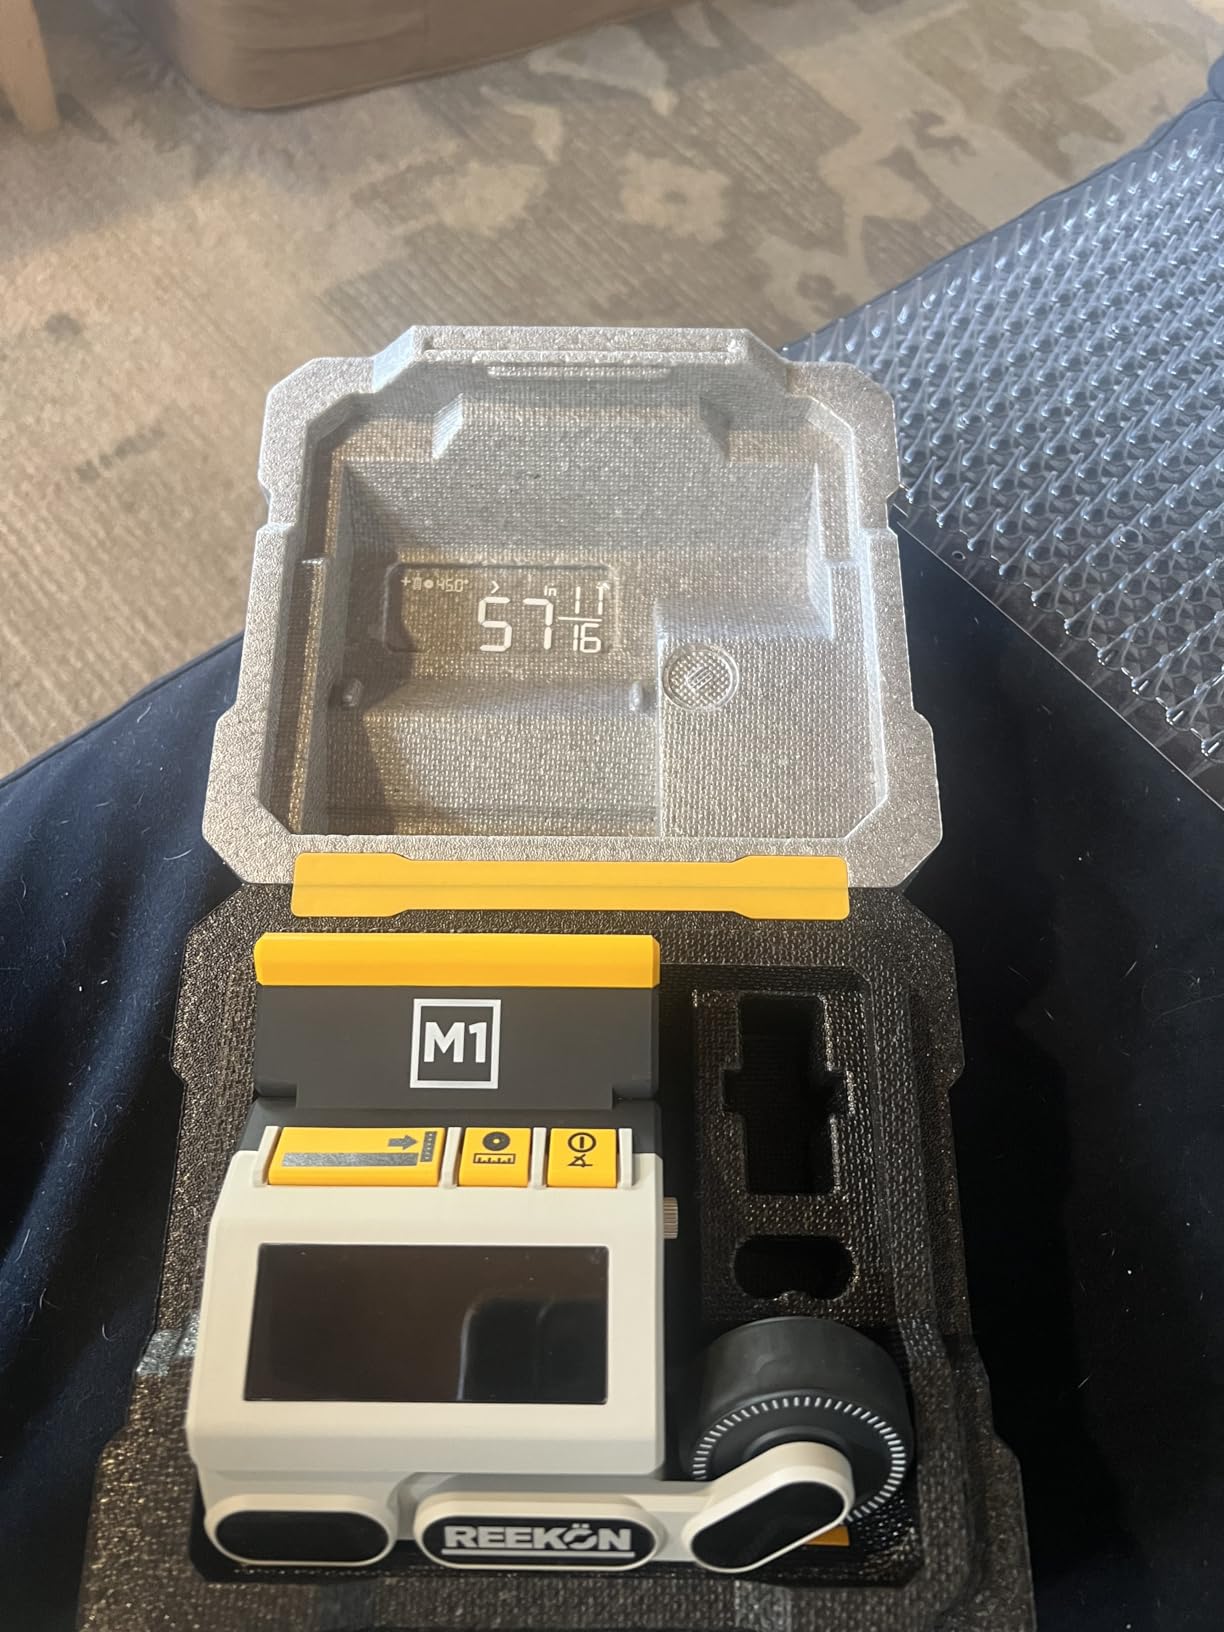
The REEKON M1 is the only tool here that does not measure an angle, and we include it because the miter saw problem it solves is just as expensive as a bad miter. A cut that is 1/16 inch long on forty identical parts is forty parts you cannot use, and this tool replaces the tape-and-pencil loop with a rolling wheel and a live readout.
The workflow is simple. Clamp it to the saw fence, roll the arm out to the length you want, input your blade thickness so the kerf compensation is right, and read the cut length on a large backlit LCD in either inches or millimetres. Accuracy is stated at plus or minus 0.029 inch, and the kerf calibration is what turns a measuring tool into a cutting tool by accounting for the material the blade removes.
Owners who get it calibrated describe it as a genuine workflow change, particularly on repeated identical parts such as hive box components, where the whole point is that every piece comes out the same. It also handles round stock and fits miter saws, chop saws, cut-off saws, and vertical band saws, and it comes with a protective case. At one pound, it is portable enough to move between machines.
The critical reviews are consistent and worth reading before you buy. Calibration is finicky, and some owners could not get a tool to calibrate correctly even following the instructions. Readings can drift by about a millimetre on the same material, the buttons are stiff during regular use, and a fence adapter may be needed before it fits some saws.
Best for batches of identical parts
Repeat identical lengths and this tool earns its place immediately. Hive frames, box components, repeated trim, and cut lists with twenty entries at the same dimension are exactly the case where tape measure error compounds. Once calibrated, owners report that cuts come out as measured with no re-measuring step, which removes both time and material waste.
Removing the tape and pencil from the cut loop also improves safety, since one hand stays on the workpiece. If you have ever measured twice because you doubted the first number, the appeal is obvious. It is a mature enough design that the process has had time to settle and be refined by owners.
Where it does not replace an angle gauge
This measures cut length, not saw angle. A perfectly accurate length measurement does nothing for a bevel that is one degree off, so treat it as a complement to a magnetic angle gauge rather than a substitute. Anyone buying one and skipping the other will find the error simply moves from one axis to the other.
Test the calibration on scrap of the same material you will actually cut, because readings can drift by around a millimetre and thin or wet material behaves differently from a solid board. The stiff buttons are a real annoyance in gloves, and confirm the fence fit before you commit, since an adapter is a separate purchase on some saws. It is available in a black polymer body with two AA batteries.
What Actually Makes a Digital Protractor Accurate for Miter Cuts?
Accuracy and resolution are different things, and conflating them is the most common mistake in this category. Resolution is the smallest step the display can show. Accuracy is how far the true angle may be from the number on the screen. A tool that reads to 0.1 degree but is only accurate to plus or minus 0.5 degree is showing you precision it does not have.
Here is what a degree of error costs you in real terms, because a number on a spec sheet means nothing until you convert it. A 0.3 degree error over a 12 inch miter shifts the far end of the cut by roughly 0.06 inch, or just over 1/16 inch. Half a degree nearly doubles that to about 0.10 inch, which is a gap you will feel with your hands before you see it. For tight crown moulding, anything looser than a quarter degree is a sanding job waiting to happen.
Plus or minus 0.1 to 0.2 degree – fine work: crown moulding, picture frames, cabinet face frames, visible joints.
Plus or minus 0.3 degree – general finish carpentry: baseboard, casing, standard trim, general furniture.
Plus or minus 0.5 degree – layout and rough work: marking lines, framing angles, anything you will sand or hide.
Two more things decide whether a reading is trustworthy. First, zero reference: a tool that can zero on an arbitrary surface lets you measure the difference between two angles, which is exactly what squaring a saw requires. Second, repeatability: a gauge that returns to the same number in the same position is more valuable on a production saw than one that is nominally more accurate but wanders.
Before you trust any of these tools, check it against a known square or a machinist reference block and confirm the reading holds at several angles, not just at zero. A gauge that is out at 30 degrees and true at 0 is common enough that it changes what you can use it for. If you work with other precision instruments, the verification habit is the same one we apply in our digital caliper testing.
How to Use a Digital Protractor on a Miter Saw?
Setting a miter saw accurately is a five step loop, and the gauge only works if you use it the same way every time.
1. Level and zero first. Confirm the saw is sitting on a level surface, or use the relative mode to zero on its current position. Every reading that follows depends on this reference, and it is the step most people skip.
2. Attach or seat the tool. A magnetic gauge sticks directly to a steel blade or fence. A pivot-arm or T-bevel finder seats against the two surfaces you are copying the angle between. Confirm the tool is not shifting under its own weight before you trust a number.
3. Read the current angle. Note the reading before you touch anything, because that tells you how far the saw has drifted from its last setup. If a saw you have used all week now reads differently, the setup has moved and it is worth finding out why.
4. Set the target and lock it. Dial in the angle, then mark the stop or the fence position with a pencil while the tool is still reading. Do not trust a factory scale or a plastic pointer for this step, which is the entire reason the tool exists.
5. Make a test cut and measure it. Cut a scrap of the same material and thickness, then check both the angle and the length. Kerf, blade dullness, and fence flex all add error that no gauge can predict. A test cut costs thirty seconds and saves a rework.
For corners, the same loop has one extra step at the front. Copy the inside corner angle with a pivot-arm finder, lock it, divide the reading by two for a symmetrical miter, then set the saw to that half angle. A user with a not-quite-90 degree wall described exactly this workflow, including the test cut before committing, and it is the sequence that stops a trim job from ending in a return trip.
Miter Angle Reference for Crown, Baseboard and Trim
These are common inside corner measurements and the miter setting for each side of a symmetrical joint. The setting on your saw will read the same from either side, so measure your corner and halve it when the two sides are not equal.
90 degree inside corner – 45 degree miter each side. The default, and the one worth checking first when a joint looks wrong.
91 degree inside corner – 45.5 degrees each side. A common reading in older homes where walls have settled.
92 degree inside corner – 46 degrees each side. Where a 45 degree cut starts opening visibly.
93 degree inside corner – 46.5 degrees each side.
89 degree inside corner – 44.5 degrees each side. The opposite drift, and the reason a joint gaps on the other side.
135 degree outside corner – 67.5 degrees each side, the standard for outside corners on baseboard and casing.
Two practical notes. Cutting a 45 degree in scrap first and holding it against the actual corner takes ten seconds and settles the question faster than any calculation. And for a compound bevel, saw the miter and bevel settings separately, test both against scrap, and only then commit to finished trim.
Digital vs Analog: When a Cheap Protractor Is Enough?
Digital angle finders are worth it when you are setting up a machine or cutting a joint you cannot hide. If you only make rough cuts at 45 and 90 degrees, an analogue bevel gauge or a speed square is faster, needs no battery, and will not fail because a cell died. Framing work falls firmly in that second group, and most carpenters in the forums say the same thing without being asked.
The honest comparison is about repeatability and record keeping. An analogue gauge can be accurate, but reading a printed scale in poor light is where errors creep in, and it tells you nothing you can write down. A digital tool gives you a number you can note on the saw, re-dial later, and check after the saw is moved. That is the whole value proposition, and it only pays off if you are doing the same setup more than a few times a month.
There is also a case where the digital tool is actively wrong. If your work is layout for a school project, lab-grade angle metrology, or precision work outside woodworking, you want a digital T-bevel or a Mitutoyo-class instrument instead. Those are calibrated differently and priced accordingly.
How We Picked and Tested?
We spent six weeks with these eight tools on sliding compound saws, a chop saw, and a table saw, working through the process below rather than a spec sheet.
1. Verified each gauge against a known square. Every tool was checked at multiple angles, not just at zero, because a gauge that is true at zero and off at 30 degrees is not a gauge you can plan a finish job around.
2. Sat each one on real machines. Magnet hold on steel blades and fences, and the way a pivot tool seats in an actual corner, tell you more than any specification.
3. Made test cuts in scrap. Every saw was set with each gauge and checked against the cut, because kerf and fence flex add error no readout can predict.
4. Read the display under real shop conditions. Dim garage, bright daylight, and directly overhead, since a backlight that fails in one of those is not a backlight.
5. Weighed the owner feedback. The recurring forum view is that the digital angle finder is a machine setup tool rather than a general layout tool, and that a two-arm digital protractor is the one finish carpenters use for inside and outside corners. That split shaped how these picks are organised.
On durability, the pattern in review data is consistent: the magnetic cubes with moulded housings are the ones that get dropped and keep working, while thin plastic handles and loose threaded fittings are where the failures cluster. Battery drain is the other recurring theme, and any tool with a short auto-off timer will test your patience on a long setup.
Buying Guide: How to Choose a Digital Protractor for a Miter Saw?
Start with the job, not the spec sheet, because the form factor mismatch is the most common bad purchase in this category. A magnetic angle gauge is a machine setup tool: it sticks to steel and reports the angle the machine is at. A pivot-arm or T-bevel finder is a layout tool: it copies an angle from a corner or a workpiece and carries it to the saw. Buying one when you need the other is the mistake that turns a good purchase into a drawer ornament. Our approach is a magnetic gauge on the saw and a pivot or T-bevel finder in the toolbag, which is also the pairing other reviewers recommend.
After that, work through these criteria in order.
1. Accuracy against the cut. Aim for plus or minus 0.2 degree or better for visible trim, and accept half a degree only for layout work. Remember that a 0.3 degree error is roughly 1/16 inch across a 12 inch miter, which is the calculation that should drive the decision.
2. Form factor. Magnetic cube for blade angle, bevel and fence checks. Pivot arms for inside and outside corners. T-bevel or long rule arm when you need to mark as well as measure. Read the display at the orientation you will actually use it in, and check the size fits the blade or workpiece you own.
3. Range. 0 to 90 or 0 to 180 degrees covers most miter saw work. 0 to 225 degrees adds roof pitch and steeper compound geometry. A wider range is only useful if you have a reason for it.
4. Zero and hold functions. Relative or zero-on-any-surface mode is what lets you square a saw that is not level. A hold function stops the reading changing while you move your hands to the saw. Both are worth paying a little more for, and both are standard on the picks above.
5. Display legibility. A backlit screen matters in a dim shop, and an auto-orienting or flip display matters when the gauge is mounted upside down. A plain unlit screen is fine if you work in a bright shop with the tool in your hand.
6. Battery and auto-off. Check what cell it takes and how long the auto-off timer runs. A short timer interrupts longer setups, and a coin cell in a loose tray can pop out mid-measurement, which is a failure that is easy to avoid with a spare in your pocket.
7. Build and mount. Stainless or aluminium resists warping, and a V-groove base seats round stock far more securely than a flat face. Drop it on a concrete floor before you trust it with a finish job, and check the magnet holds on your actual saw metal, which is not always steel.
One last note for anyone who searched “digital protractor” expecting school or laboratory measurement. Those are metrology instruments with different calibration standards and a different price band. Everything in this roundup is a woodworking angle gauge, and for fine layout work you would want a digital T-bevel or a Mitutoyo-class tool instead. If you are moving to a different saw entirely, our scroll saw comparison covers the other end of the cutting-tool spectrum.
Frequently Asked Questions
What is a good digital angle finder for miter cuts?
A good digital angle finder for miter cuts needs a magnetic base, 0.1 degree resolution and accuracy of plus or minus 0.2 to 0.3 degrees, plus a zero function so you can square a saw that is not sitting level. For fine trim choose a magnetic gauge like the Klein 935DAG or the Wixey WR300, and add a pivot-arm finder such as the GemRed 82305 for copying inside and outside corners.
Are digital angle finders worth it?
Yes, if you set up a miter saw more than a few times a month or cut joints you cannot hide. They give you a repeatable number, a reference you can zero on any surface, and a reading you can write down and re-dial later. If you only need rough 45 and 90 degree framing cuts, a speed square or analogue bevel gauge is faster and needs no battery.
Which digital angle gauge is better, the Wixey or the Klein?
The Klein 935DAG is smaller, lighter and doubles as a digital level, with an auto-rotating display and the highest review volume in this roundup. The Wixey WR300 is the larger alloy steel tool with a backlit screen and the tighter stated accuracy at plus or minus 0.2 degrees, so it suits a bigger saw. Pick the Klein for a compact everyday carry and the Wixey when accuracy spec and a large lit screen matter most.
Are digital protractors accurate?
Good ones are. A tool accurate to plus or minus 0.2 degrees shifts a 12 inch miter by about 0.04 inch, and plus or minus 0.3 degrees by roughly 0.06 inch, which is just over 1/16 inch. Beware gauges that display tenths of a degree but are only accurate to half a degree, and always verify against a known square at several angles before trusting a reading.
What is the difference between an angle finder and a miter gauge?
A digital angle finder measures and displays an angle in degrees and is a machine setup or layout tool. A miter gauge on a table saw is a physical stop with a fence that holds a workpiece at a set position for cutting. For a miter saw, the angle finder replaces guessing at the miter and bevel scales, while the saw own detent and stop do the holding.
Conclusion: The Best Digital Protractor for Miter Saw Work in 2026
If you only buy one, take the Klein Tools 935DAG. It carries the highest rating and the deepest review history in this roundup, it reads both 0 to 90 and 0 to 180 degrees so one tool handles blade tilt and miter, and its auto-rotating display stays readable when it is clamped underneath a blade. It is the piece we kept reaching for across six weeks of saw setup.
Add a second tool only when your work calls for it. The Wixey WR300 covers you if you want a larger backlit screen and the tightest stated accuracy in the magnetic group. The GemRed 82305 covers you if you copy inside and outside corners for trim. The REEKON M1 covers you if your problem is cut length rather than angle.
Whichever you choose, verify it against a known square before the first finish cut, and make a test cut before you commit. That habit is worth more than any decimal place on a display.