

Have you ever wanted to build replicas of rovers NASA employs for exploring foreign planets? Or maybe are you looking for a high mobility wheeled platform solution for your projects, capable of travelling over various kinds of terrain?
Well look no further, recently we stumbled upon a very interesting Instructable about how to build your very own functional Mars rover replica, which you can also remote control from any mobile device or computer browser.

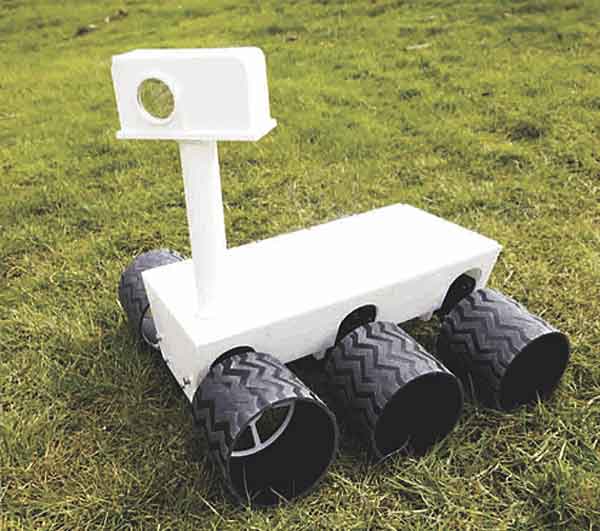
Created by the Product Design Research Studio, a group of students and researchers at the University of Dundee, UK, the six wheeled robot, inspired by the Curiosity Martian rover, can be built by using off-the-shelf components and electronics, as well as cleverly implemented household parts and materials.
The wheeled platform employed is the sturdy and versatile all-terrain Dagu Wild Thumper 6WD chassis, equipped with the optional high current Wild Thumper Arduino motor controller.
The Wild Thumper chassis comes fully equipped right out of the box, featuring motor and metal gearbox units with 34:1 reduction ratio for each of its six wheels, independent suspension and a rugged pre-drilled aluminium chassis, which was ditched however in favor of laser cut acrylic parts, which make up the body of the rover. Skateboard grip tape was used to fabricate custom wheels that look exactly like the ones on the real Curiosity rover.
The chassis is controlled by a powerful Electric Imp SD card sized computer, connected through a breakout board to the Arduino chassis electronics. The Electic Imp’s core is a Cortex-M3 processing unit and features a fully fledged WiFi transceiver for communication. It is also equipped with standard interfaces such as UART, I2C, analog and digital GPIOs and can be easily programmed through a web browser based IDE.
Other necessary parts and materials are a battery of decent capacity (7.2V, 5Ah), some electrical wiring and screws. The project cost would be a little over 300 Euro, or about US$ 400, provided that you own or have access to a laser cutting machine.
The complete step by step guide, including the Arduino and Squirrel scripts, web based control UI and the Illustrator files for chassis parts are made available in the Instructable here. More information about the robot project here.